


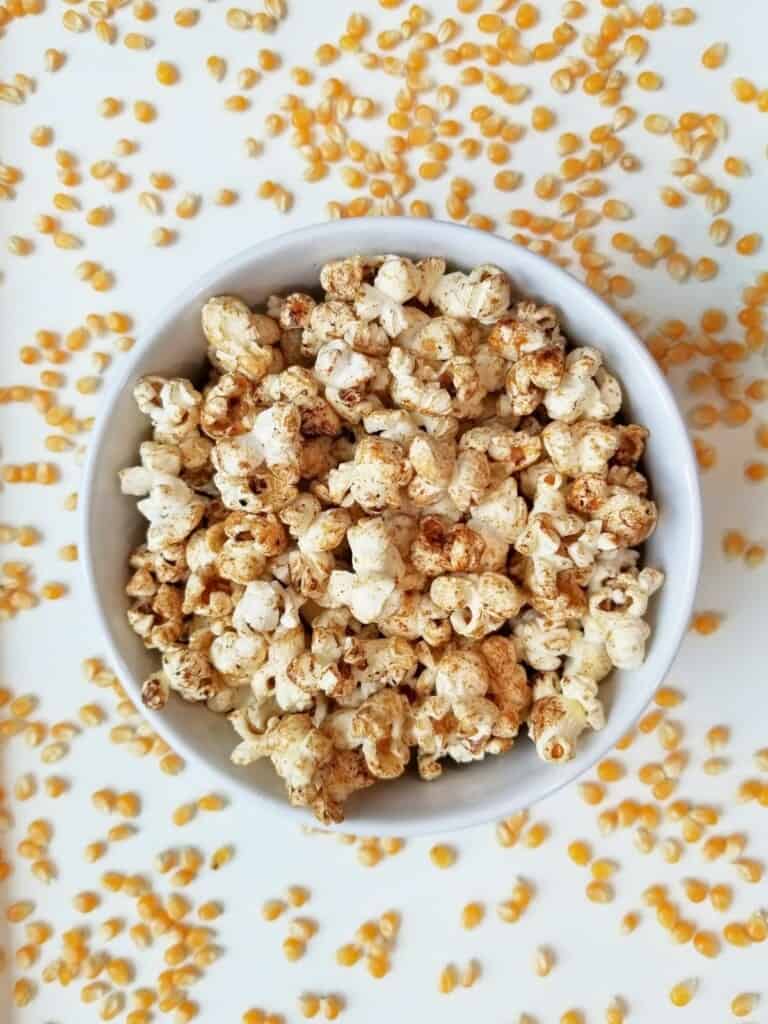
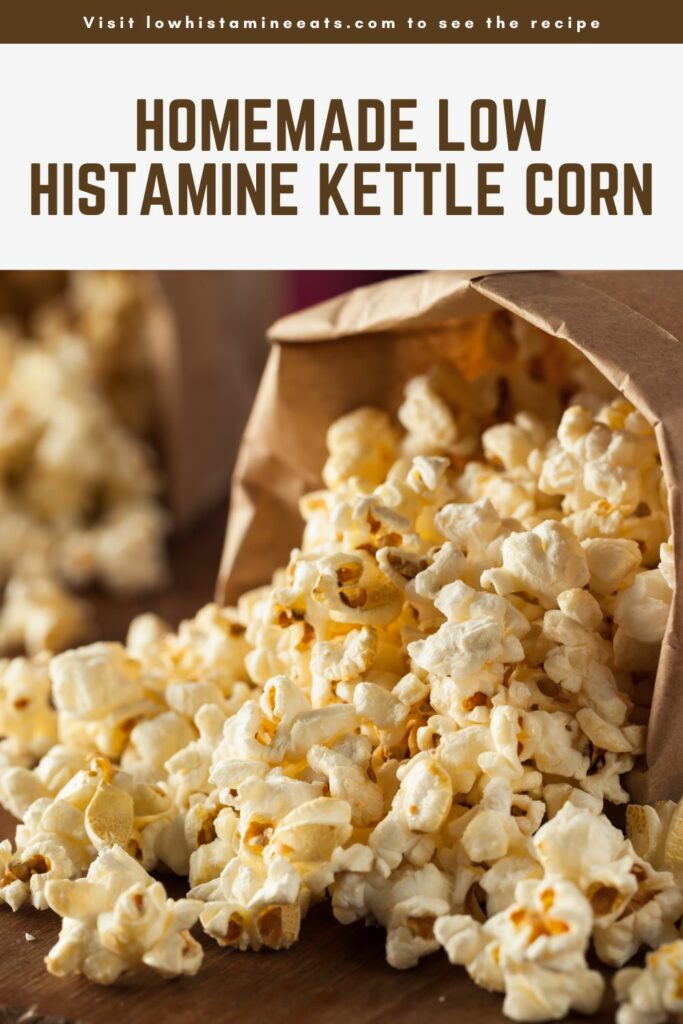
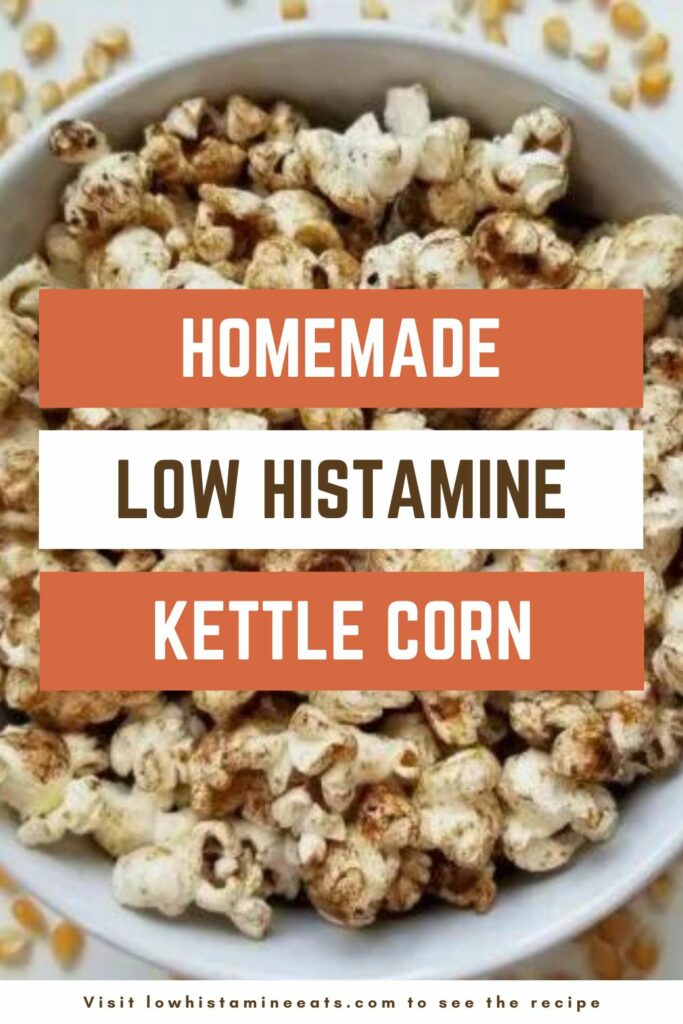
This low histamine popcorn recipe is all about technique, but it couldn't be simpler once you understand the basic science of it. So grab your oven mitts and a dash of sea salt, and let's dig into this low histamine kettle corn.
If you like simple, low histamine snack recipes, also try my roasted squash seeds and air fryer yuca fries.
Jump to:
✔️ Why This Recipe is Great
Vegan Kettle Corn. One thing I constantly look for is new low histamine snacks to add to my favorites list. This low histamine popcorn is sweet, salty, and satisfying without being overwhelming. If you add too much or too little of anything, it’s easy to make up for the imbalance, as popcorn is very forgiving.
Versatile Recipe. Feel free to substitute the type of sugar you use, your salt source, and even any additional seasonings added at the end. I recommend trying za'atar for something savory or chopped candied nuts for a sweeter option.
Corn Kernels: Try using blue corn kernels for the antioxidant count, but it's okay to use regular organic corn kernels (which are automatically non-GMO).
🧂 Ingredients
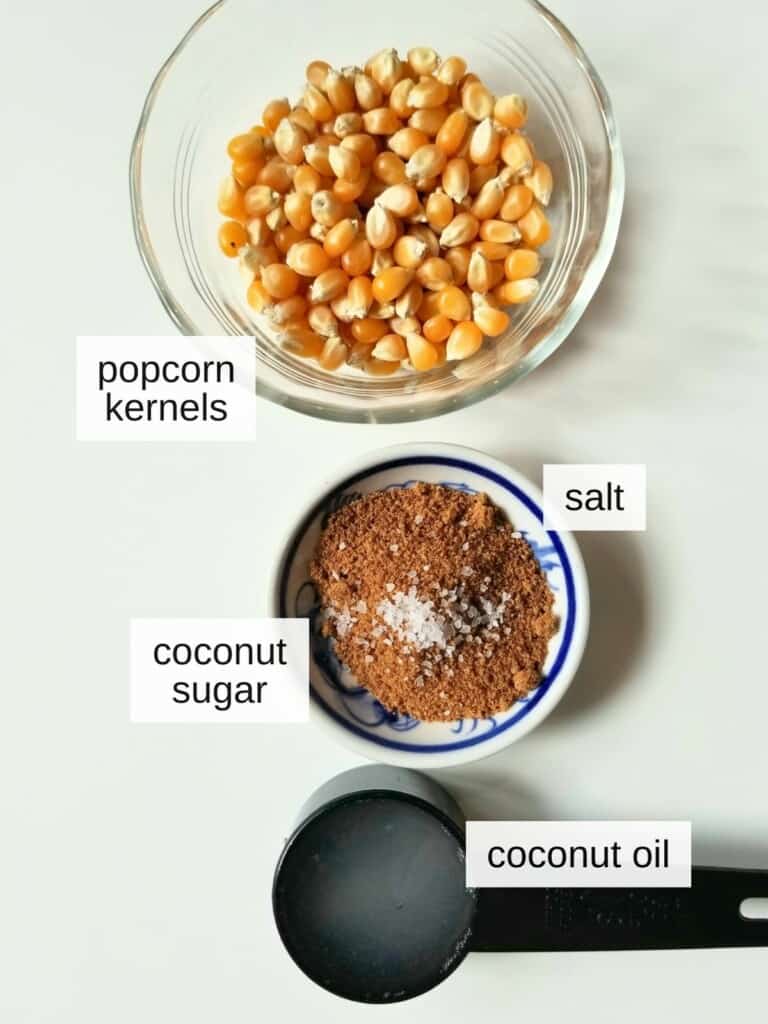
Popcorn Kernels: while most people tolerate whole, unprocessed forms of corn just fine, to start with I'd generally recommend using blue corn kernels. They're a bit smaller than the white and yellow corn varietals, but they contain antioxidants that help deal with inflammation. Buy them here.
Coconut Oil: coconut oil may have a mild smell, but you can’t taste it much in here. If you need to substitute, ghee would be the next best option at this temperature.
Coconut Sugar: this is a lower-glycemic, lower histamine sweetener that adds a nice toasty flavor to the final kettle corn.
See recipe card for exact ingredients and quantities.
🍿 How to Make Vegan Kettle Corn (Step-by-Step)
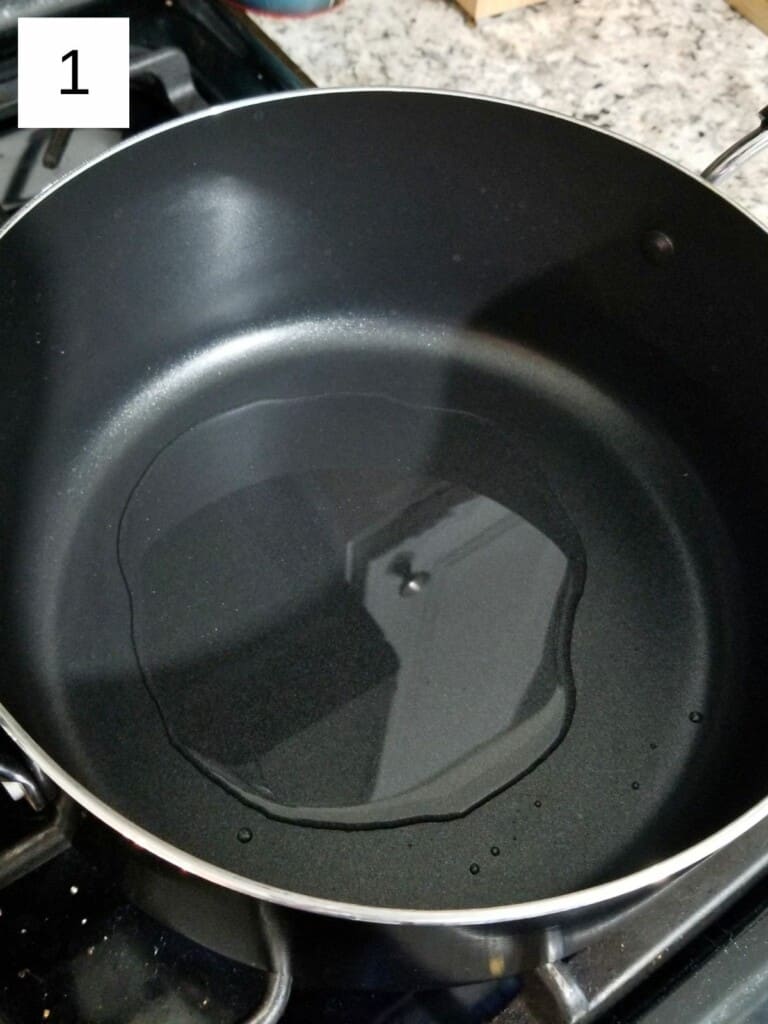
Step 1) Put your coconut oil in a large pot and turn the heat on medium-high, and add the lid (image 1).
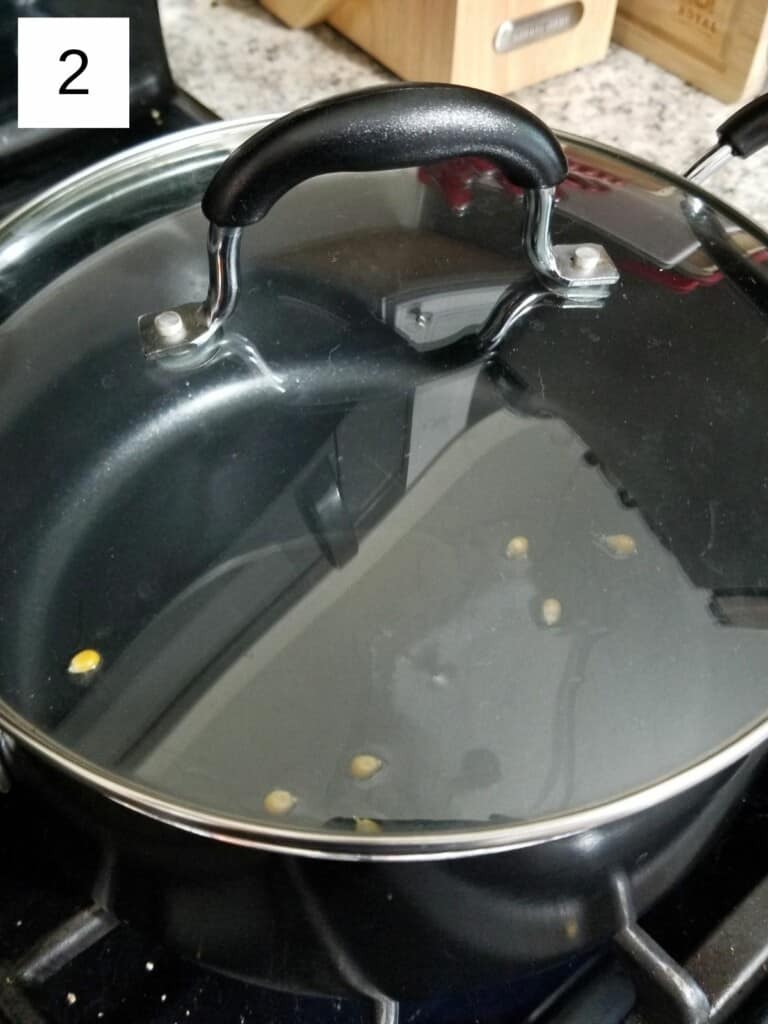
Step 2) Let the oil heat for 1 minute, then add in 5-6 corn kernels and lightly shake the pot so that the kernels are coated in oil, and put the lid back on (image 2).

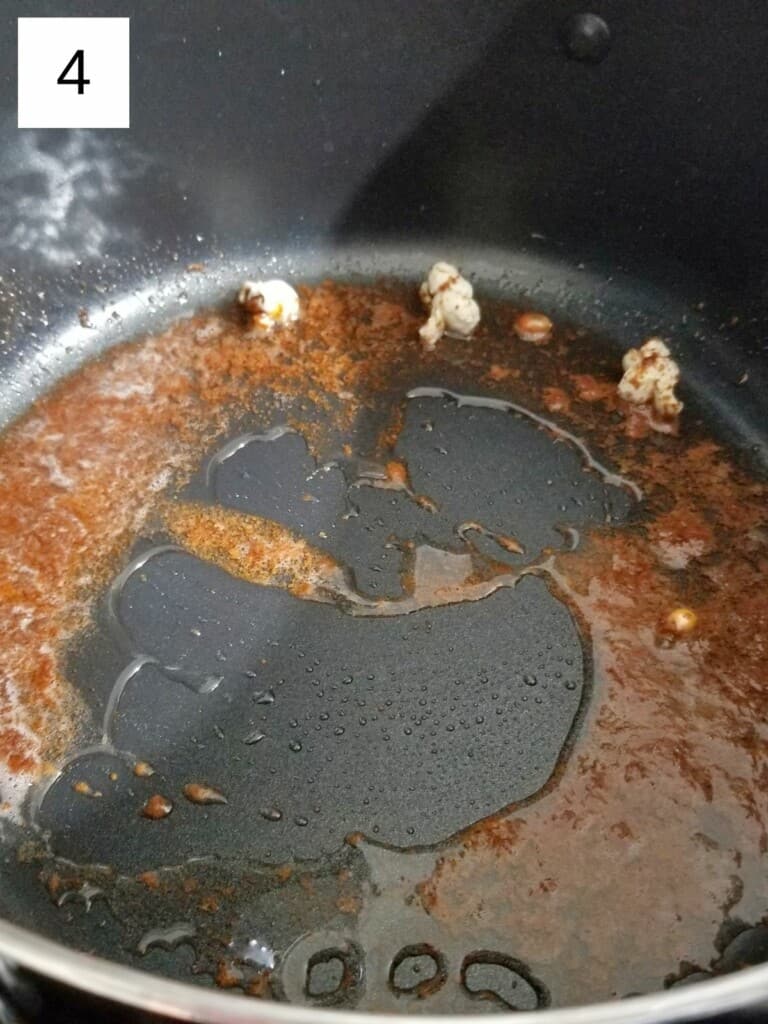
Step 3) Once the first kernel pops (after 1-2 minutes), take off the lid and wipe off any condensation (image 3). Then pour in your sugar & salt mixture and stir it into the oil with a spatula to make a caramel-like substance; this should take about 15 seconds (image 4).

Step 4) Immediately add in the rest of your popcorn kernels and shake the pot to make sure they're well-coated before replacing the lid (image 5). Wait another 15-20 seconds before rather aggressively shaking the whole pot over the stove for the next 1-2 minutes, as all the kernels pop.
IMPORTANT: This is the most important step of all. Stay wary of stray sparks, and make sure that no kernels stay on the bottom of the pot for more than 5 seconds, otherwise you'll end up with some burnt pieces. You'll probably want to keep oven mitts on either hand, especially if you switch lids due to condensation, as those kernels will jump 5 feet into the air when the lid is off.
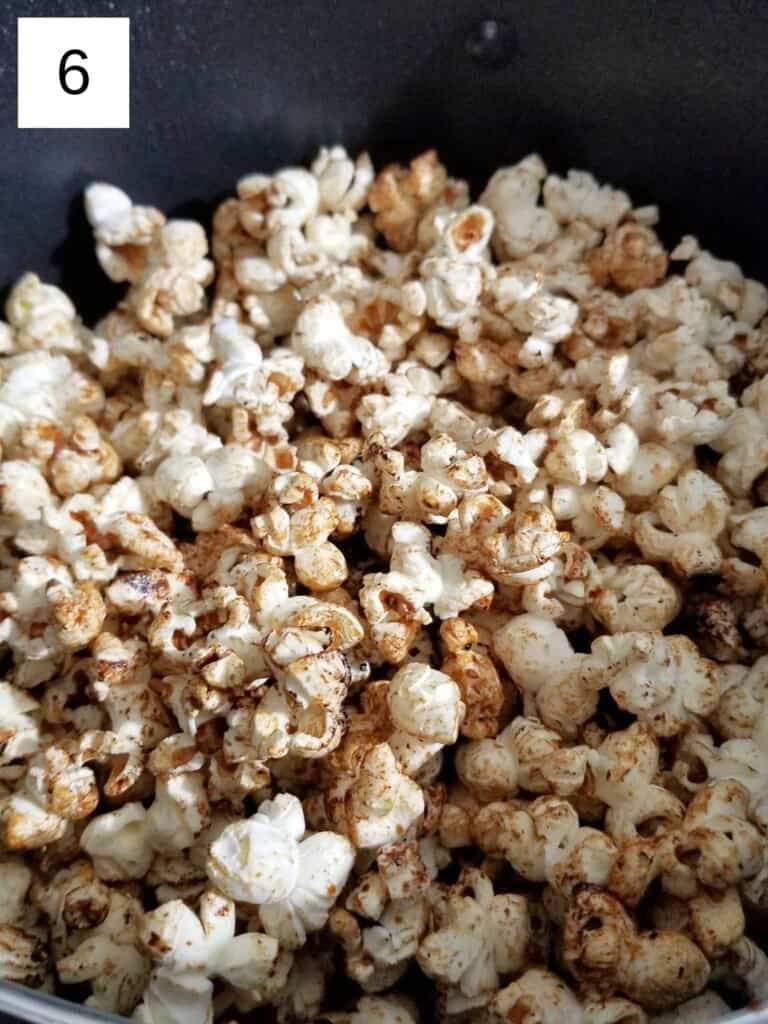
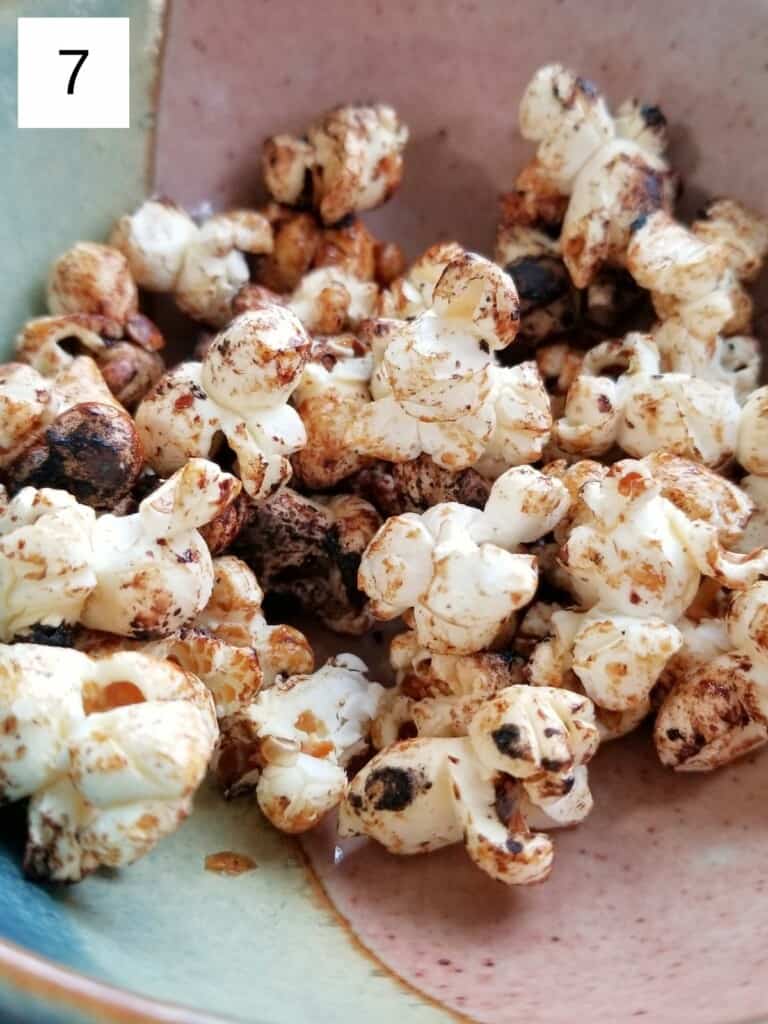
Step 5) Once the popping of kernels slows to 2 seconds or more between pops, take your popcorn completely off the heat and immediately pour it into a bowl (images 6 & 7), pulling out any unpopped kernels. If you leave it in the pot after taking it off the heat, it will absolutely burn, so transfer your kettle corn quickly and enjoy.
🍯 Variations
- Vanilla Kettle Corn: Add a tiny pinch of vanilla powder after popping for a lightly sweet, dessert-style flavor without extra sugar.
- Maple Sweetened Version: Replace coconut sugar with a small drizzle of maple syrup added at the end for a softer caramel coating.
- Cinnamon-Free Spiced Blend: Toss with a pinch of ground cardamom or ginger for gentle warmth while staying low histamine.
- Extra Salty Snack Mix: Increase sea salt slightly and add toasted pumpkin seeds or macadamia pieces for a more savory variation.
- Chocolate-Style Drizzle (Low Histamine Option): Sprinkle with carob powder instead of chocolate for a cocoa-like flavor that’s typically better tolerated.
- Coconut Lover’s Version: Mix in unsweetened coconut flakes or coconut chips after popping for added crunch and healthy fats.
- Lightly Sweet Version: Reduce coconut sugar by half for a subtler sweet-salty balance suitable for sensitive diets.
🫙 Storage
You can keep this vegan kettle corn in an air-tight container for up to 5 days, but I recommend only making 1 or 2 servings at a time. That way, you get more practice on your technique, and you can enjoy much fresher corn.
👨🏻🍳 Expert Notes & Tips
Different Sugar. If you want to use a different sugar (date sugar, organic white sugar, brown sugar, etc.), you can swap out an equal of granulated not liquid sugar, depending on your desired sweetness.
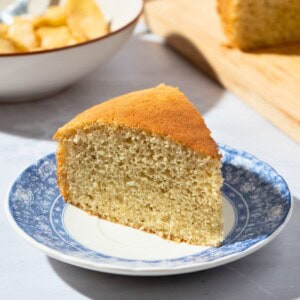
❓ What to Serve With Kettle Corn
🙋 Frequently Asked Questions
Kettle corn can burn quickly because of the sugar, so keep the heat at medium and shake the pan frequently once the kernels begin popping.
Yes, you can substitute another tolerated fat such as avocado oil or refined olive oil, though coconut oil gives the best classic kettle corn flavor.
Spread the popcorn out on a baking sheet for a minute or two after cooking to allow steam to escape, which helps prevent sogginess.
Yes, all ingredients are generally considered low histamine when freshly prepared and tolerated individually.
Oil is needed to properly pop the kernels on the stovetop, so an oil-free version isn’t recommended for this method.

Have you tried this recipe?
If you like the recipe, please leave a 5-star ⭐️⭐️⭐️⭐️⭐️ rating on the recipe card, or even a comment! I love to hear how your recipes turned out, and your feedback can help other readers! Also join us on Instagram, Facebook & Pinterest.
📖 Recipe

10-Minute Sweet & Salty Vegan Kettle Corn
Ingredients
- ⅓ Cup popcorn kernels ideally blue corn
- 2 Tablespoons coconut oil
- 1 Tablespoon coconut sugar
- dash of salt
Instructions
- Put your coconut oil in a large pot and turn the heat on medium-high and add the lid.
- Let the oil heat for 1 minute, then add in 5-6 corn kernels and lightly shake the pot so that the kernels are coated in oil, and put the lid back on.
- Once the first kernel pops, after 1-2 minutes, take off the lid and wipe off any condensation. Then pour in your sugar & salt mixture and stir it into the oil with a spatula to make a caramel-like substance; this should take about 15 seconds.
- Immediately add in the rest of your popcorn kernels and shake the pot to make sure they're well-coated before replacing the lid.
- Wait another 15-20 seconds before rather aggressively shaking the whole pot over the stove for the next 1-2 minutes, as all the kernels pop. Make sure no kernels stay on the bottom of the pot for more than 5 seconds, otherwise you'll end up with some burnt pieces. You'll probably want to keep oven mitts on either hand, especially if you choose to switch lids due to condensation.
- Once the popping of kernels slows to 2 seconds or more between pops, take your popcorn completely off the heat and immediately pour it into a bowl, pulling out any unpopped kernels. If you leave it in the pot after taking it off the heat, it will absolutely burn, so transfer your kettle corn quickly, and enjoy.
Notes
Nutrition
Save this post for later!

Wayne says
Suggest a Whirley Pop, or similar stove top handle-crank popper (we have a magnetic one for induction).
Add oil (1-2 tbl) and sugar (1 tbl), salt if you wanna, to bottom of popper before adding enough popcorn to cover bottom.
Medium heat.
Constantly stir (it coats the kernels) for 4-5 minutes until popping starts.
Stir and pop until no popping sounds for 10 seconds.
Remove from heat.
Enjoy.
Very few unpopped kernals.
Max says
Thank you for the tips, Wayne! We have an old Whirley Pop somewhere in storage, so I'll have it give it a try. It's definitely difficult to grab pictures of each step when you have to constantly move the kernels, so describing the steps well enough for people to not burn them can be hard.