These Chestnut Flour Crepes - also known as Necci in Italian - are crispy, nutty, and take under 20 minutes to make. All you need are three simple ingredients and your favorite crepe fillings!
If you want some other grain-free meal ideas, check out my honey garlic chicken wings or grain-free pizza crust.
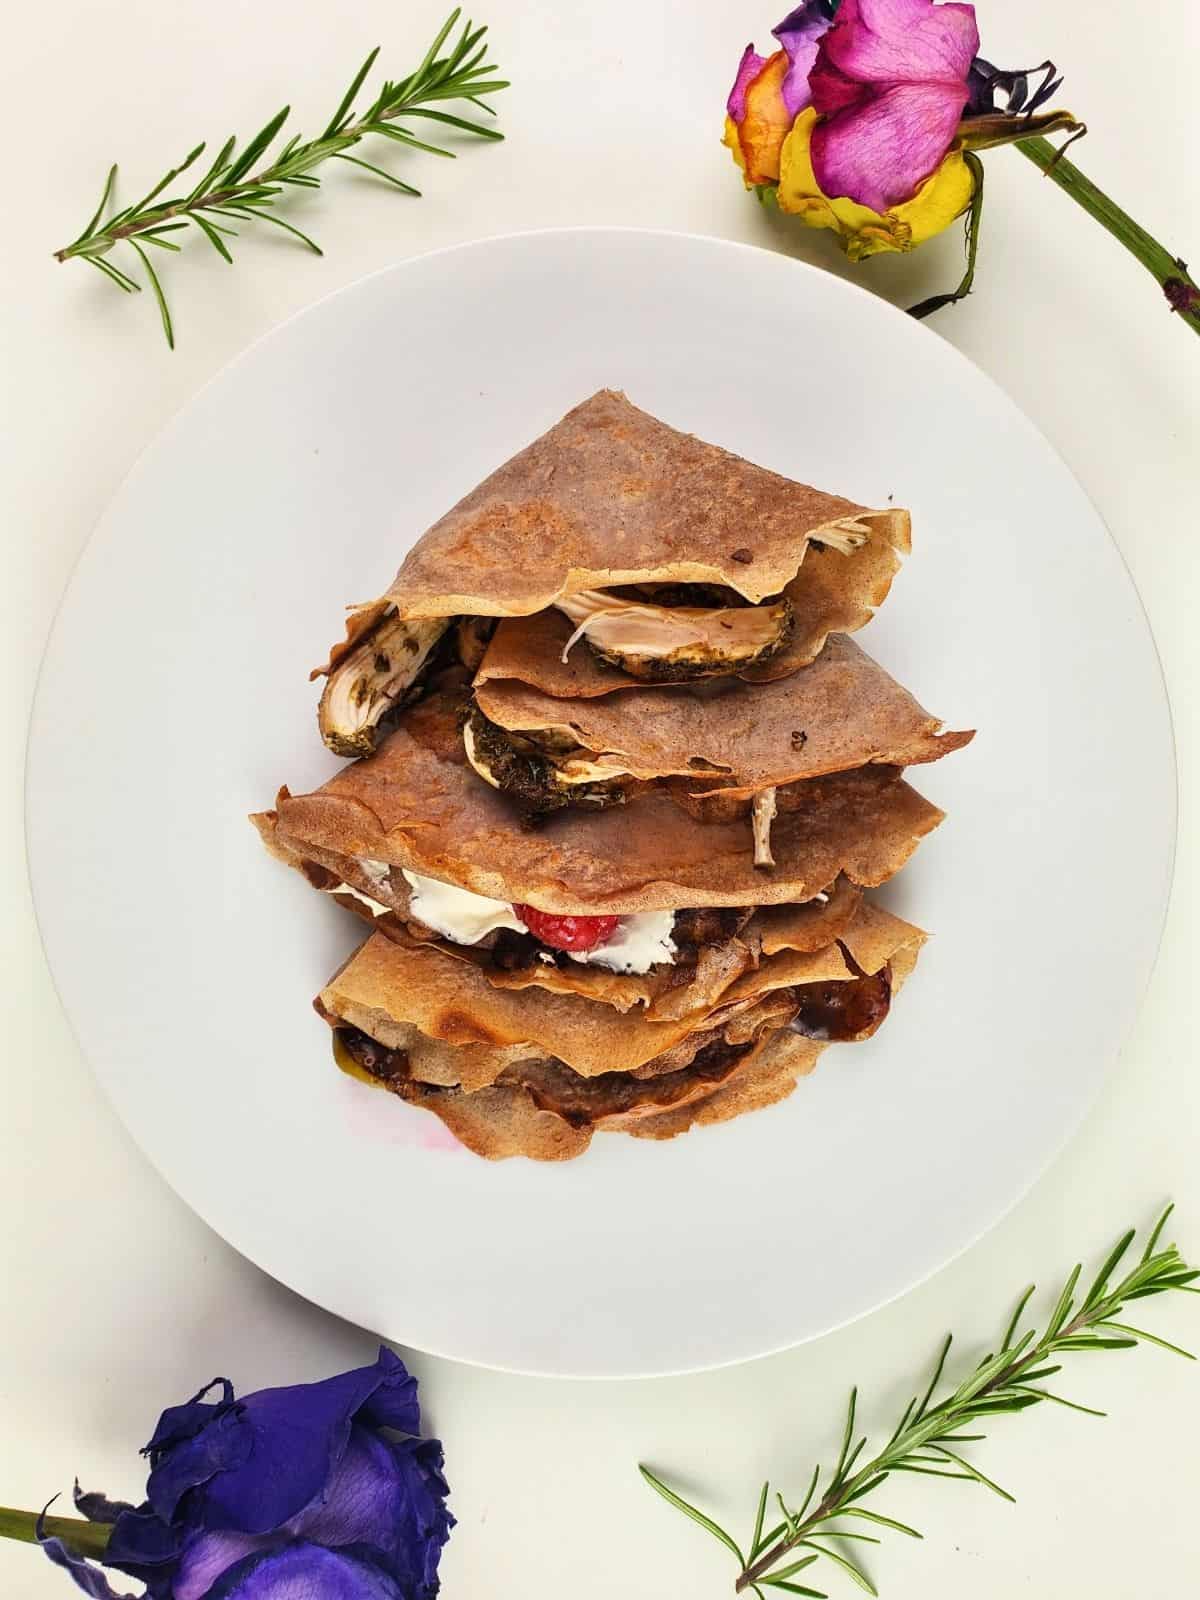
Chestnuts are very common in Italy and France, where making recipes with chestnut flour is much more common than anywhere else in the world. In fact, in Italy these crepes are even known as necci, and tend to be paired with a sweet cream or ricotta and honey.
Learning how to make chestnut flour crepes at home is a great way to bring a touch of southern European flavor to your home, without the hassle of actually flying there.
Jump to:
✔️ Why This Recipe is Great
Italian-Inspired: in lieu of springtime in Rome, I'm bringing some Italian flavor to your kitchen that you can enjoy at any time of year. The star here is chestnut flour, a mildly sweet and nutty flour made from the low histamine chestnut.
Timeless Recipe: I sometimes think of these as a snack-type food with a more filling grain-free packaging than one would normally expect. But they're really a great meal at any time of day, from breakfast and brunch to lunch or dinner.
Versatile Flavor: these low histamine crepes are deceptively light and nutty, which makes them very versatile as either sweet or savory. You could add any kind of fruit to flip this into a low histamine dessert, though the nutty flavor of chestnut crepes pairs incredibly well with creamy ingredients.
🌰 Ingredients
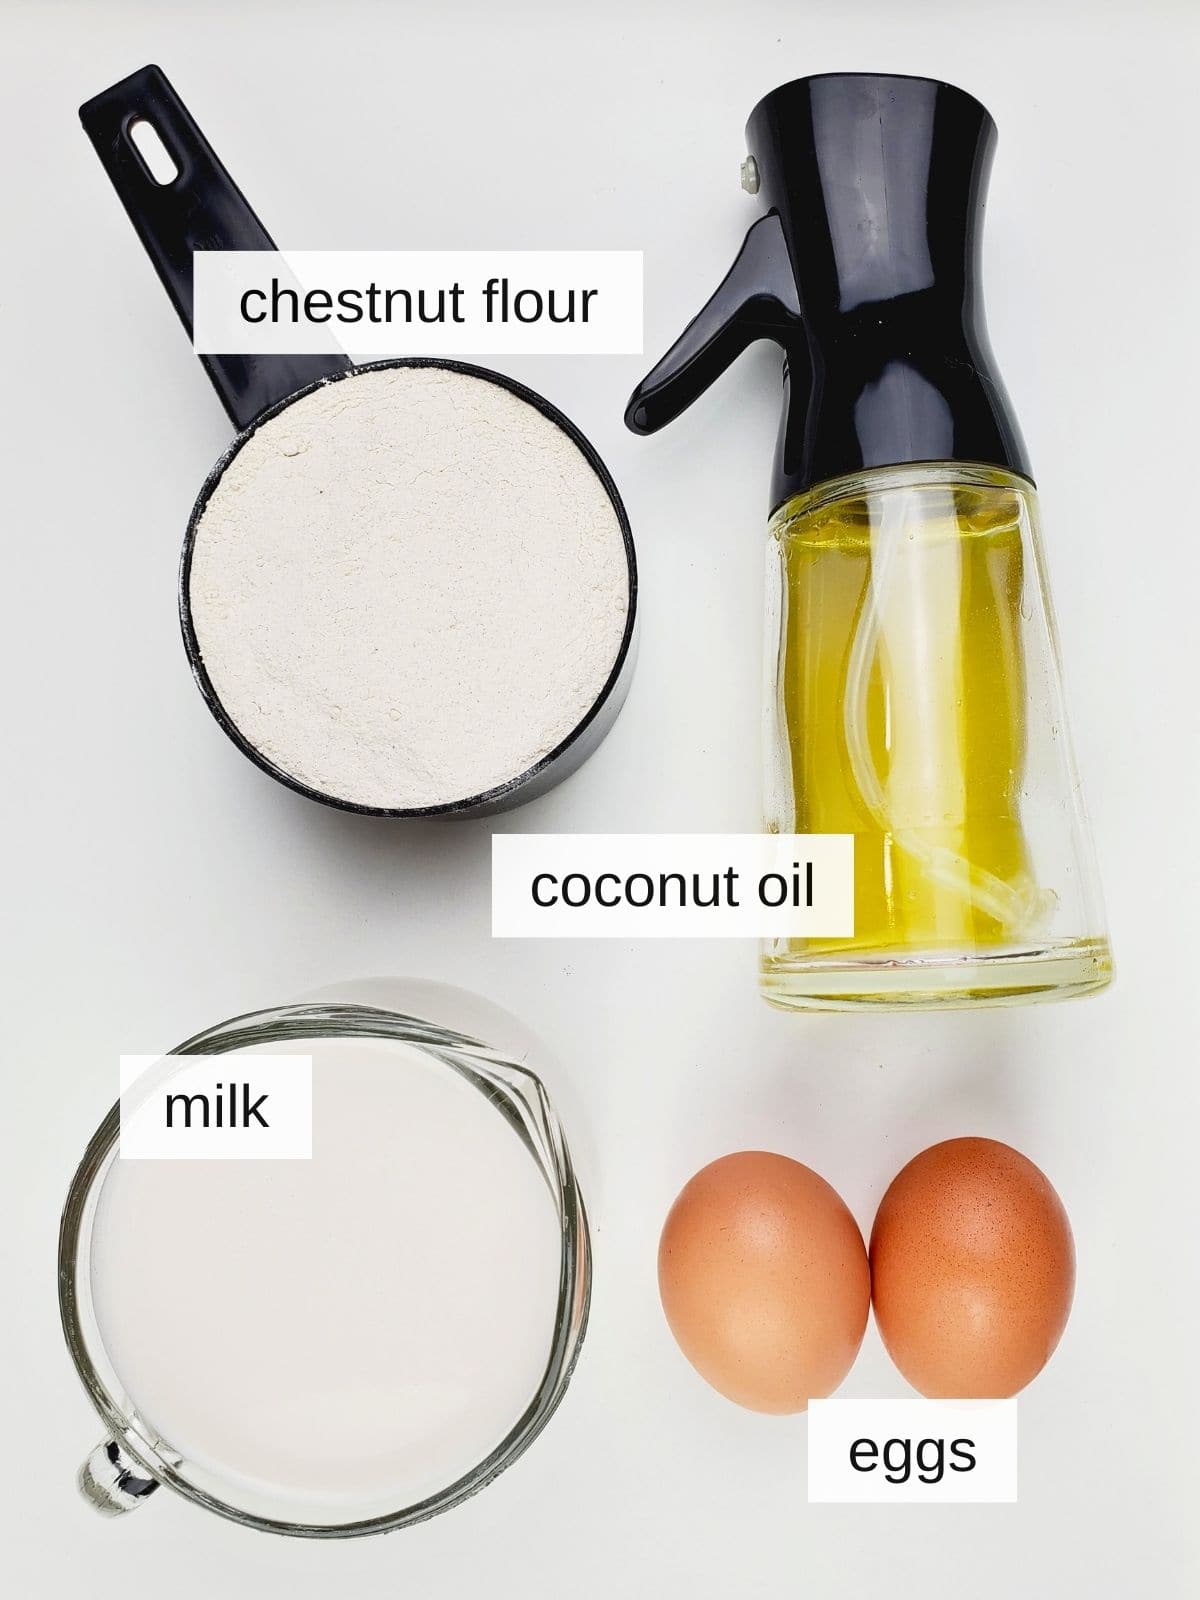
Chestnut Flour: also sometimes called 'sweet chestnut flour,' this underrated low histamine flour has a mild, slightly nutty and sweet undertone, making it very versatile flavor-wise.
Milk: you can use any milk you'd like, but this essentially thins your batter enough to make it crepe-like, so opt for a thinner milk like almond milk oat milk, whole milk, or macadamia nut milk.
Eggs: these help bind the crepes, and you can can omit it, but be sure to add ¼ cup more of your milk of choice.
Oil: this is just for oiling th epan between crepes. You can use any type of oil; I've made these with coconut oil, ghee, butter, and even avocado oil (as pictured).
See recipe card for exact quantities.
🥚 How to Make Chestnut Flour Crepes (Step-by-Step)
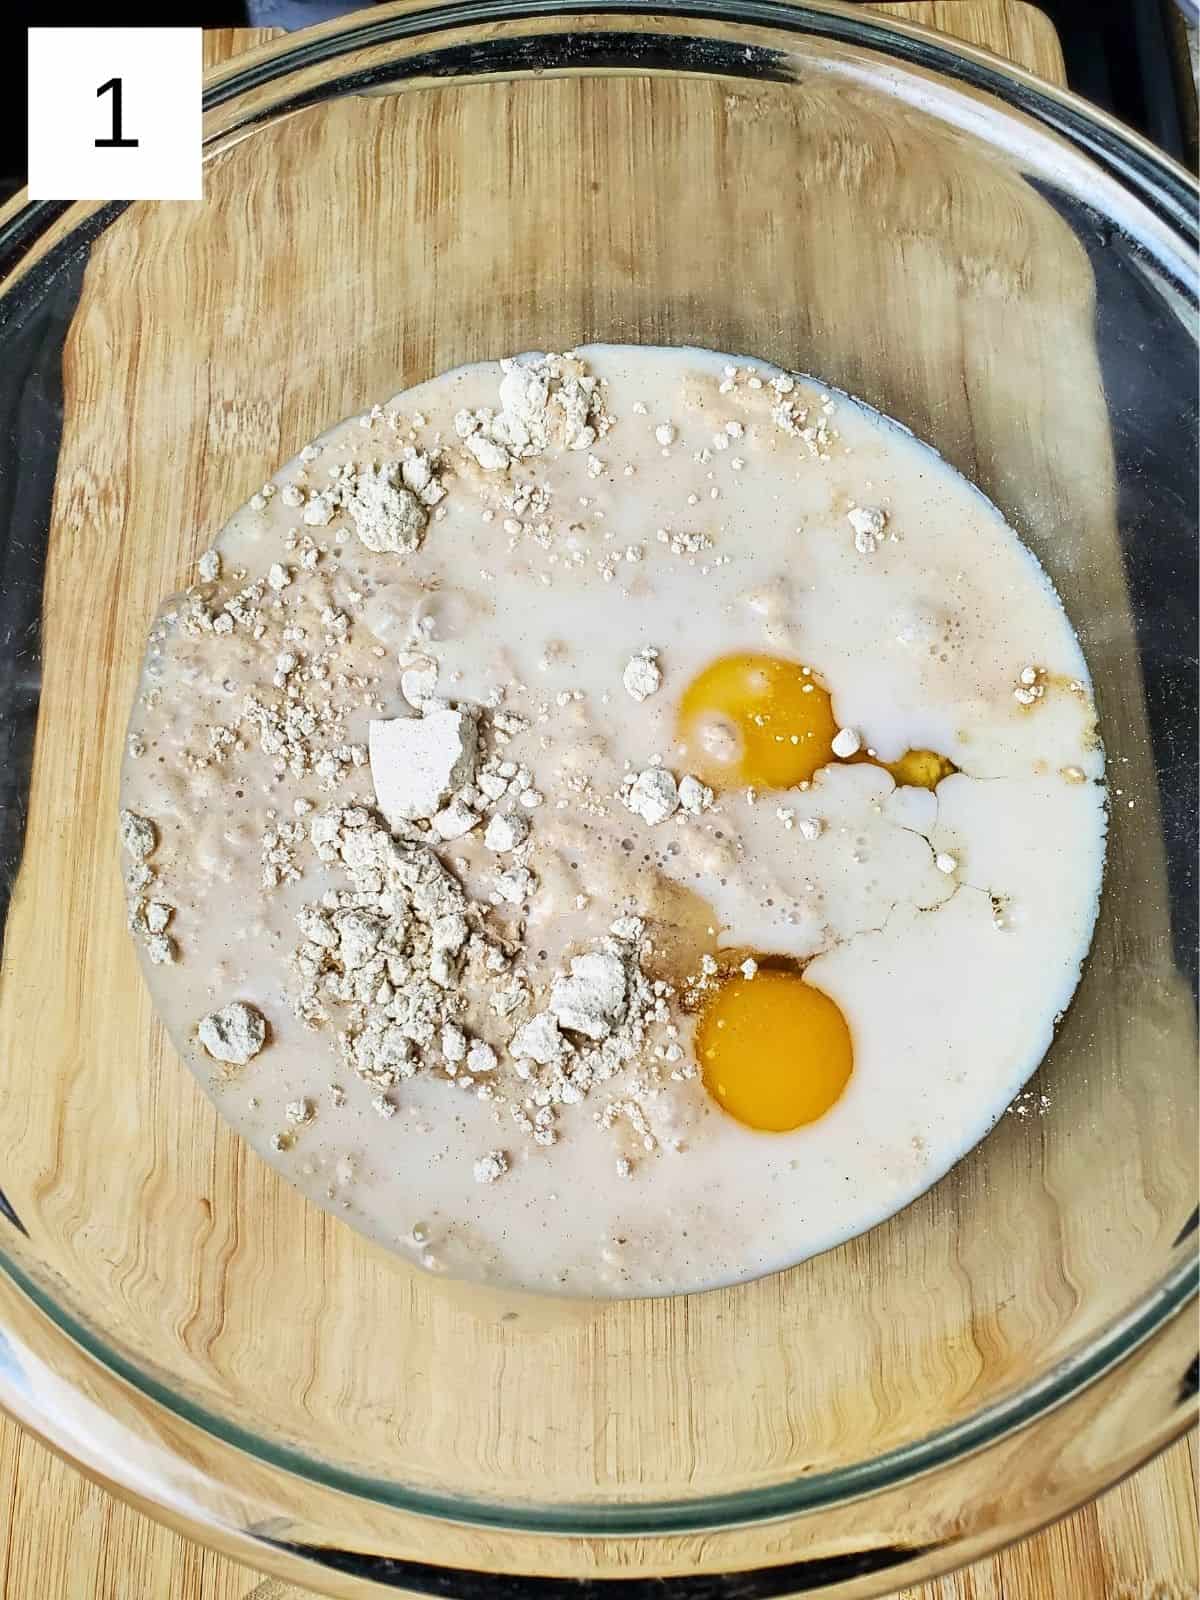
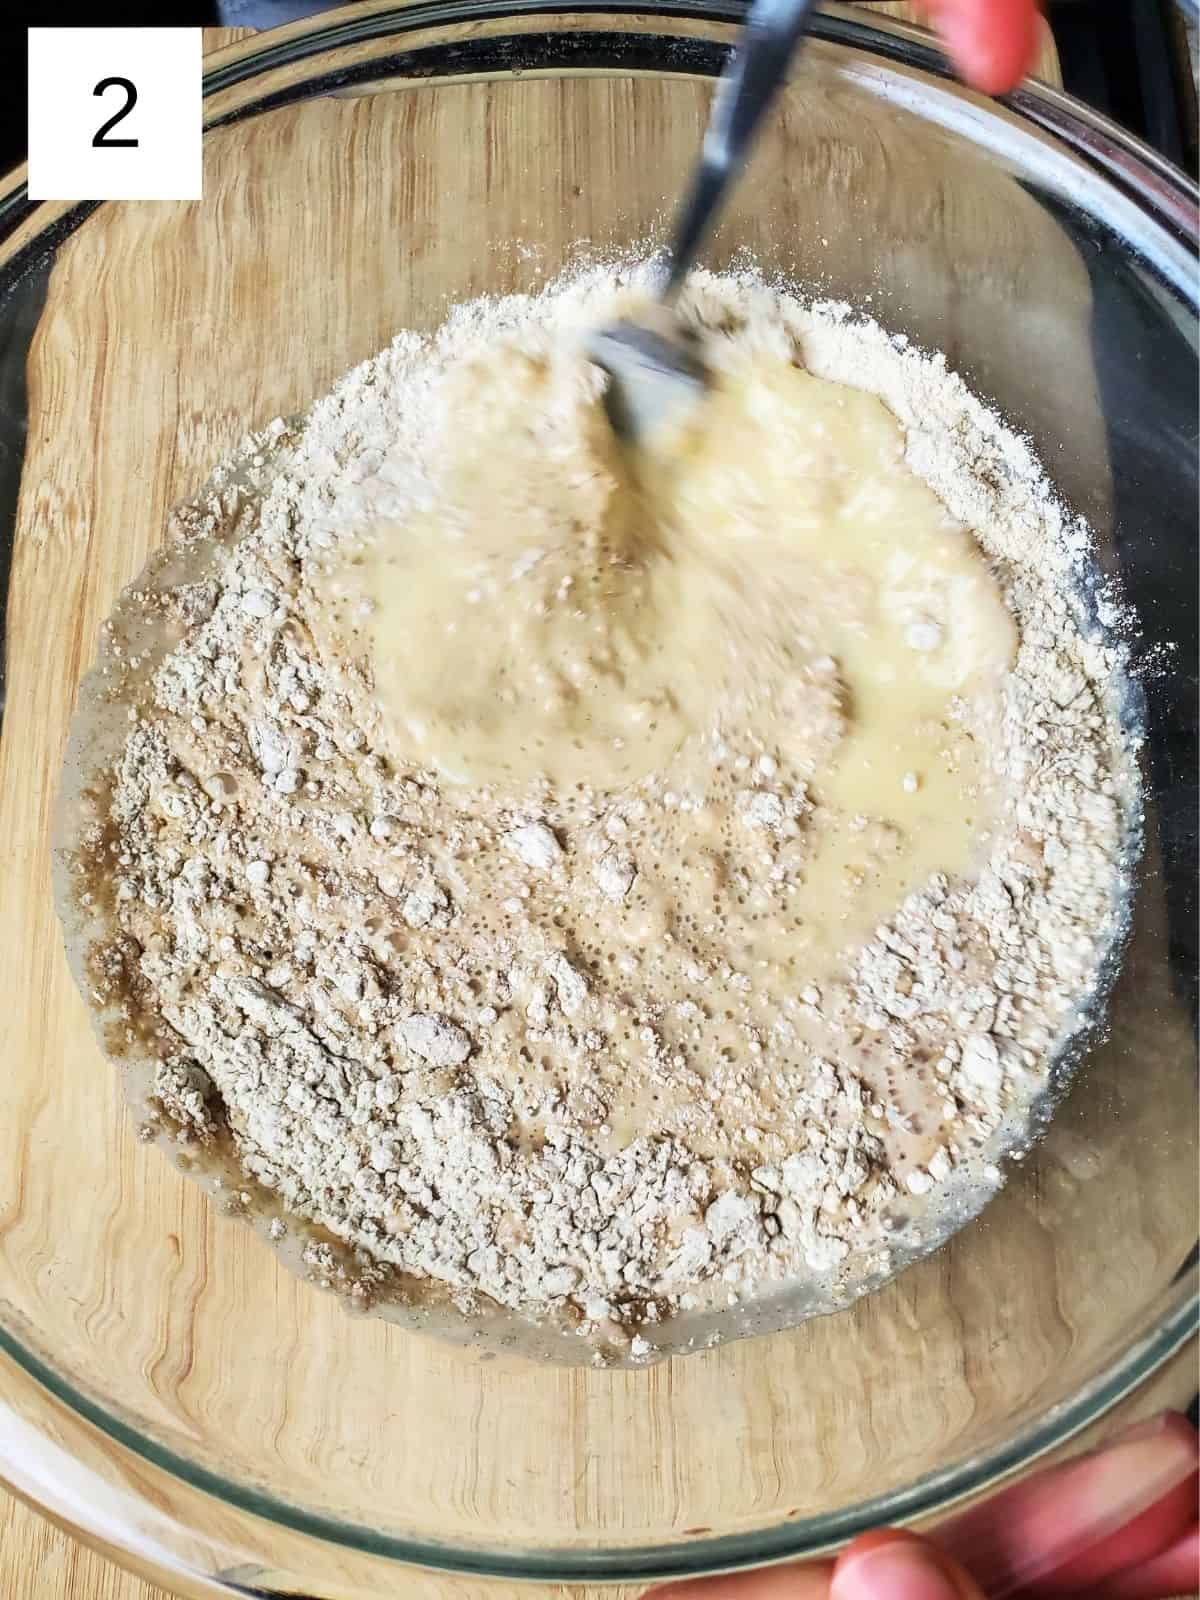
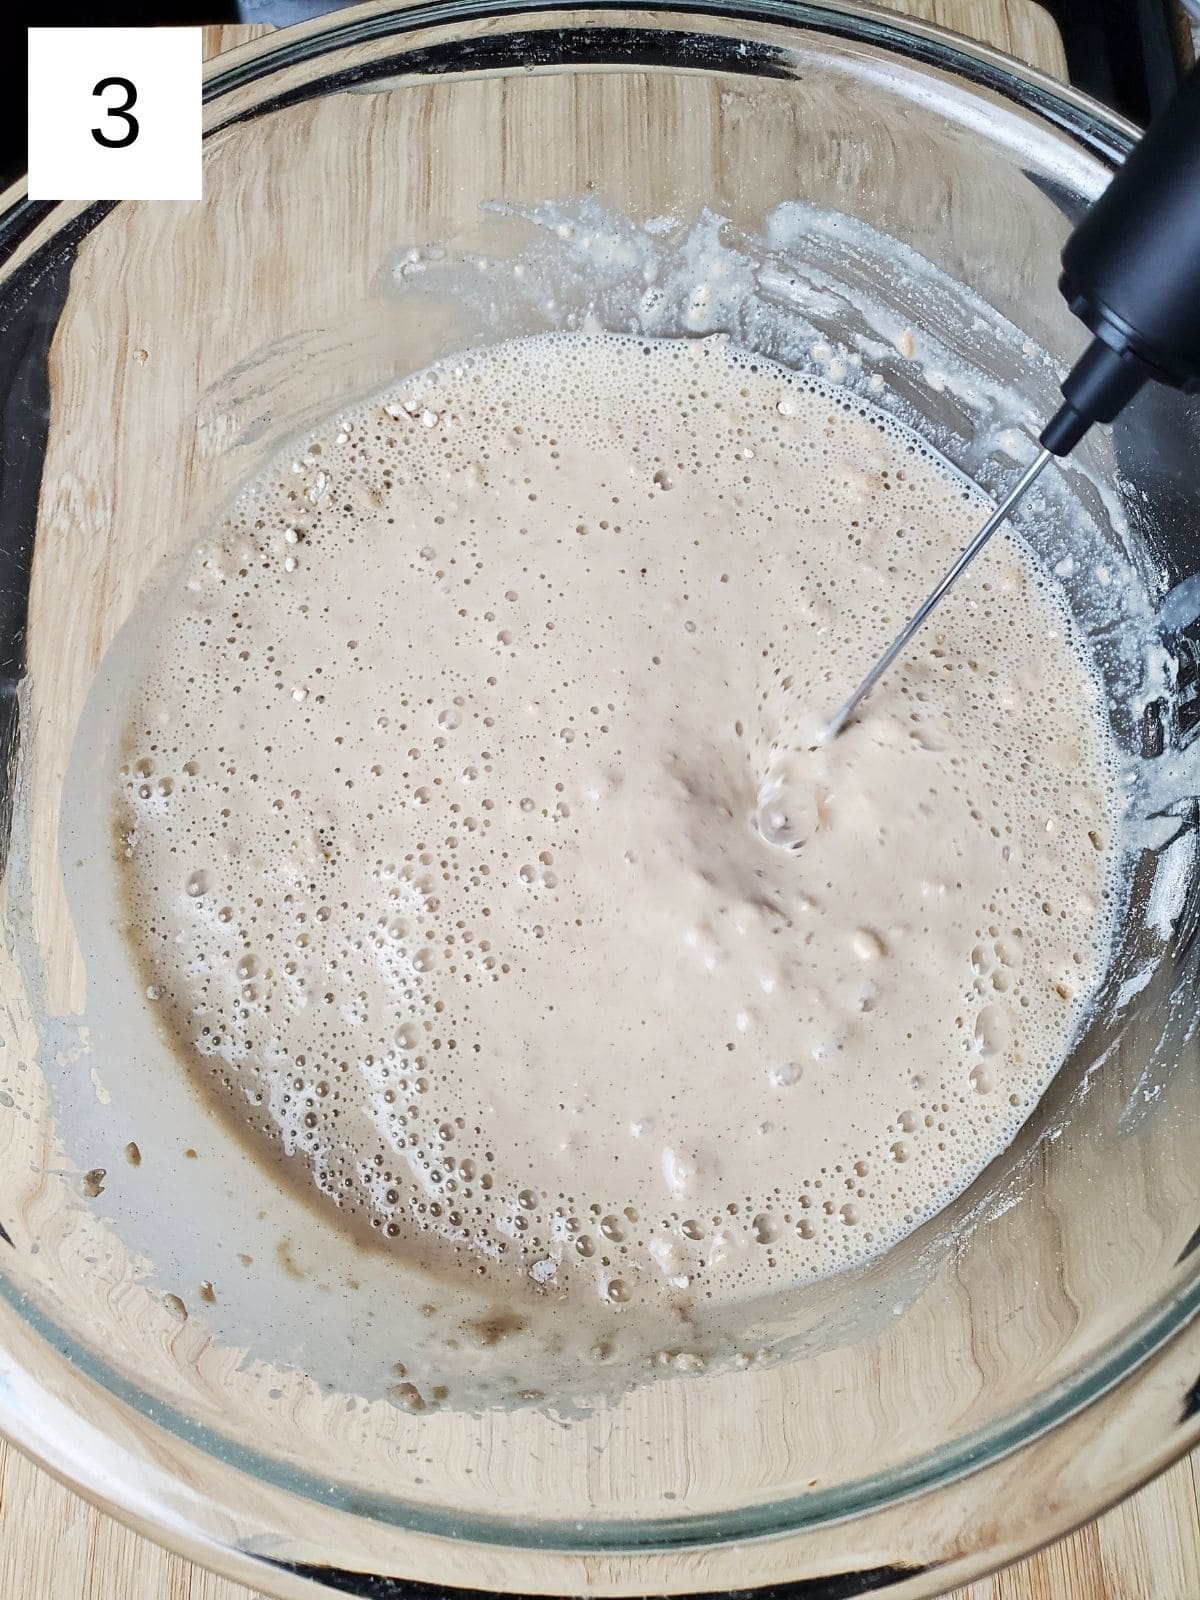
Step 1) Blend together your chestnut flour, milk, salt (if using), and eggs in a large bowl until fully smooth (about 1 minute). If you don't have a hand mixer, you can also use a fork and then a powerful milk frother to blend everything thoroughly (images 1-3).
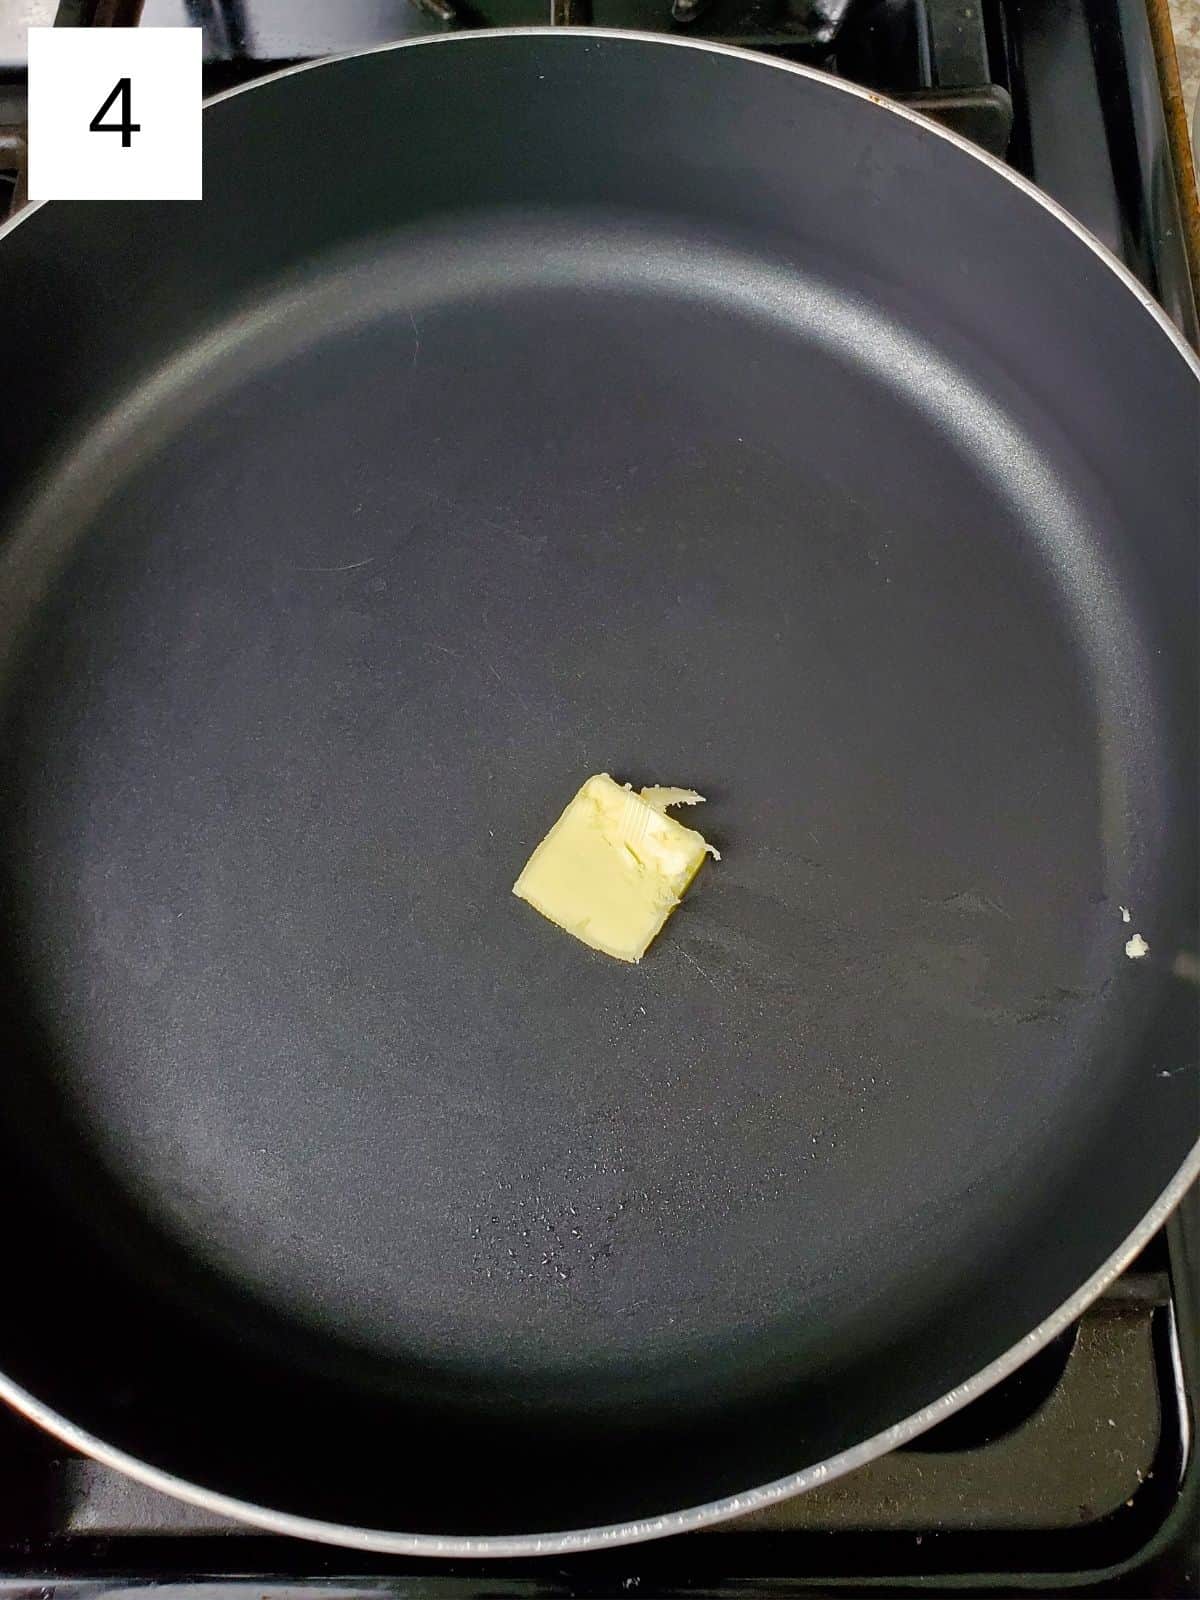
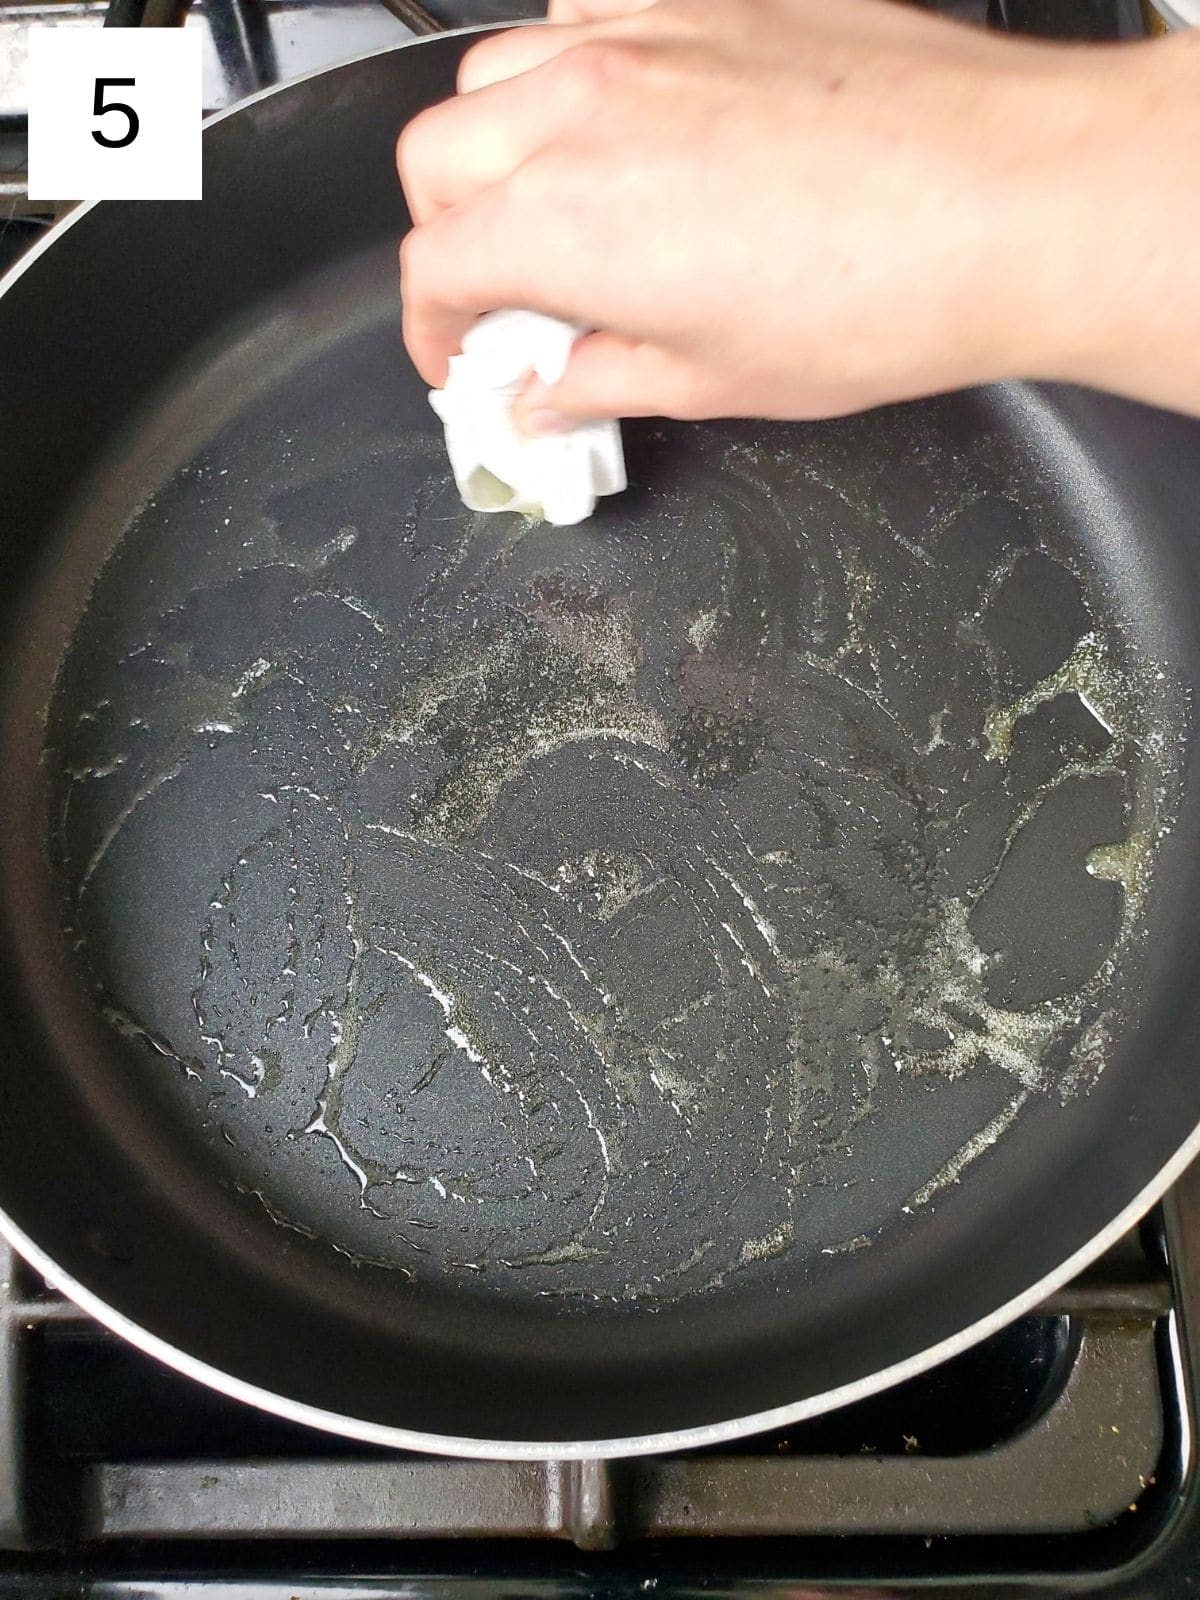
Step 2) Take out a large, ideally flat pan and put it over your largest burner (don't use a cast iron pan). Turn the heat on medium-low and use a balled-up paper towel to smear enough oil onto your pan to coat it thoroughly, and let it heat for one minute (images 4 & 5).
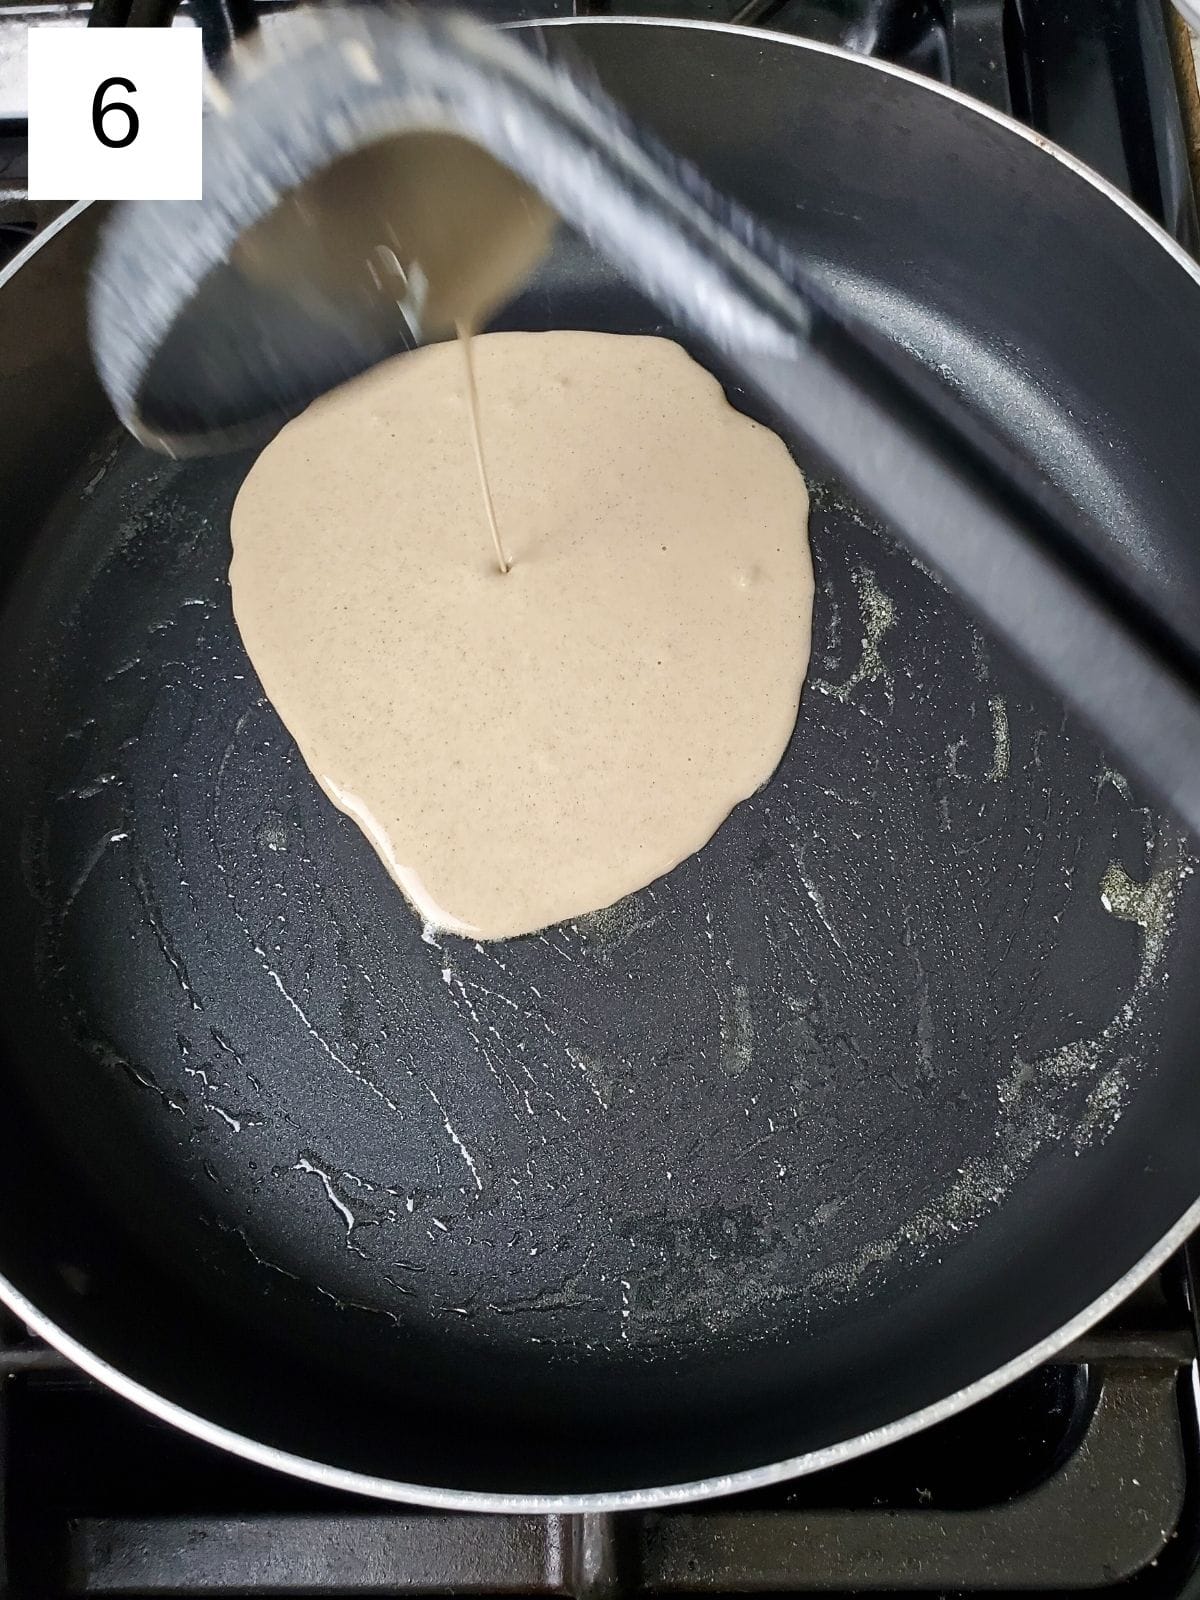
Step 3) Once the pan is hot, hold the bowl of batter in your non-dominant hand, and using your dominant hand, ladle about ¼ cup of batter into the center of the pan, making a circle (images 6 & 7). If your batter turns out thin enough, you can also try to make crepes the traditional way. This involves immediately tilting the pan in a circular motion to spread the batter in a thin circle; the thinner, the better, but don't leave it patchy.
Not all attempts will be winners, but you don't need a perfect circle to make a great-tasting chestnut crepe. If your fourth try is still as bad as your first, try pulling your pan off the heat and then adding more oil, letting it cool for a minute or so, and then adding the batter before the swish and flick.
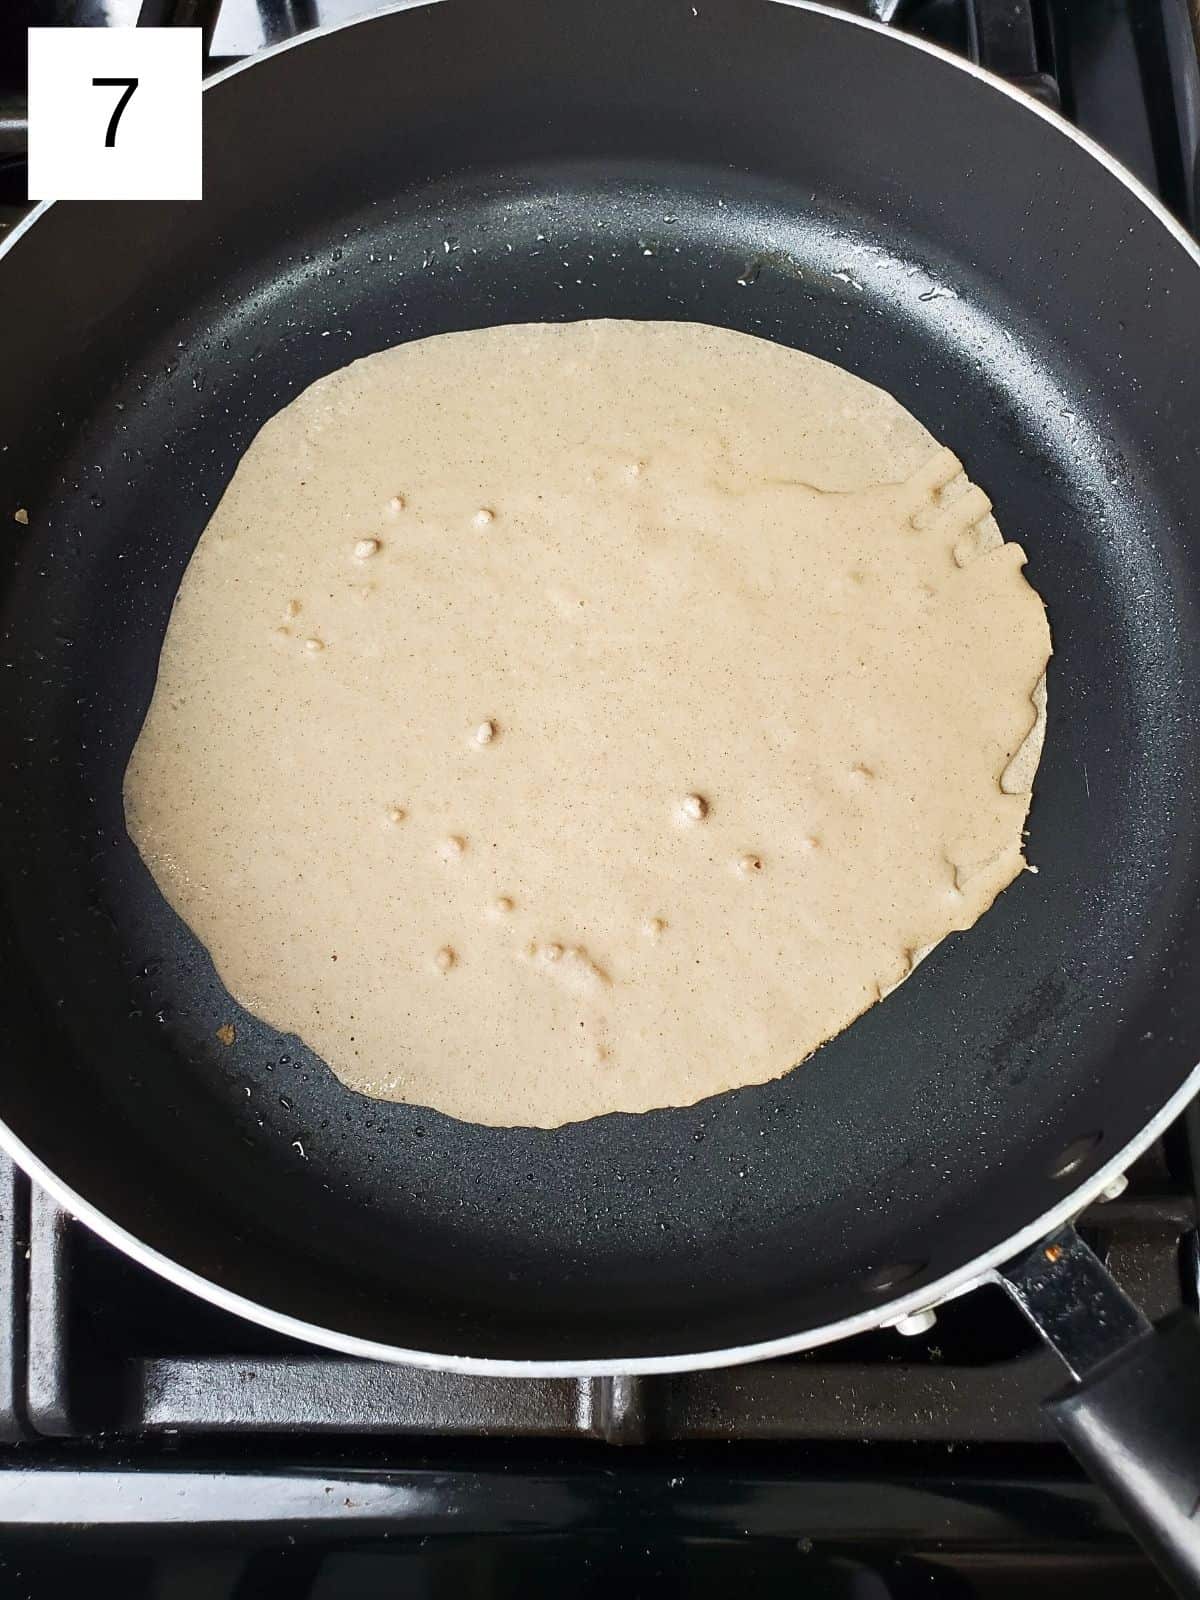
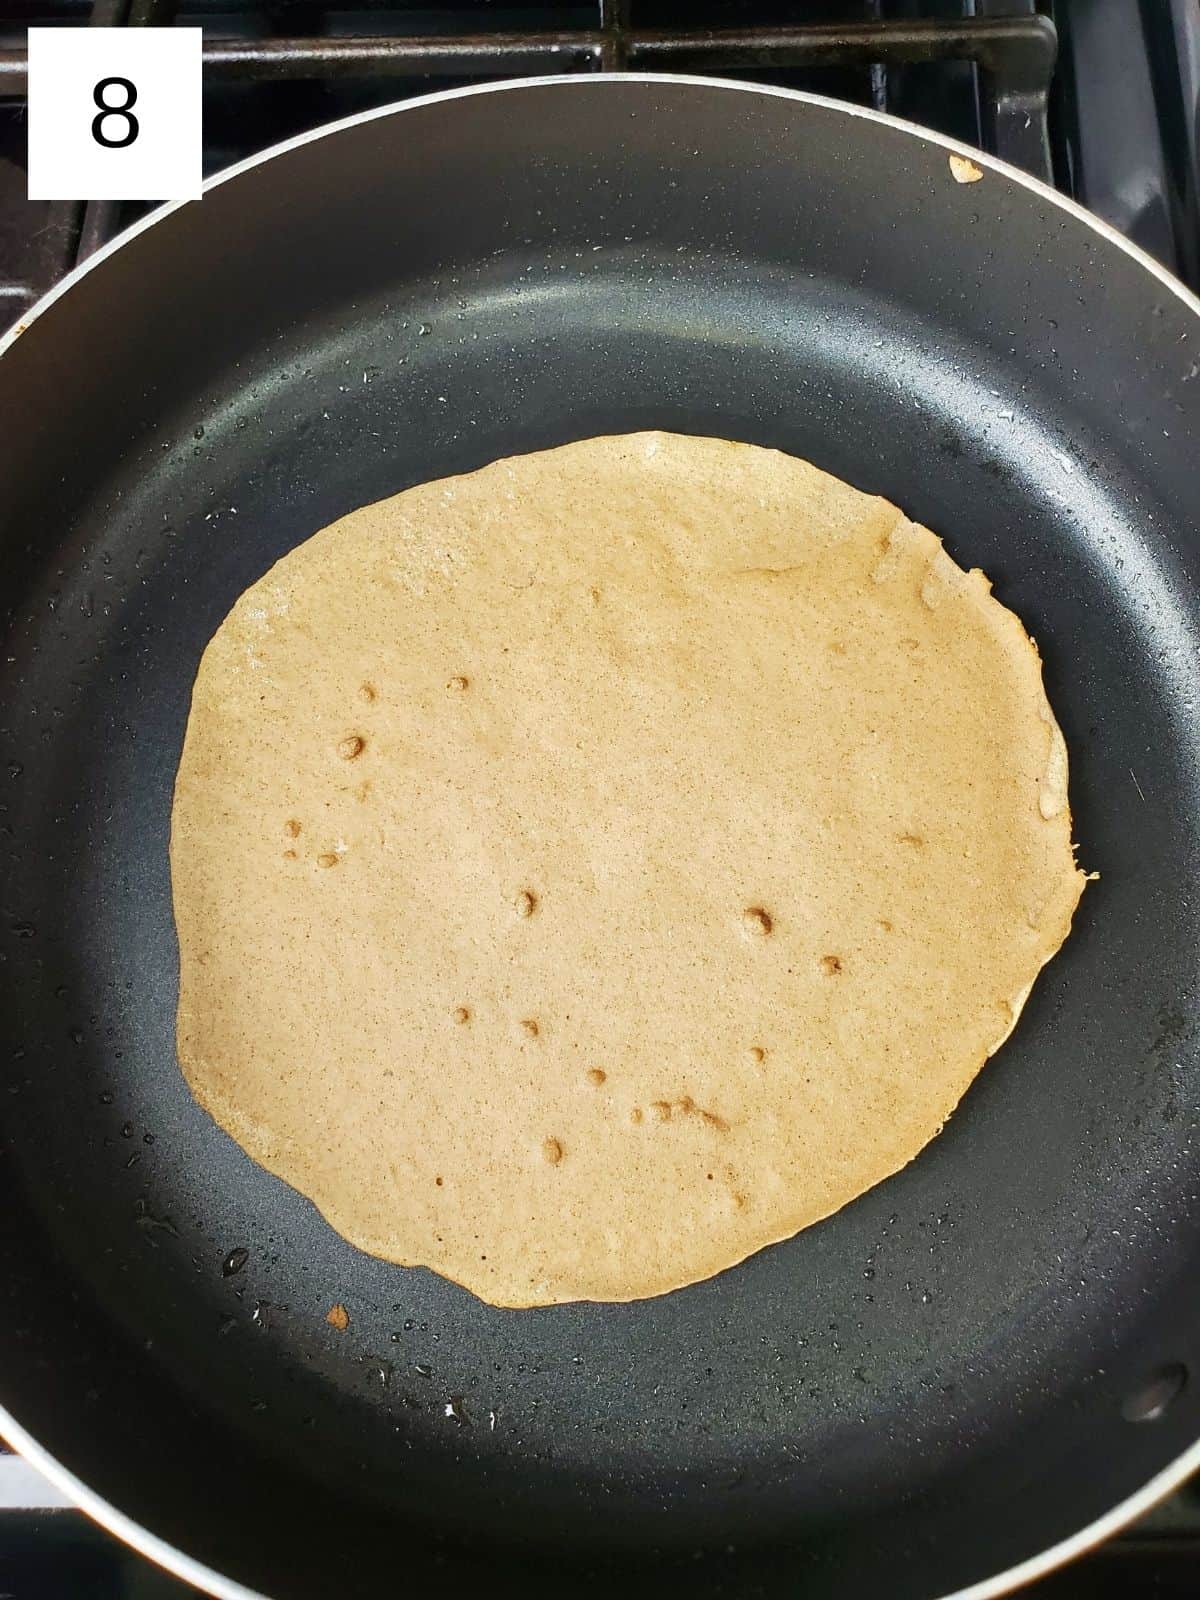
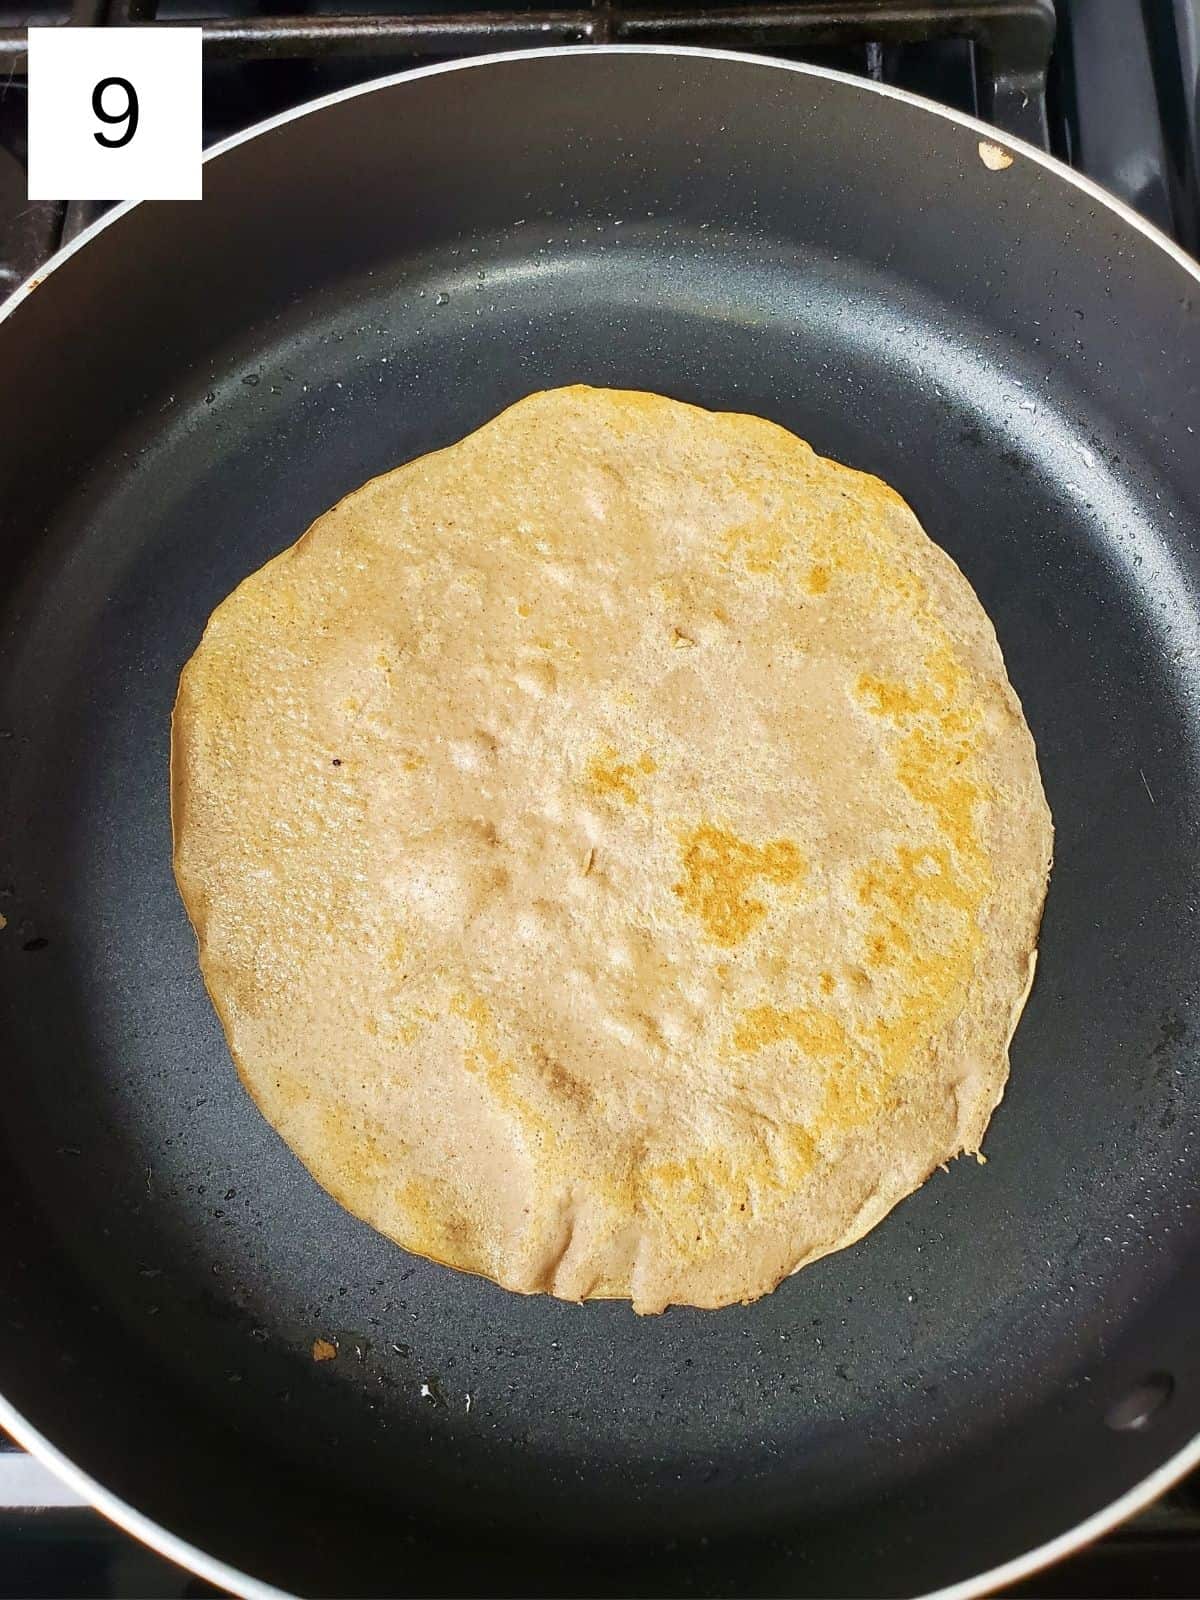
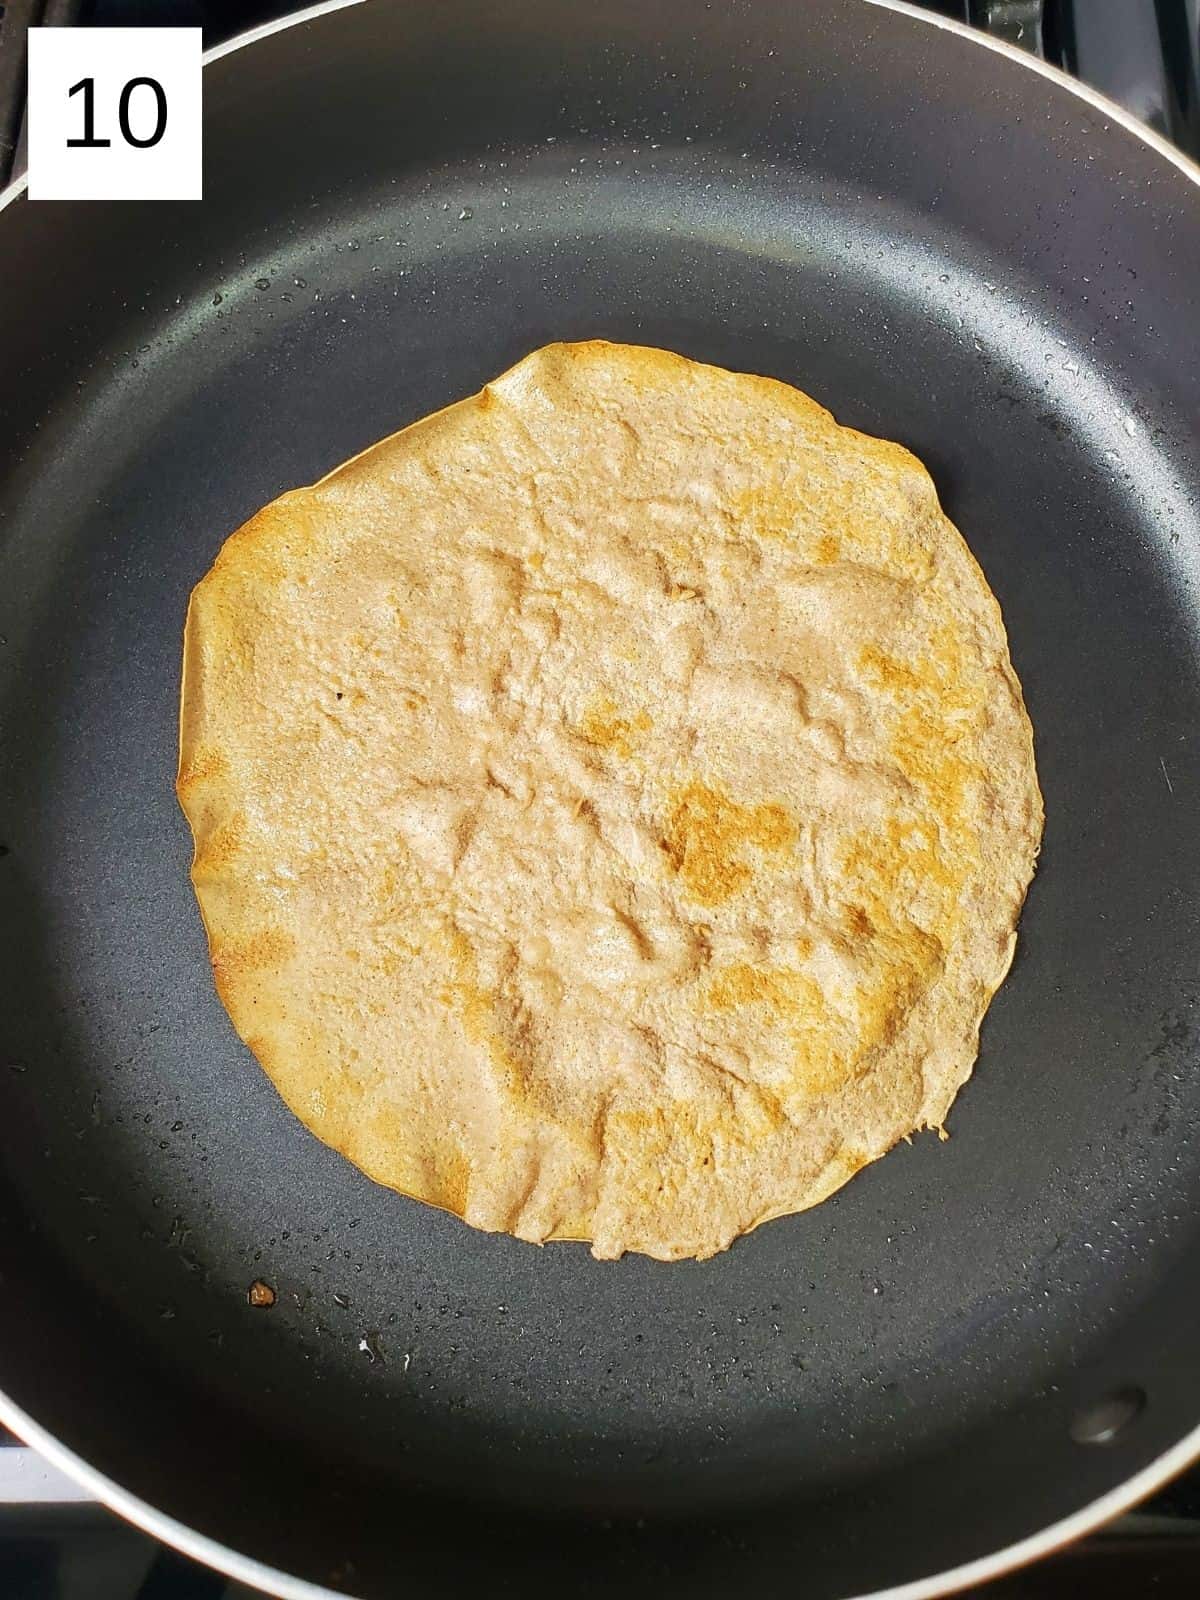
Step 4) Either way, cook the crepe for 2-3 minutes, then flip it as soon as the bottom is set. You'll know it's set once the edges begin to turn golden and the top is no longer glossy (images 8-10). Use your spatula to lift the edges of the crepe, doing this slowly to make sure it hasn't stuck to the pan.
Grab your biggest spatula and very gently work it under the crepe, gingerly using your fingers to flip it over quickly. Cook the other side for another minute or until just barely done. Don't overcook it or it will dry out.
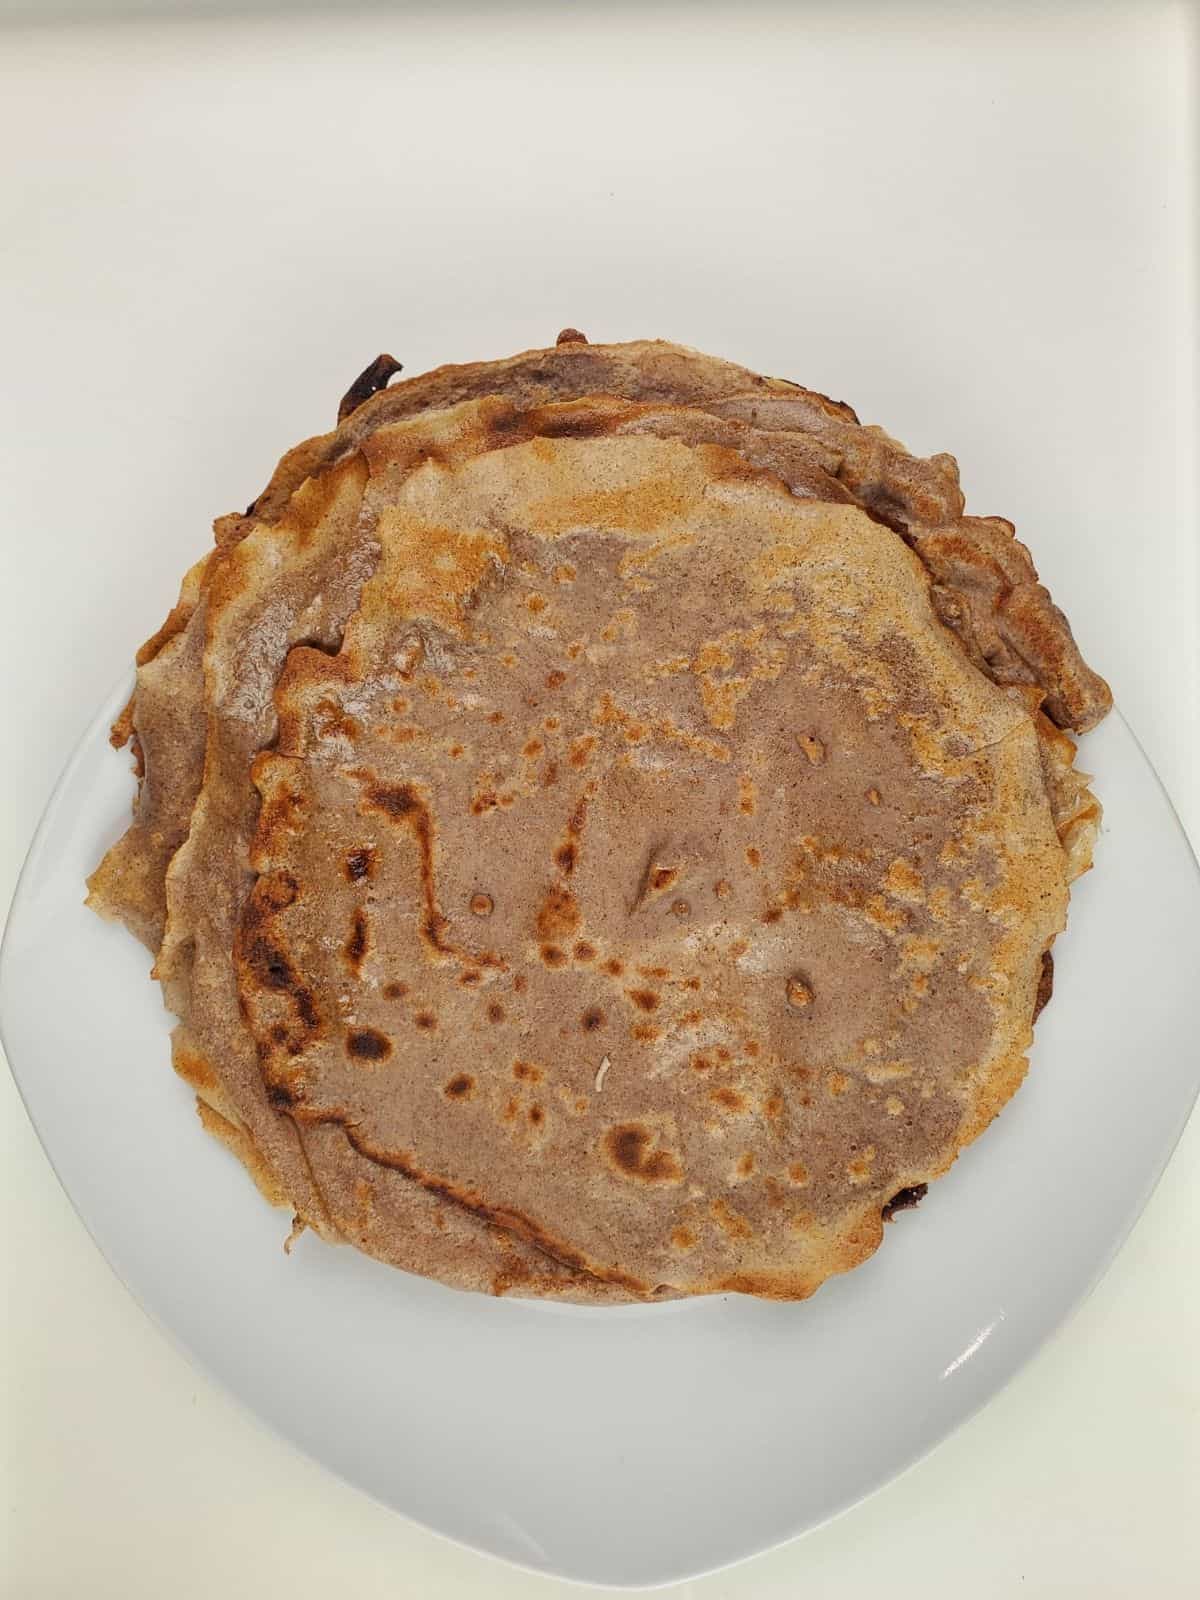
Step 5) Butter the pan again and repeat the process for each successive crepe, remembering to keep buttering the pan in between or the crepes will stick. Add any fillings to your crepes when they're hot, then fold them, flip them over, add final toppings, and enjoy.
✔️ Fixing Common Crepe Mistakes
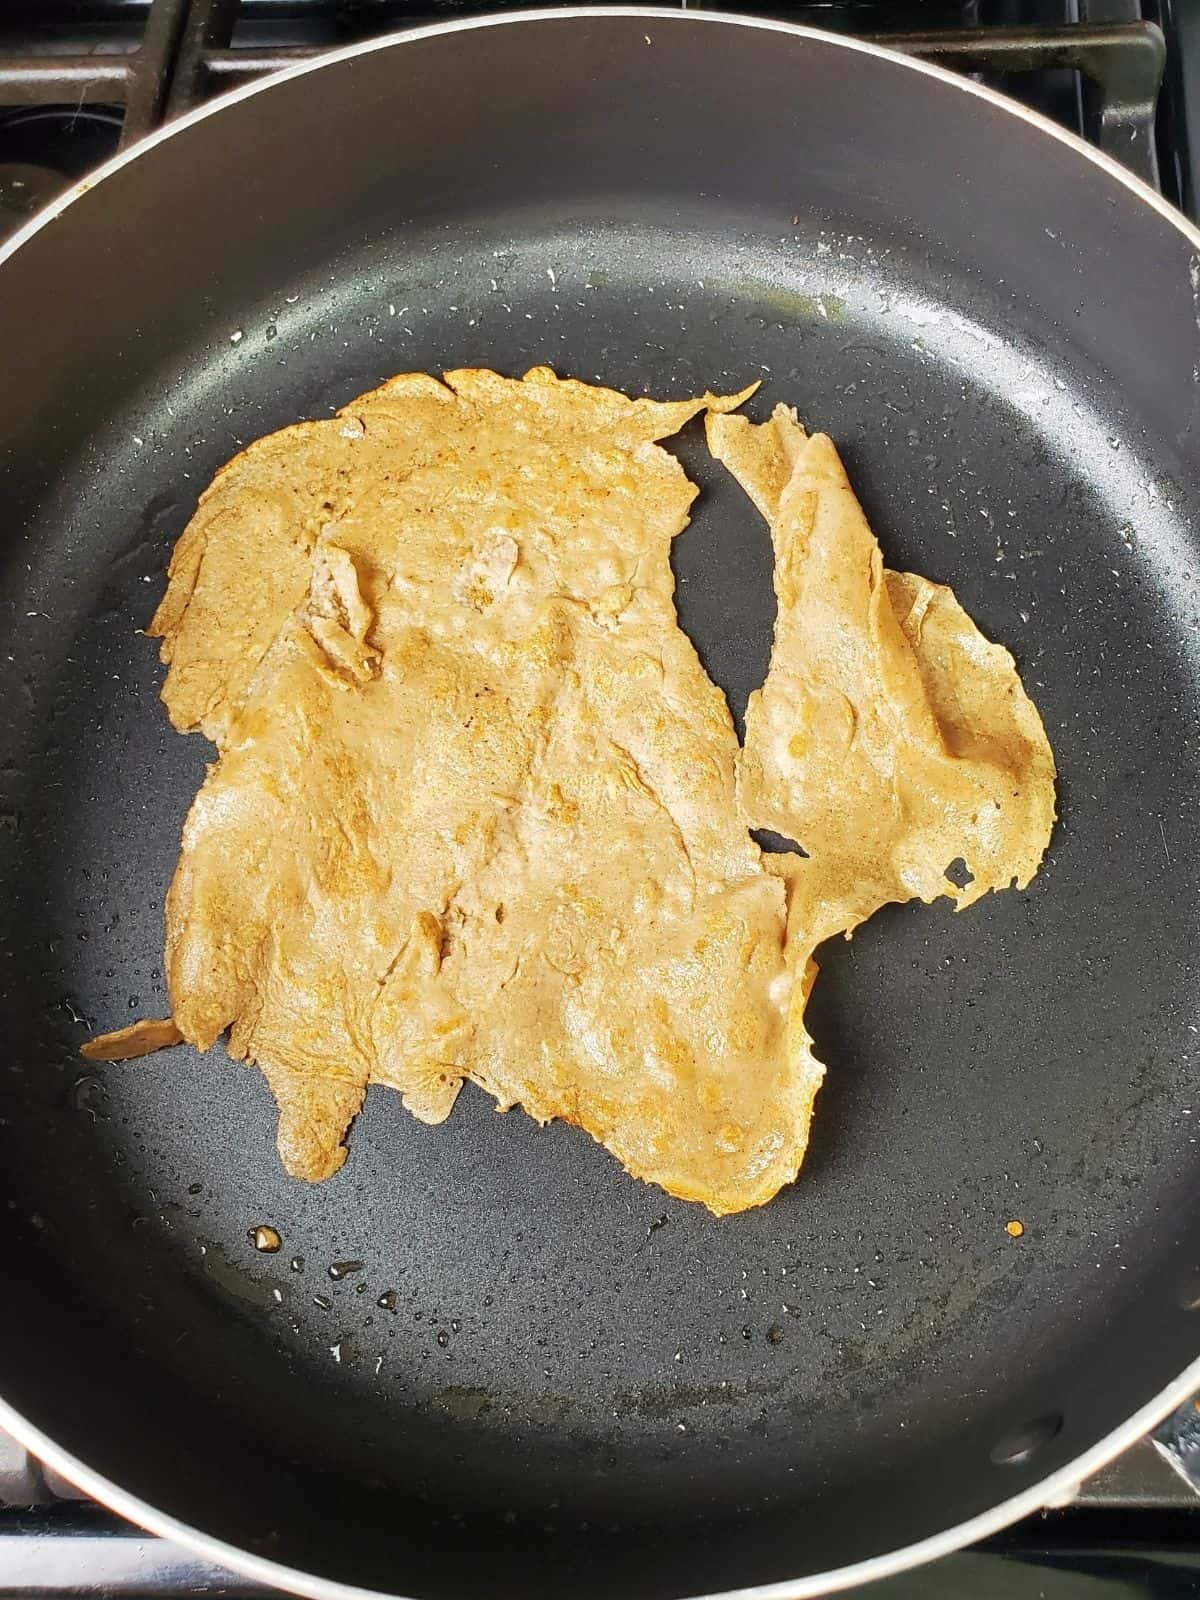
I'm not going to lie: it takes practice to make great crepes. Even with the perfect crepe batter, it's still going to take many pours, twists, and flips to consistently make thin, circular, even crepes at home. But below are a few tips for the most common crepes mistakes I've experienced.
#1) Uneven Batter Spread: generally this happens because your pan is too hot or your batter is too thick; if you're cooking on low heat and this is still happening, try adding 1-2 tablespoons more milk to the batter and incorporating fully, ensuring you don't add more than ¼ cup of batter to the pan at a time.
#2) Crepes Falling Apart: this is most ocmmonly because you're not waiting long enough to flip the crepes, because even without eggs or an egg substitute, chestnut flour crepe batter keeps together well once cooked. Try leaving the crepe on the heat for 30-45 seconds longer.
#3) Burning Crepes: usually the pan is too hot if the crepes are burning, but sometimes this is also an indication that your batter is too thick, and the density of the crepes can't cook even on low heat. If you're sure the heat isn't too high, try adding milk to the batter 1 tablespoon at a time until it thins out.
Over the years, I've found that pulling your pan completely off the heat and then adding more oil, letting the pan cool & the oil heat for a minute or so, and then adding the batter makes it easier to make circular crepes. This also tends to solve almost every other problem you may run into.
Check out this time-tested guide to making crepes at home for even more tips. And there's no shame in a few ugly crepes; it just means you learned something for making future crepes.
🥥 Variations
- Egg-Free Necci: Omit the eggs and add an extra ¼ cup milk for naturally vegan-style crêpes with a softer texture.
- Dairy-Free Version: Use oat, almond, or coconut milk and cook with coconut oil instead of butter.
- Sweet Breakfast Crêpes: Add a pinch of vanilla powder and serve with fresh pear slices, mango, or a drizzle of maple syrup (if tolerated).
- Savory Necci: Skip sweet toppings and fill with sautéed zucchini, kale, or a spoon of low histamine pesto or garlic herb sauce.
- Extra-Thin Crêpes: Add 1–2 tablespoons additional milk to the batter for lighter, more delicate crêpes.
- Salt-Free Option: Leave out the salt for sensitive palates or sweet applications.
🥘 Freezing and Storage
Honestly, I prefer to freeze any leftover crepes, especially if I can make a huge batch, because they reheat really well but also cook up really quickly, so regardless of your preferences the recipe can easily be halved or doubled for varying crowd sizes.
And if you know you absolutely must freeze the rest after making them, place a piece of parchment paper between each one or really grease the pan well so that they won't stick together in the freezer. You can either reheat them individually on the stove top for 2-3 minutes or microwave for 20-30 seconds at the highest temperature (the time depends on the number of crepes you're reheating).
👨🏻🍳 Expert Notes & Tips
Eggs: you can omit the eggs or swap them for two flax eggs, but if you leave them out completely you'll need to add another ¼ cup of milk to the batter, and your crepes will be much flatter & crispier but less thick.
Large Crepes: to make crepes bigger than the 8" crepes here, make sure you use a much larger flat pan, and consider making eggless chestnut flour crepes so that the batter is thinner and spreads more quickly. Try cooking the first two on low heat for a minute or two longer than called-for so you can monitor how well these larger crepes cook.
🍒 Crepes Filling Ideas
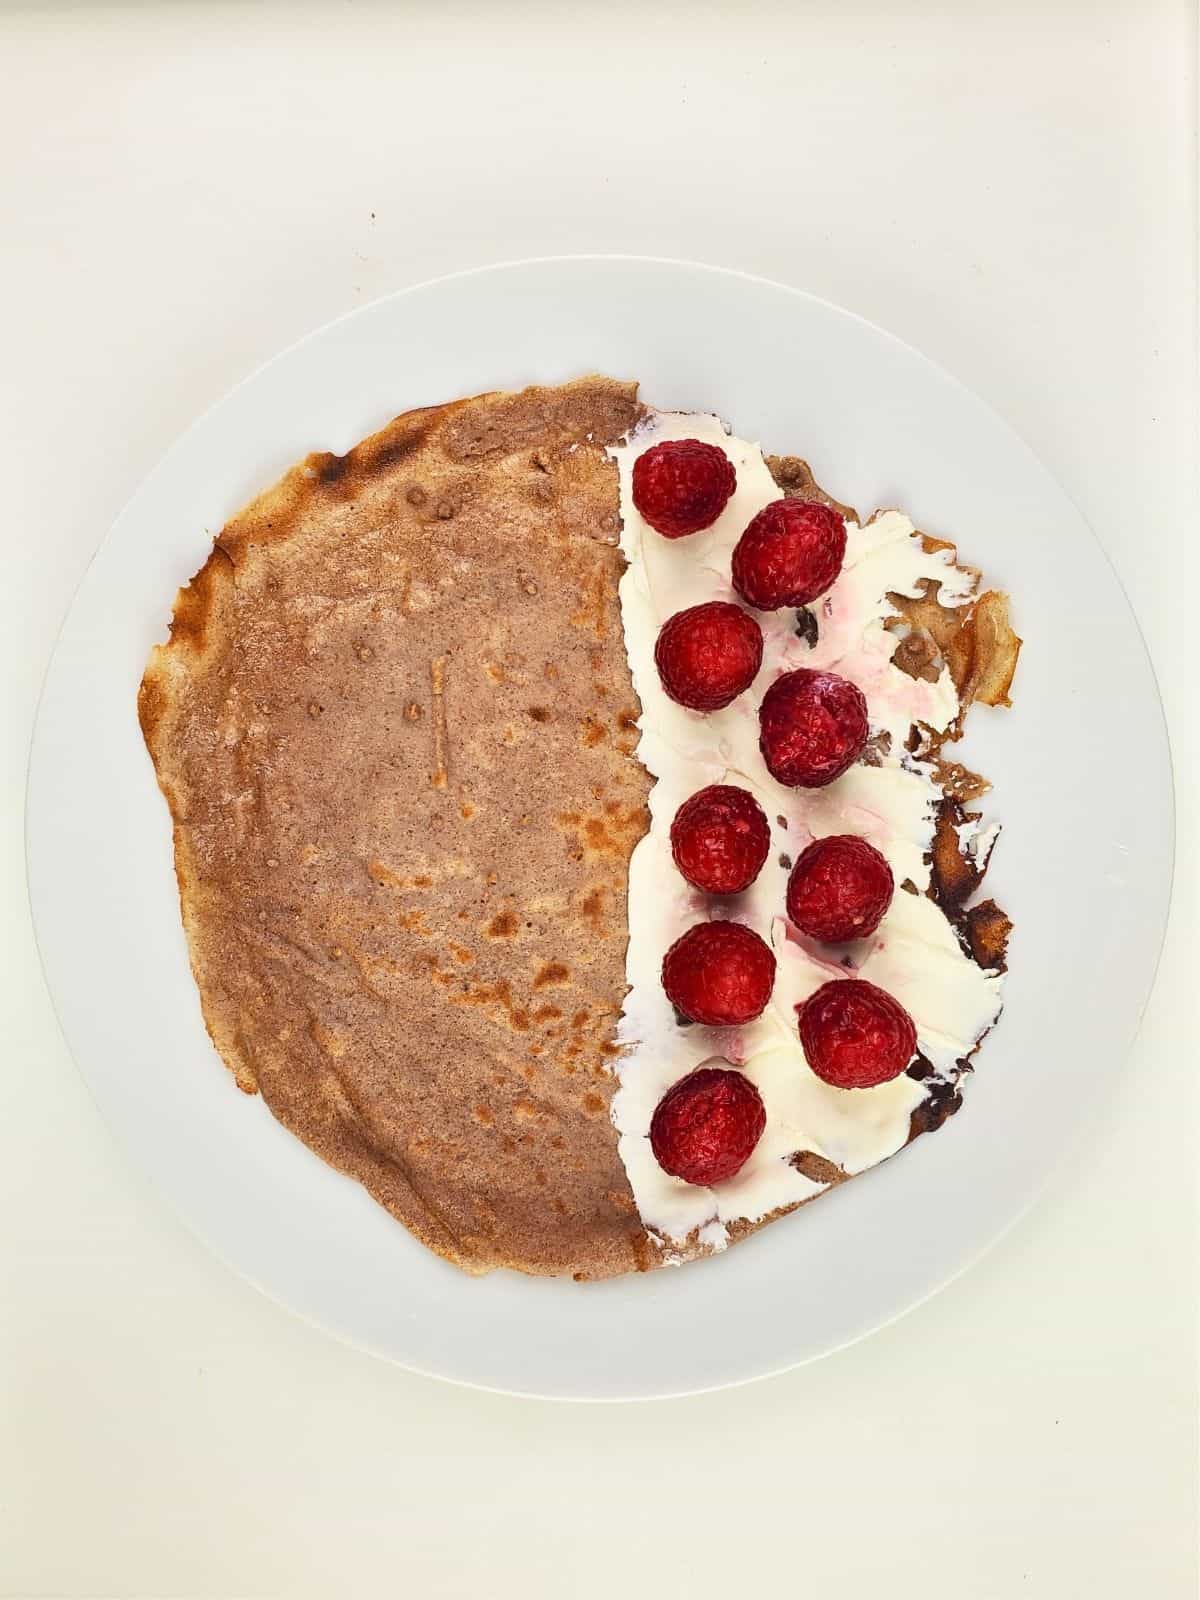
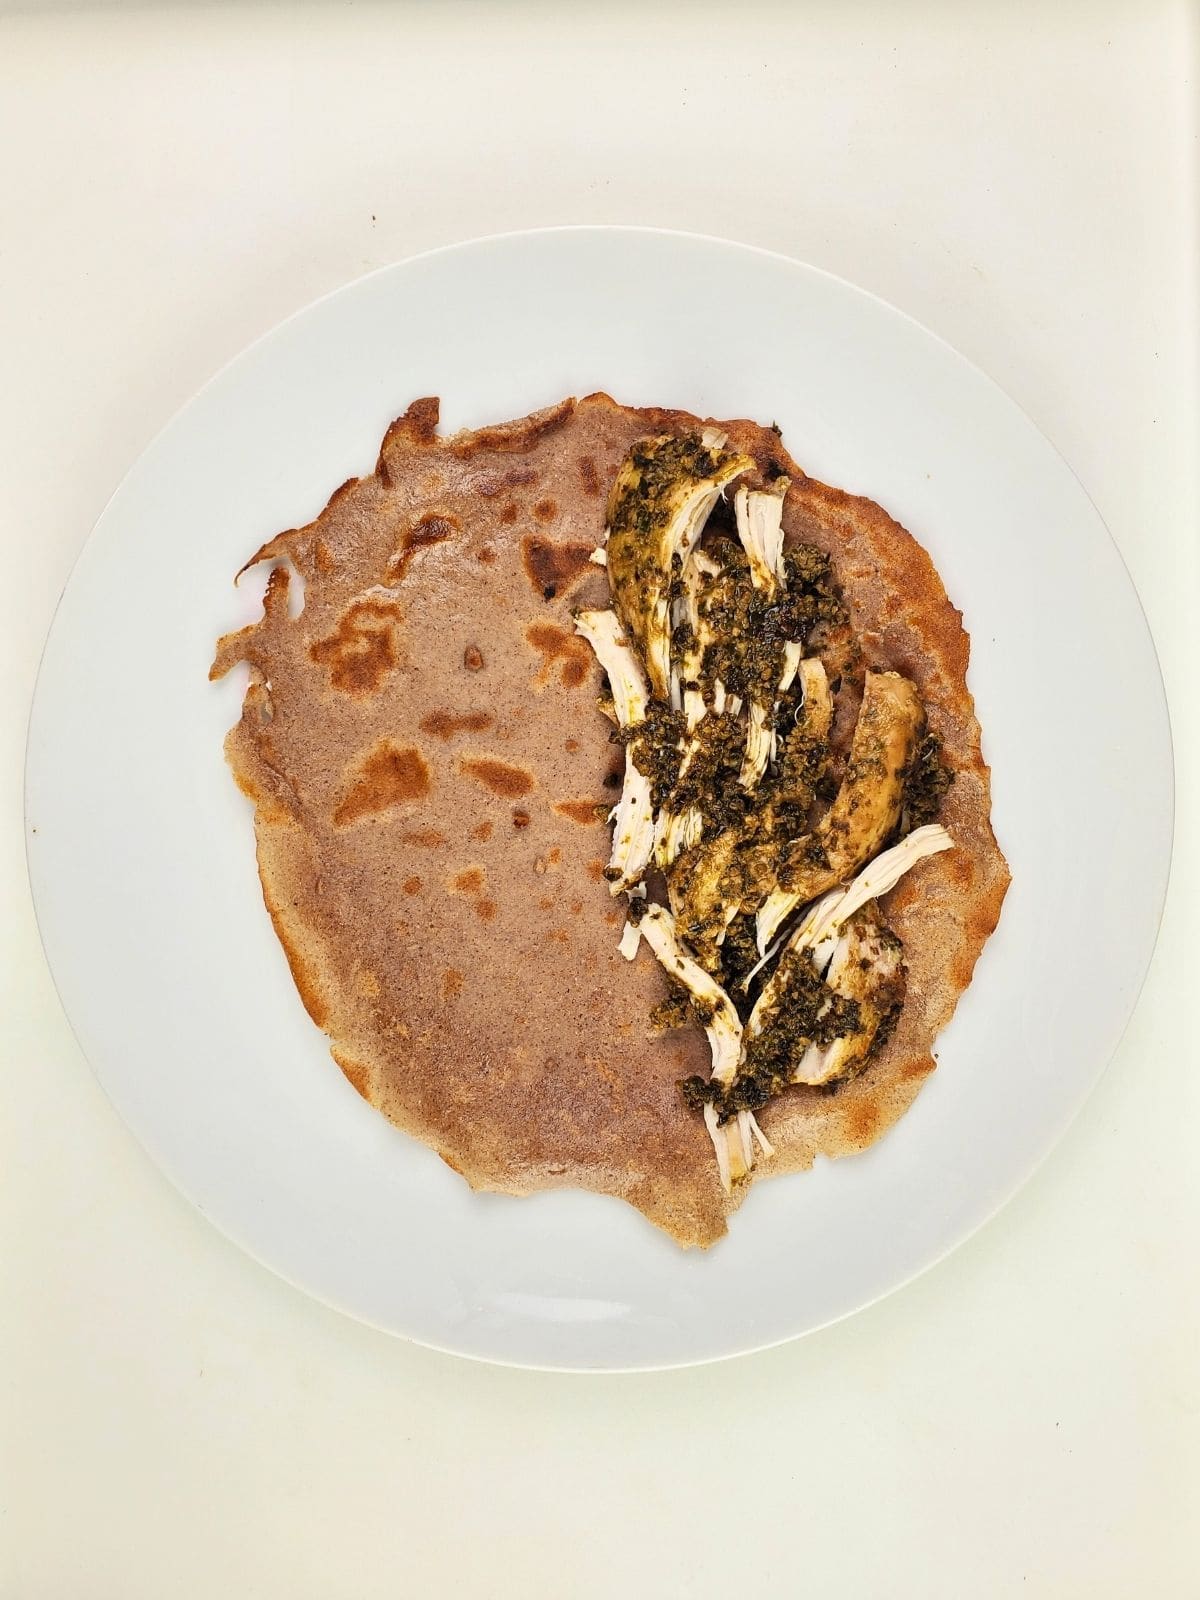
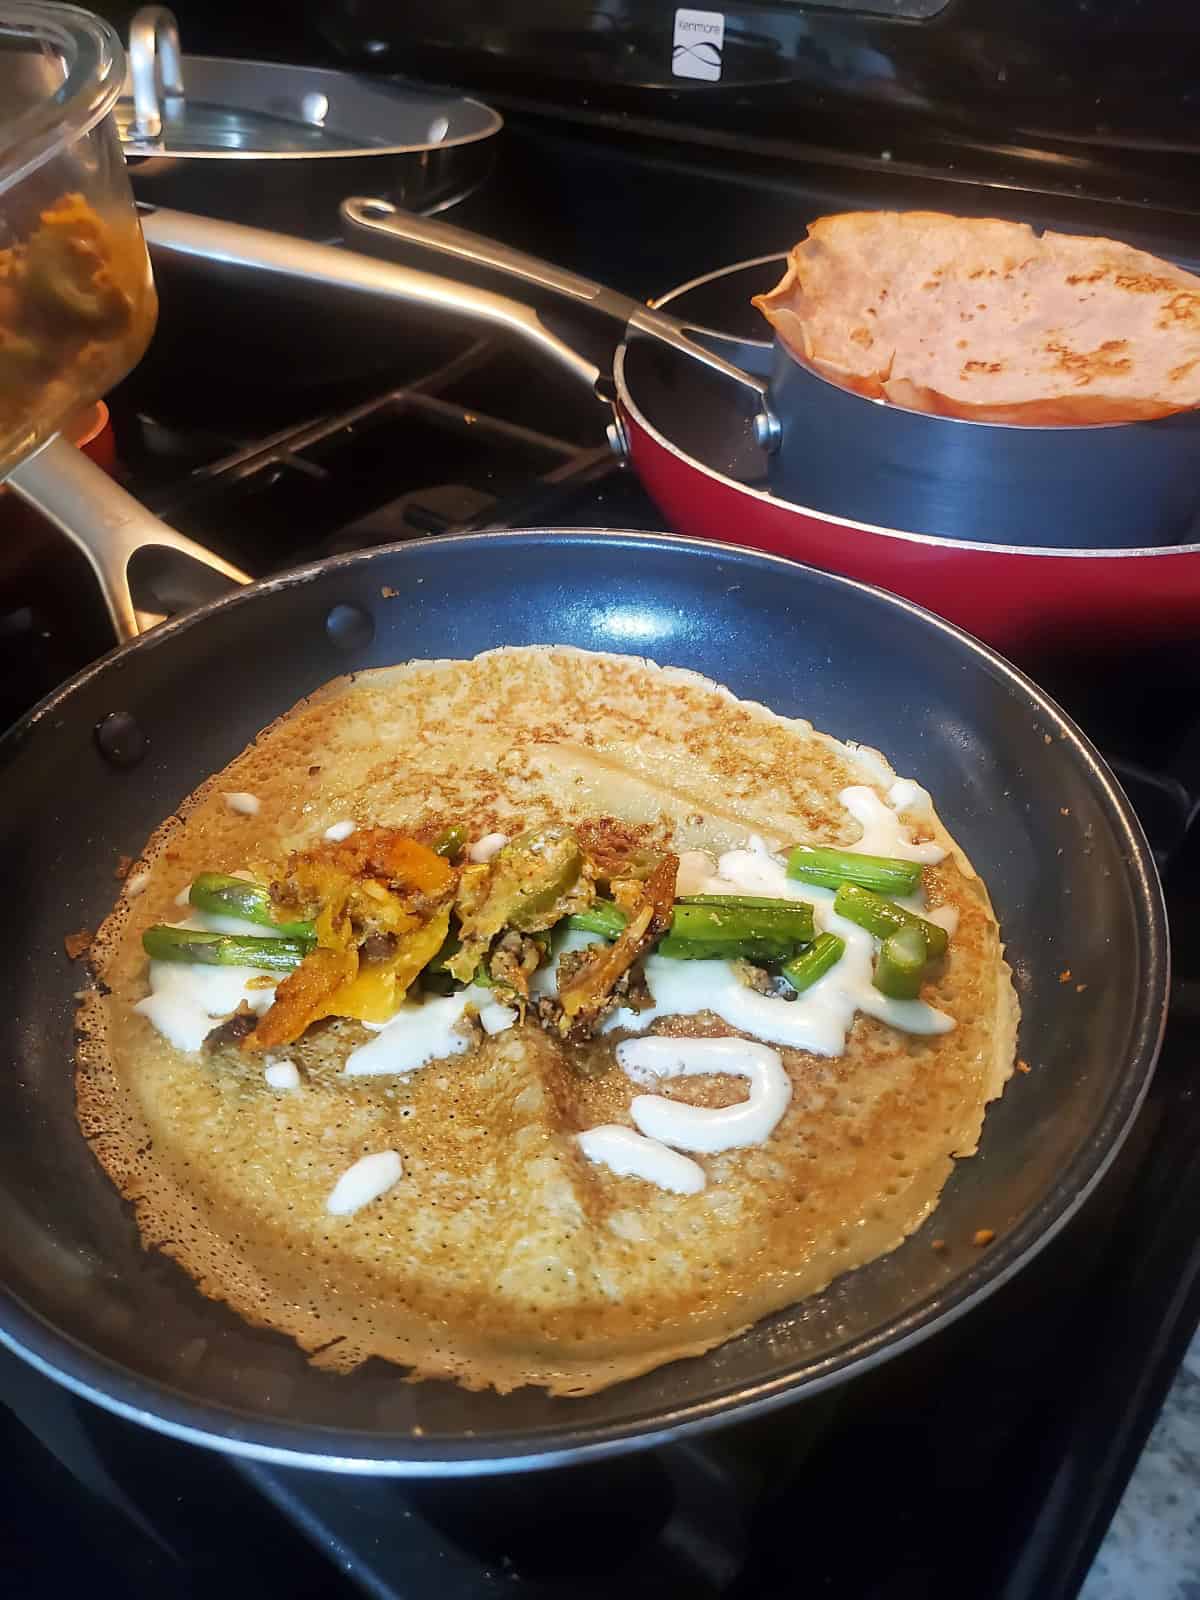
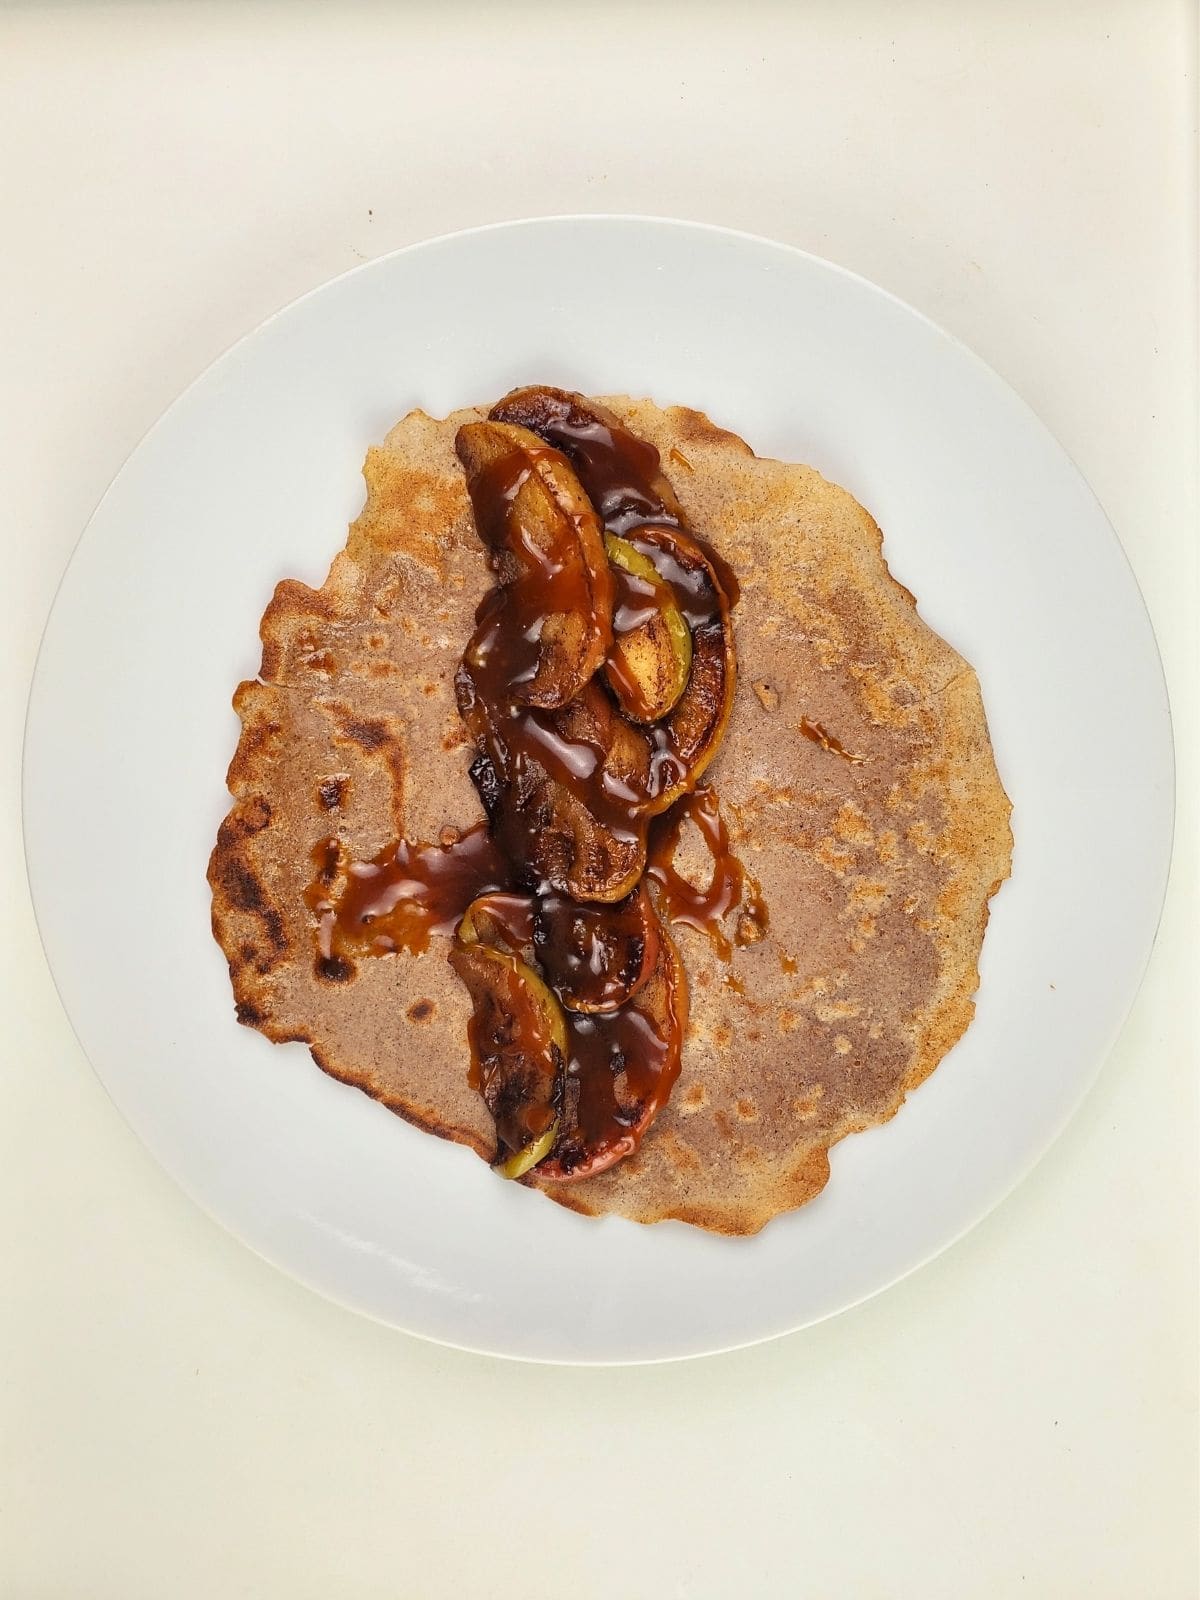
To add a twist to just enjoying these crepes by themsleves, consider slathering on a filling to half the crepe, then folding it over and folding that in half to make it more handheld and portable.
Sweet Fillings
- sweet tahini sauce with chopped cherries
- whipped coconut cream & a drizzle of honey
- your favorite fruit jam with whipped mascarpone
- cream cheese and raspberries
- honeyed ricotta cheese with blackberry syrup
Savory Fillings
- pulled chicken with pesto sauce
- sauteed butternut squash with tolerated cheese
- ginger-garlic chicken with crispy kale & toasted pine nuts
- herb garlic sauce over chopped chicken
- scrambled eggs with brown butter-roasted veggies
🍲 What to Serve with Crepes
🙋🏻♂️ Frequently Asked Questions
Traditionally crepes are made with plain white flour, but good alternatives are rice flour, oat flour, and chestnur flour.
Chestnut flour tastes mildly sweet and nutty with a smoky undertone, pairing well with both sweet and savory flavors.
You can use chestnut flour is almost all the same ways as regular flour, including in cookies, cakes, crepes, and scones.
Regular crepes by themselves are not very healthy, but can be filled with healthier ingredients like pasture-raised chicken and pesto, to tip the balance. You can also swap out the refined flour with something healthier like chestnut flour for a more healthy crepe.
📖 Recipe
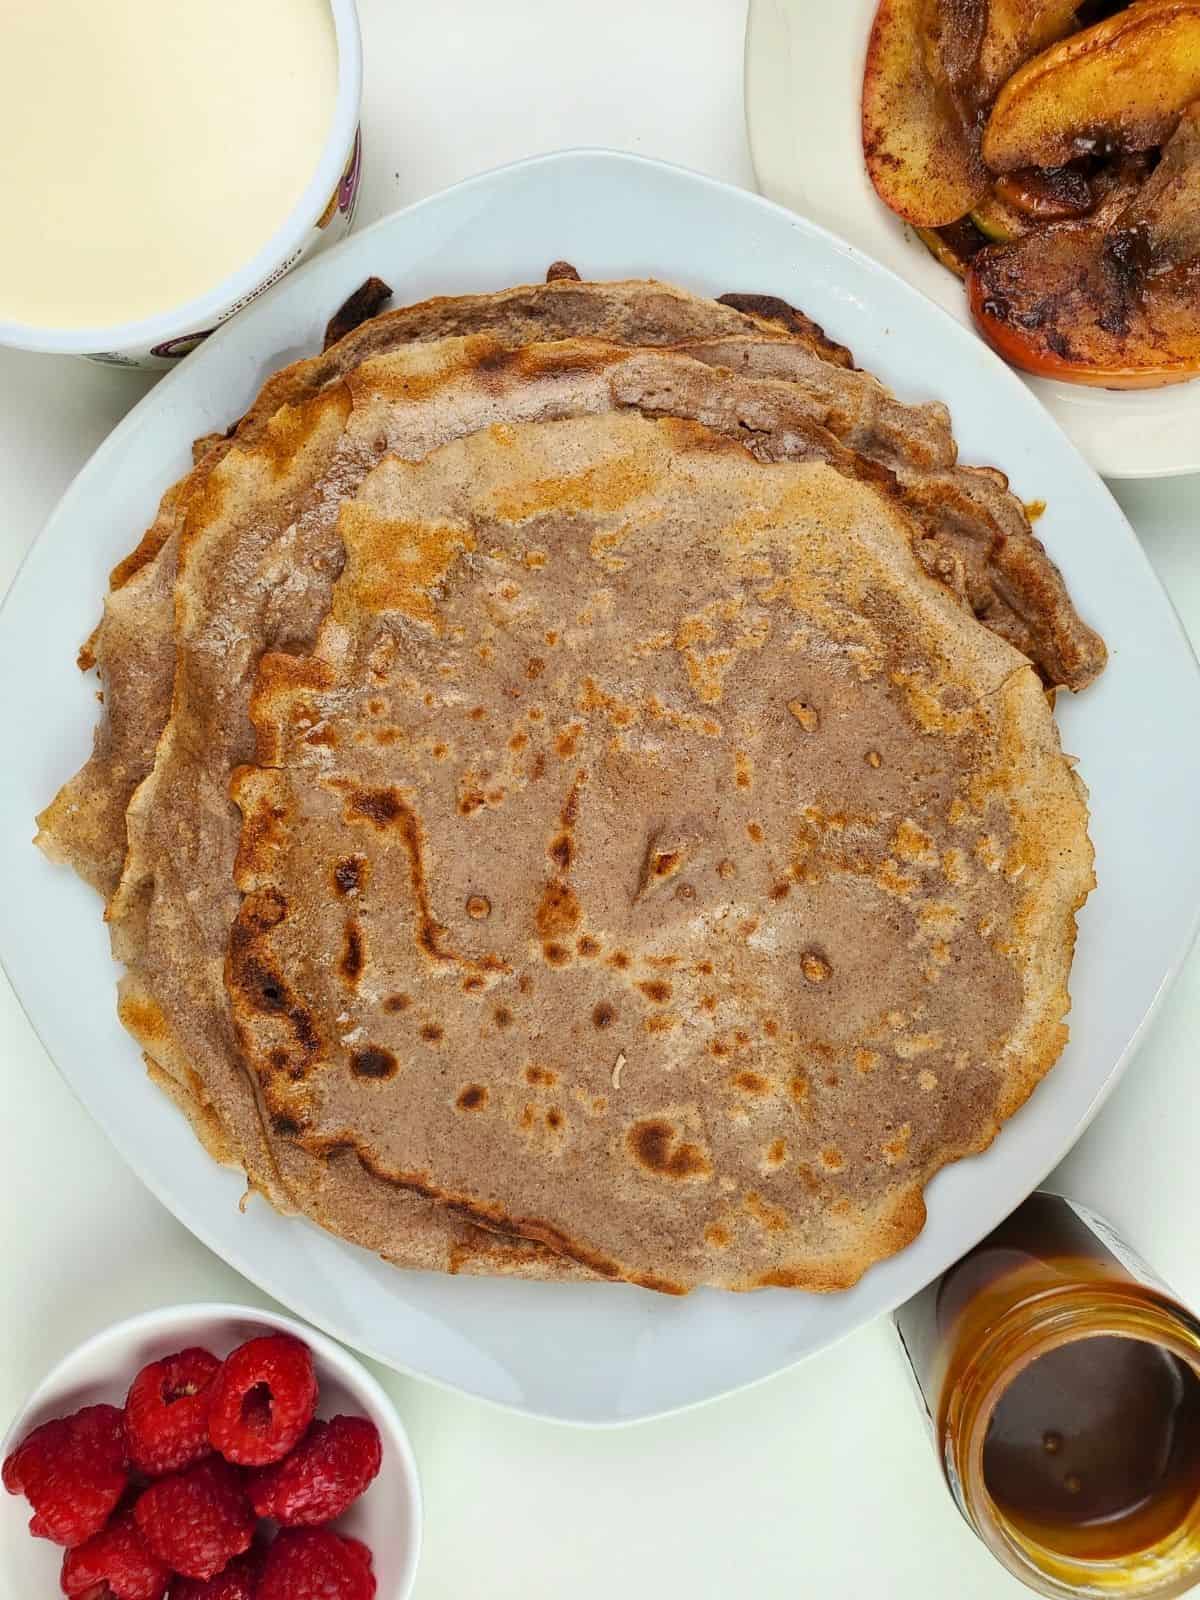
10-Minute Chestnut Flour Crepes (Necci)
Equipment
- flat pan
- large spatula
Ingredients
- 1 cup chestnut flour
- 1½ cups milk oat, almond, dairy, etc.
- 2 eggs can omit, but add ¼ cup more milk
- Dash of salt optional
- Butter or coconut oil for the pan
Instructions
- Blend together your chestnut flour, milk, salt (if using), and eggs in a large bowl until fully smooth (about 1 minute). If you don't have a hand mixer, you can also use a fork and then a powerful milk frother to blend everything thoroughly.
- Take out a large, flat pan and put it over your largest burner (don't use a cast iron pan). Turn the heat on medium-low and use a balled-up paper towel to smear enough oil onto your pan to coat it thoroughly, and let it heat for one minute.
- Once the pan is hot, hold the bowl of batter in your non-dominant hand, and using your dominant hand, ladle about ¼ cup of batter into the center of the pan, making a circle. If your batter turns out very thin, you can also try to make crepes the traditional way. This involves immediately tilting the pan in a circular motion to spread the batter in a thin circle; the thinner, the better, but don't leave it patchy. Not all attempts will be winners, but you don't need a perfect circle to make a great-tasting chestnut crepe. If your fourth try is still as bad as your first, try pulling your pan off the heat and then adding more oil, letting it cool for a minute or so, and then adding the batter before the swish and flick.
- Either way, cook the crepe for 2-3 minutes, then flip it as soon as the bottom is set. You'll know it's set once the edges begin to turn golden and the top is no longer glossy.
- Use your spatula to lift the edges of the crepe, doing this slowly to make sure it hasn't stuck to the pan. Grab your biggest spatula and very gently work it under the crepe, gingerly also using your fingers to flip it over quickly, if needed. Cook the other side for another minute or until just barely done. Don't overcook it or it will dry out.
- Butter the pan again and repeat the process for each successive crepe, remembering to keep buttering the pan in between or the crepes will stick. Add any fillings to your crepes when they're hot, then fold them, flip them over, add final toppings, and enjoy.
Notes
Nutrition
Save this post for later!












Comments
No Comments