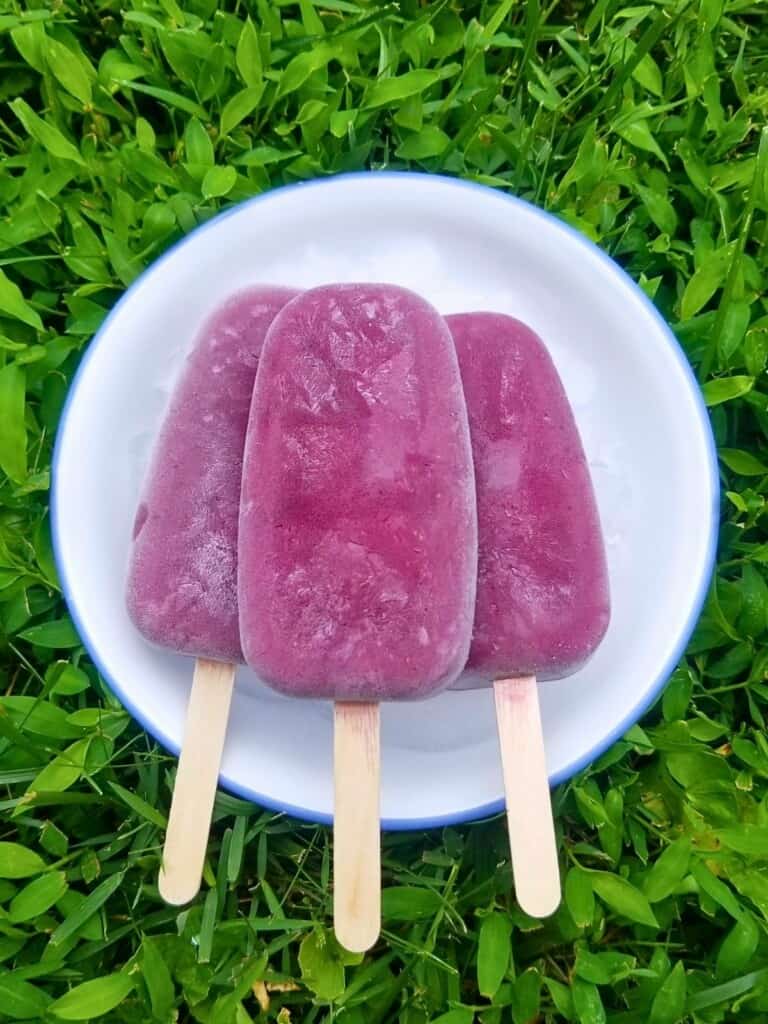
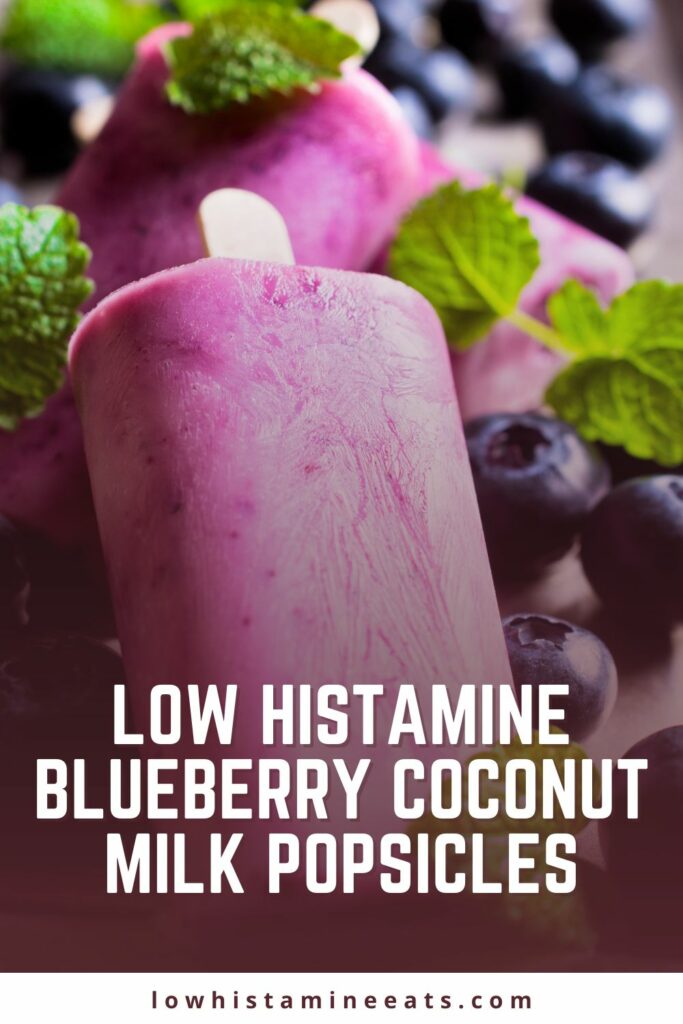
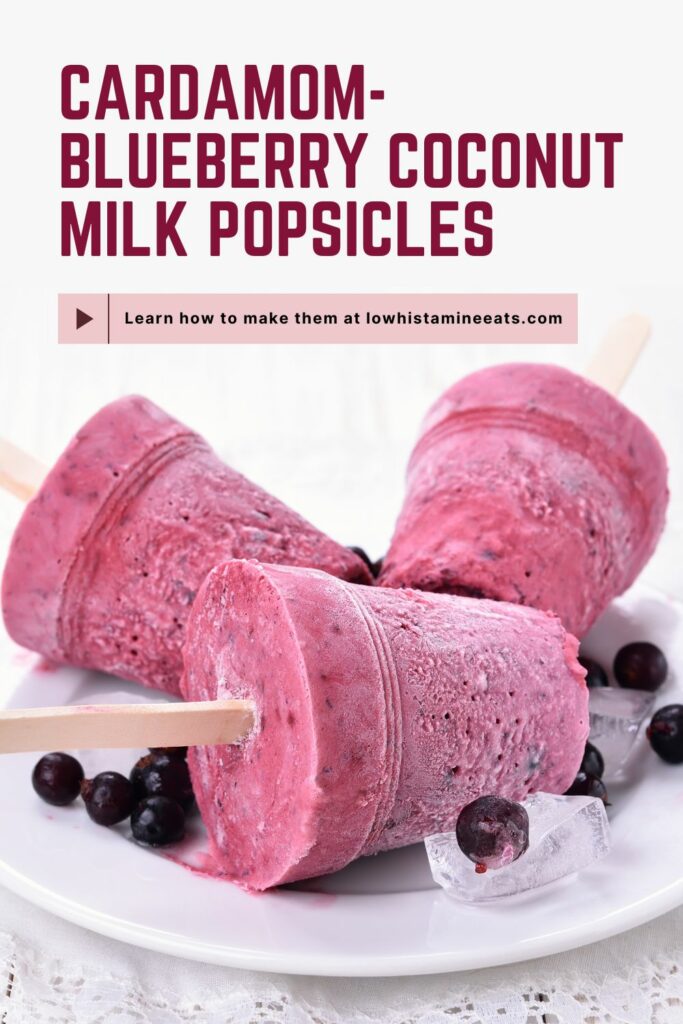
These blueberry coconut milk popsicles feature two main flavors: coconut and cardamom, with a side serving of spicy ginger. Plus, making these cardamom blueberry popsicles with frozen blueberries means that they're a vegan low histamine dessert that can be made year-round.
If you're eating low histamine, just don't forget to use coconut milk with no guar gum, or even make your own using pure coconut milk powder.
Jump To
About this recipe
Easy to make. These blueberry basil popsicles will please picky kiddos and adults alike, and they’re super easy and fun to make!
Antihistamine powerhouse. Blueberries, ginger, and cardamom are strongly antihistamine foods, meaning that they contain plant chemicals which inherently help your body calm histamine production.
Uses up blueberries. Whether you're trying to make room for a fresh batch of summer blueberries or using up a bag of frozen blueberries form the back of the freezer, this recipe sure makes use of a ton of blueberries!
Ingredients
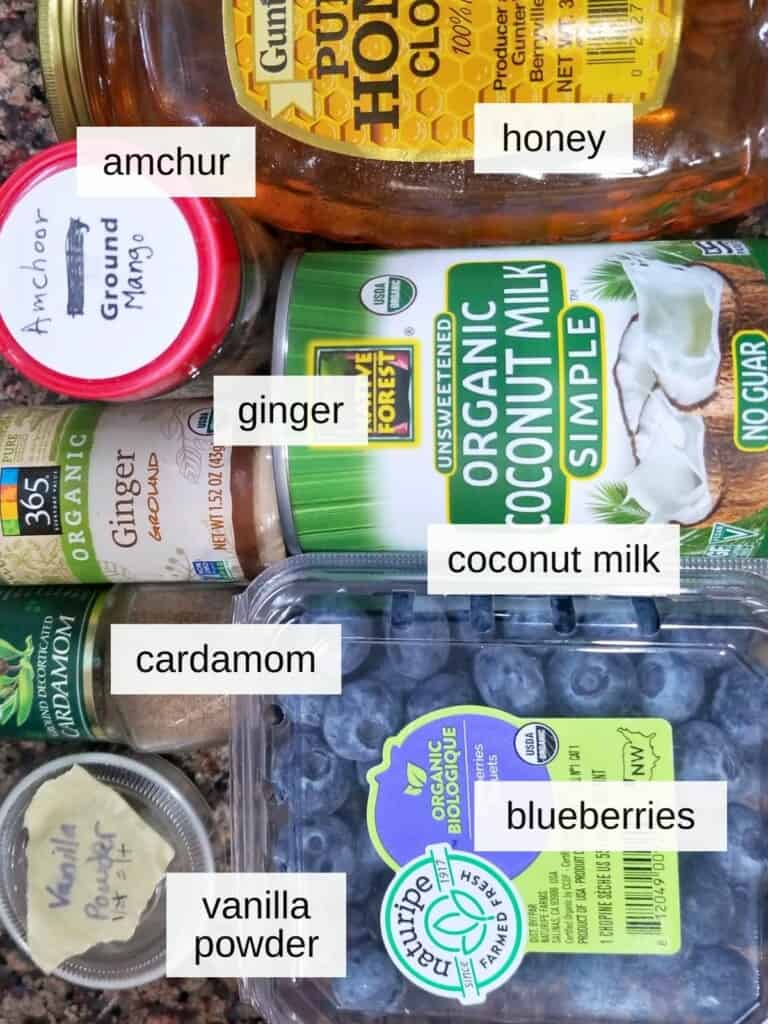
Blueberries: these bright berries are an antioxidant and antihistamine powerhouse, perfect for low sugar, low histamine desserts! Making blueberry popsicles with frozen blueberries doesn’t have to cut down on their power, either. Just be sure to use organic, locally-sourced blueberries when possible.
Coconut Milk: this non-dairy milk is the reason why these creamy blueberry popsicles are so hard to resist! It cuts the mild bite from the ginger and pairs beautifully with blueberries.
Cardamom: this floral, lightly citrusy seed is native to India and adds a beautiful complexity to coconut milk-based dishes, as well as an antihistamine punch. Try these honey cardamom cookies for a more unusual use of the spice.
Ginger: possibly the best-known low histamine spice, ginger is the sharp, mildly sweet root of a flower; it’s been used for thousands of years in dishes both sweet and savory. The ginger flavor in this recipe is subtle but important.
Amchur (Amchoor): pure ground green (unripe) mango. This Indian-origin spice is quite common in curries and stews, thanks to its sour flavor and simple storage. You can find it in any Indian grocery store, and it’s a great substitute for lemon and other sour flavors; see this article for substitutes.
Manuka Honey (optional): there are a multitude of low histamine sweeteners you can use in desserts, but by far my favorite is manuka honey. Not only is it great for the digestive system, but manuka honey has been proven to lessen allergy symptoms, like those of histamine intolerance.
How to make blueberry coconut milk popsicles: step-by-step instructions
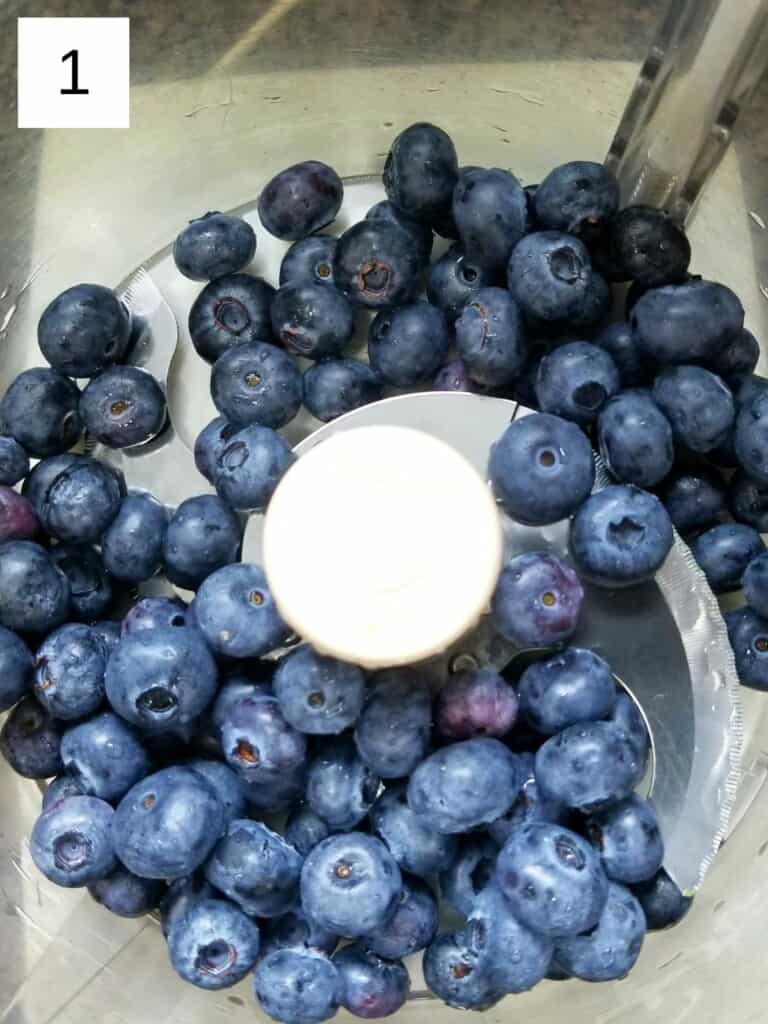
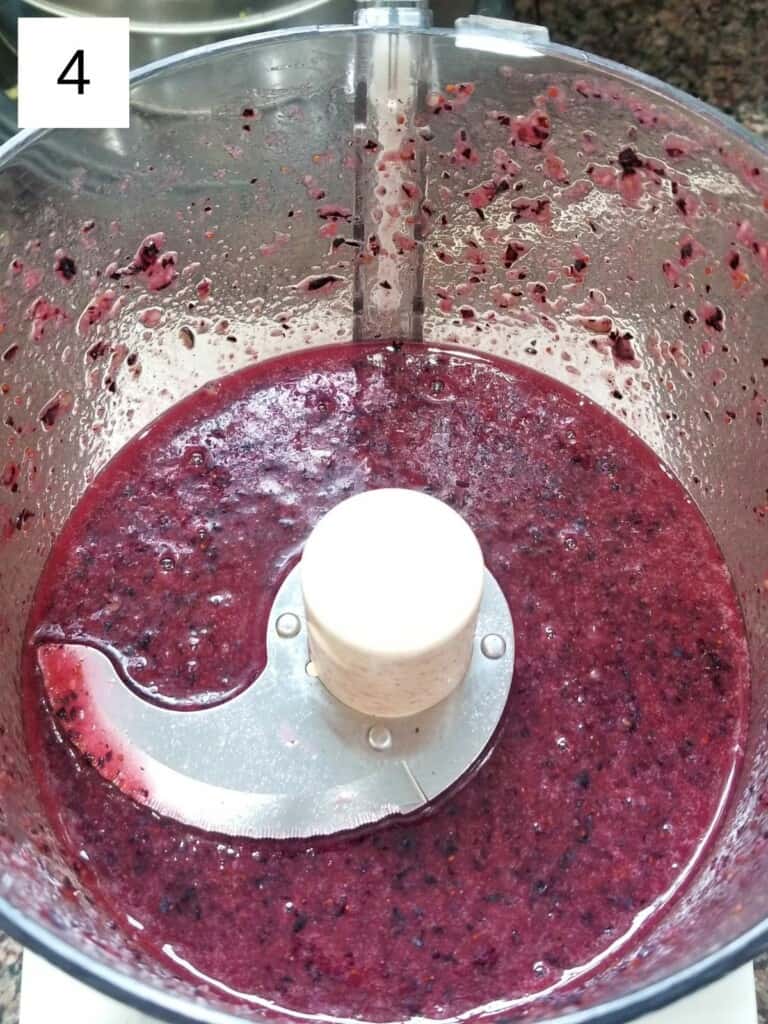
Step 1. Make sure your berries are washed if using fresh, and then measure and pour them into your food processor and blend on high for 10 seconds, until all berries are macerated.
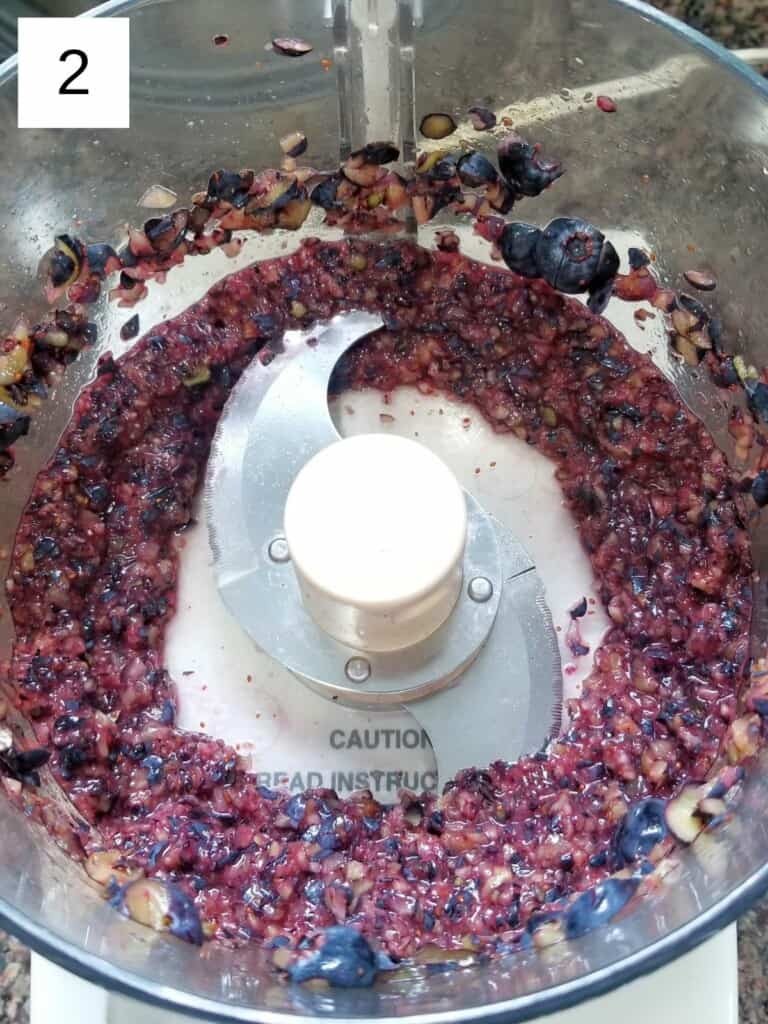
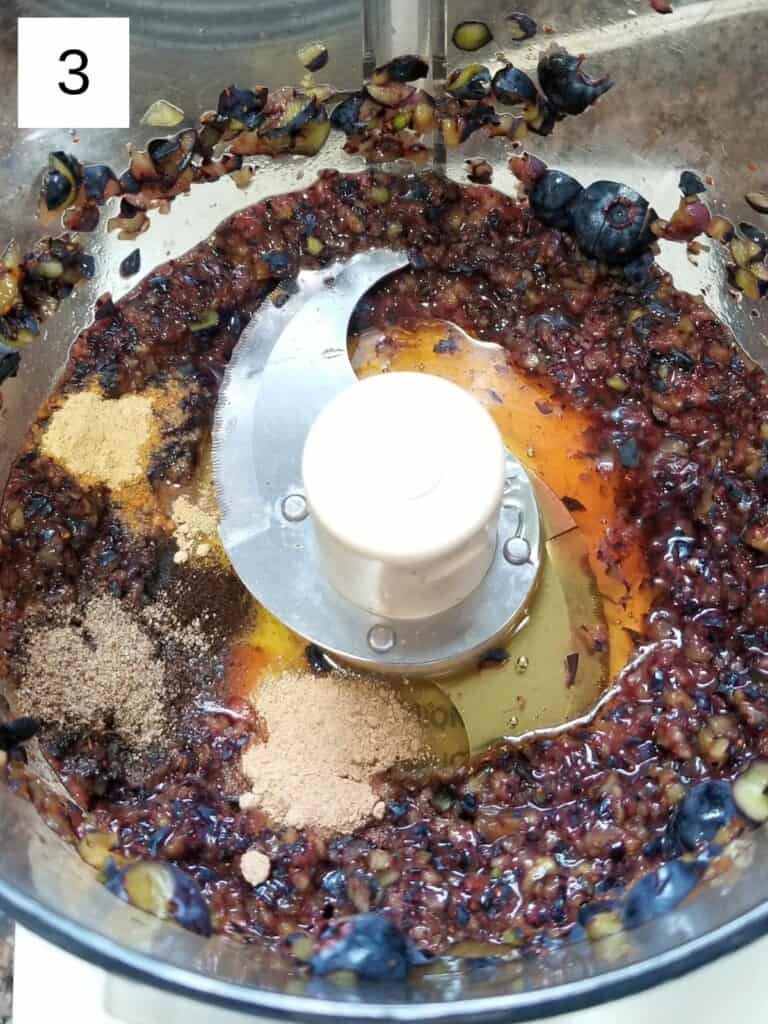
Step 2. Add the honey (or monk fruit), amchur, cardamom, ginger, vanilla, and salt, then blend everything on high for 15 seconds. Scrape down the side, and then pulse the mixture for 10-15 more seconds, until the mixture is homogenized (with no clumps of spices).
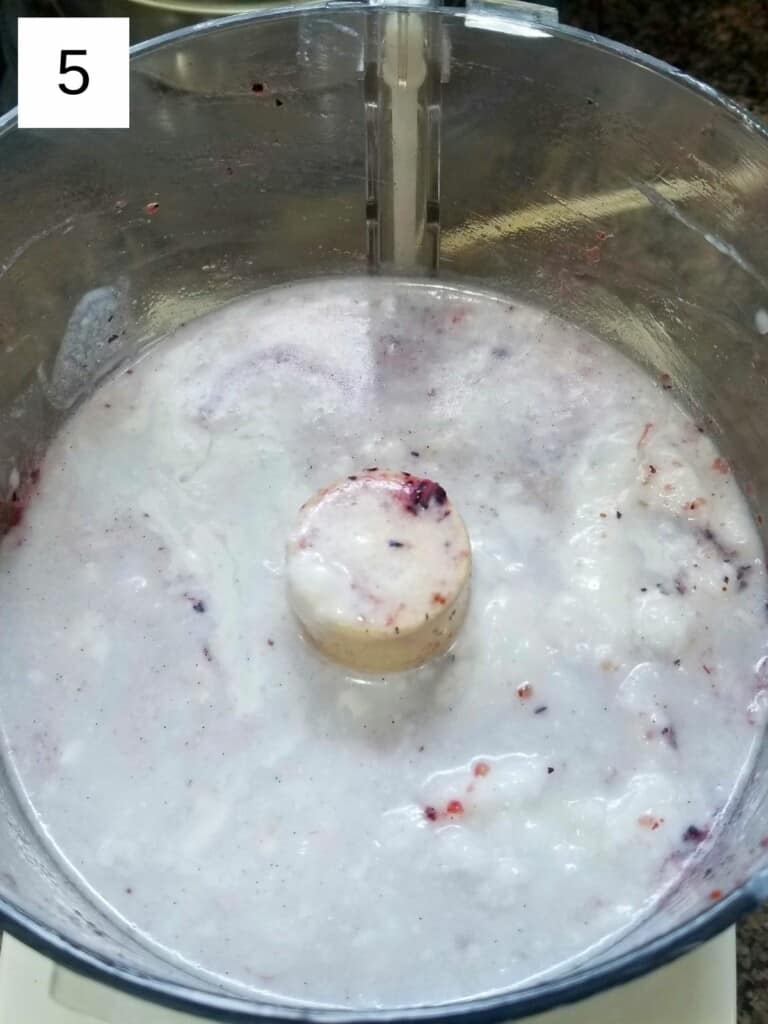
Step 3. Shake your can of coconut milk very thoroughly before opening it and pouring the contents into the blender mixture, scraping to make sure you got everything from the can. If you're using powdered coconut milk, just follow the direction to make the coconut milk, and pour the requisite amount into the bowl with the berries.
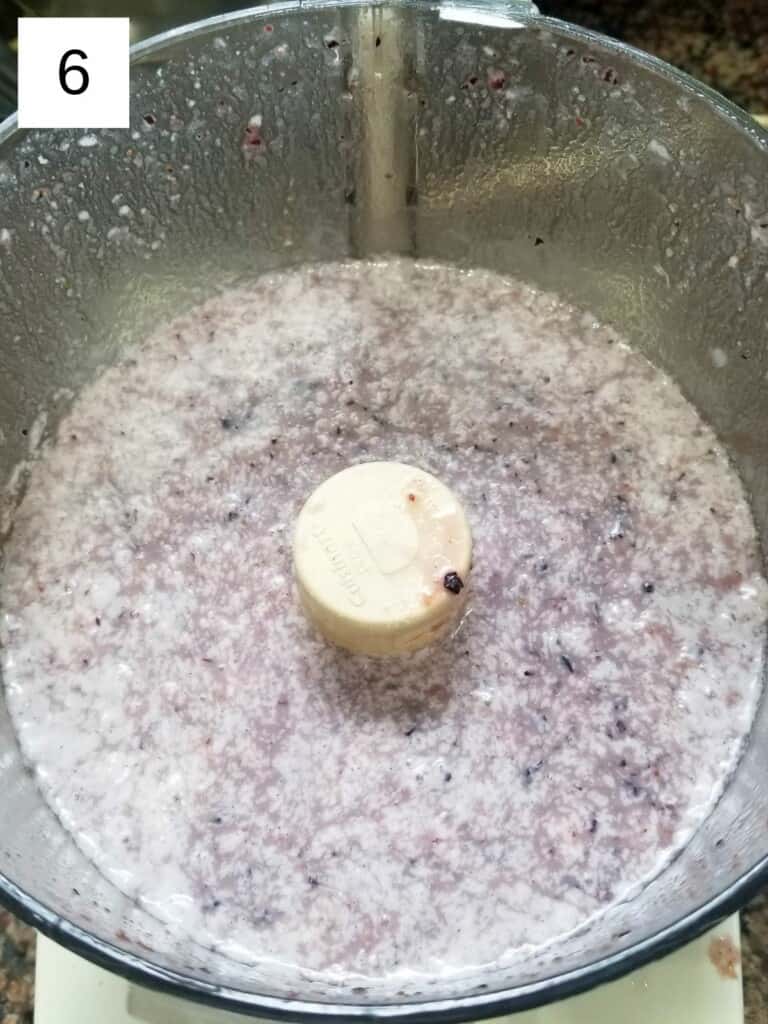
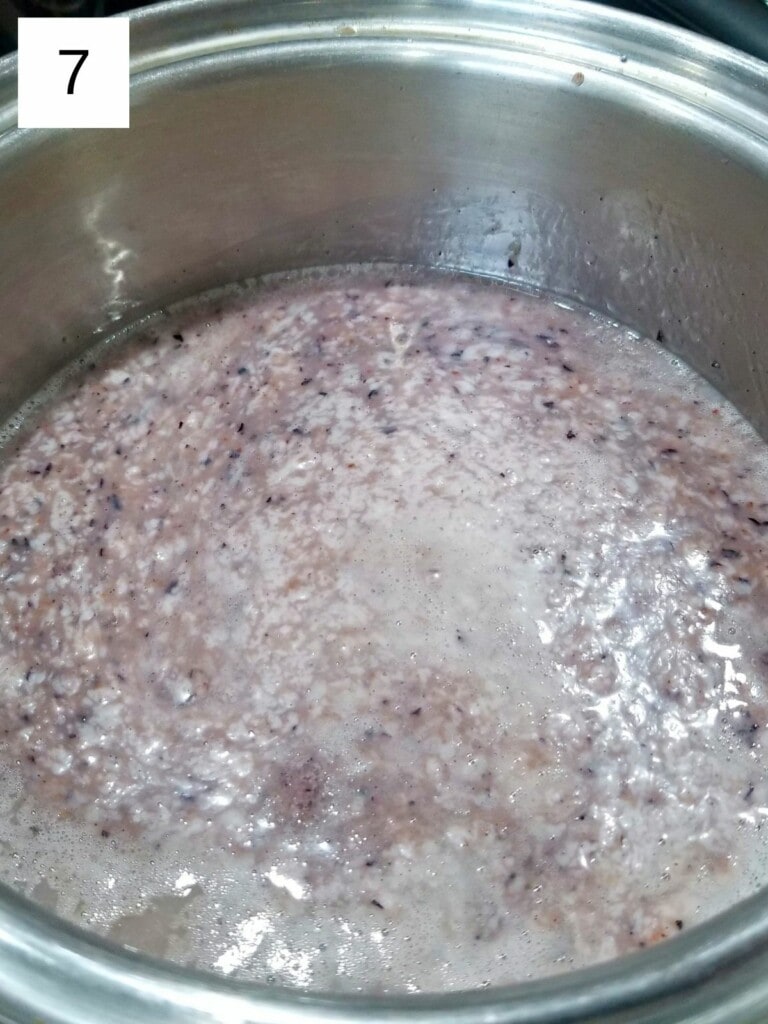
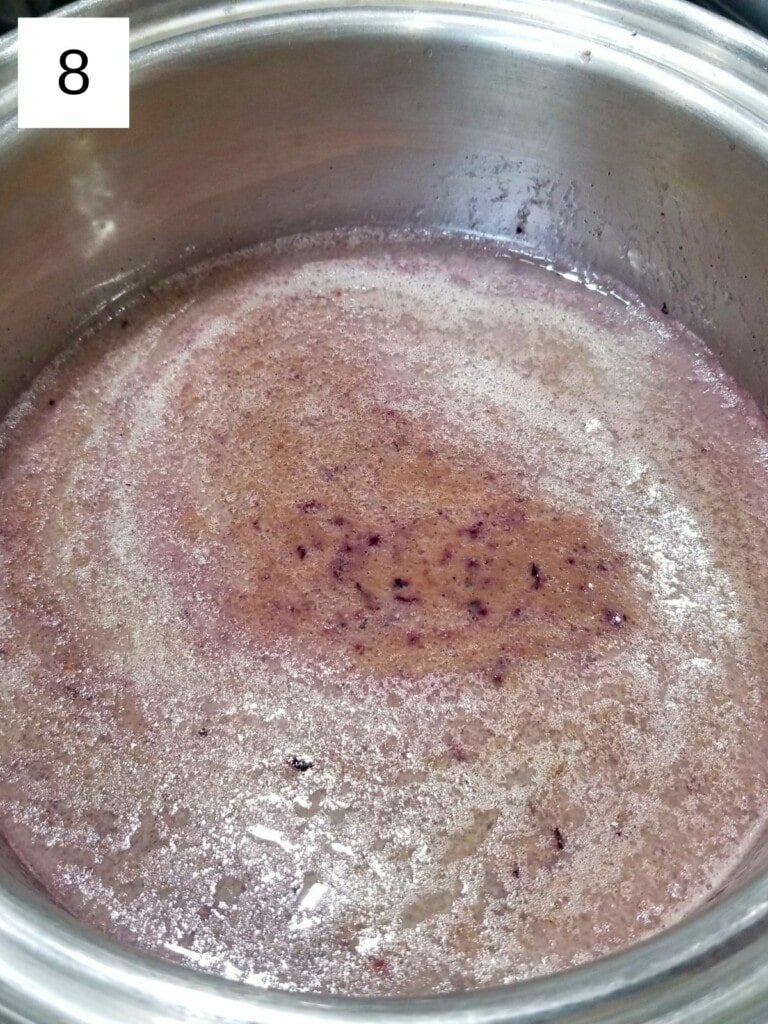
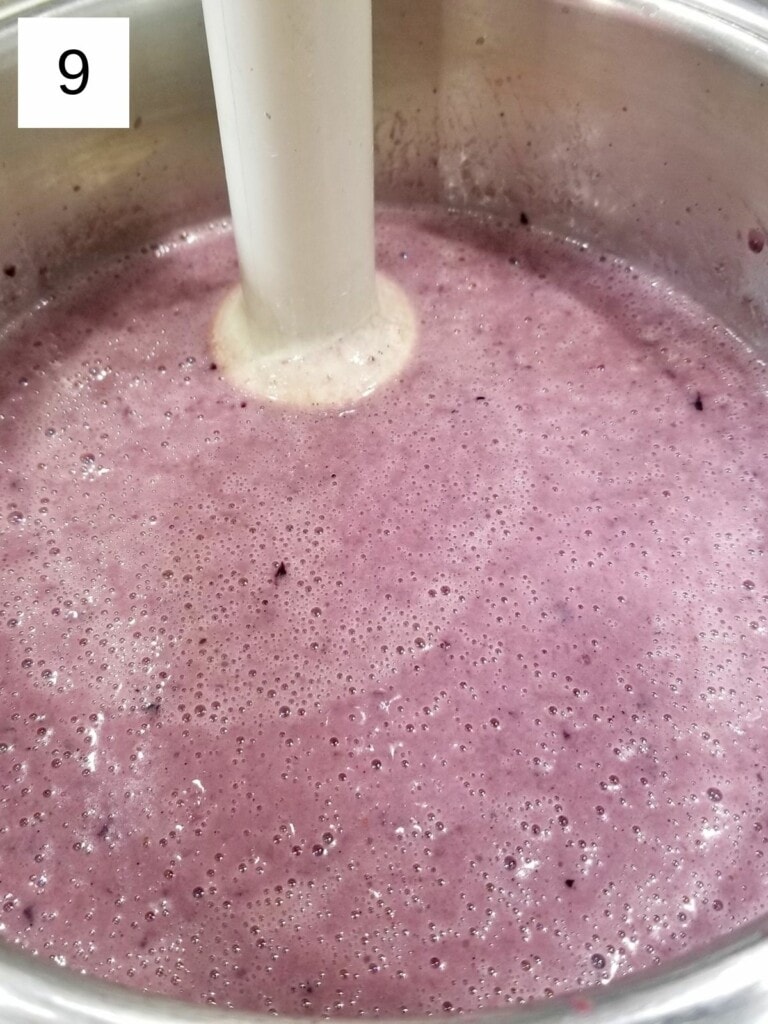
Step 4 (optional). If your blueberry-coconut milk mixture separates and becomes clumpy, don't worry; it can still make great popsicles. Just pour it into a pot, taking care to scrape everything in, and heat it on low over the stove for about 2 minutes, until it homogenizes again. Then use an immersion blender or hand mixer to mix everything together again, but don't pour it into molds without heating if it's separated. Let your heated mixture cool at room temp for 20 minutes or so, then proceed to the next step.
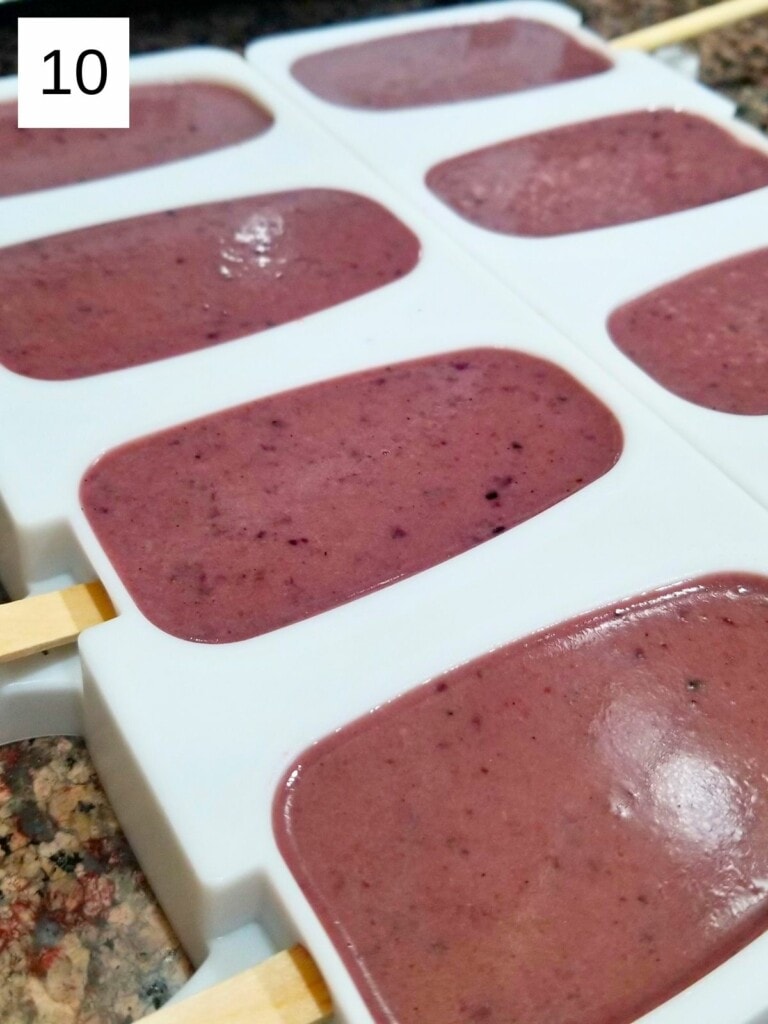
Step 5. Add the popsicle sticks to your molds, then pour in your blueberry coconut milk mixture, filling each one evenly. Stick your popsicles into the freezer for at least 4 hours, then pop them out and enjoy!
Recipe notes & tips
Freezing. Your popsicles will be ready to eat as soon as they're frozen-through. They will last at least 3 months in the freezer, or up to 6 months if properly-stored, though it's unlikely you'll be able to keep your hands off them long enough to test these limits.
If clumping. Some of you may experience clumping or separating of the coconut milk into fat and water. If this happens, you must heat and re-blend your mixture before putting it into molds, otherwise it will stay separated when you freeze them.
📖 Recipe
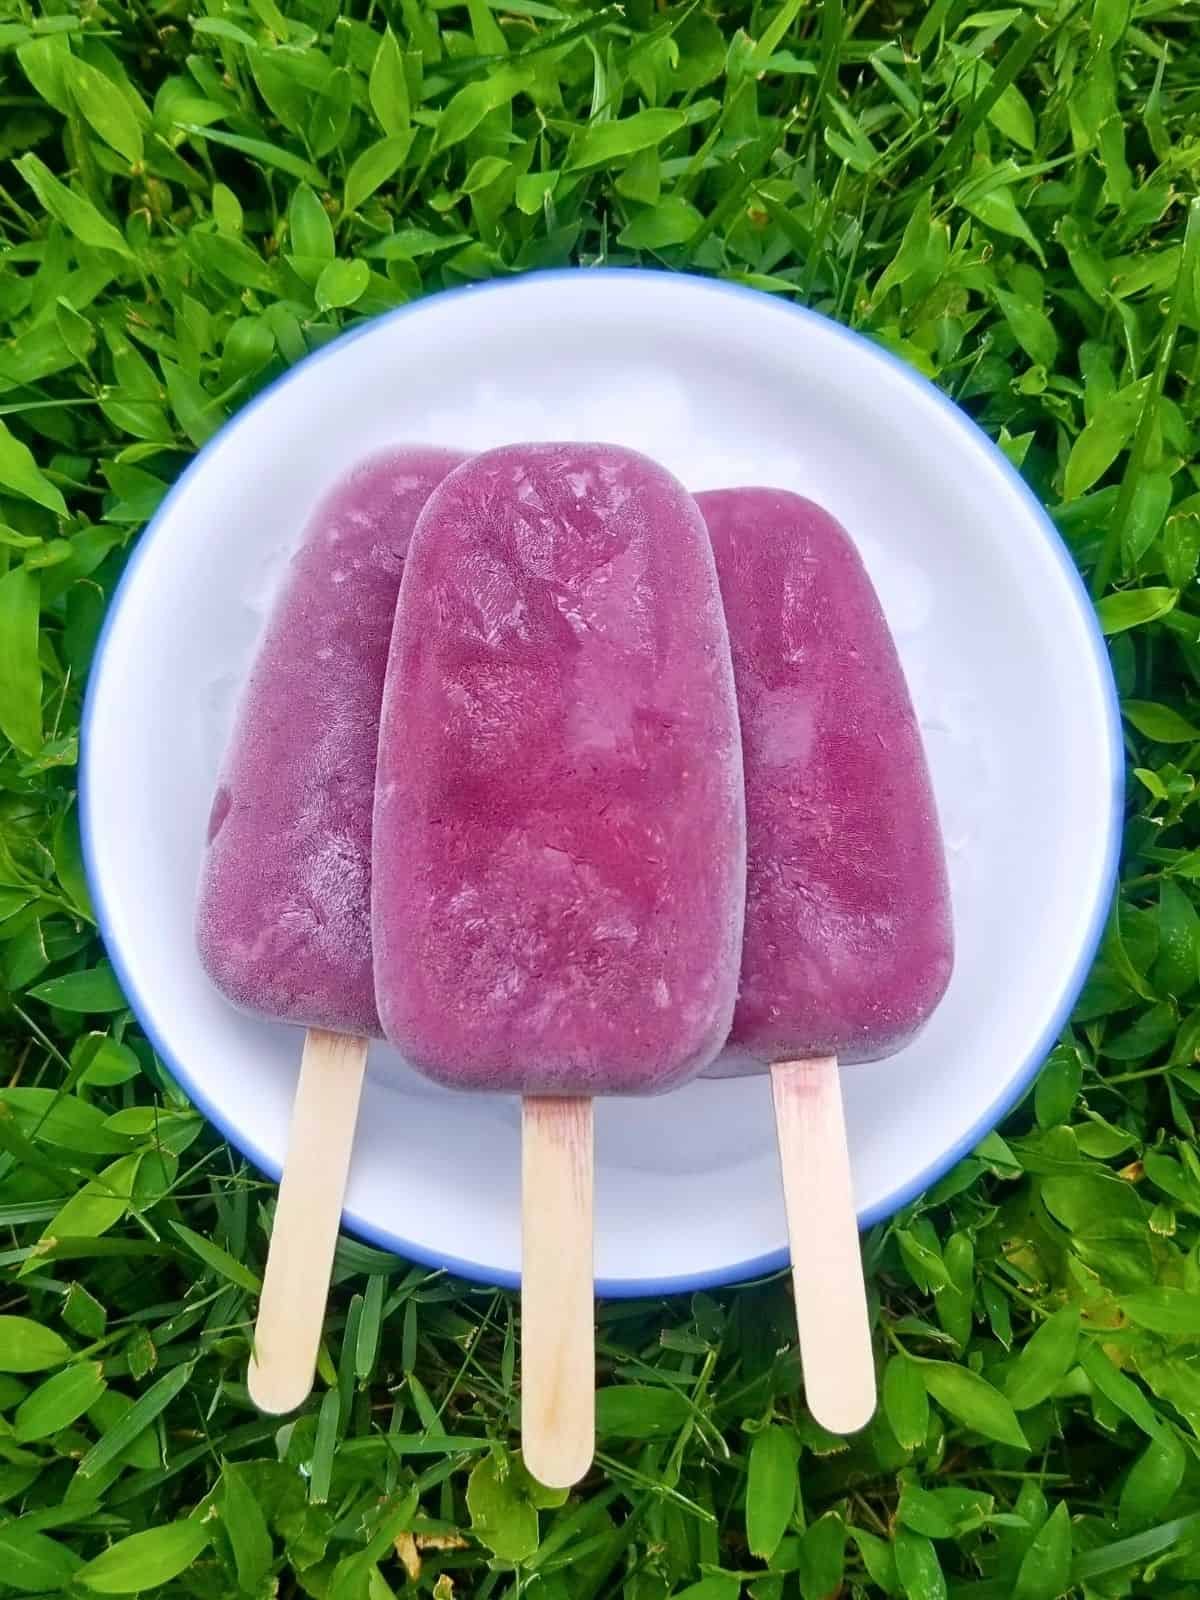
Blueberry Coconut Milk Popsicles
Ingredients
- 13.5 oz. full-fat coconut milk no guar gum
- 1 ½ Cups fresh or frozen blueberries
- 2 Tablespoons honey alt: ¼ teaspoon monk fruit extract
- 1 teaspoon ground amchur amchoor
- ¼ teaspoon ground cardamom
- ¼ teaspoon ground ginger
- ⅛ teaspoon vanilla bean powder
- pinch of salt
Instructions
- Make sure your berries are washed if using fresh, and then measure and pour them into your food processor and blend on high for 10 seconds, until all berries are macerated.
- Add the honey (or monk fruit), amchur, cardamom, ginger, vanilla, and salt, then blend on high for 15 seconds. Scrape down the sides, and then pulse the mixture for 10-15 more seconds, until there are no more clumps.
- Shake your can of coconut milk, then pour the contents into the blender, scraping down the can. If using powdered coconut milk, prepare it as directed and move onto the next step.
- (optional) If your mixture separates and becomes clumpy, don’t worry; it can still be saved. Just pour it into a pot and heat it on low on the stovetop about 2 minutes, until it comes together again. Then use an immersion blender to mix everything well, and let your mixture cool at room temp for 20 minutes.
- Add the popsicle sticks to your molds, then fill each one evenly. Stick your popsicles into the freezer for at least 4 hours, then pop them out and enjoy!
Notes
Nutrition
Save this post for later!


Comments
No Comments