


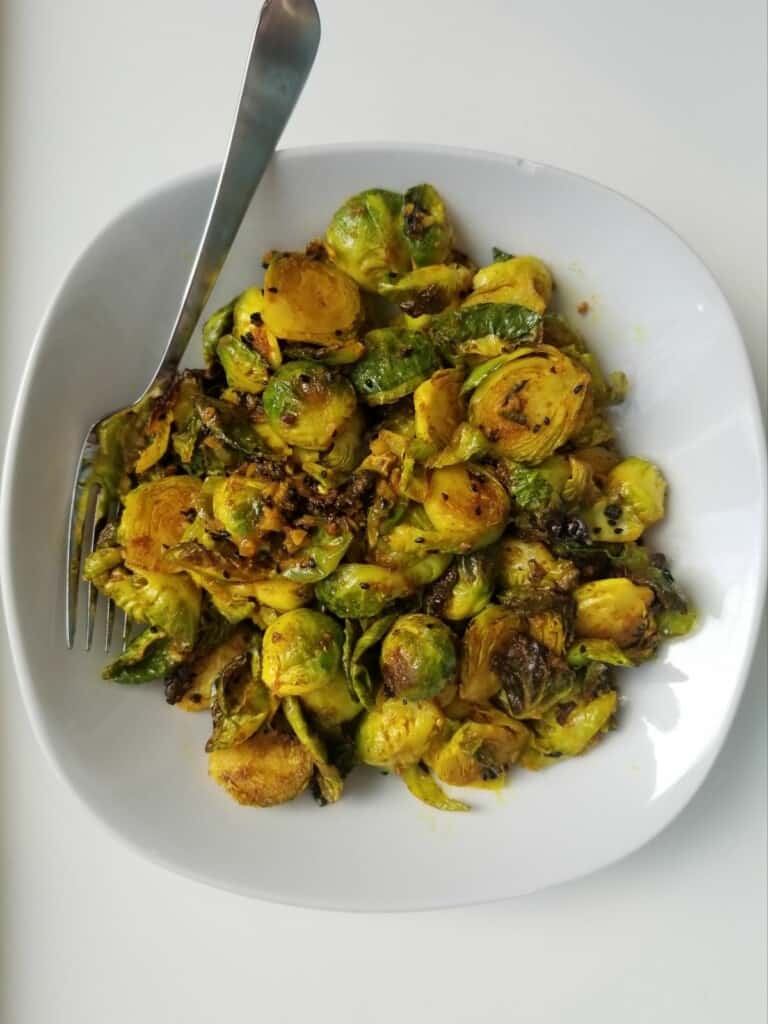
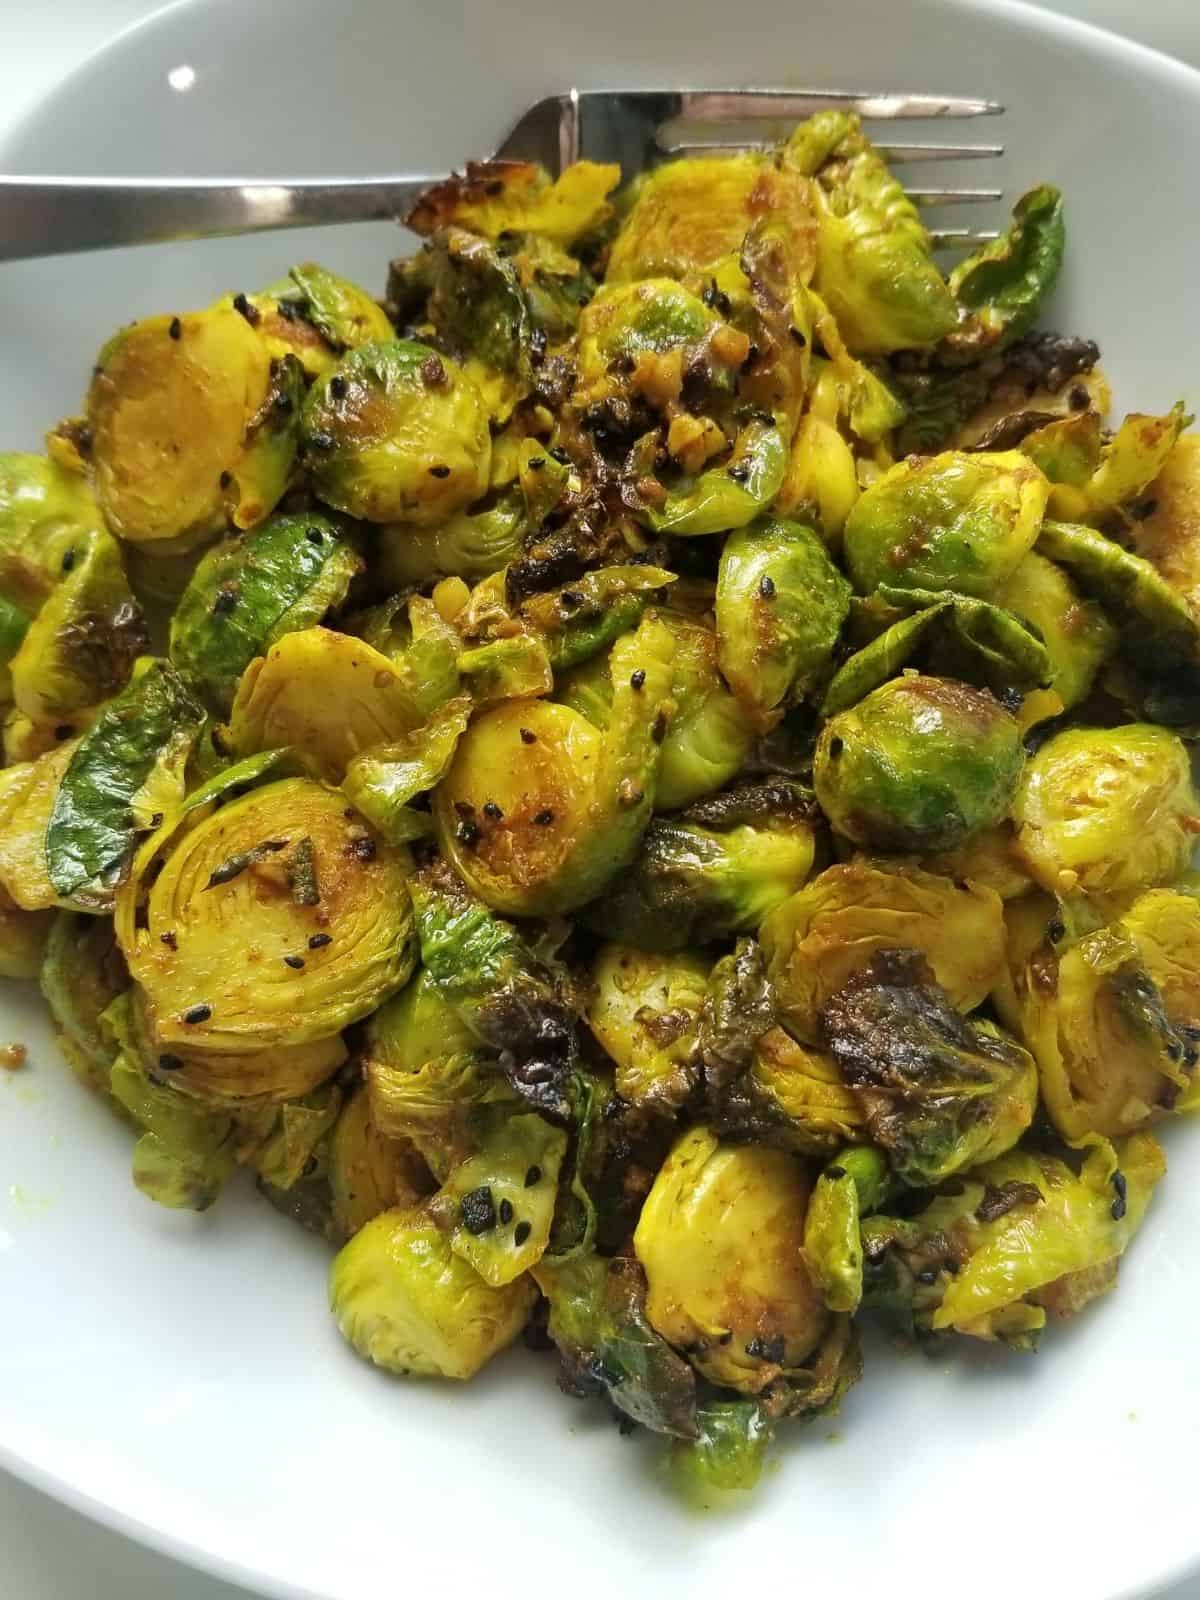
These crispy Baked Indian Brussels Sprouts come together in under half an hour, with a sweet undertone & a simple, savory blend of spices. They make for the perfect weeknight side dish to dress up a plain main!
If you like savory side dishes, also try my stir-fried vegetables with oregano and air fryer broccoli & cauliflower.
Jump to:
✔️ Why This Recipe is Great
Cancer-Fighting Properties: Brussels sprouts and histamine intolerance actually go very well together, and it's overall a very healthy food. Not only is it high in fiber and antioxidants, but it's also a rich source of nutrients like vitamins C & K, folate, and sulforaphane, all of which play a role in the body's methylation pathways (essential for proper detox).
Easy Low Histamine Side. One thing I constantly look for is new low histamine side dishes to add to my favorites list. These low histamine brussels are crunchy, savory, salty, and satisfying.
Indian Spiced Brussels Sprouts: while these aren't modelled after any particular Indian dish, the flavors that come together in the spice blend are fully inspired by the many Indian dishes I grew up making with my mom.
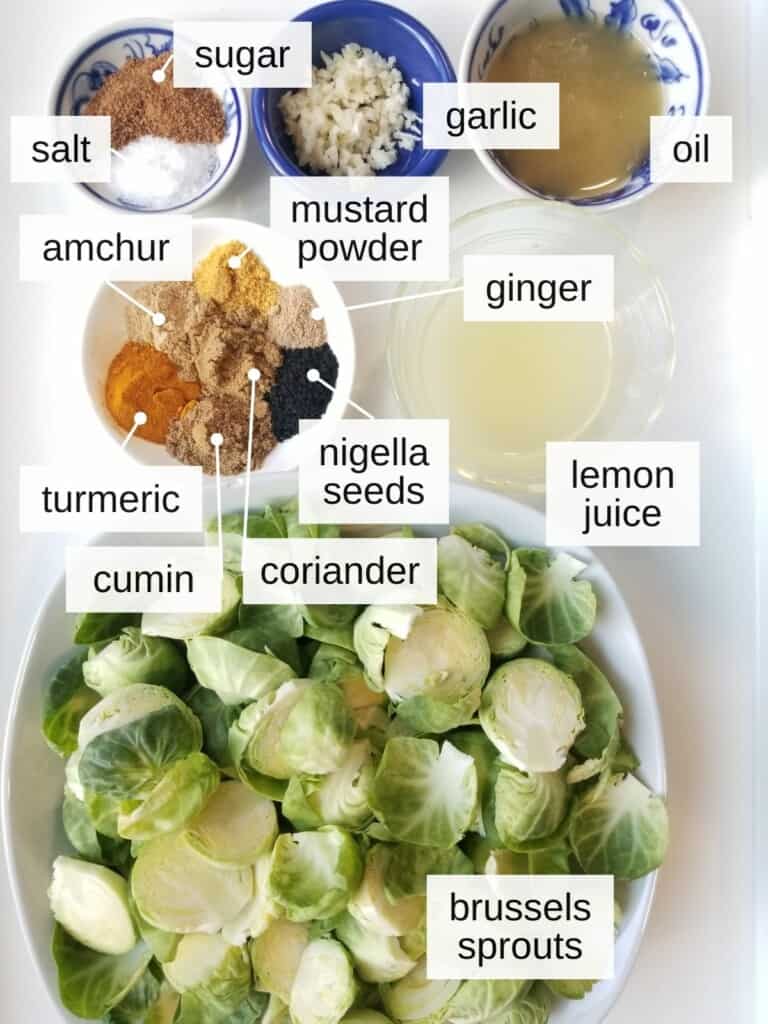
🧄 Ingredients
Brussels Sprouts: these small green spheres are a member of the cancer-fighting brassica family of vegetables. Its ill-gotten reputation for being stinky comes from those very same sulfurous anti-cancer properties.
Fresh Garlic: using fresh raw garlic adds an umami element to the brussels that really complements meats and root vegetables as well as brassica (like brussels sprouts).
Indian Spices: this blend of antihistamine spices is both delicious and very good for you. The turmeric, cumin, coriander seed, nigella seeds, ginger, mustard powder, and amchur come together to hit all 5 of the major tastes, balancing out into a delicious homemade curry sauce for the brussels sprouts.
Lemon Juice: while some people have issues with lemon juice, most people tolerate it, especially in such small quantities, and it's a great source of vitamin C. Here it's optional, but helps balance out the overall flavor of the brussels and cut through the fried outside, though if you can't tolerate lemon juice, make sure you use sumac or tamarind juice.
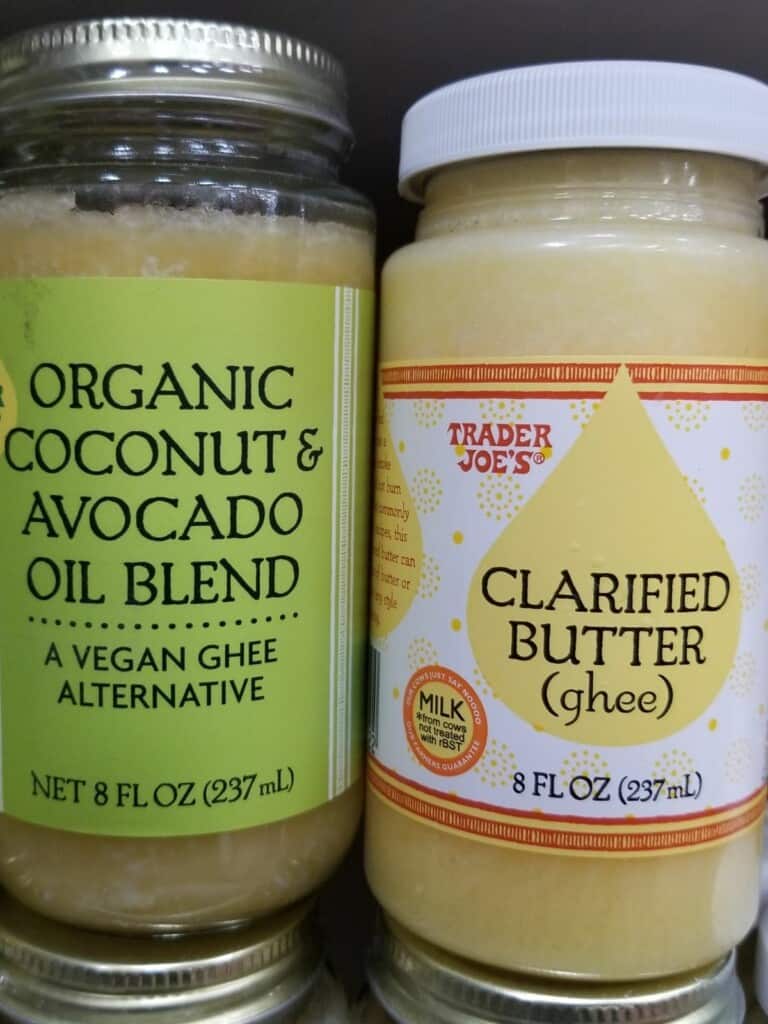
Oil: you can use any type of oil you'd like for this, but I recommend using ghee, if tolerated.
See recipe card for exact ingredients and quantities.
🧂 How to Make Indian Brussels Sprouts (Step-by-Step)
Step 1) Preheat the oven or toaster oven to 425°F (220°C). Wash the brussels sprouts thoroughly, and then chop off the bottoms just enough to peel off individual leaves. Peel off several leaves from each sprout, or enough that the leaves no longer easily peel off.
Step 2) Chop the remaining sprouts in half, then put them with all the leaves into a mixing bowl. If your brussels sprouts still have a fair amount of water clinging to them, line a baking tray with a piece of aluminum foil and add your sprouts, then out them in the preheating oven for 2-3 minutes. They'll be slightly wilted and greener, but dry enough to fry rather than steam.
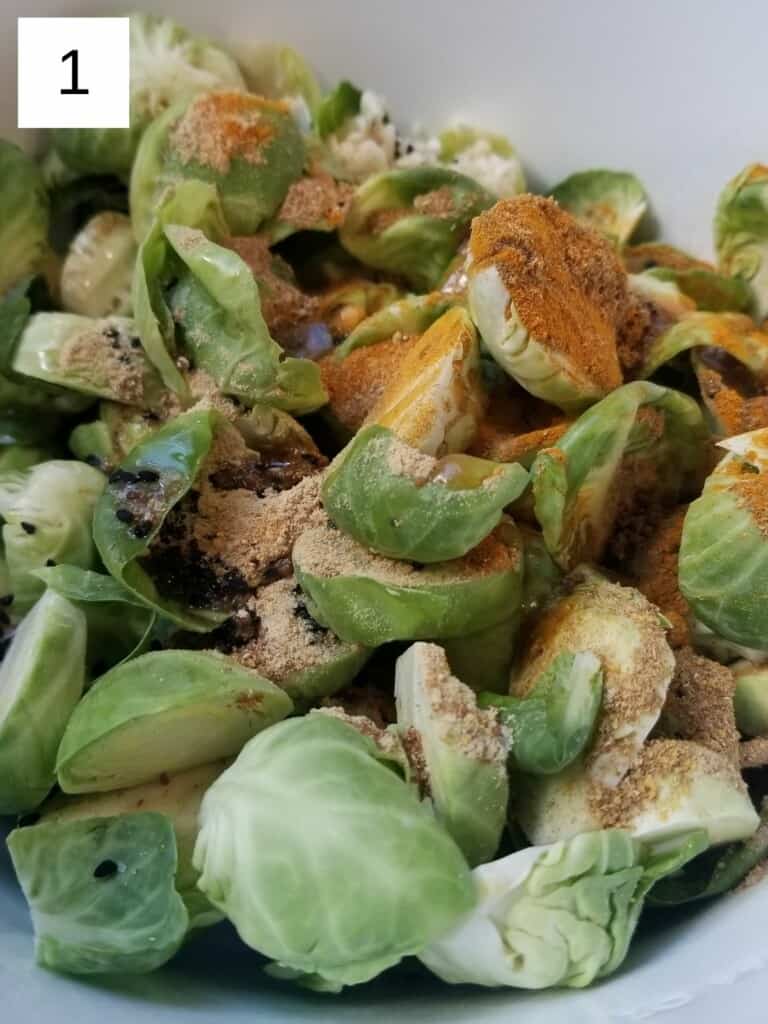

Step 3) Wash and mince your cloves of garlic, then measure all your spices (turmeric, cumin, coriander, nigella seeds, ginger, mustard & amchur), and add them to the mixing bowl along with the oil, salt, and coconut sugar (image 1).
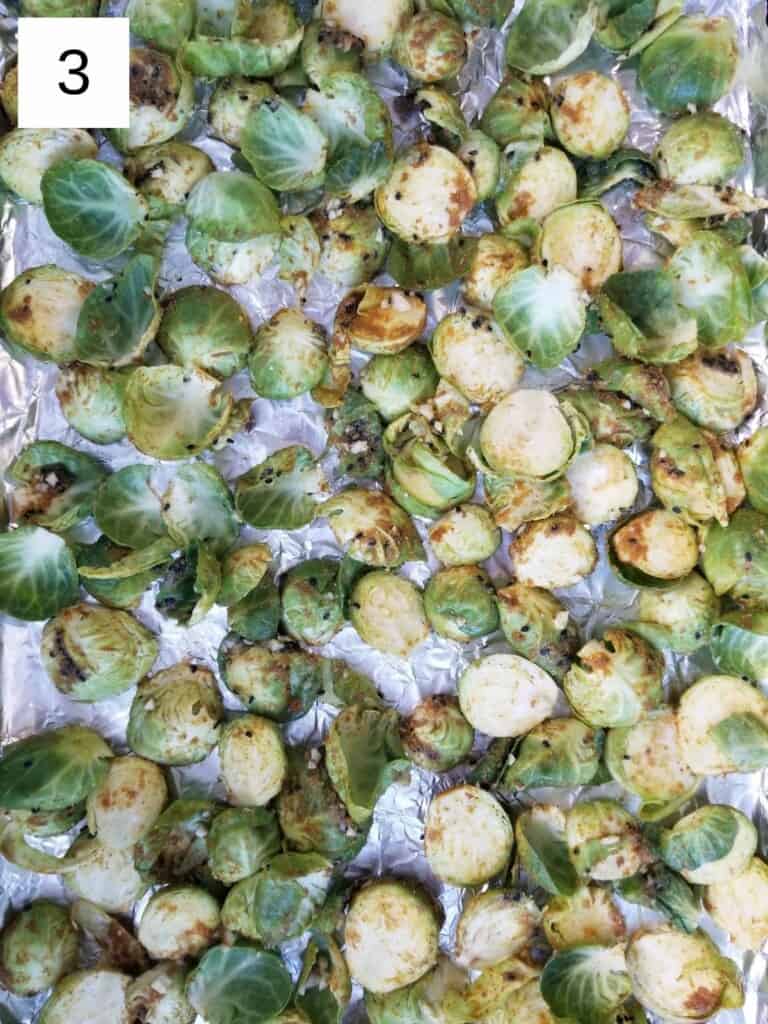
Step 4) Toss together all the ingredients (except the lemon juice) until evenly coated (image 2), then pour them onto the baking tray and put them in the oven (image 3). Do NOT clean the mixing bowl, yet.
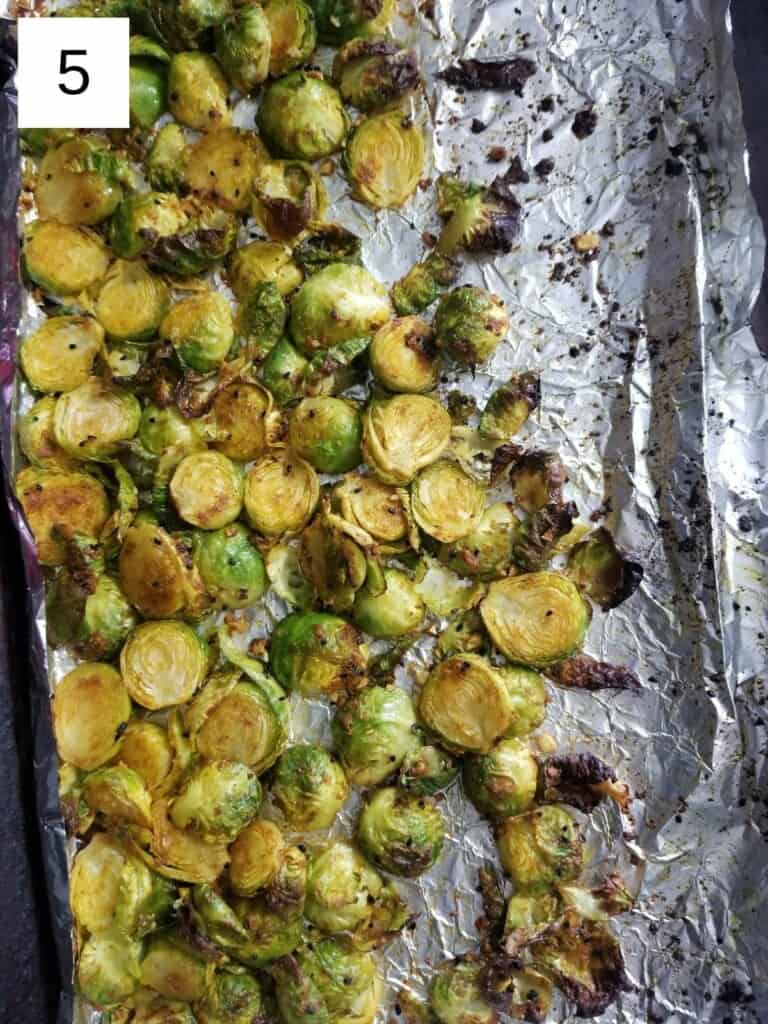
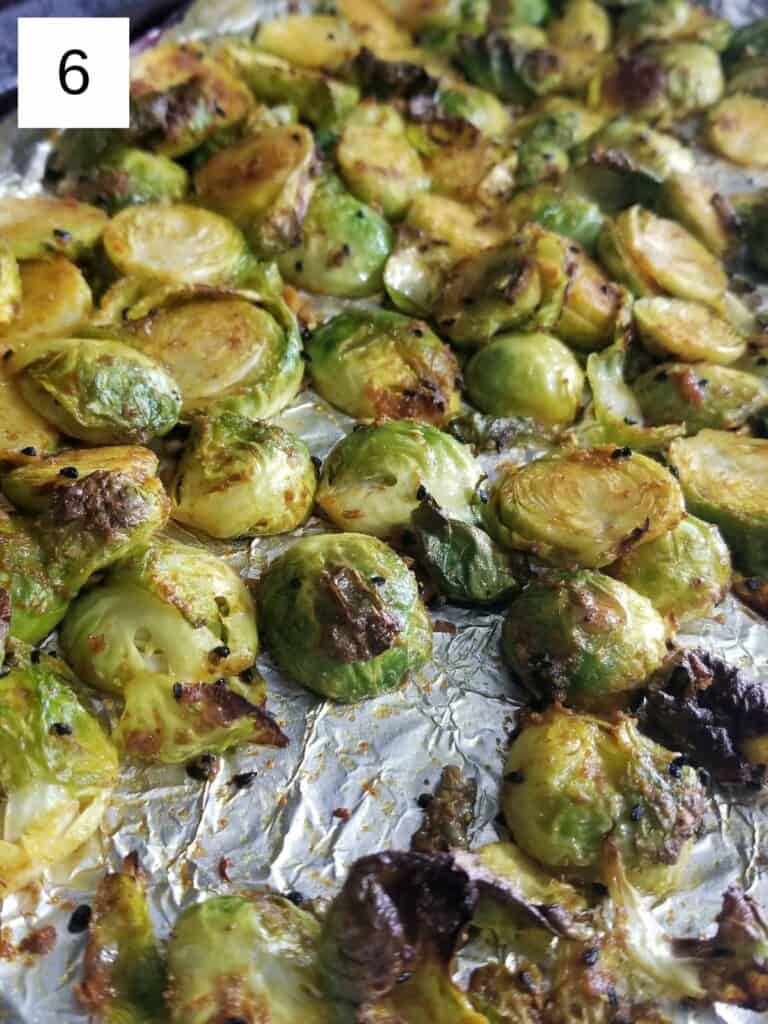
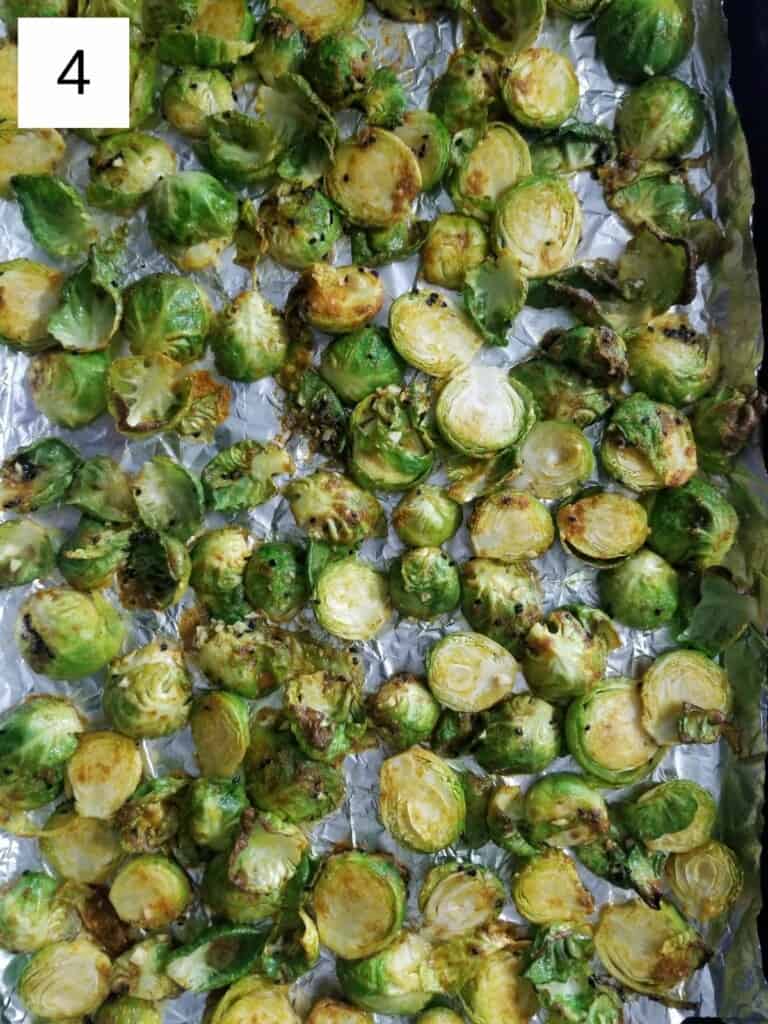
Step 5) Bake for 5 minutes on convection, then move them around and turn the tray to ensure even baking. Cook for 4 more minutes, then take them out again and remove any leaves that are crispy and somewhat browned, then return them to the oven for 3 more minutes (images 4-6).
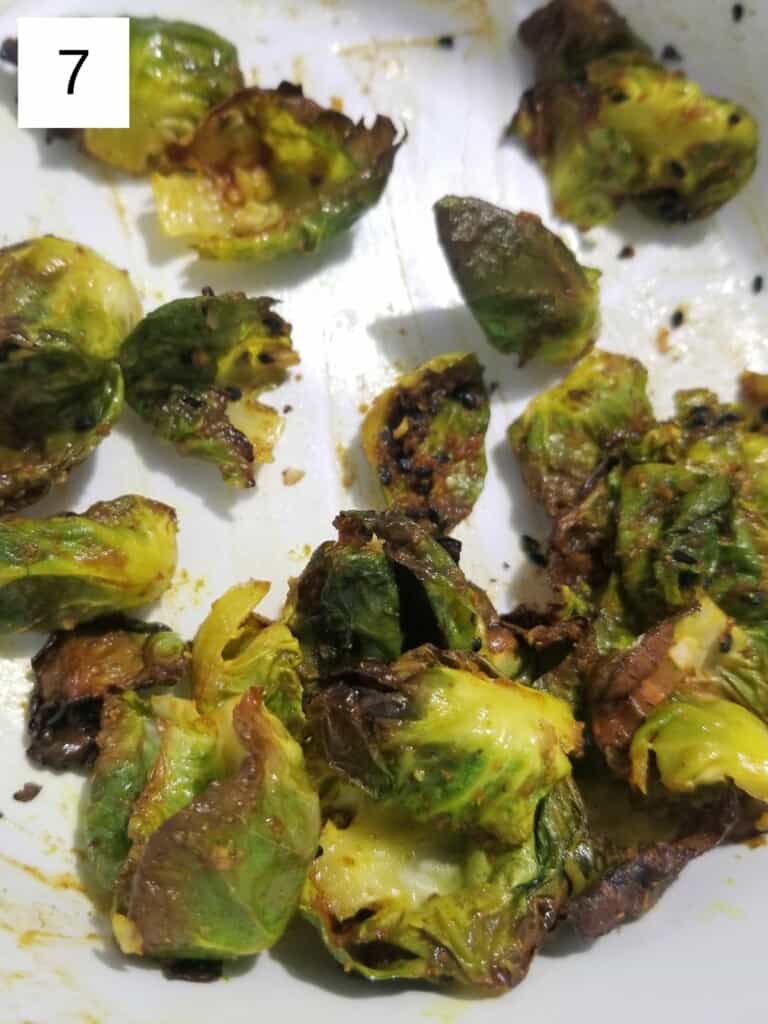

Step 6) Once you've removed the tray from the oven, immediately transfer the sprouts back into your mixing bowl and toss them all with lemon juice (if using) (images 7 & 8). Try one bite and add extra salt as needed. Serve and enjoy!
🥕 Variations
- Apple Brussels Sprouts – Toss in small cubes of fresh apple before baking for a gentle sweetness that pairs well with curry spices.
- Carrot Boost – Add sliced carrots or rainbow carrots for extra color, fiber, and natural sweetness.
- Herb-Finished Version – Skip citrus and finish with fresh chopped parsley, cilantro leaves (if tolerated), or basil for brightness.
- Garlic-Free Option – Omit garlic and add a pinch of extra ginger or coriander seed for flavor without common triggers.
- Seeded Crunch – Sprinkle with toasted pumpkin seeds or sunflower seeds after baking instead of nuts for a low histamine crunch.
- Sweet Potato Mix-In – Roast cubed sweet potatoes alongside the Brussels sprouts for a heartier, naturally sweet variation.
🥘 Freezing and Reheating
Honestly, I don't like to freeze these, but that's because I find that frozen brussels sprouts generally end up quite mushy. I purposefully use just a pound of brussels sprouts whenever I make this recipe, as it's very forgiving and can easily be halved or doubled for varying crowd or squash sizes.
However if you need to freeze them, cook them beforehand. Then allow them to fully cool and pour them into a larger container for long-term storage.
To reheat the sprouts, heat them in a preheated air fryer at 400°F (205°C) for 3-5 minutes, then serve as desired. If you're not on a low histamine diet, these can stay good in the fridge for up to 3 days when stored in an air-tight container and cooled to room temperature beforehand.
👨🏻🍳 Expert Notes & Tips
Don't Burn! Make sure to keep an eye on your brussels during the last couple minutes of cooking, because that's when they're crisping up the most (or possibly eventually burning).
Air Fryer Indian Brussels Sprouts: if you want to make these Indian brussels sprouts in the air fryer, simply follow all the same directions except on 375°F (190°C) in the air fryer for the same amount of time. I recommend eating only as much as you'll eat that day, rather than freezing or refrigerating any leftovers.
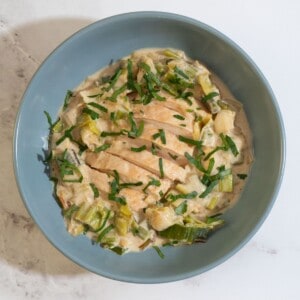
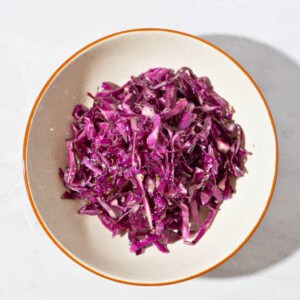
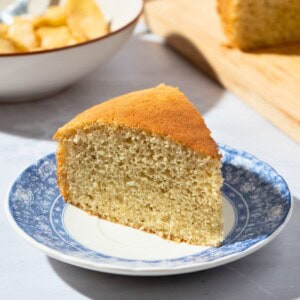
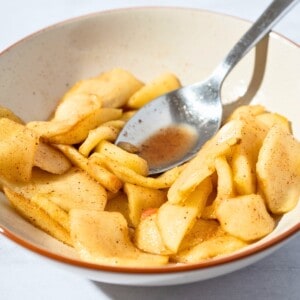
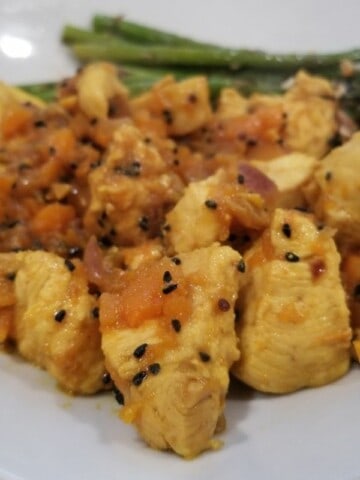
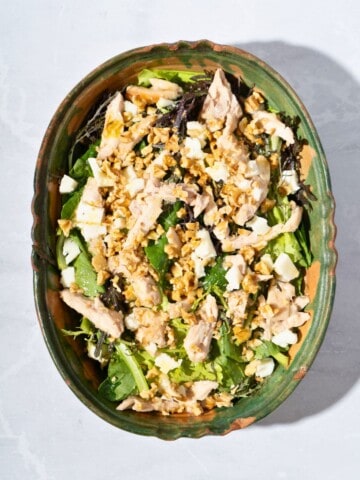
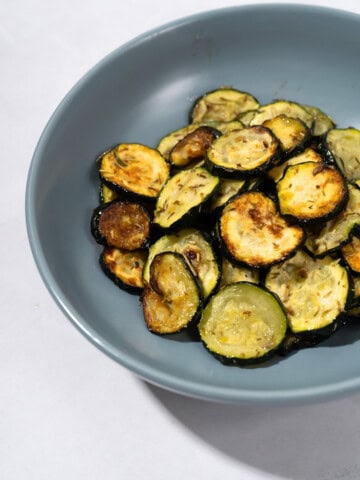
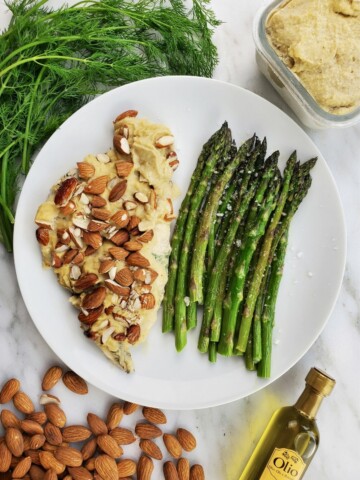
❓ What to Serve With Brussels Sprouts
🙋 Frequently Asked Questions
Yes — fresh Brussels sprouts are generally considered low histamine and suitable for most low histamine diets when cooked and eaten right away.
Absolutely. Both are optional. You can skip them entirely or finish with fresh herbs for brightness without adding acidic ingredients.
Fresh is preferred for best texture, but frozen Brussels sprouts can work in a pinch. Roast straight from frozen and expect slightly softer results.
Avocado oil, coconut oil, or light olive oil all work well and are typically tolerated on low histamine diets.

Have you tried this recipe?
If you like the recipe, please leave a 5-star ⭐️⭐️⭐️⭐️⭐️ rating on the recipe card, or even a comment! I love to hear how your recipes turned out, and your feedback can help other readers! Also join us on Instagram, Facebook & Pinterest.
📖 Recipe
Curry-Spiced Indian Brussels Sprouts (Vegan)
Equipment
- oven
Ingredients
- 1 pound brussels sprouts washed & trimmed
- 3 tablespoons high-heat oil of choice
- 4 cloves garlic minced
- 1 teaspoon ground turmeric
- 1 teaspoon cumin powder
- 1 teaspoon ground coriander seed
- 1 teaspoon whole nigella seeds optional
- ½ teaspoon ground ginger
- ½ teaspoon mustard powder
- ½ teaspoon amchur powder
- 1 teaspoon sea salt
- 1 teaspoon coconut sugar
- 2 Tablespoons lemon juice optional, alt tamarind juice
Instructions
- Preheat the oven or toaster oven to 425°F (220°C).
- Wash the brussels sprouts thoroughly, and then chop off the bottoms just enough to peel off individual leaves. Peel off several leaves from each sprout, or enough that the leaves no longer easily peel off.
- Chop the remaining sprouts in half, then put them with all the leaves into a mixing bowl. If your brussels sprouts still have a fair amount of water clinging to them, line a baking tray with a piece of aluminum foil and add your sprouts, then out them in the preheating oven for 2-3 minutes. They'll be slightly wilted and greener, but dry enough to fry rather than steam.
- Wash and mince your cloves of garlic, then measure all your spices (turmeric, cumin, coriander, nigella seeds, ginger, mustard & amchur), and add them to the mixing bowl along with the oil, salt, and coconut sugar.
- Toss together all the ingredients (except the lemon juice) until evenly coated, then pour them onto the baking tray and put them in the oven. Do NOT clean the mixing bowl, yet.
- Bake for 5 minutes on convection, then move them around and turn the tray to ensure even baking. Cook for 4 more minutes, then take them out again and remove any leaves that are crispy and somewhat browned, then return them to the oven for 3 more minutes.
- Once you've removed the tray from the oven, immediately transfer the sprouts back into your mixing bowl and toss them all with lemon juice (if using). Try one bite and add extra salt as needed. Serve and enjoy!
Comments
No Comments