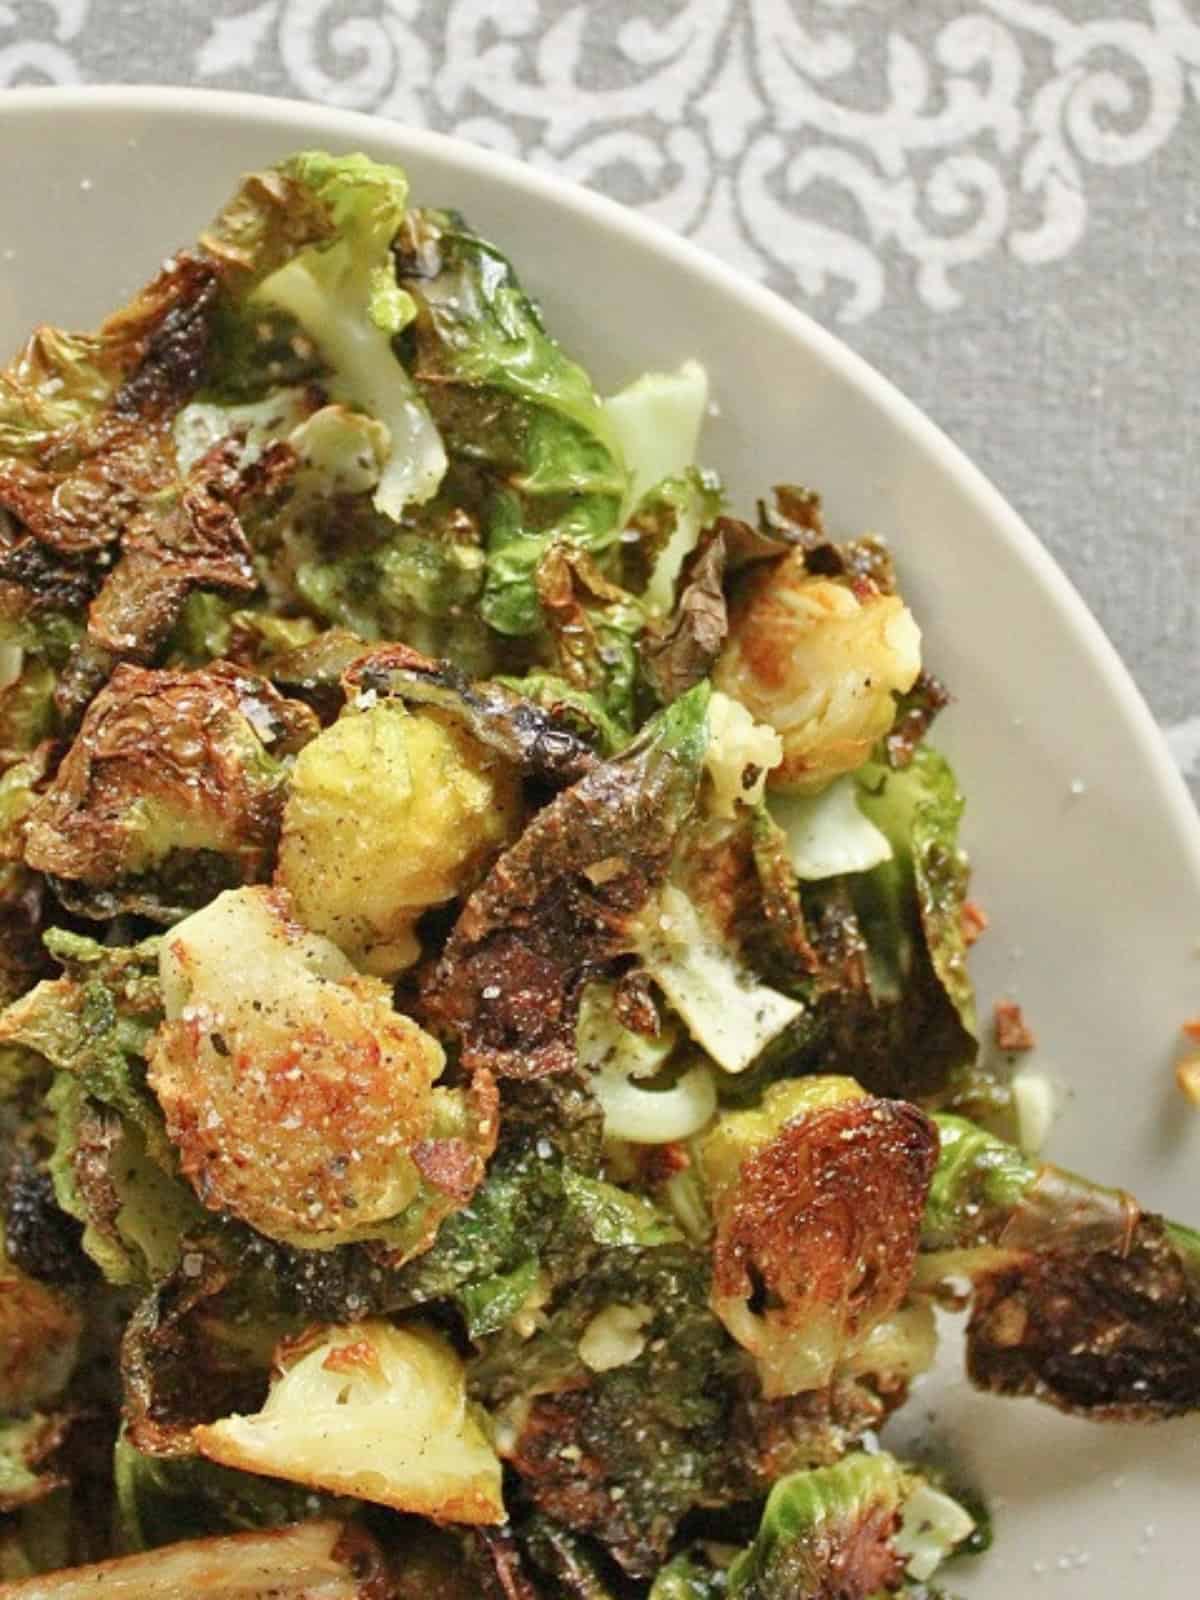
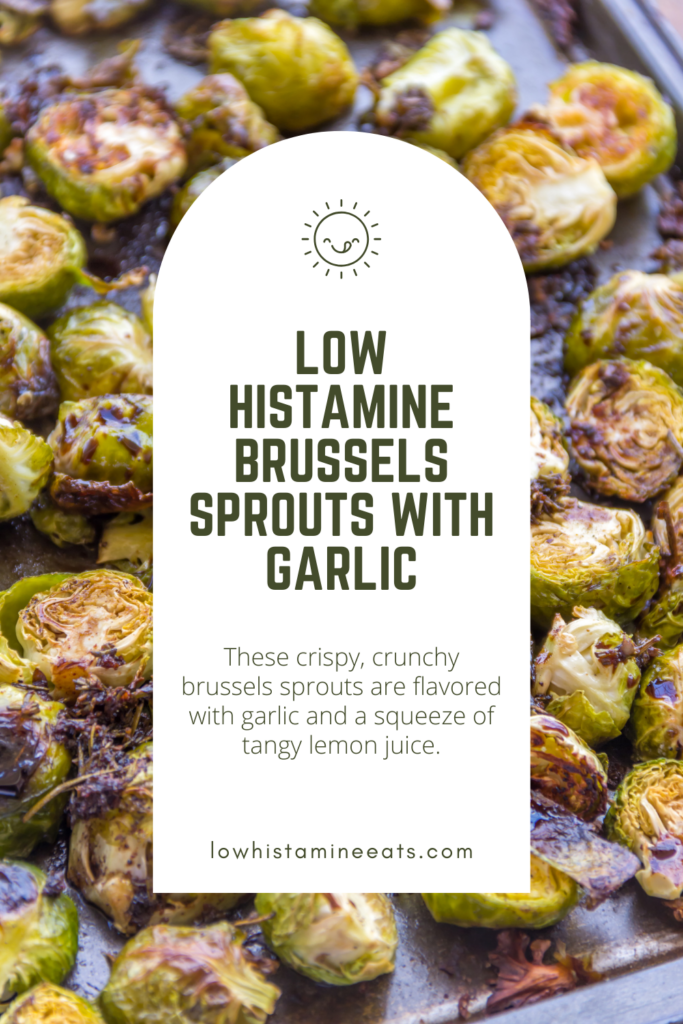
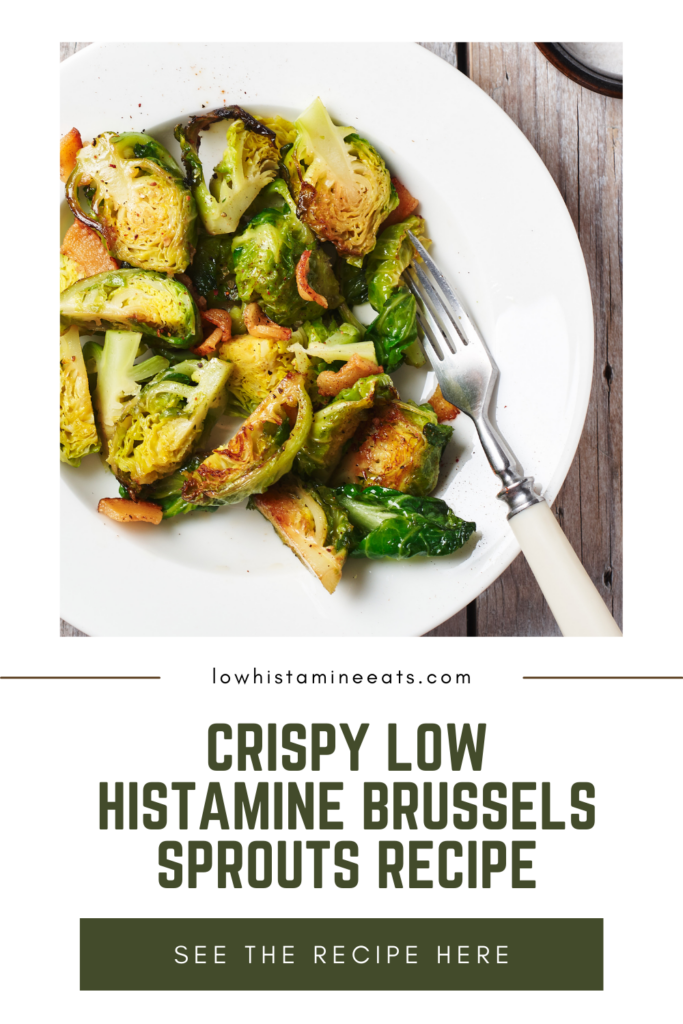
I've been perfecting these baked garlic brussels sprouts for over a year now, partly because both brussels sprouts and garlic are potent antihistamines. Crisped up in the oven or toaster oven with a heavy hand of garlic; I can guarantee that these will be the best crunchy brussels sprouts you've ever had.
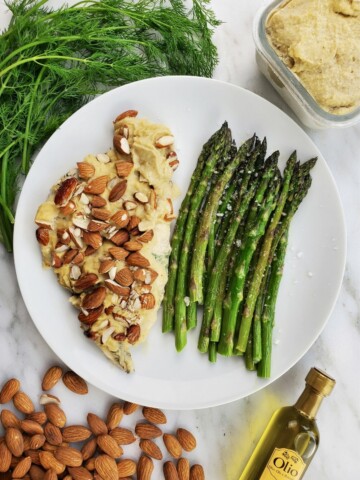
For other easy side dishes, try my creamy radish mash and baked asparagus.
Jump to:
✔️ Why This Recipe is Great
Easy Low Histamine Side. One thing I constantly look for is new low histamine side dishes to add to my favorites list. These low histamine brussels are crunchy, savory, salty, and satisfying.
Dependable Cool Weather Recipe: As the cold weather ends and spring fulling springs, for some reason brussels sprouts are one of the few organic low histamine vegetables I can find pretty consistently. They also stay good in the fridge for at least a week, which is great when you need to eat or freeze your food right after it's cooked.
🧄 Ingredients
Brussels Sprouts: these 'spherical kale,' as my local Asian grocery calls it, is a member of the cancer-fighting brassica family of vegetables. Its ill-gotten reputation for being stinky comes from those very same sulfurous anti-cancer properties.
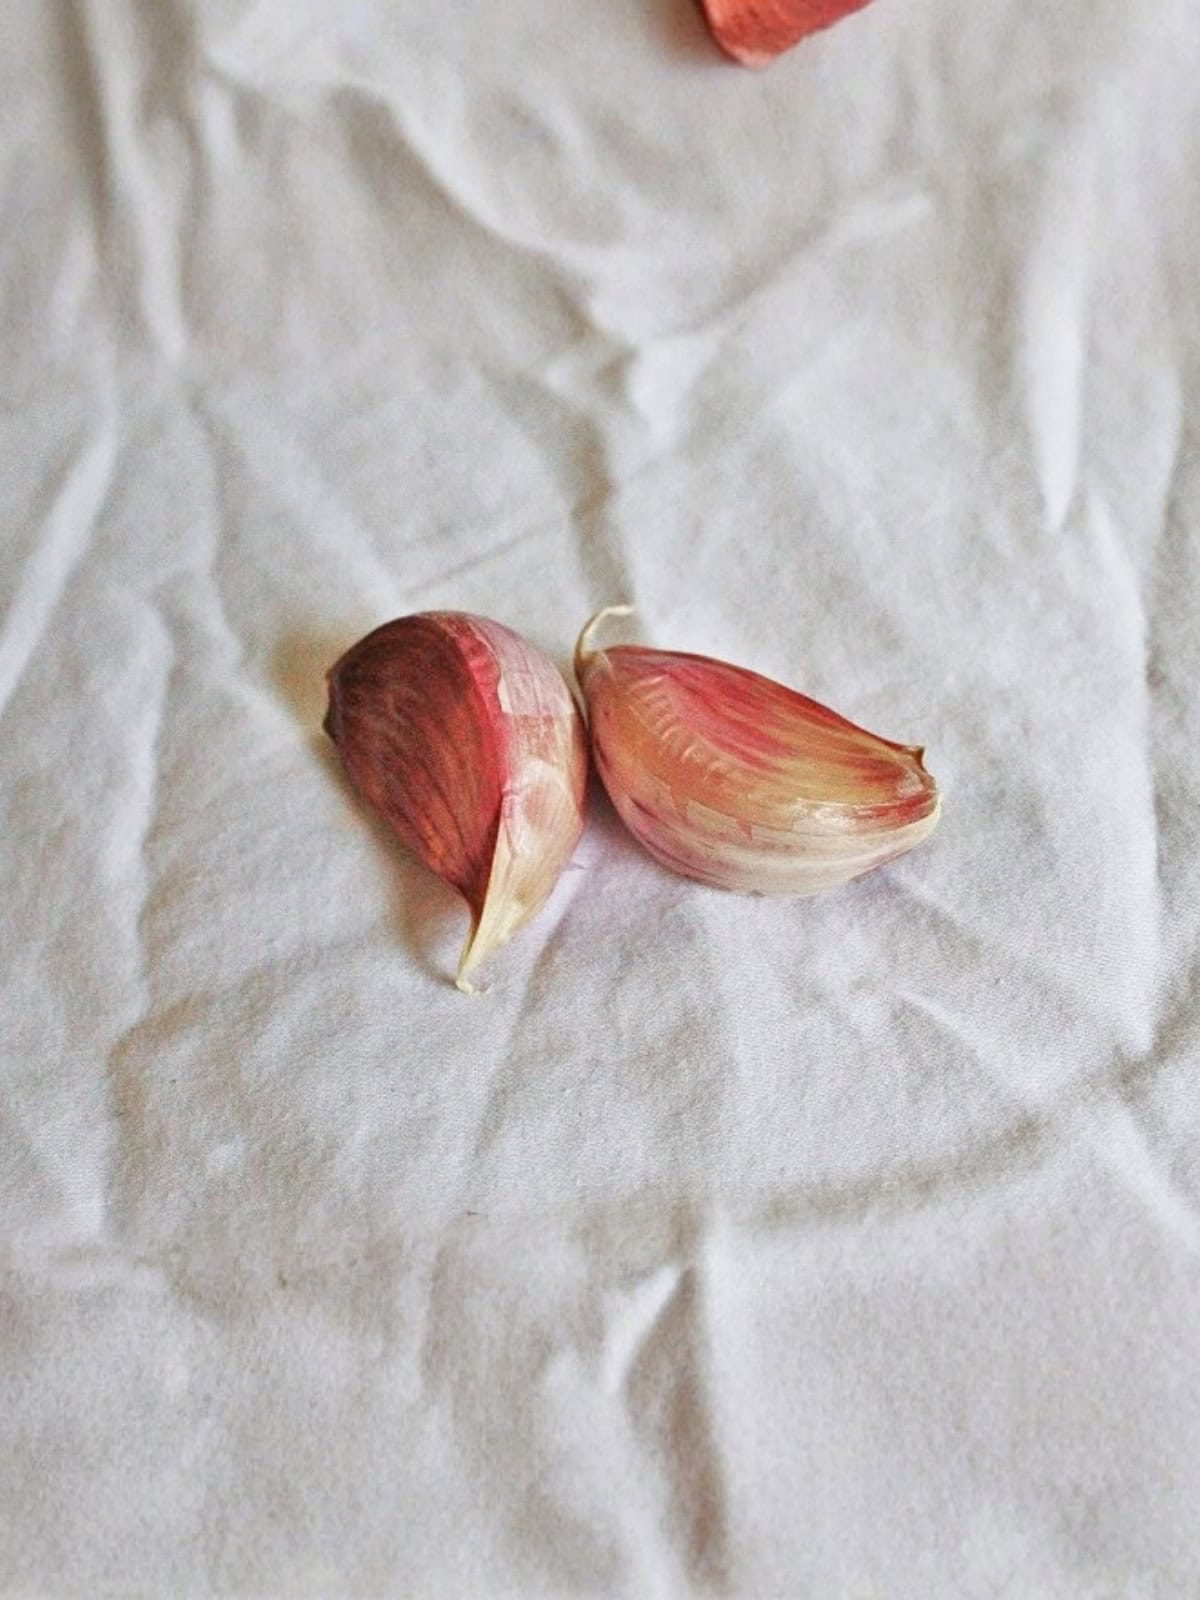
Fresh Garlic: using fresh raw garlic adds an umami element to the brussels that really complements meats and root vegetables as well as brassica (like brussels sprouts).
Lemon Juice: while some people have issues with lemon juice, most people tolerate it, especially in such small quantities, and it's a great source of vitamin C. Here it helps balance out the overall flavor of the brussels and cut through the fried outside, though if you can't tolerate lemon juice, make sure you use sumac.
Black Pepper (or Sumac): most people are familiar with black pepper, but if you've never heard of it, sumac is a red-hued spice that's actually a ground-up dried berry with strongly antihistamine and acidic properties. Either black pepper or sumac are optional but recommended ingredients to balance out the flavors in this side dish.
🍋 How to Make Baked Brussels Sprouts (Step-by-Step)
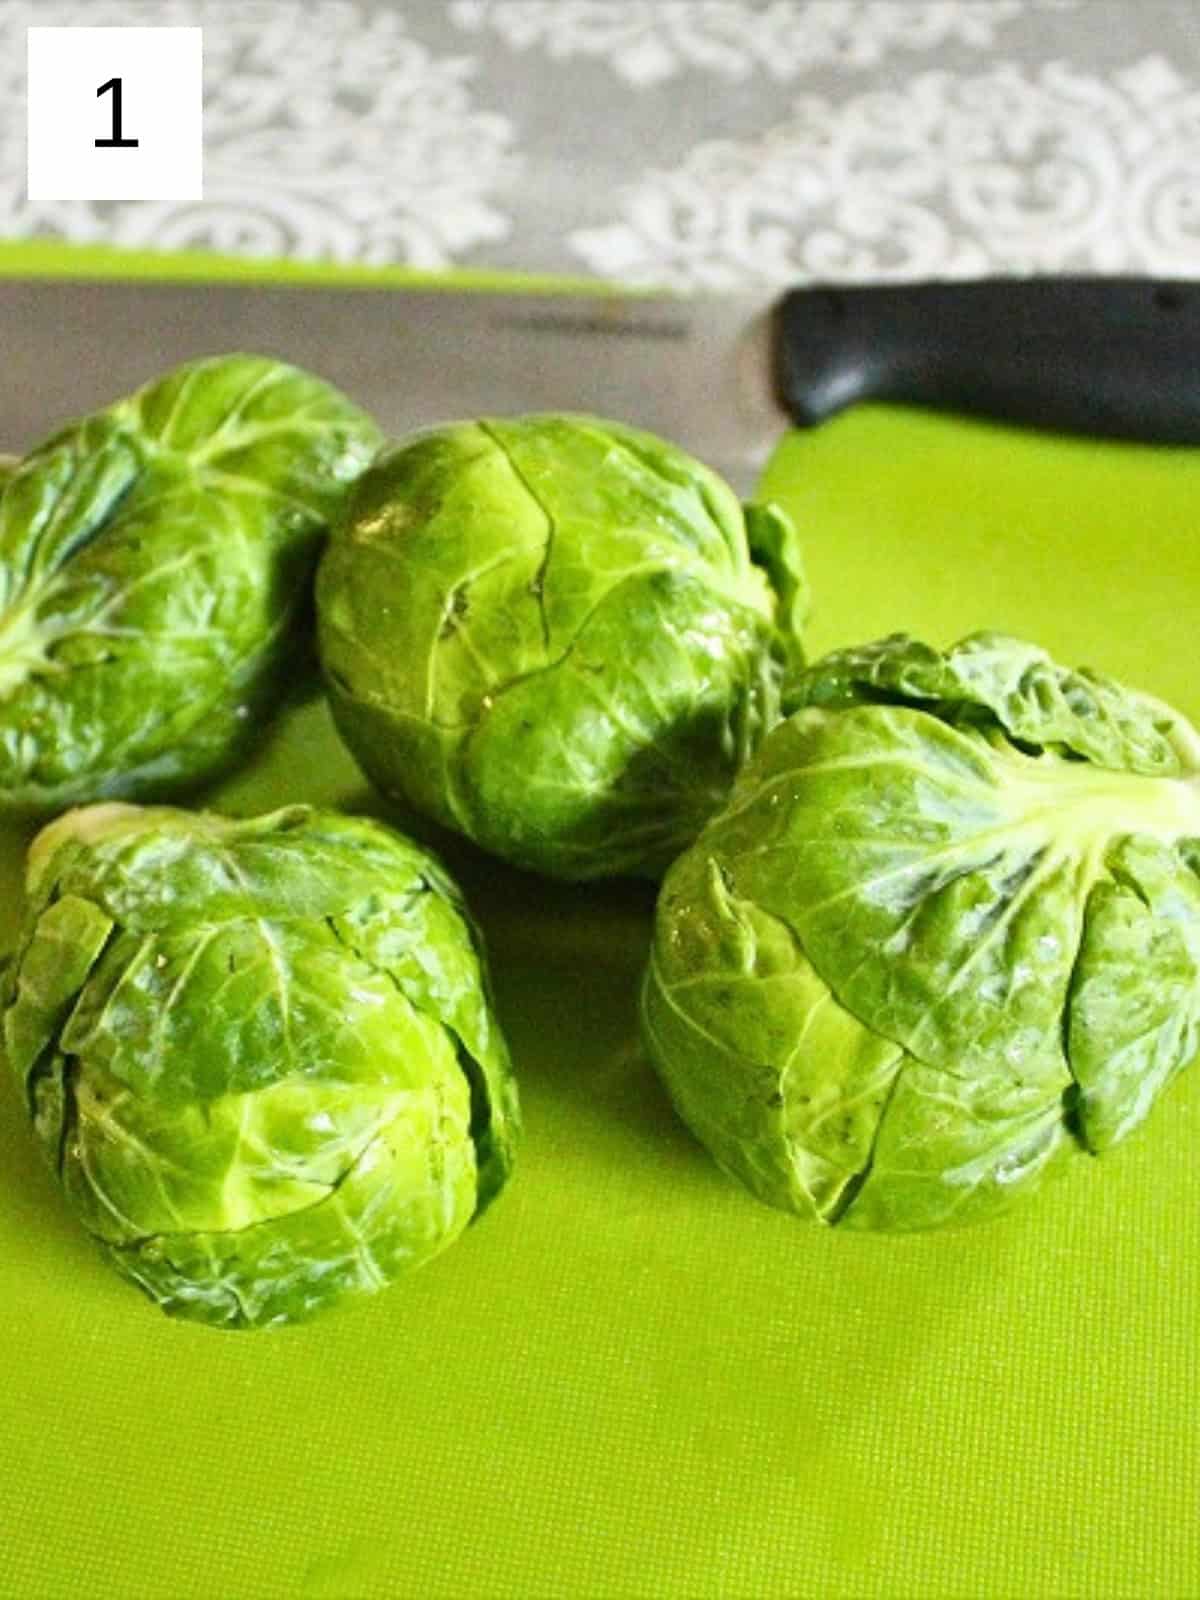
Step 1) Preheat the oven or toaster oven to 425°F (220°C), then wash the brussels sprouts thoroughly. Chop off the bottoms just enough to peel off individual leaves, then take off several leaves from each sprout, just enough that the leaves no longer easily peel off (images 1 & 2).
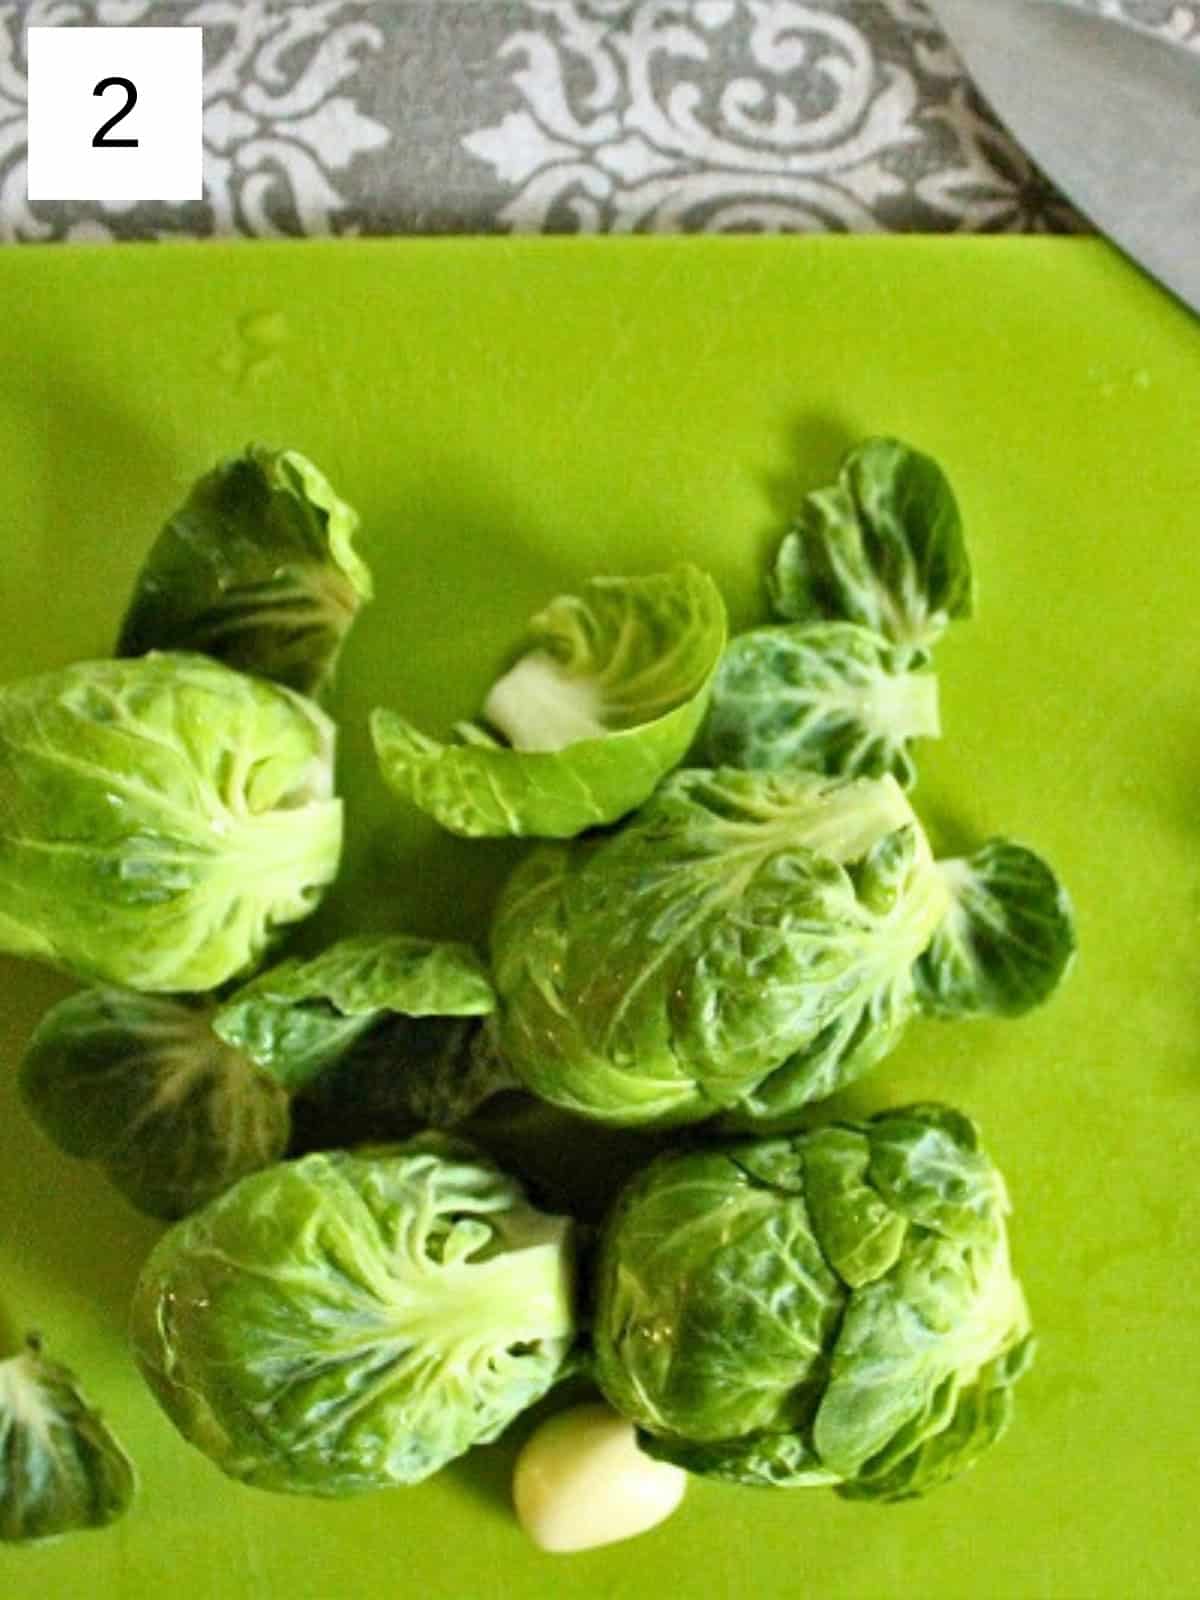
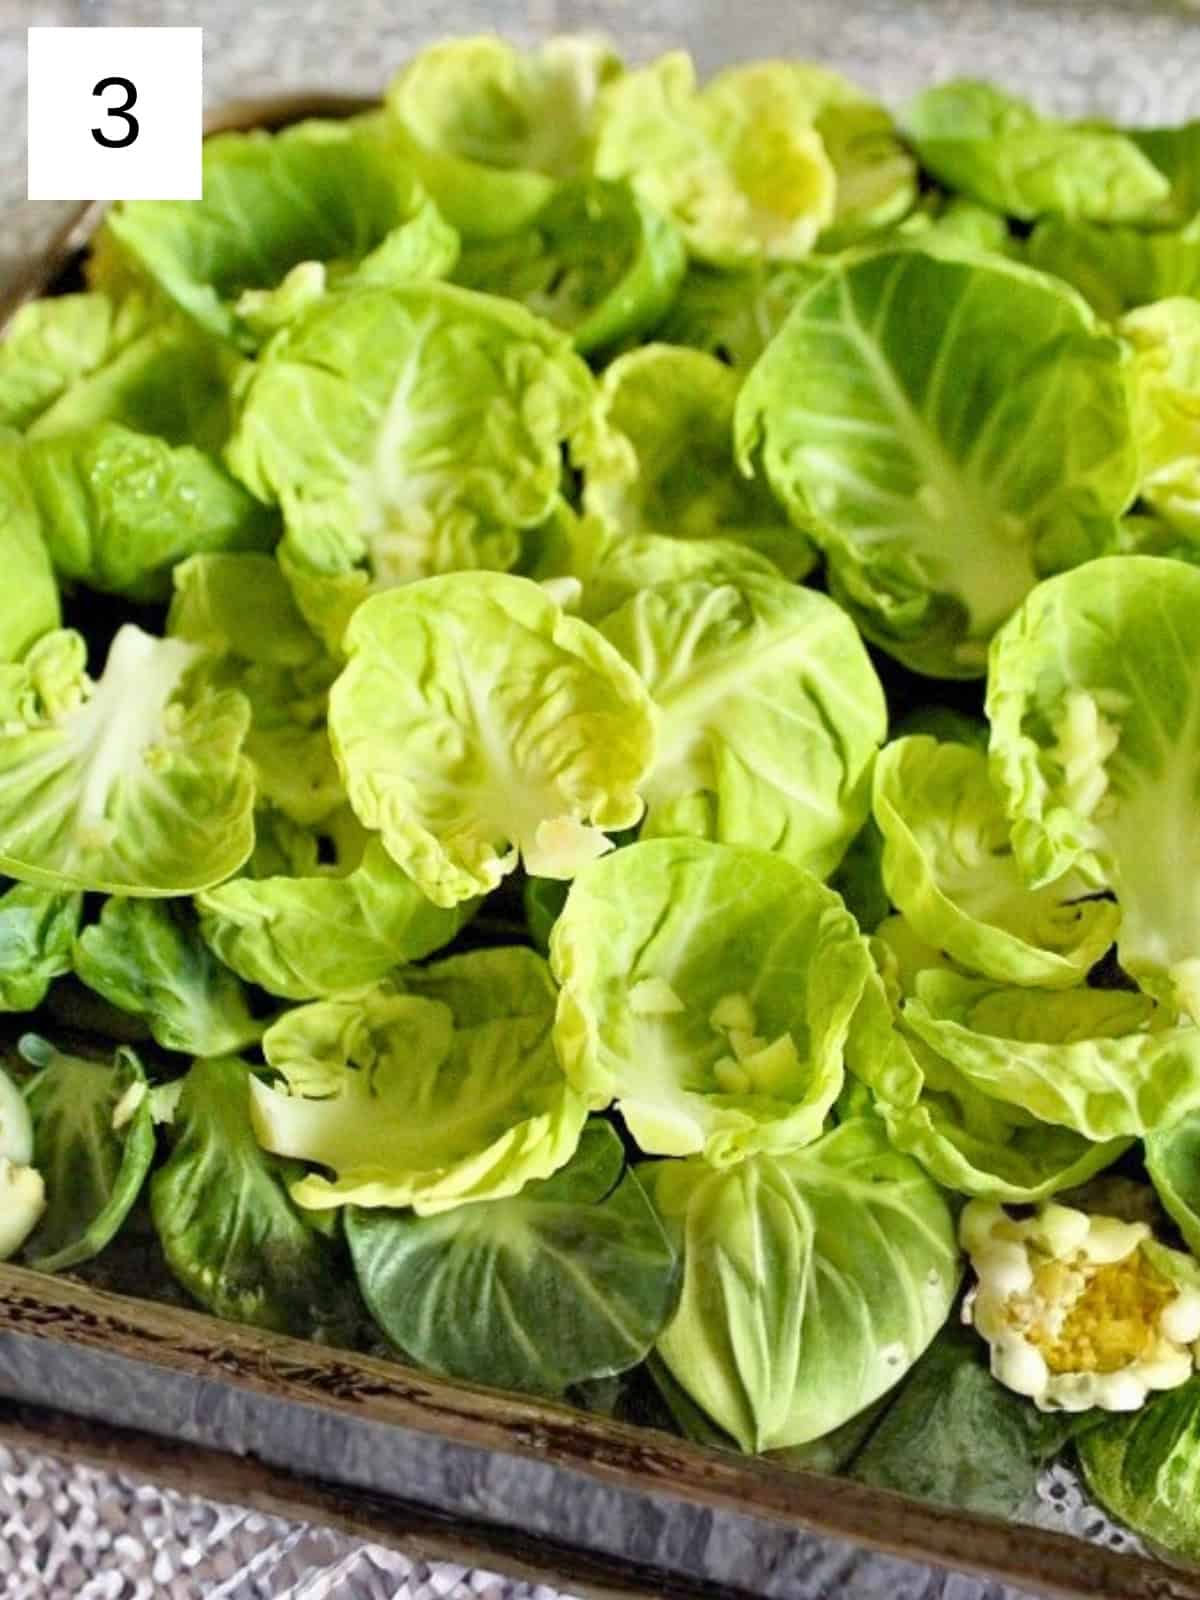
Step 2) Chop the remaining sprouts in half, then put them with all the leaves into a mixing bowl (image 3). [If your brussels sprouts still have a fair amount of water clinging to them, you can toss them onto the baking tray in the preheating oven for 2-3 minutes. They'll be slightly wilted and greener, but dry enough to fry rather than steam.]
Step 3) Wash and mince your cloves of garlic, then add them to the mixing bowl along with the oil, salt, and pepper or sumac.
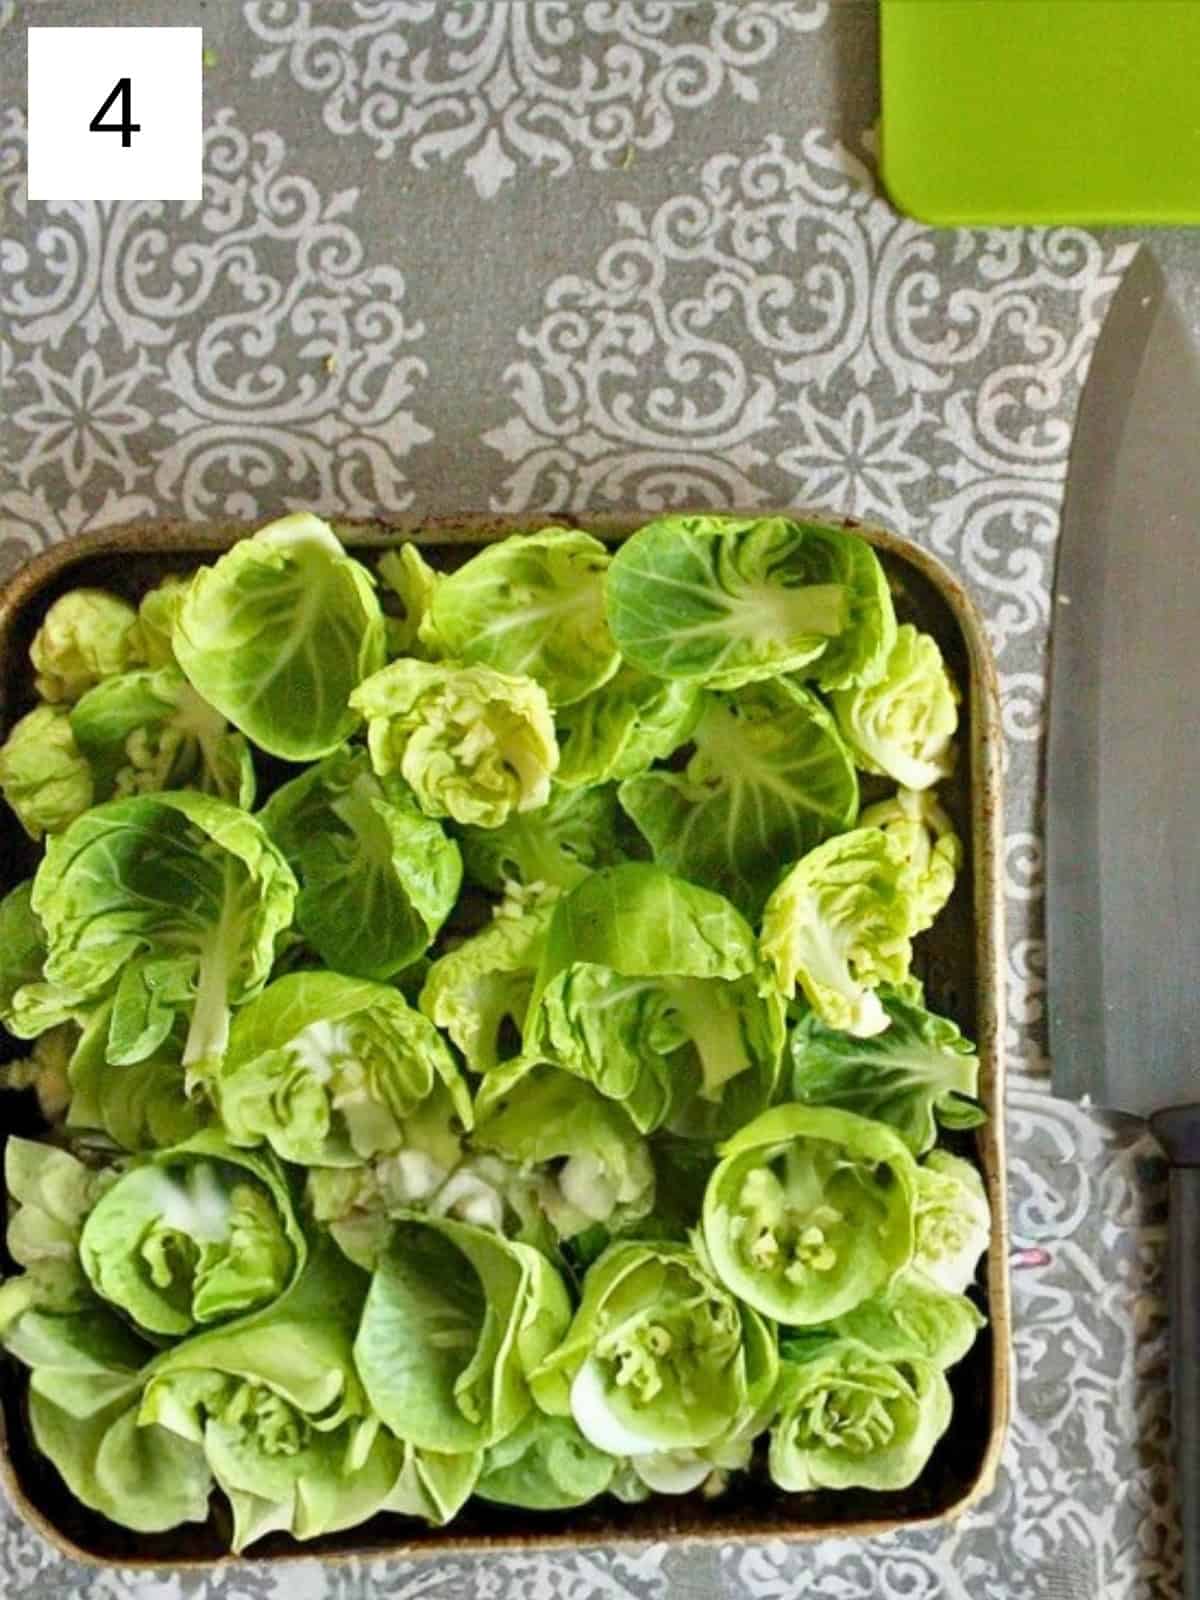
Step 4) Toss together all the ingredients (except the lemon juice) until evenly coated, then pour them onto the baking tray and put them in the oven. Do NOT clean the mixing bowl, yet (image 4).
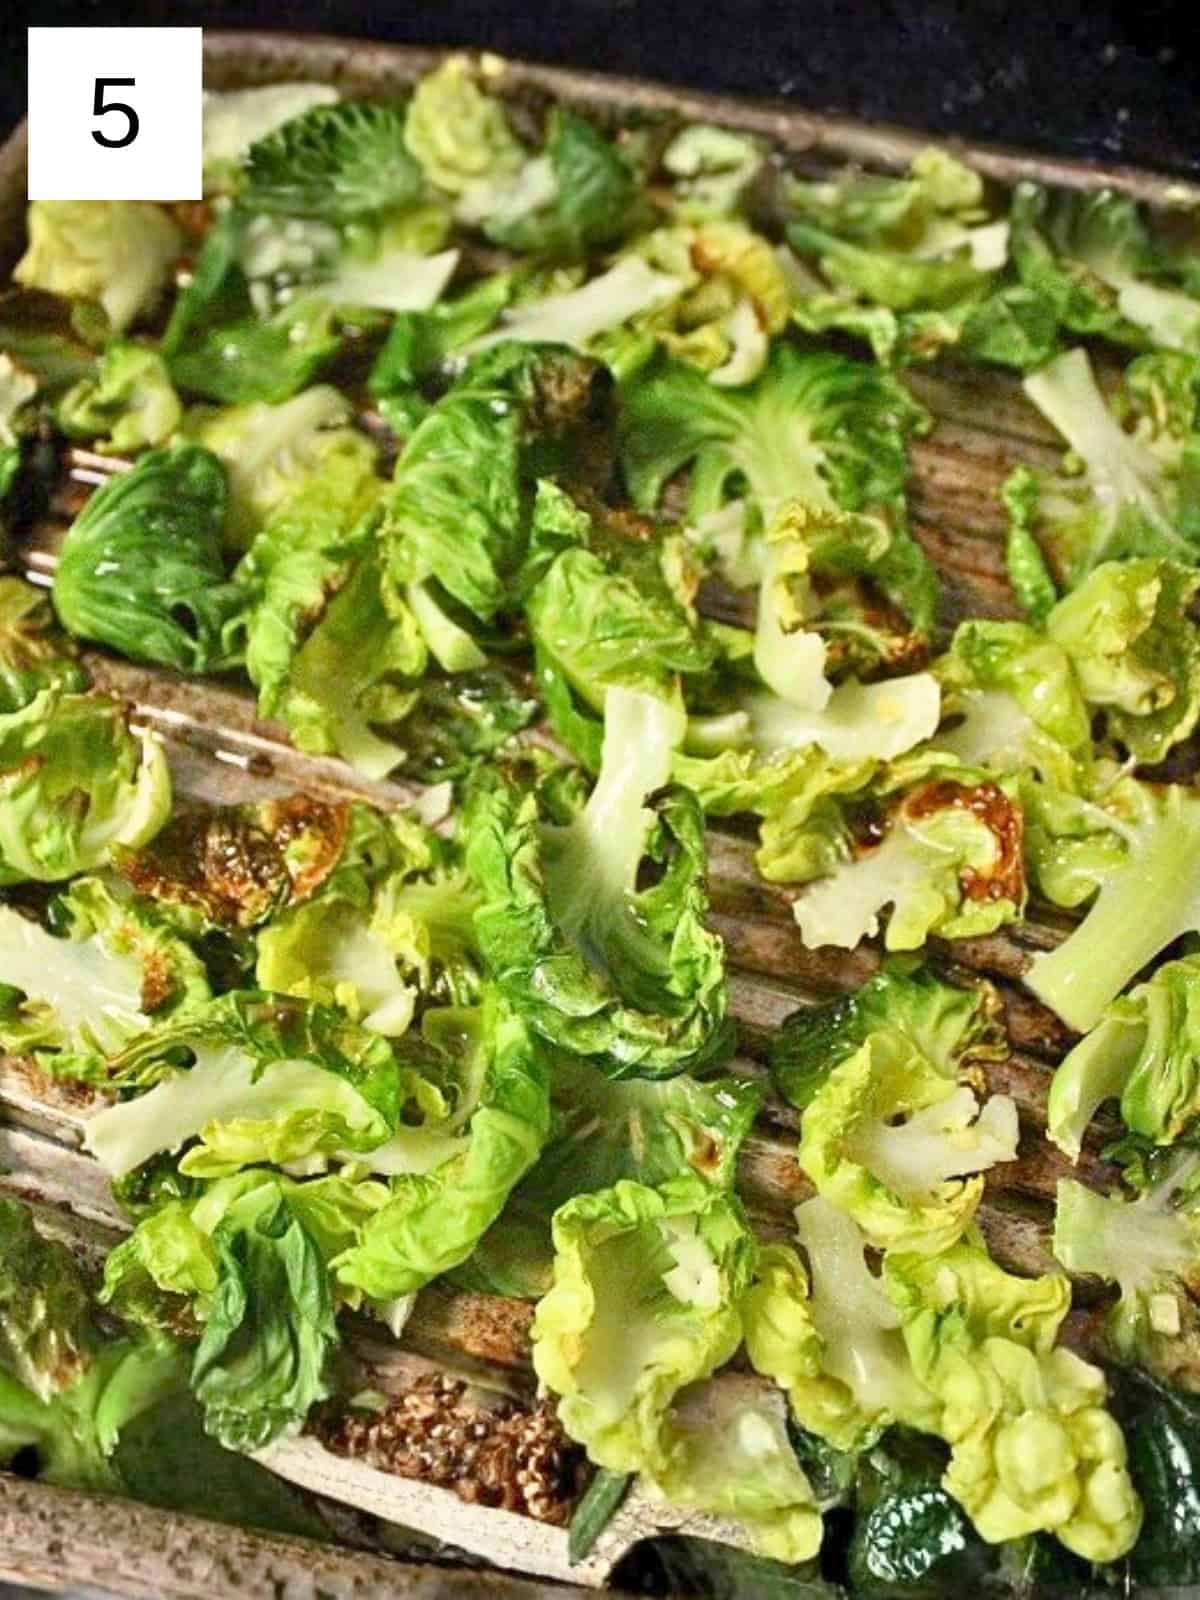
Step 5) Bake for 5 minutes, then move them around and turn the tray to ensure even baking. Cook for 4-6 more minutes, until crispy and somewhat browned, but not burnt (image 5). If these were stir-fried, they'd be called "blistered" brussels sprouts.
Step 6) Once you've removed the tray from the oven, immediately transfer the sprouts back into your mixing bowl and toss with lemon juice. Try one bite and add extra salt & pepper (or sumac) as needed.
Serve and enjoy!
Reader Review
I love the flavor of sumac with these brussels sprouts. Also like how crispy they get when you pull the leaves off instead of just roasting the whole sprout!
⭐⭐⭐⭐⭐ - Kim
🫚 Variations
- Add Fresh Herbs: Toss with fresh rosemary, thyme, or sage before roasting for an earthy, aromatic flavor.
- Maple Glazed: Drizzle with a teaspoon of maple syrup before baking for a delicious sweet and savory balance.
- Include Seeds for Crunch: Add pumpkin seeds (pepitas) or sunflower seeds during the last 5 minutes of roasting for extra texture.
- Swap the Tang: Use extra sumac instead of lemon juice to provide a low histamine tartness.
- Add Pomegranate Arils: Top the finished sprouts with fresh pomegranate arils for a burst of color and natural sweetness.
- Ginger Kick: Mix in a small amount of freshly grated ginger for a warming, anti-inflammatory boost.
- Use Shallots or Leeks: Roast alongside thinly sliced shallots or leeks for a milder, caramelized allium flavor.
🥘 Freezing and Reheating
Honestly, I don't mind freezing these, though they can keep in the fridge for up to 4 days, if tolerated. They reheat well, so I purposefully use a pound or two of veggies at a time when I make this recipe, as it can easily be halved or doubled for varying crowd sizes.
And if you know you absolutely must freeze your garlic brussels sprouts, make sure you use fresh veggies in the first place, then make sure to reheat them from frozen in the air fryer for 4-5 minutes at the highest temperature (the time depends on the amount you're reheating).
👨🏻🍳 Expert Notes & Tips
Don't Burn! Make sure to keep an eye on your brussels during the last couple minutes of cooking, because that's when they're crisping up the most (or possibly eventually burning).
Swapping Lemon Juice: If you choose to use pomegranate or even cherry or cranberry juice instead of lemon juice, first try the same amount of juice and then double if needed. Alternatively, try a quarter teaspoon of camu camu powder as the acid.
❓ What to Serve with Brussels Sprouts
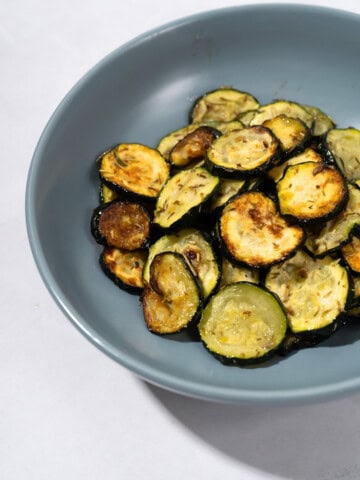
- chicken tenders with pesto sauce
- fresh blistered carrots
- a zoodle or chickpea noodle bowl
- rosemary garlic lamb skillet
- one skillet honey butter chicken
📖 Recipe

Crispy Garlic Brussels Sprouts
Equipment
- Large Mixing Bowl
- Baking Sheet
Ingredients
- 8 oz. organic brussels sprouts
- 2 cloves fresh garlic minced
- 1 Tablespoon organic olive oil
- ½ teaspoon fresh lemon juice pomegranate is okay, too, [if tolerated; then squeeze the rest of the lemon juice into an ice tray for immediate freezing]
- sprinkle sea salt
- dash black pepper or sumac [if tolerated]
Instructions
- Preheat the oven or toaster oven to 425°F (220°C).
- Wash the brussels sprouts thoroughly, and then chop off the bottoms just enough to peel off individual leaves. Peel off several leaves from each sprout, or enough that the leaves no longer easily peel off.
- Chop the remaining sprouts in half, then put them with all the leaves into a mixing bowl. [If your brussels sprouts still have a fair amount of water clinging to them, you can toss them onto the baking tray in the preheating oven for 2-3 minutes. They'll be slightly wilted and greener, but dry enough to fry rather than steam.]
- Wash and mince your cloves of garlic, then add them to the mixing bowl along with the oil, salt, and pepper or sumac.
- Toss together all the ingredients (except the lemon juice) until evenly coated, then pour them onto the baking tray and put them in the oven. Do NOT clean the mixing bowl, yet.
- Bake for 5 minutes, then move them around and turn the tray to ensure even baking. Cook for 4-6 more minutes, until crispy and somewhat browned, but not burnt. If these were stir-fried, they'd be called "blistered" brussels sprouts.
- Once you've removed the tray from the oven, immediately transfer the sprouts back into your mixing bowl and toss with lemon juice. Try one bite and add extra salt & pepper (or sumac) as needed. Serve and enjoy!
Notes
Nutrition
Save this post for later!






Kim says
I love the flavor of sumac with these brussels sprouts. Also like how crispy they get when you pull the leaves off instead of just roasting the whole sprout!
Max says
Thank you for the kind words, Kim! I'm glad you liked them. 🙂