

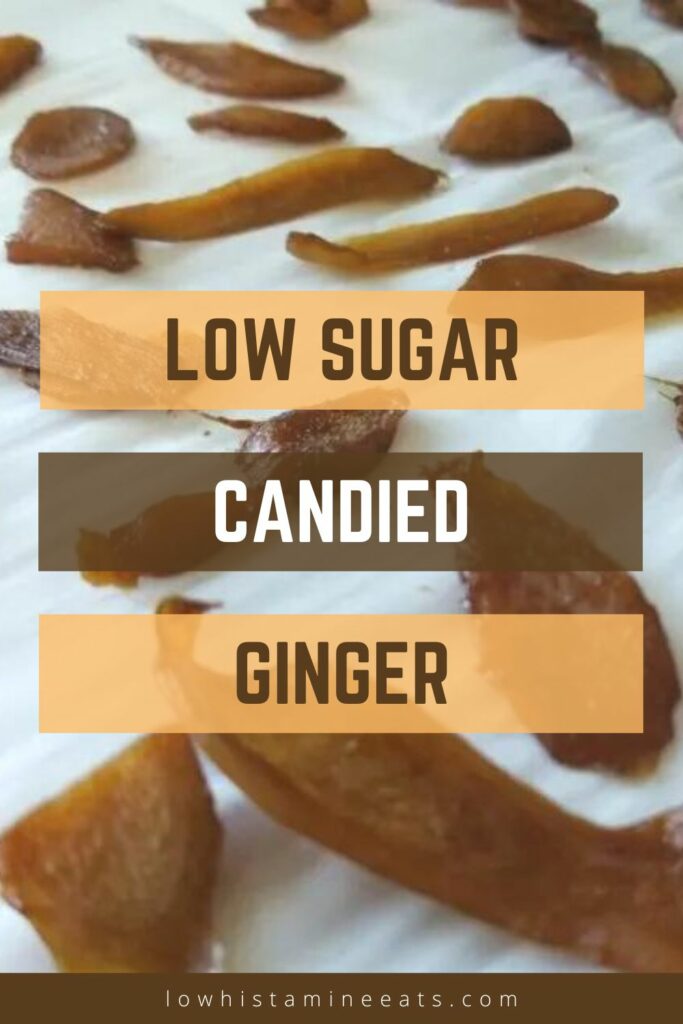
This crystallized ginger comes together with just 3 ingredients, none of the preservatives, and an endless number of uses. It's as simple as ginger, coconut sugar, and a bit of time. Plus, this low histamine candied ginger recipe uses way less sugar than the stuff you see in the store.
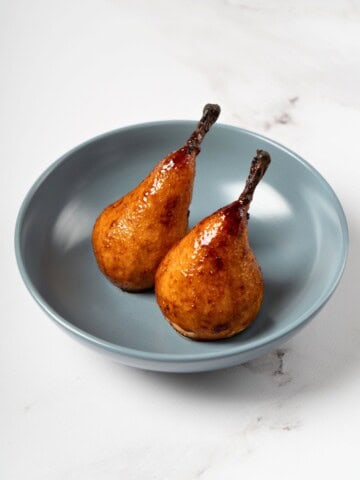
If you enjoy spiced and simple desserts, also try my spiced baked apples and gluten-free granola.
Jump to:
✔️ Why This Recipe is Great
Spike of fall flavor. Use chopped-up bits of this candied ginger in cakes, cookies, and nut clusters, or even just straight out of the container for a taste of autumn any time of year.
Natural antihistamine. Ginger is a fantastic & potent natural antihistamine food, and crystalizing it makes it more palatable and easy to use, without increasing histamine.
The mother of necessity. I really wanted to include candied ginger in one of my recipes, but couldn't find a low-sugar option made without refined sugar— most of the store-bought options are more than half sugar by weight! So I wrote myself an alternative, and this is it.
🫚 Ingredients
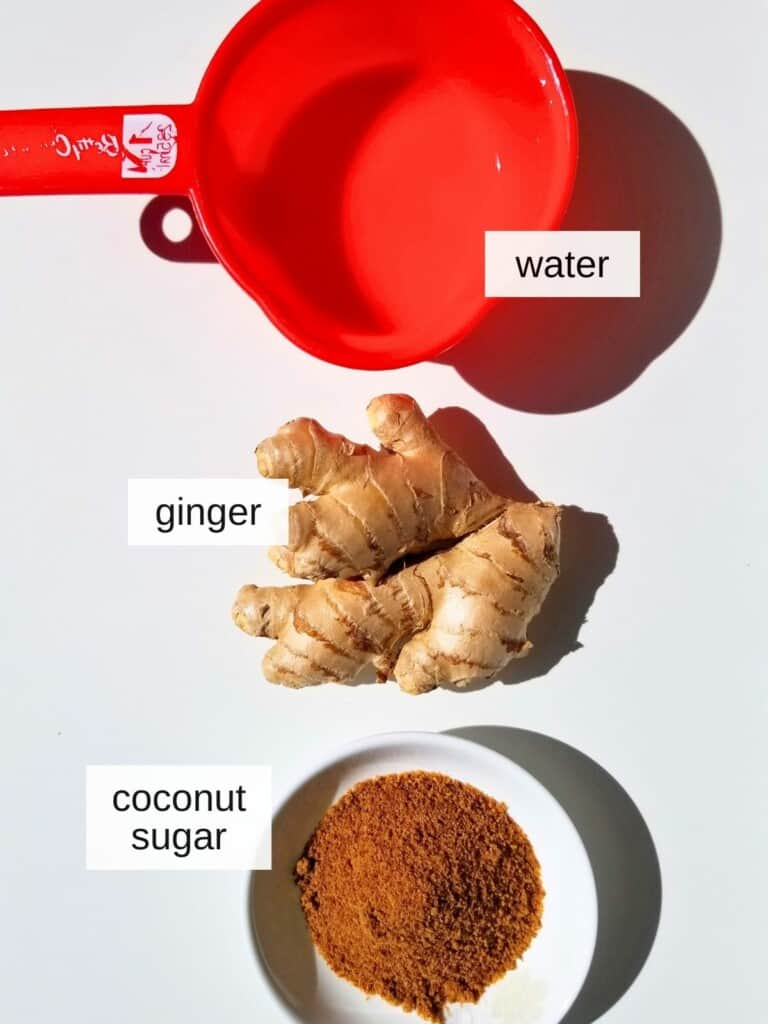
Fresh Ginger Root: this sharp, sweet root is very good for you, but the strong flavor can be off-putting. You don't need to fear the burn anymore, when you use this candied ginger, instead.
Coconut Sugar: this is a lower-glycemic, lower histamine sweetener that adds a nice toasty flavor to the final crystalized ginger.
See recipe card for exact ingredients and quantities.
🥣 How to Make Candied Ginger (Step-by-Step)
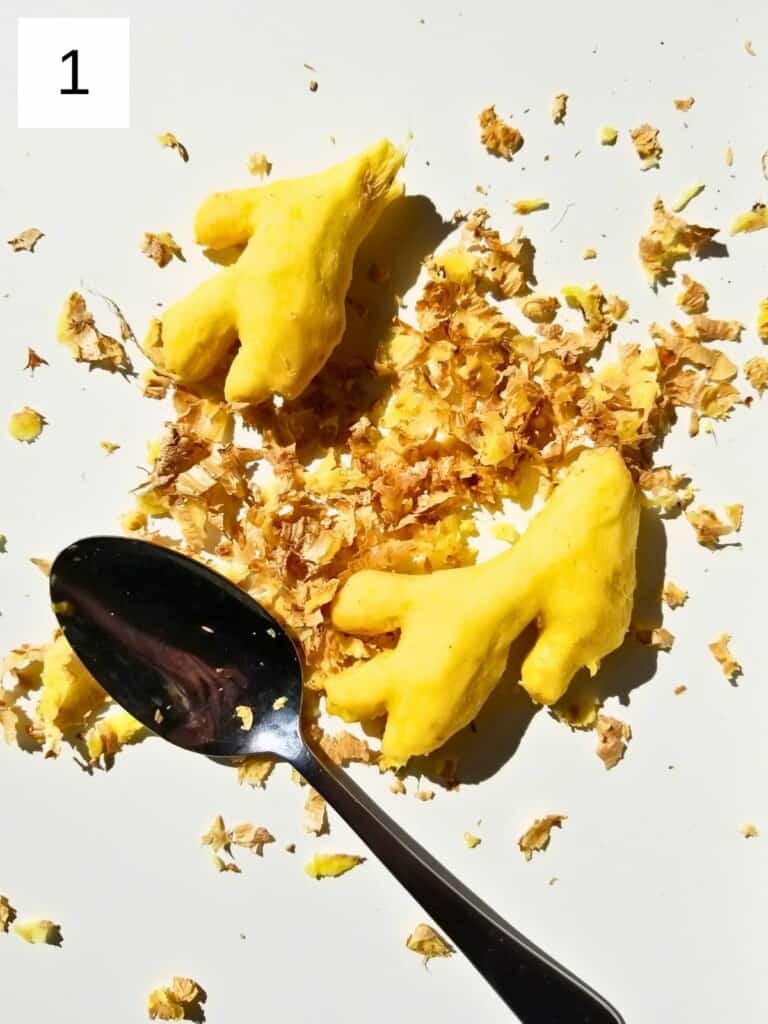
Step 1) Peel and rinse your ginger root (image 1), and then slice it into thin pieces (either matchsticks or medallions are ideal).
Pro-tip: Use a spoon to peel your ginger in order to minimize the mess and the loss of ginger, but beware of stray ginger juice getting into your eyes.
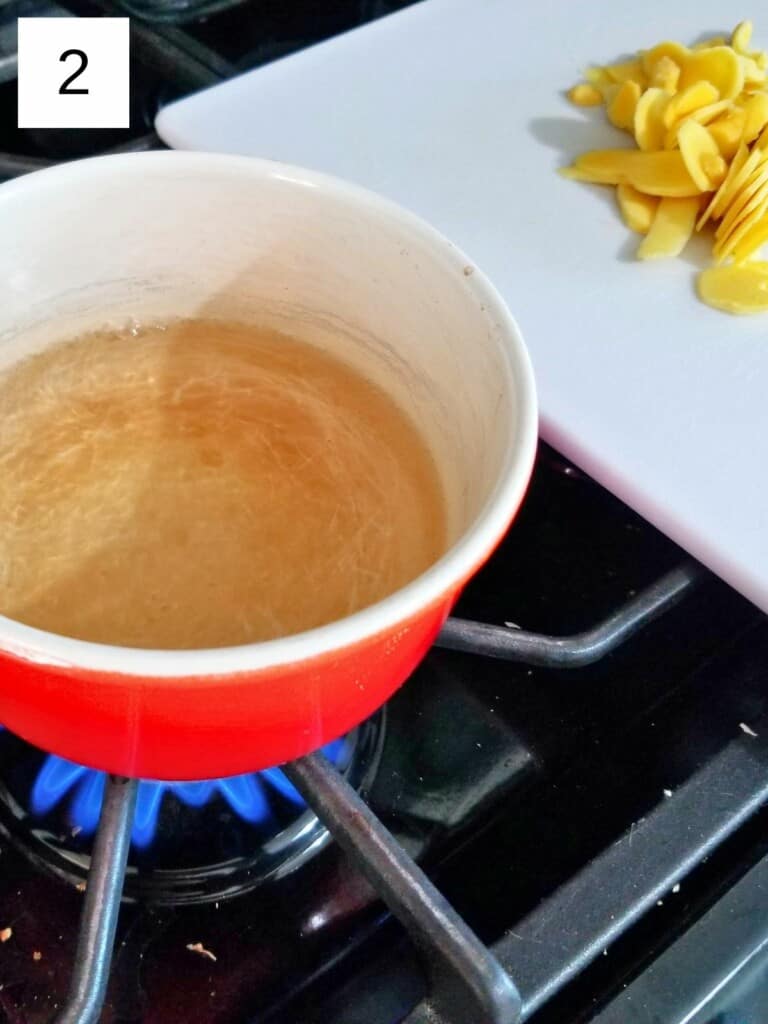
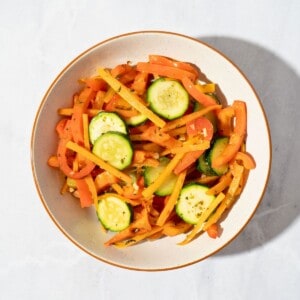
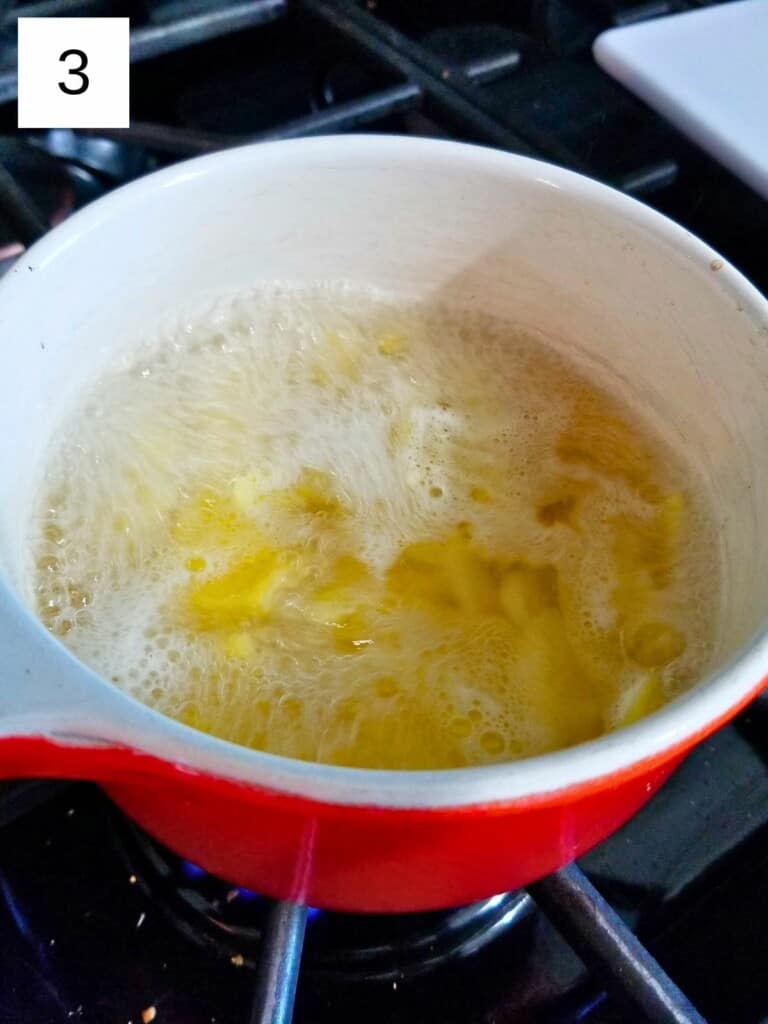
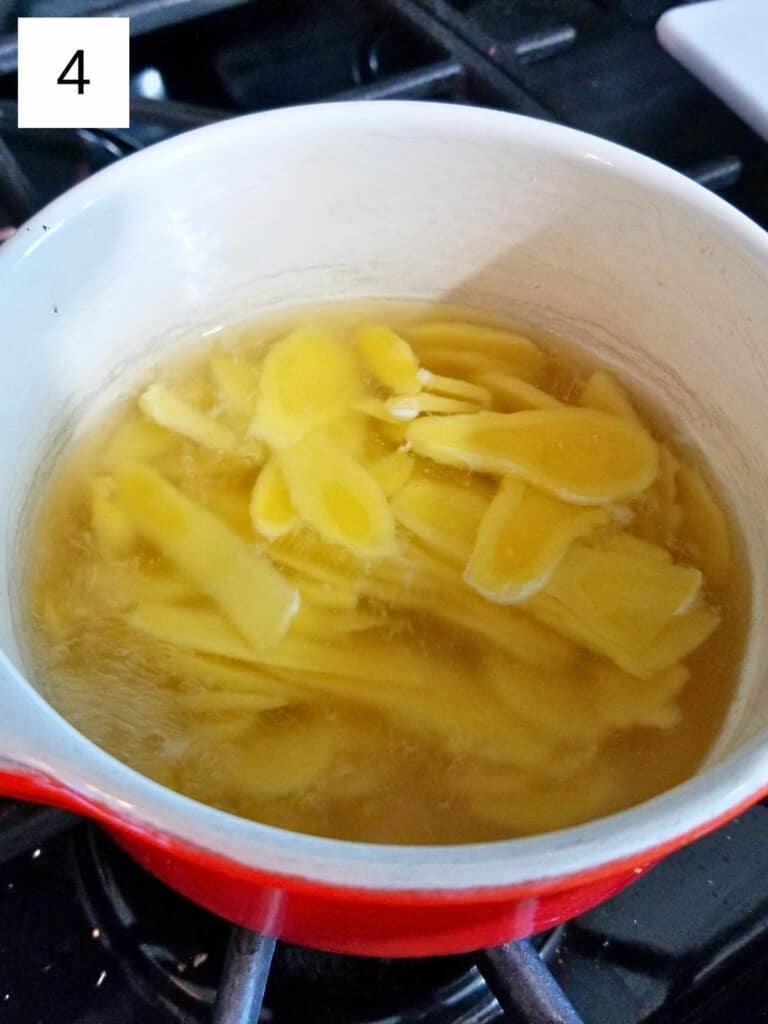
Step 2) Put your water and ginger slices into a pot and bring to a boil, then turn down to a simmer and cook for 30 minutes (images 2-4). This process softens the ginger physically, as well as softening the sharp notes of the ginger root.
Step 3) Once your ginger has softened, drain off & save any liquid, then add back in 3 Tablespoons.
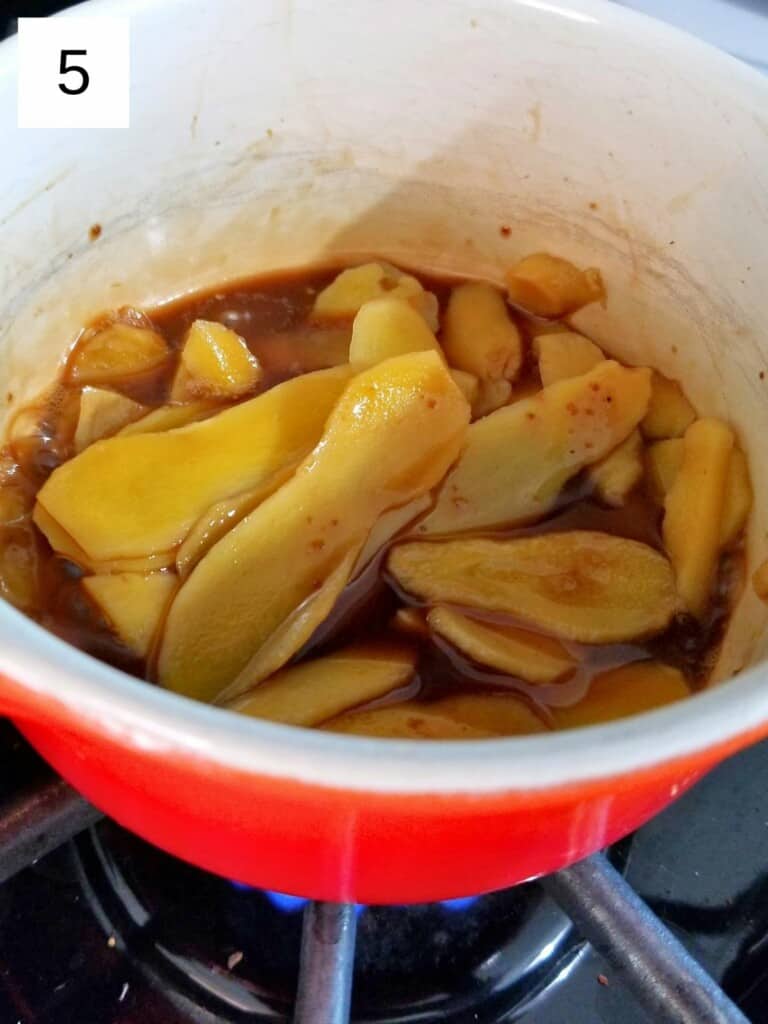
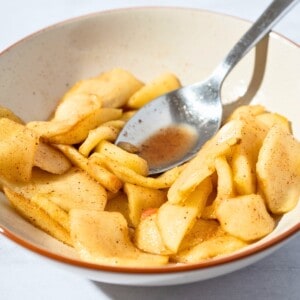
Step 4) Add the coconut sugar to the pot and stir everything until evenly-coated (image 5). Turn on medium heat until the sugar mixture is boiling, and then turn heat down to low. Simmer for 25-35 minutes, stirring often.
The sugar should melt in the first few minutes, and you can tell that it's done when almost all the moisture is gone, and the sugar starts to smell like caramel. It will be so dark that it looks burnt, but if it starts to smell even a little burnt, take it off the heat immediately.
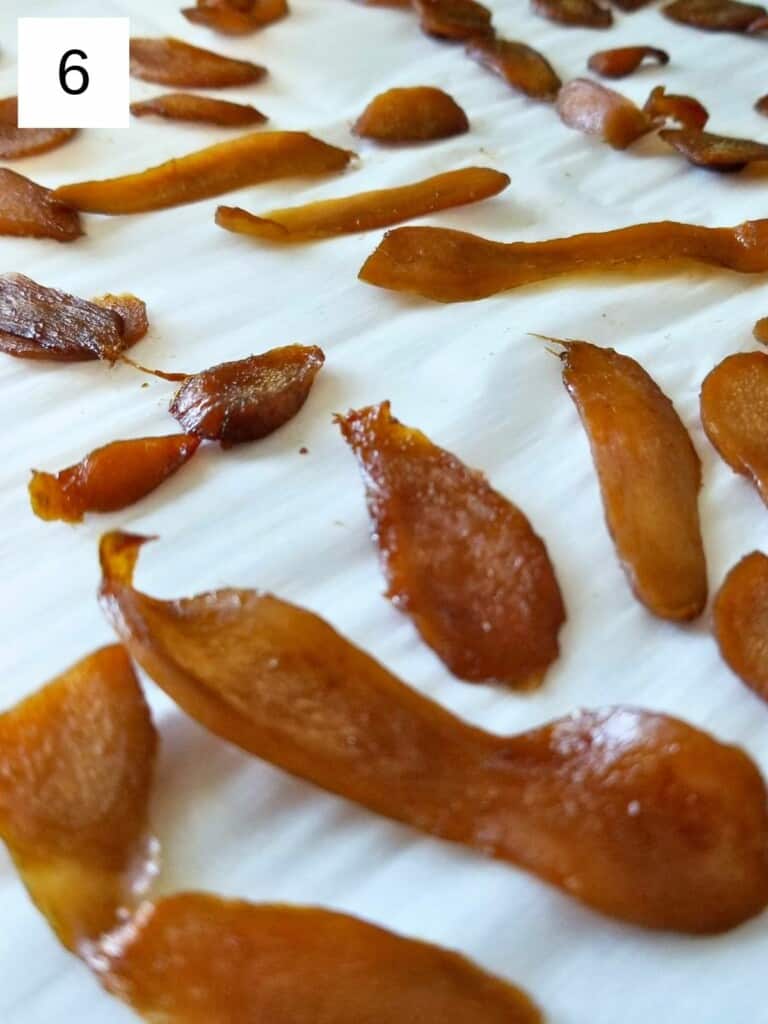
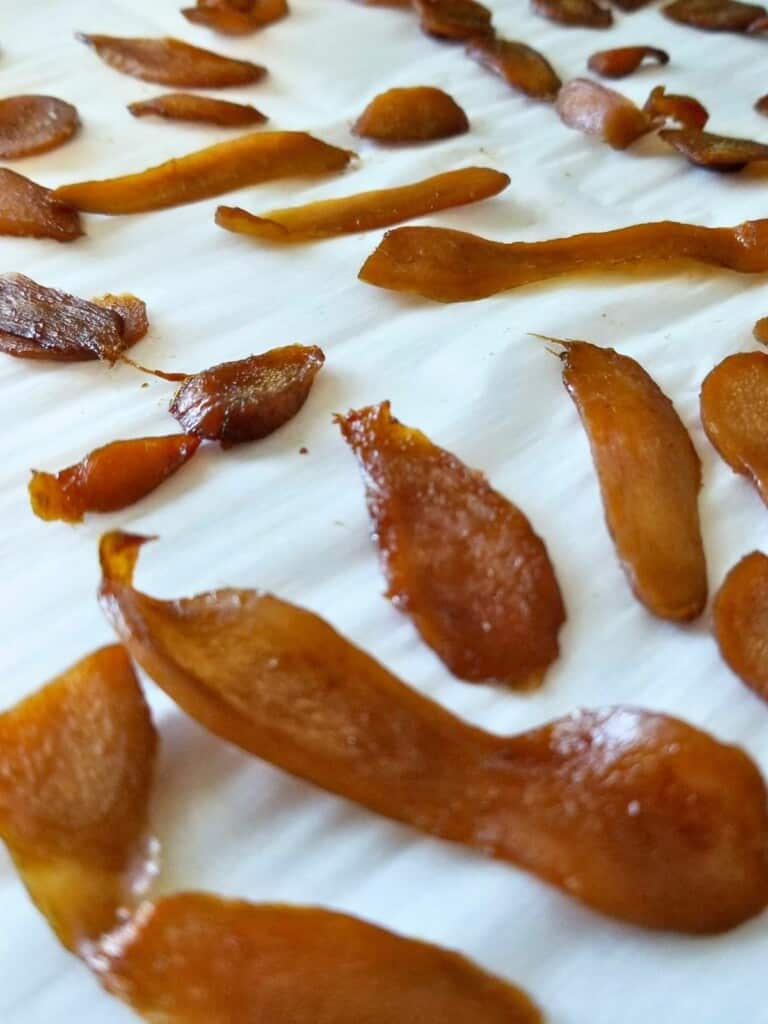
Step 5) Once done, dump your ginger pieces onto a bit of parchment and separate each one. Let them harden for the next hour (image 6), and then put them into a container that comes with a lid. Add the last teaspoon of coconut sugar, put on the lid, and then shake all the pieces until evenly coated; use another ½ teaspoon if needed. Now your candied ginger is ready to use or store!
🥥 Variations
- Spice-Free Option – Omit any added spices like cinnamon or cloves if you want a plain candied ginger suitable for sensitive low histamine diets.
- Sugar-Free Alternative – Use allulose or monk fruit sweetener in place of coconut sugar to make a sugar-free version while keeping it paleo-friendly.
- Thinner or Thicker Slices – Slice the ginger thinner for faster candied ginger or slightly thicker for a chewier texture.
- Storage Variation – Roll candied ginger in extra coconut sugar for a crunchy coating or leave plain for a softer, stickier version.
- Mini Ginger Pieces – Dice the ginger into small cubes instead of slices for easy snacking or adding to baked goods.
- Flavor Twist – Add a small pinch of vanilla powder or a drop of pure vanilla extract for a subtle sweet aroma without affecting histamine levels.
🥣 Storage
The recipe can easily be doubled or tripled, and stores well on the counter for several days or in the freezer for a few months. Just be sure to keep your homemade candied ginger slices in an airtight container, otherwise they'll soften and lose their crunch within a few days.
👨🏻🍳 Expert Notes & Tips
Cooking color. While the ginger is cooking, it will turn so dark it almost looks black, but as long as it doesn't start to smell burnt, it isn't burning.
Coconut sugar. You can use another solid sugar, but if you use a liquid sweetener, use two tablespoons less water. Some options include honey, white sugar, brown sugar, and maple syrup (use 3 Tablespoons).
Sticky ginger. If your pieces of ginger are still sticky after adding a full teaspoon of extra sugar, you may need to let them harden for longer, or they may not have cooked long enough. If this is the case, you'll want to freeze them for up to a year or use them within a day or two.
🥗 What to Do With Candied Ginger
- chop it up into bits and add it to granola
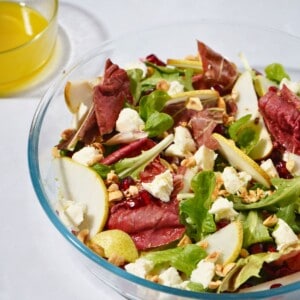
- cut it into small pieces to add to your next salad or salad dressing
- thinly slice it to top honey-gazed chicken
- add some to your next batch of nut clusters
- make some almond cookies with nibs of candied ginger
🙋 Frequently Asked Questions
Fresh, firm ginger root works best; aim for about 65 g peeled and sliced for this recipe.
Yes, you can replace coconut sugar with monk fruit or allulose to keep it paleo and lower in sugar.
Yes — using fresh ginger and coconut sugar makes this recipe compatible with a low histamine diet; avoid adding citrus or other high-histamine ingredients.
Peeling is recommended for a smoother texture, but unpeeled ginger can be used if scrubbed clean.

Have you tried this recipe?
If you like the recipe, please leave a 5-star ⭐️⭐️⭐️⭐️⭐️ rating on the recipe card, or even a comment! I love to hear how your recipes turned out, and your feedback can help other readers! Also join us on Instagram, Facebook & Pinterest.
📖 Recipe
Low Sugar Candied Ginger (With Coconut Sugar)
Ingredients
- ~80g ginger (~65g peeled & sliced ginger root
- 1 ½ Cups water
- 2 Tablespoons + 1 teaspoon coconut sugar
Instructions
- Peel and rinse your ginger root, and then slice it into thin pieces (either matchsticks or medallions are ideal).
- Put your water and ginger slices into a pot and bring to a boil, then turn down to a simmer and cook for 30 minutes. This process softens the ginger and its flavor.
- Once your ginger has softened, drain off & save any liquid beyond 3 Tablespoons. Add the coconut sugar to the pot, stir everything until evenly-coated, and then turn on medium heat until boiling and then turn down to low.
- Simmer for 25-35 minutes, stirring often. The sugar should melt in the first few minutes, and you can tell that it's done when almost all the moisture is gone and the sugar starts to smell like caramel. It will be so dark that it looks burnt, but if it starts to smell even a little burnt, take it off the heat immediately.
- Once done, dump your ginger pieces onto a bit of parchment and separate each one. Let them harden for the next hour, and then out them into a container with a lid, add the last teaspoon of coconut sugar, and shake all the pieces until evenly coated; use another ½ teaspoon if needed. Now they're ready to use or store.
Notes
Nutrition
Save this post for later!

Louise says
I look up recipes for the measurements....for a baseline.... measurements would be nice.
Max says
From the recipe card:
Ingredients
▢~80g ginger (~65g peeled & sliced ginger root
▢1 ½ Cups water
▢2 Tablespoons + 1 teaspoon coconut sugar
Were there other types of measurements you were looking for...?
Lois Didyk says
I am unclear as to how long this will last? Does it all have to be consumed within 1-2 days (or is this just for sticky ginger), or can it be stored in a jar in the fridge? Would love to gift this, but trying to make sure it's done in a safe way.
Max says
This would honestly be fine for 2+ weeks if kept in a jar (sugar is a preservative), but you want to make sure it's well-sealed so that moisture doesn't get in & bacteria can't enter. But some people with histamine issues are wary of this length of storage - even with essentially no histamine growth risk - so I always try to have people err on the side of caution to ensure I don't add any more fear or wariness to meal time (especially with recipes that may be more unusual for people).
BB says
I'm a little confused about the amounts mentioned -- you have 2T of sugar in the ingredients list, in step 3 you say to add the coconut sugar to the pot, but then in step 5 you say to add the "last teaspoon" of coconut sugar. Should we reserve 1 teaspoon of the 2T?
Max says
Sorry, yes, I didn't realize I didn't add an extra teaspoon of coconut sugar to the ingredients list; this is an additional 1 teaspoon of coconut sugar. I'll modify that now.