


You have to cut out so many common foods when you go low histamine, that I decided at least half my meals would have to be vegetables from then on. After all, so many low histamine veggies are actively antihistamine foods.
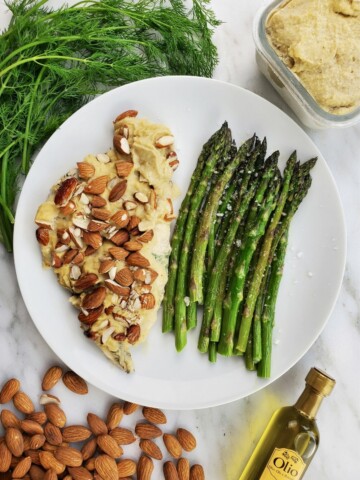
This low histamine asparagus with garlic is so quick and easy to make that it's something I have at least a few times a week, these days. All you need are 3 ingredients, plus a little salt and pepper (or sumac). It's less than 20 minutes from fridge to plate, so let's get into it!
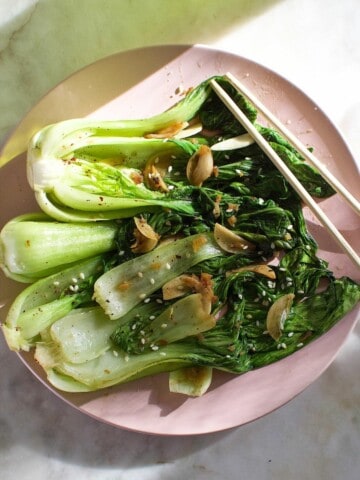
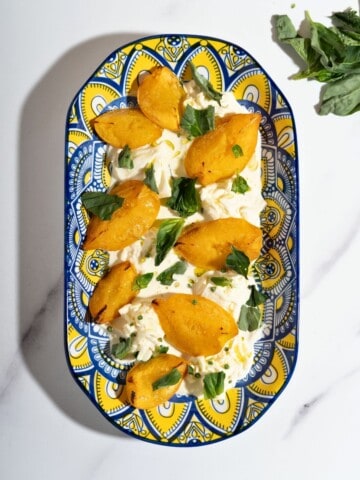
If you enjoy savory side dishes, also try my lemon garlic artichoke and roasted asparagus and brussels.

Jump to:
✔️ Why This Recipe is Great
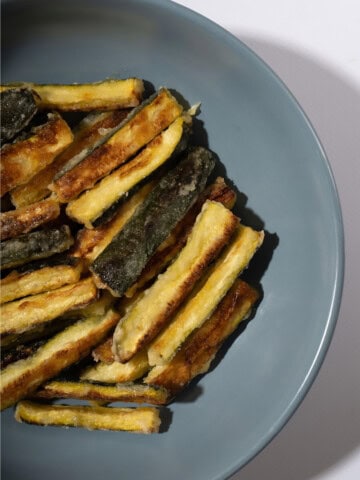
Histamine-Friendly Side. One thing I constantly look for is new low histamine side dishes to add to my favorites list. This crispy low histamine asparagus is crunchy, salty, and satisfying.
Low Histamine Vegetables. Asparagus is undoubtedly the best vegetable (with either sweet potatoes or brussels sprouts tying for second). After I finished a week of intense detox when starting my low histamine diet, I was thrilled to realize that I could still have it, as long as I found a solid low histamine asparagus recipe. Lucky for me, my usual preparation of asparagus was basically already histamine-friendly!
🧂 Ingredients
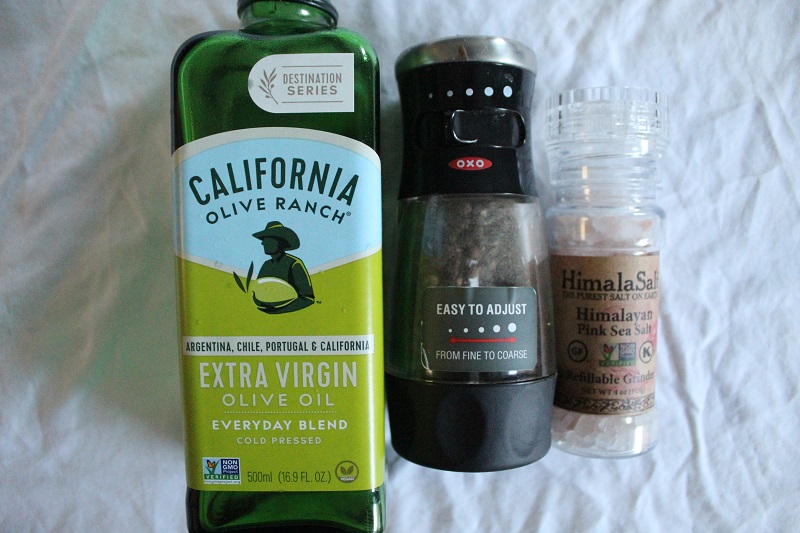
Asparagus: a nutrient-rich low histamine vegetable packed with vitamins A, C, E, and K, as well as essential minerals like folate and iron, making it a healthful powerhouse. Its high fiber content supports digestive health, while the antioxidants found in asparagus help combat inflammation and promote a healthy immune system.
Fresh Garlic: using fresh raw garlic adds an umami element to the asparagus that really complements meats and root vegetables as well as brassica (like asparagus).
Lemon Juice: while some people have issues with lemon juice, most people tolerate it, especially in such small quantities, and it's a great source of vitamin C. Here it helps balance out the overall flavor of the dish and cut through the fried bits, though if you can't tolerate lemon juice, try using camu camu.
See recipe card for exact ingredients and quantities.
🔥 How to Make Crispy Garlic Asparagus (Step-by-Step)
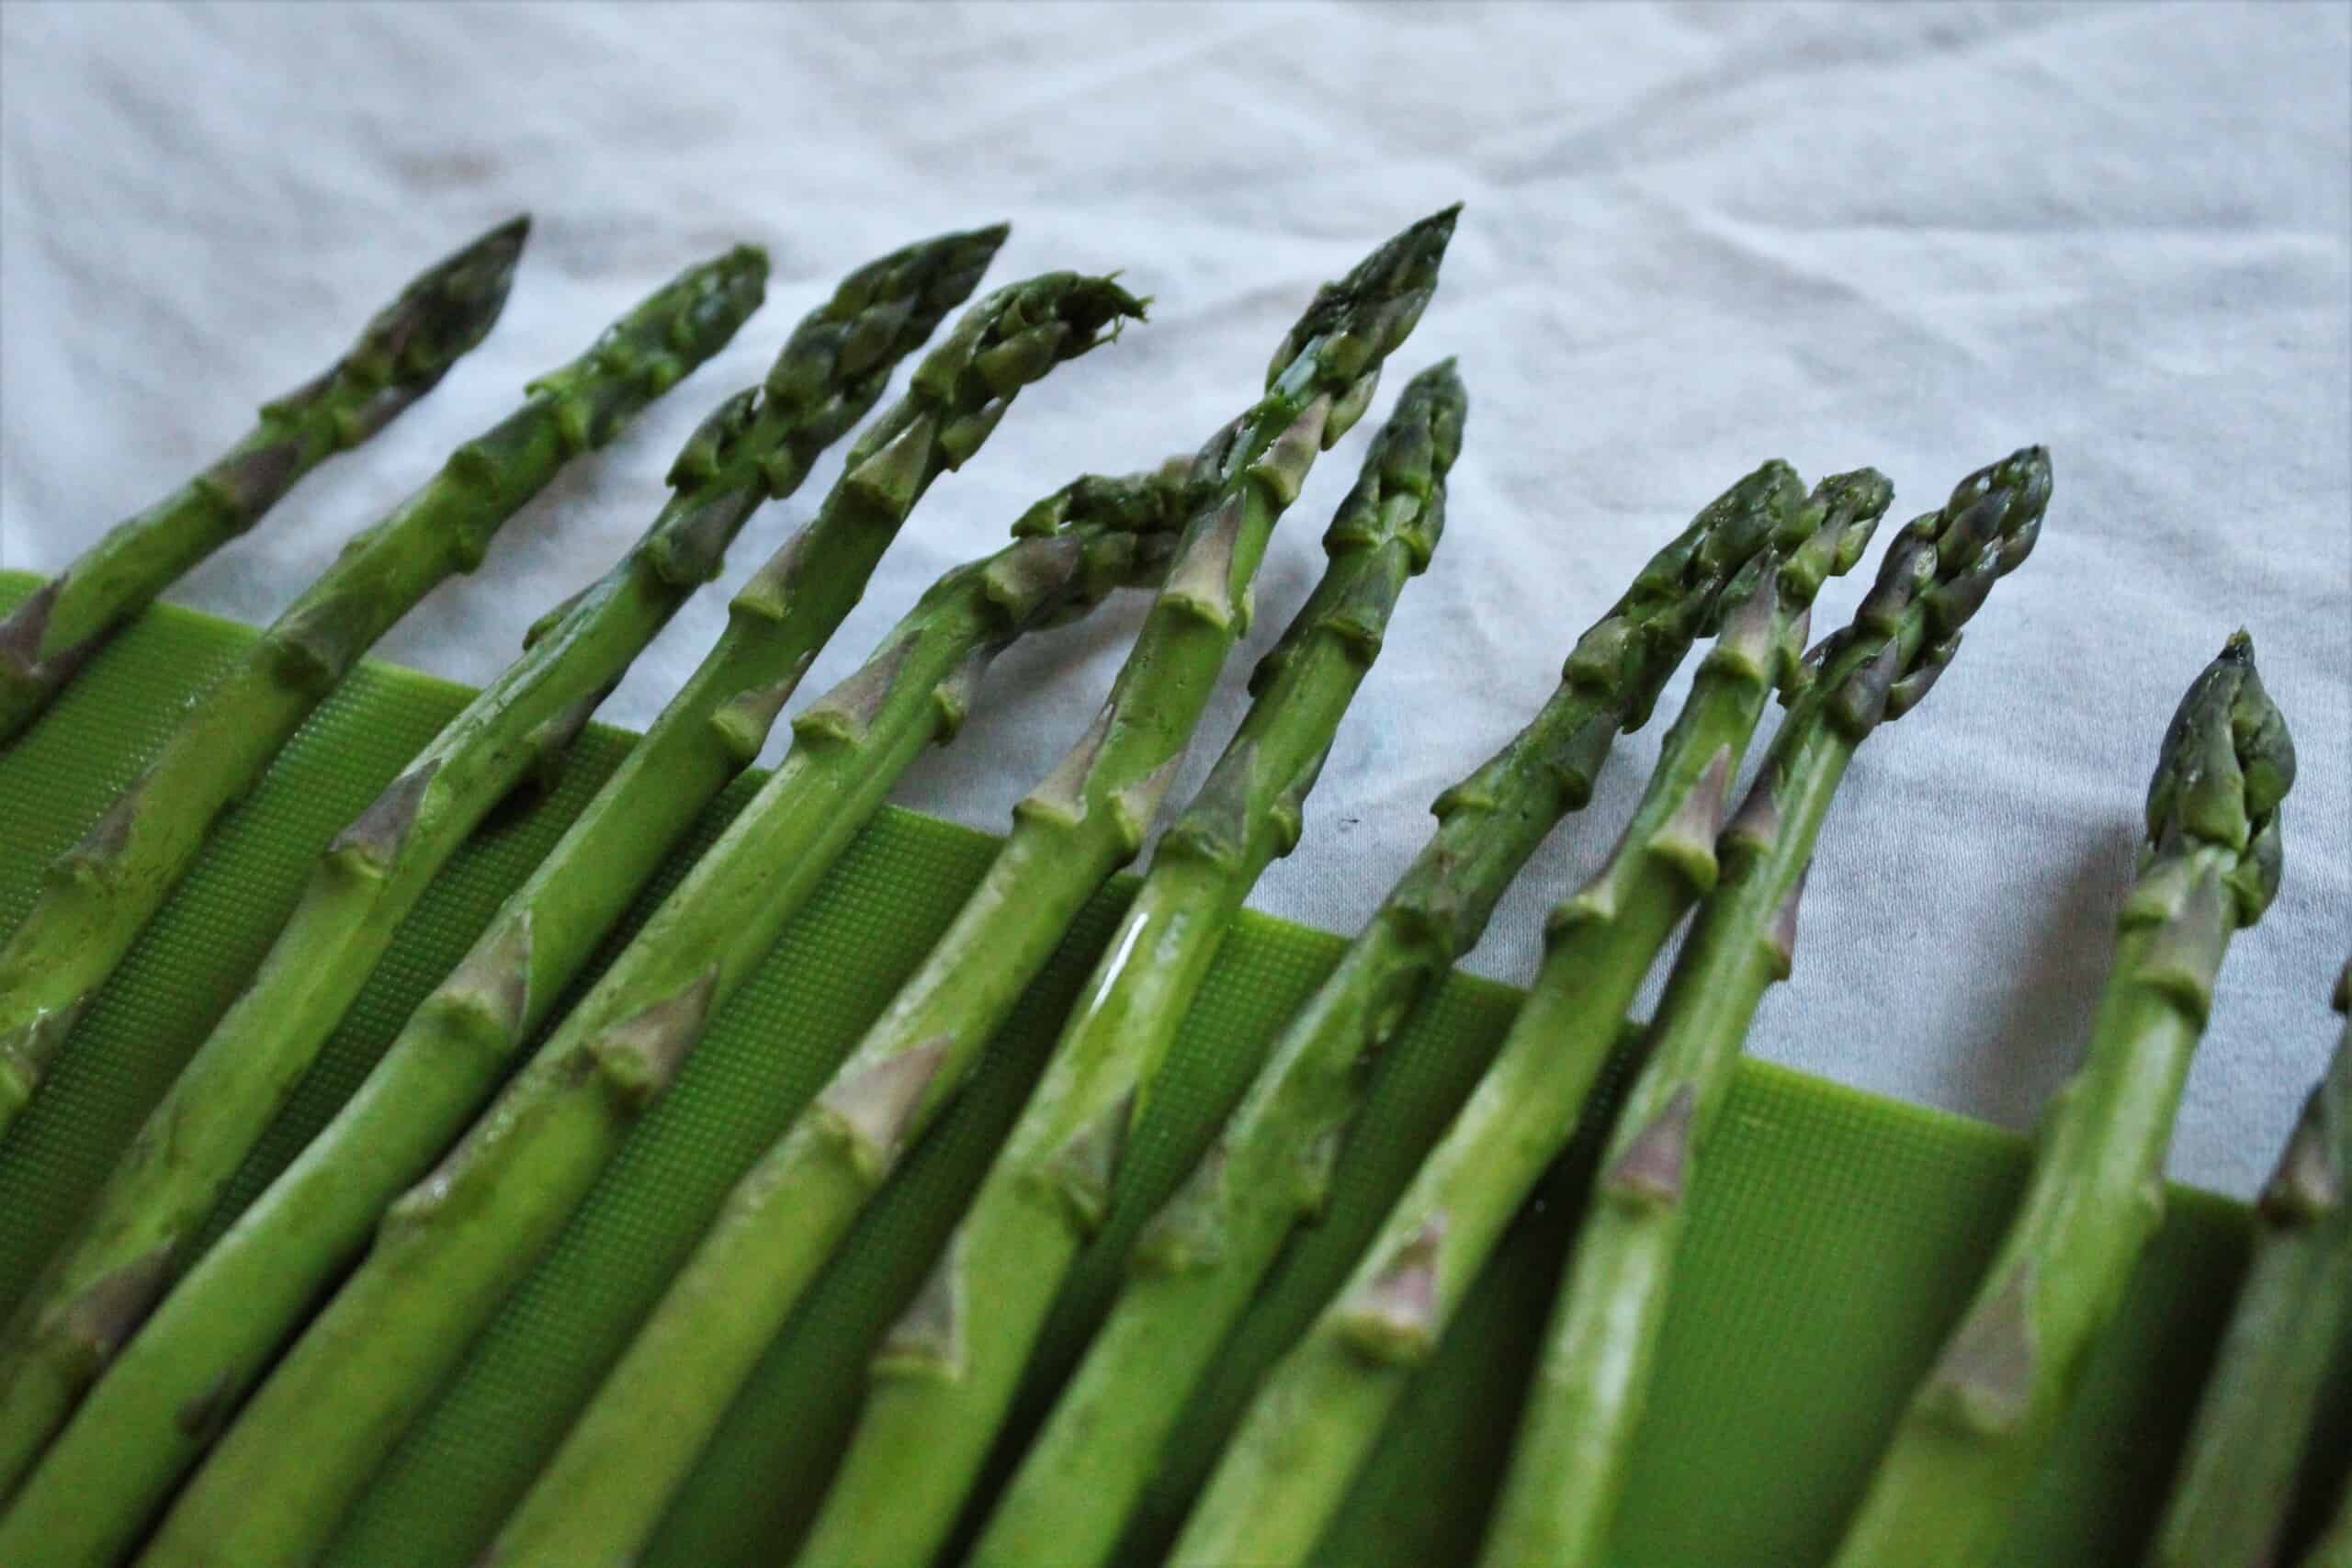
Step 1) First, preheat your oven to 400°F (205°C). Then wash your asparagus carefully, being gentle with the tips, especially if your stalks are more than a day or two old.
Step 2) Get out your cutting board and a sharp knife, and cut the bottoms of the asparagus stalks off. For reference, aim for just above where the color changes from white or purple to green, usually ⅓ or ½ of the way down the stalk. If you encounter resistance, you may need to cut a bit higher, because the closer you get to the bottom, the more fibrous the stalk is.
Pro-tip: Some people also like to just gently bend the stalks and let them break, then toss the ends. Unfortunately the bottoms are too fibrous to enjoy, so just compost them (or use them to make homemade vegetable stock).
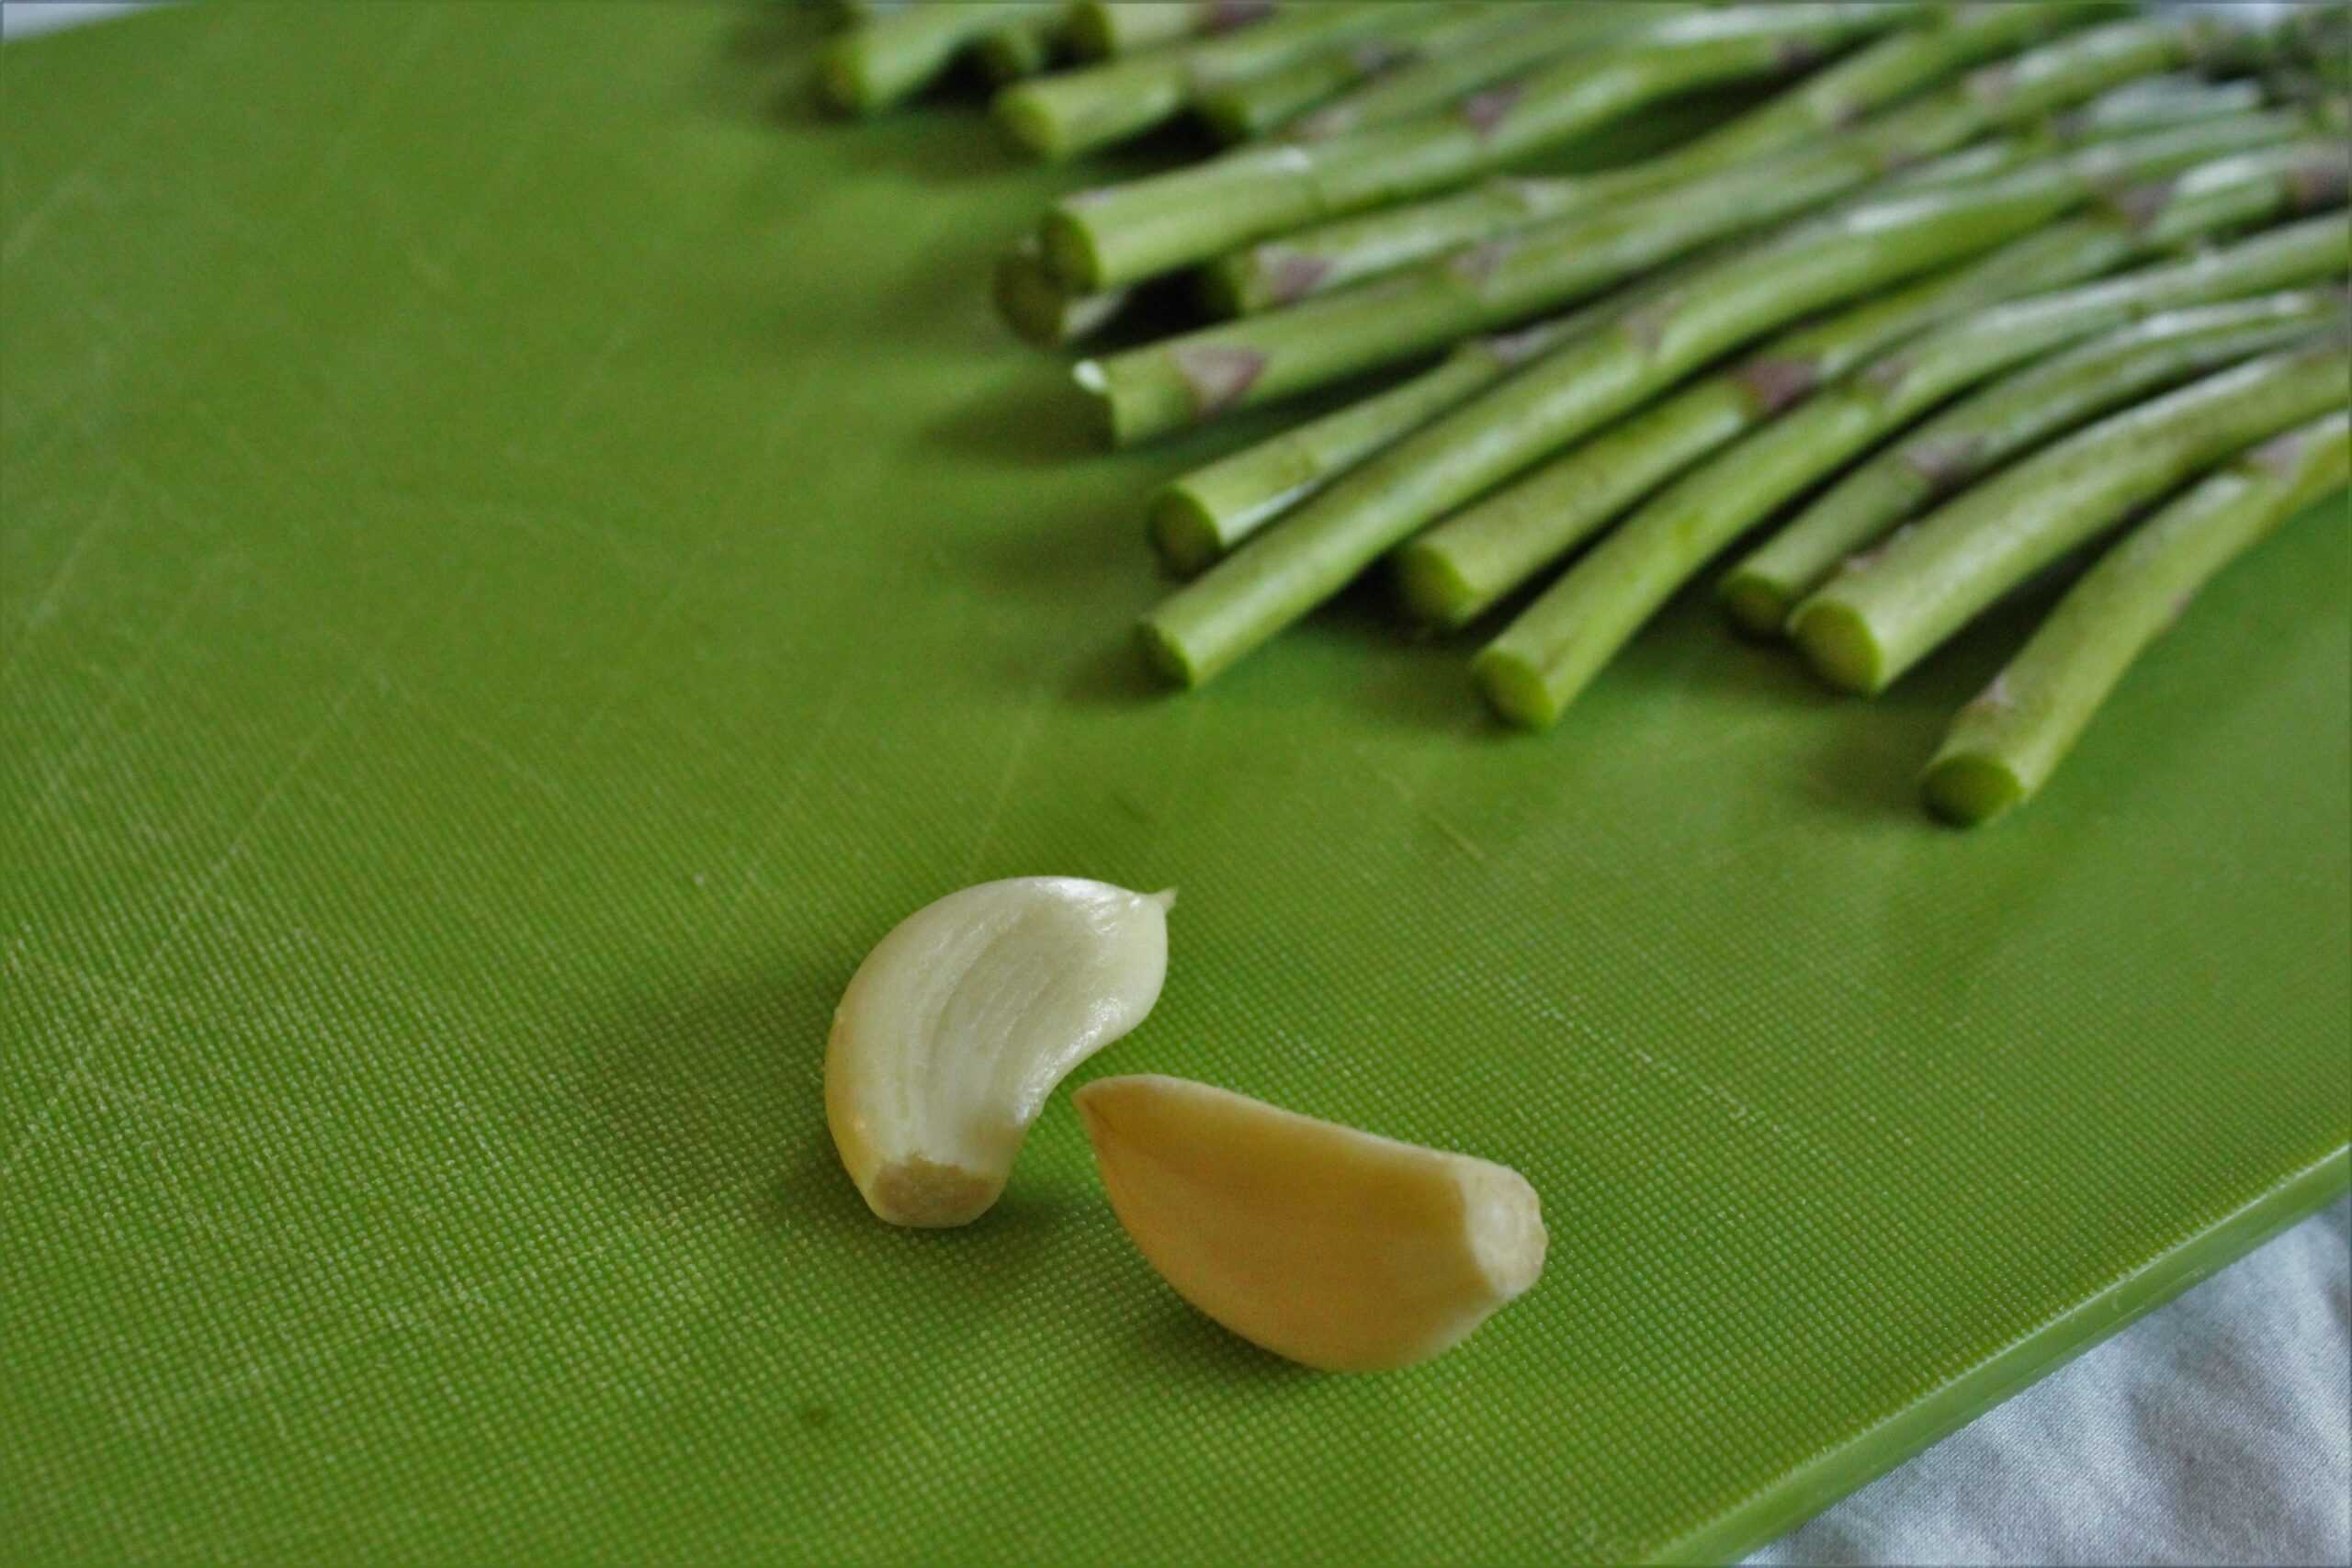
Step 3) Next, peel your garlic cloves (remember to use fresh organic garlic!), and chop them into tiny pieces.
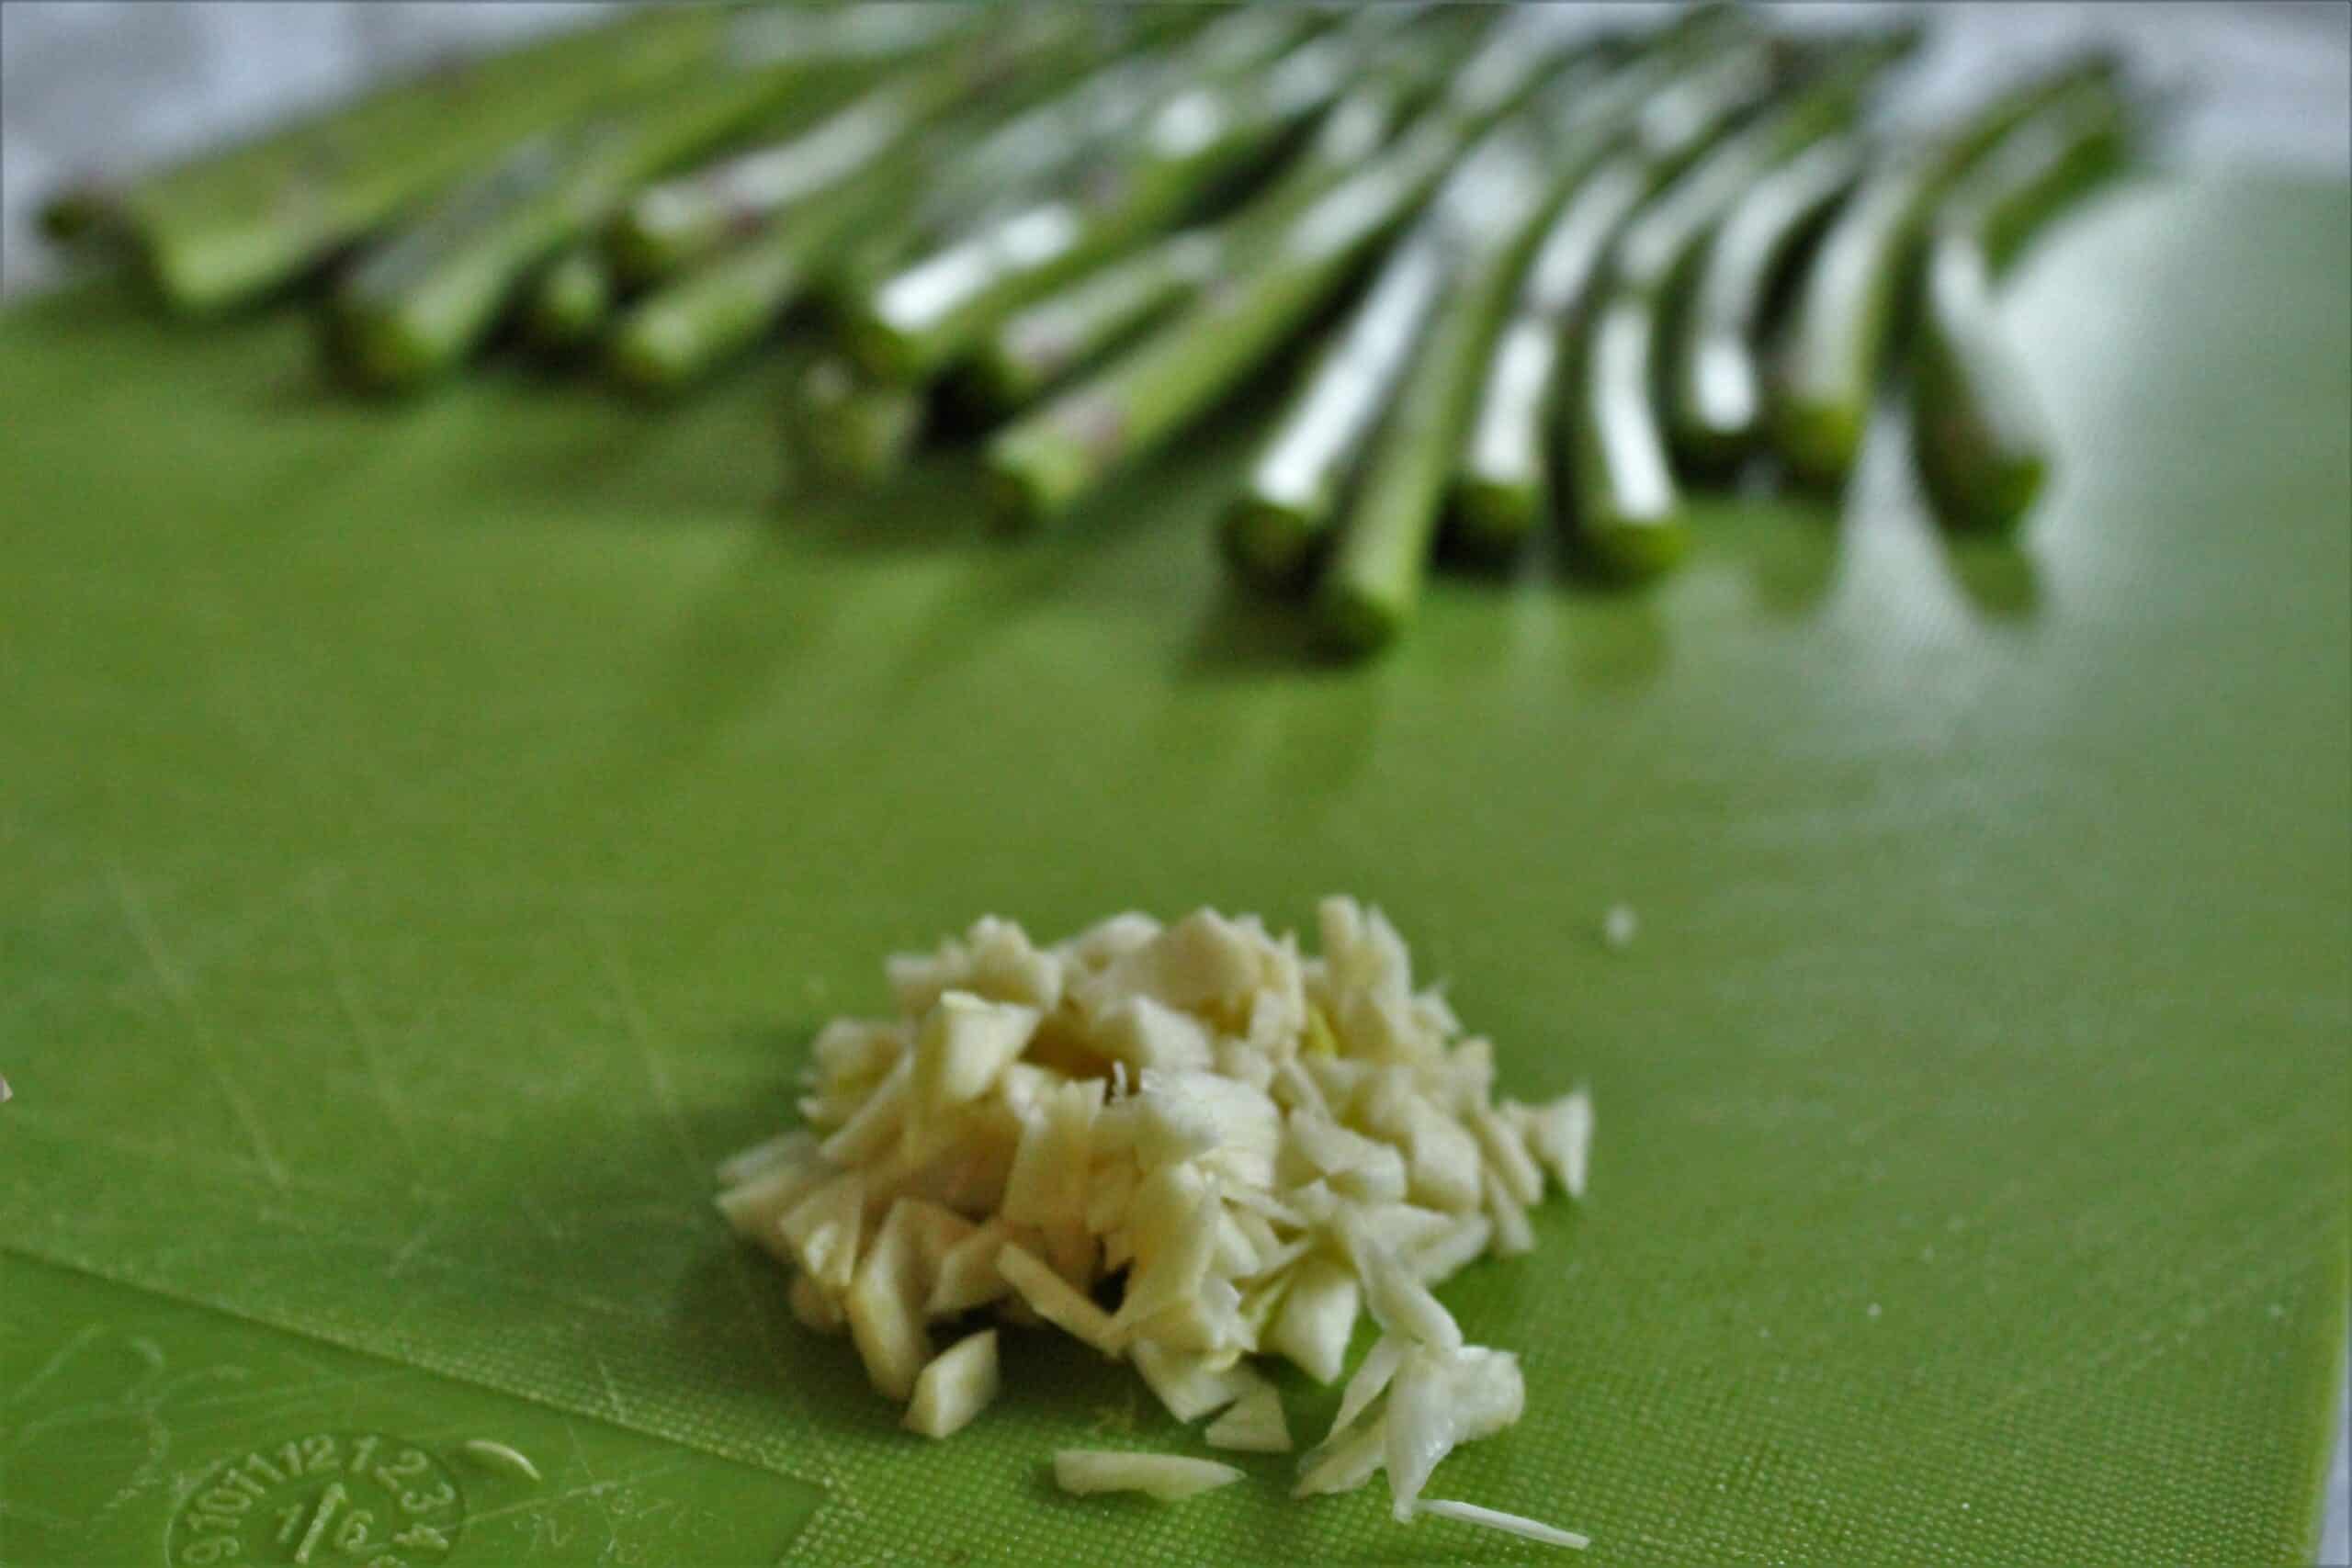
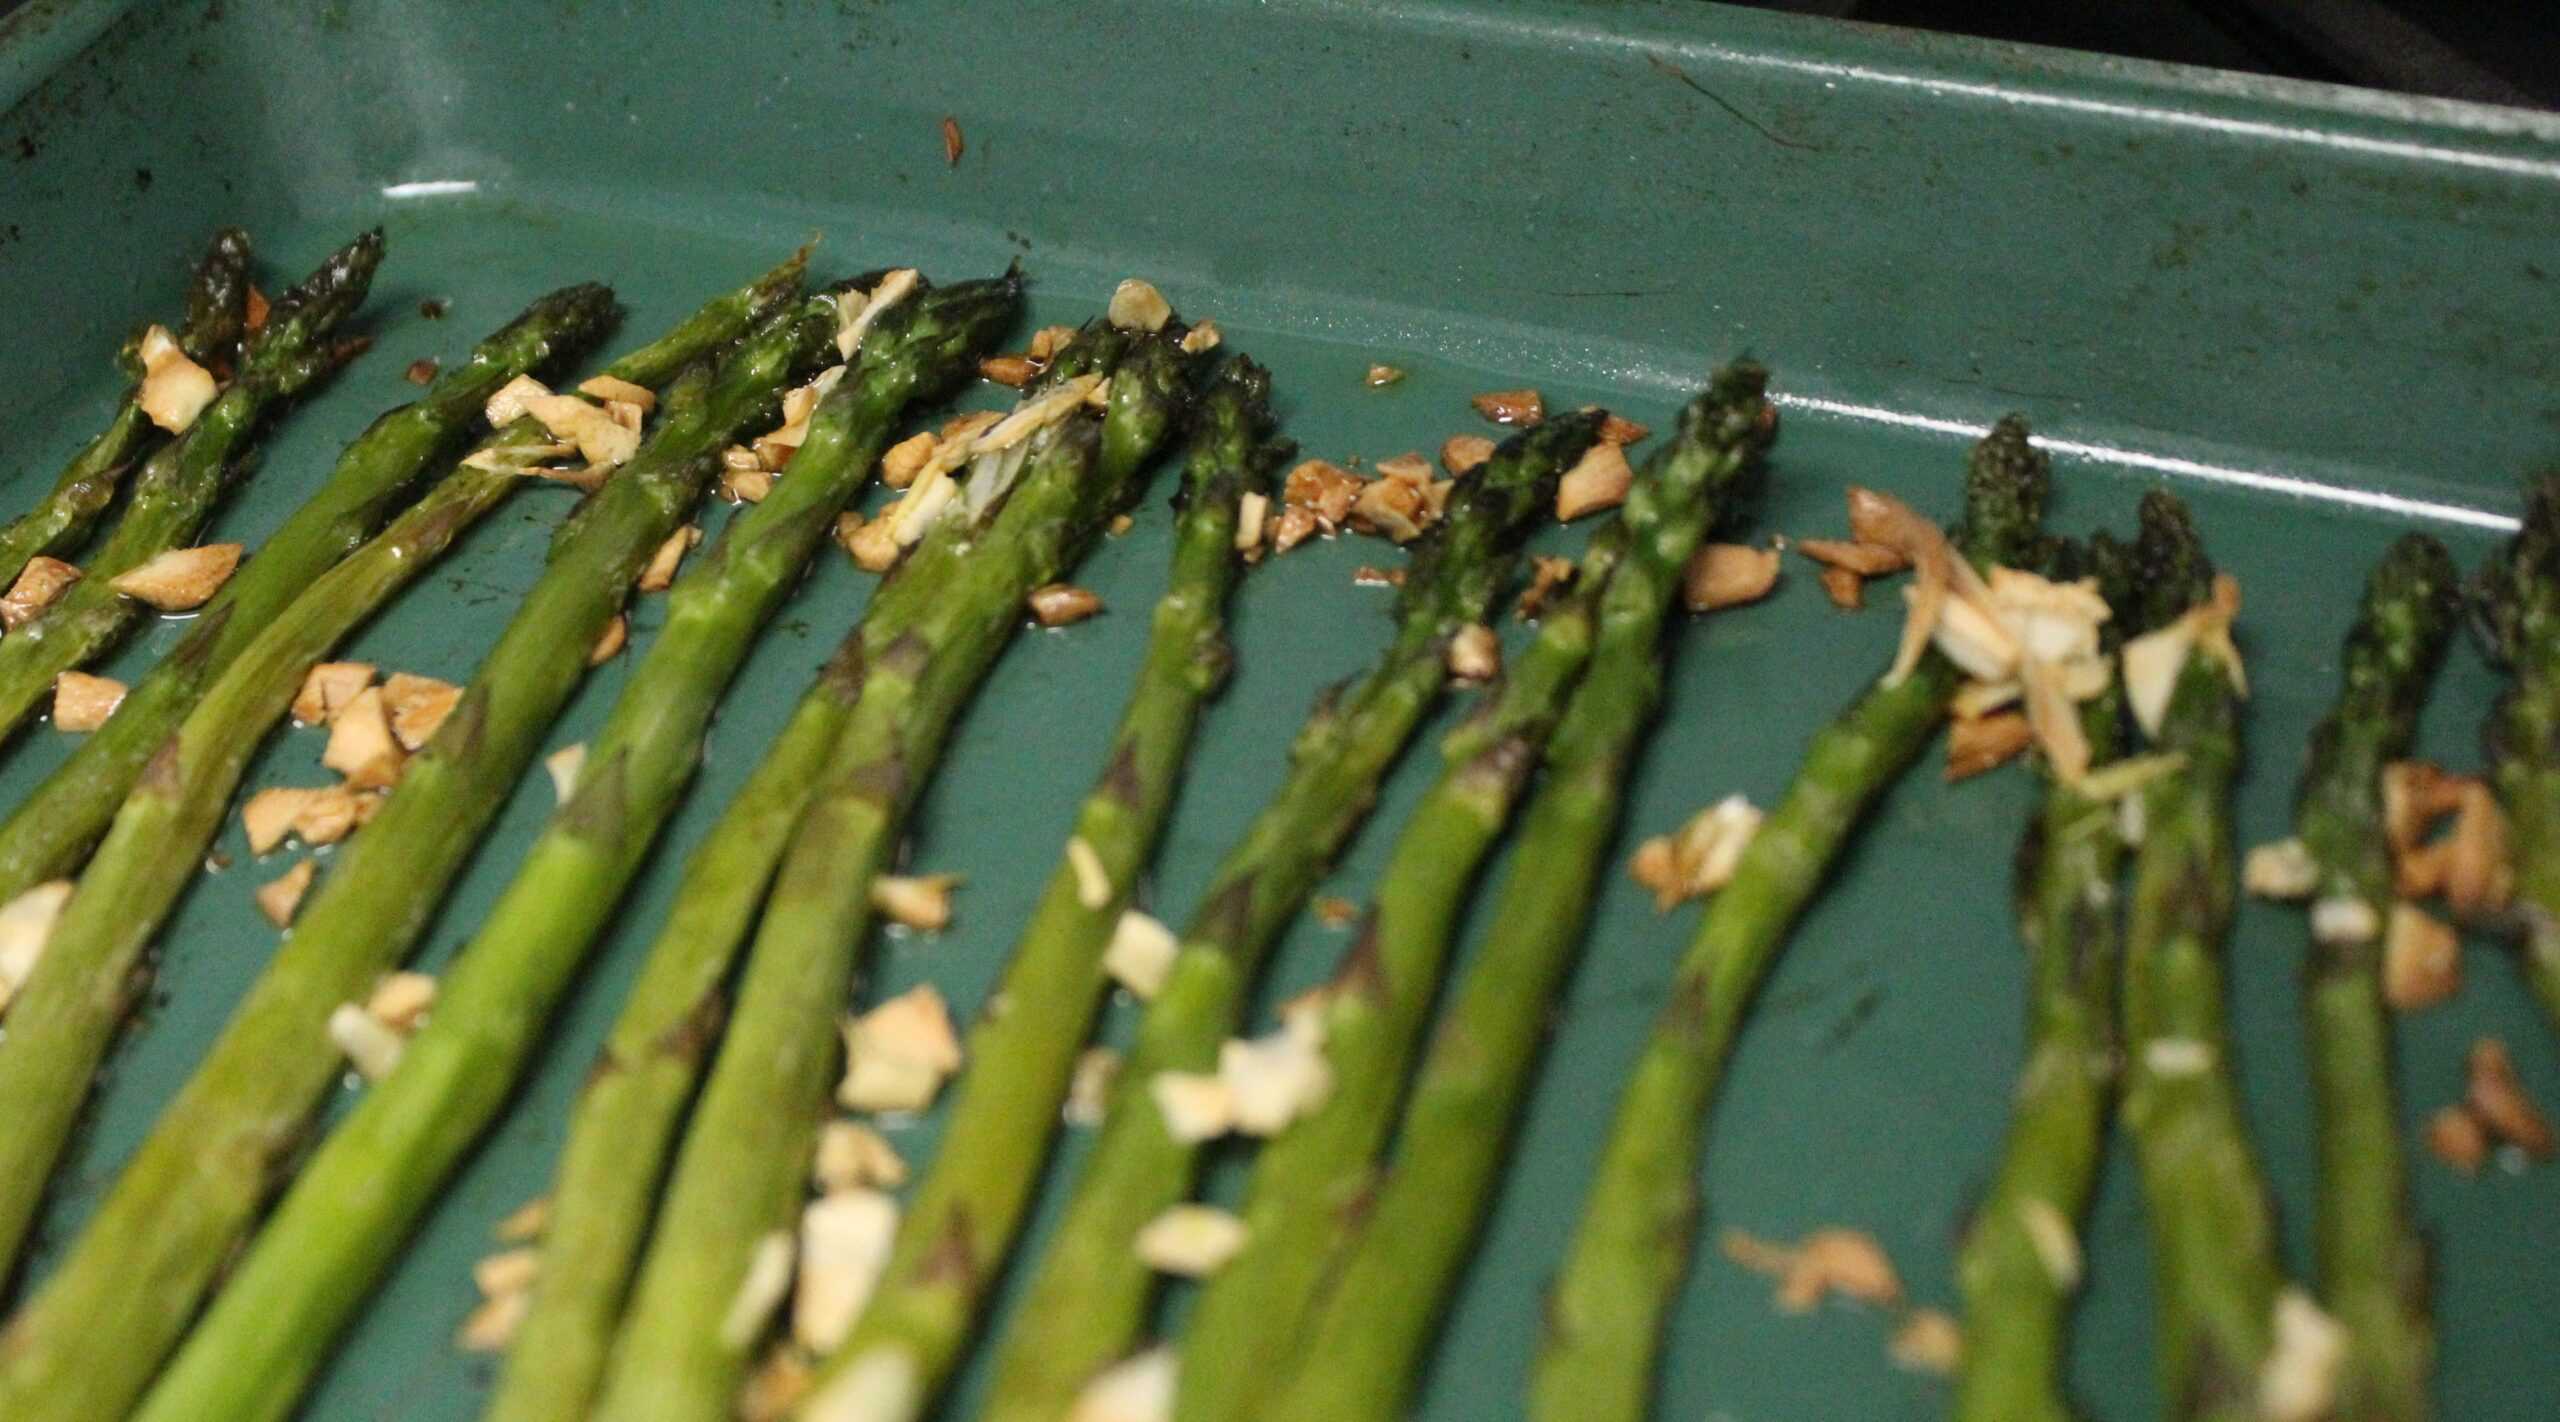
Step 4) Arrange your asparagus stalks on the baking sheet, tips all lined up at the edge, so they can roast evenly. Sprinkle the chopped garlic evenly onto the asparagus, but don't worry if it's not completely even. The garlic ends up flavoring the oil more than the asparagus, since the fat carries the flavor in any dish.

Step 5) Pour your olive oil evenly onto the stalks, making sure to cover the tips, since they'll get nice and crispy if they're oiled up. Slide your tray into the highest slot of the oven, and set a timer for 12 minutes.
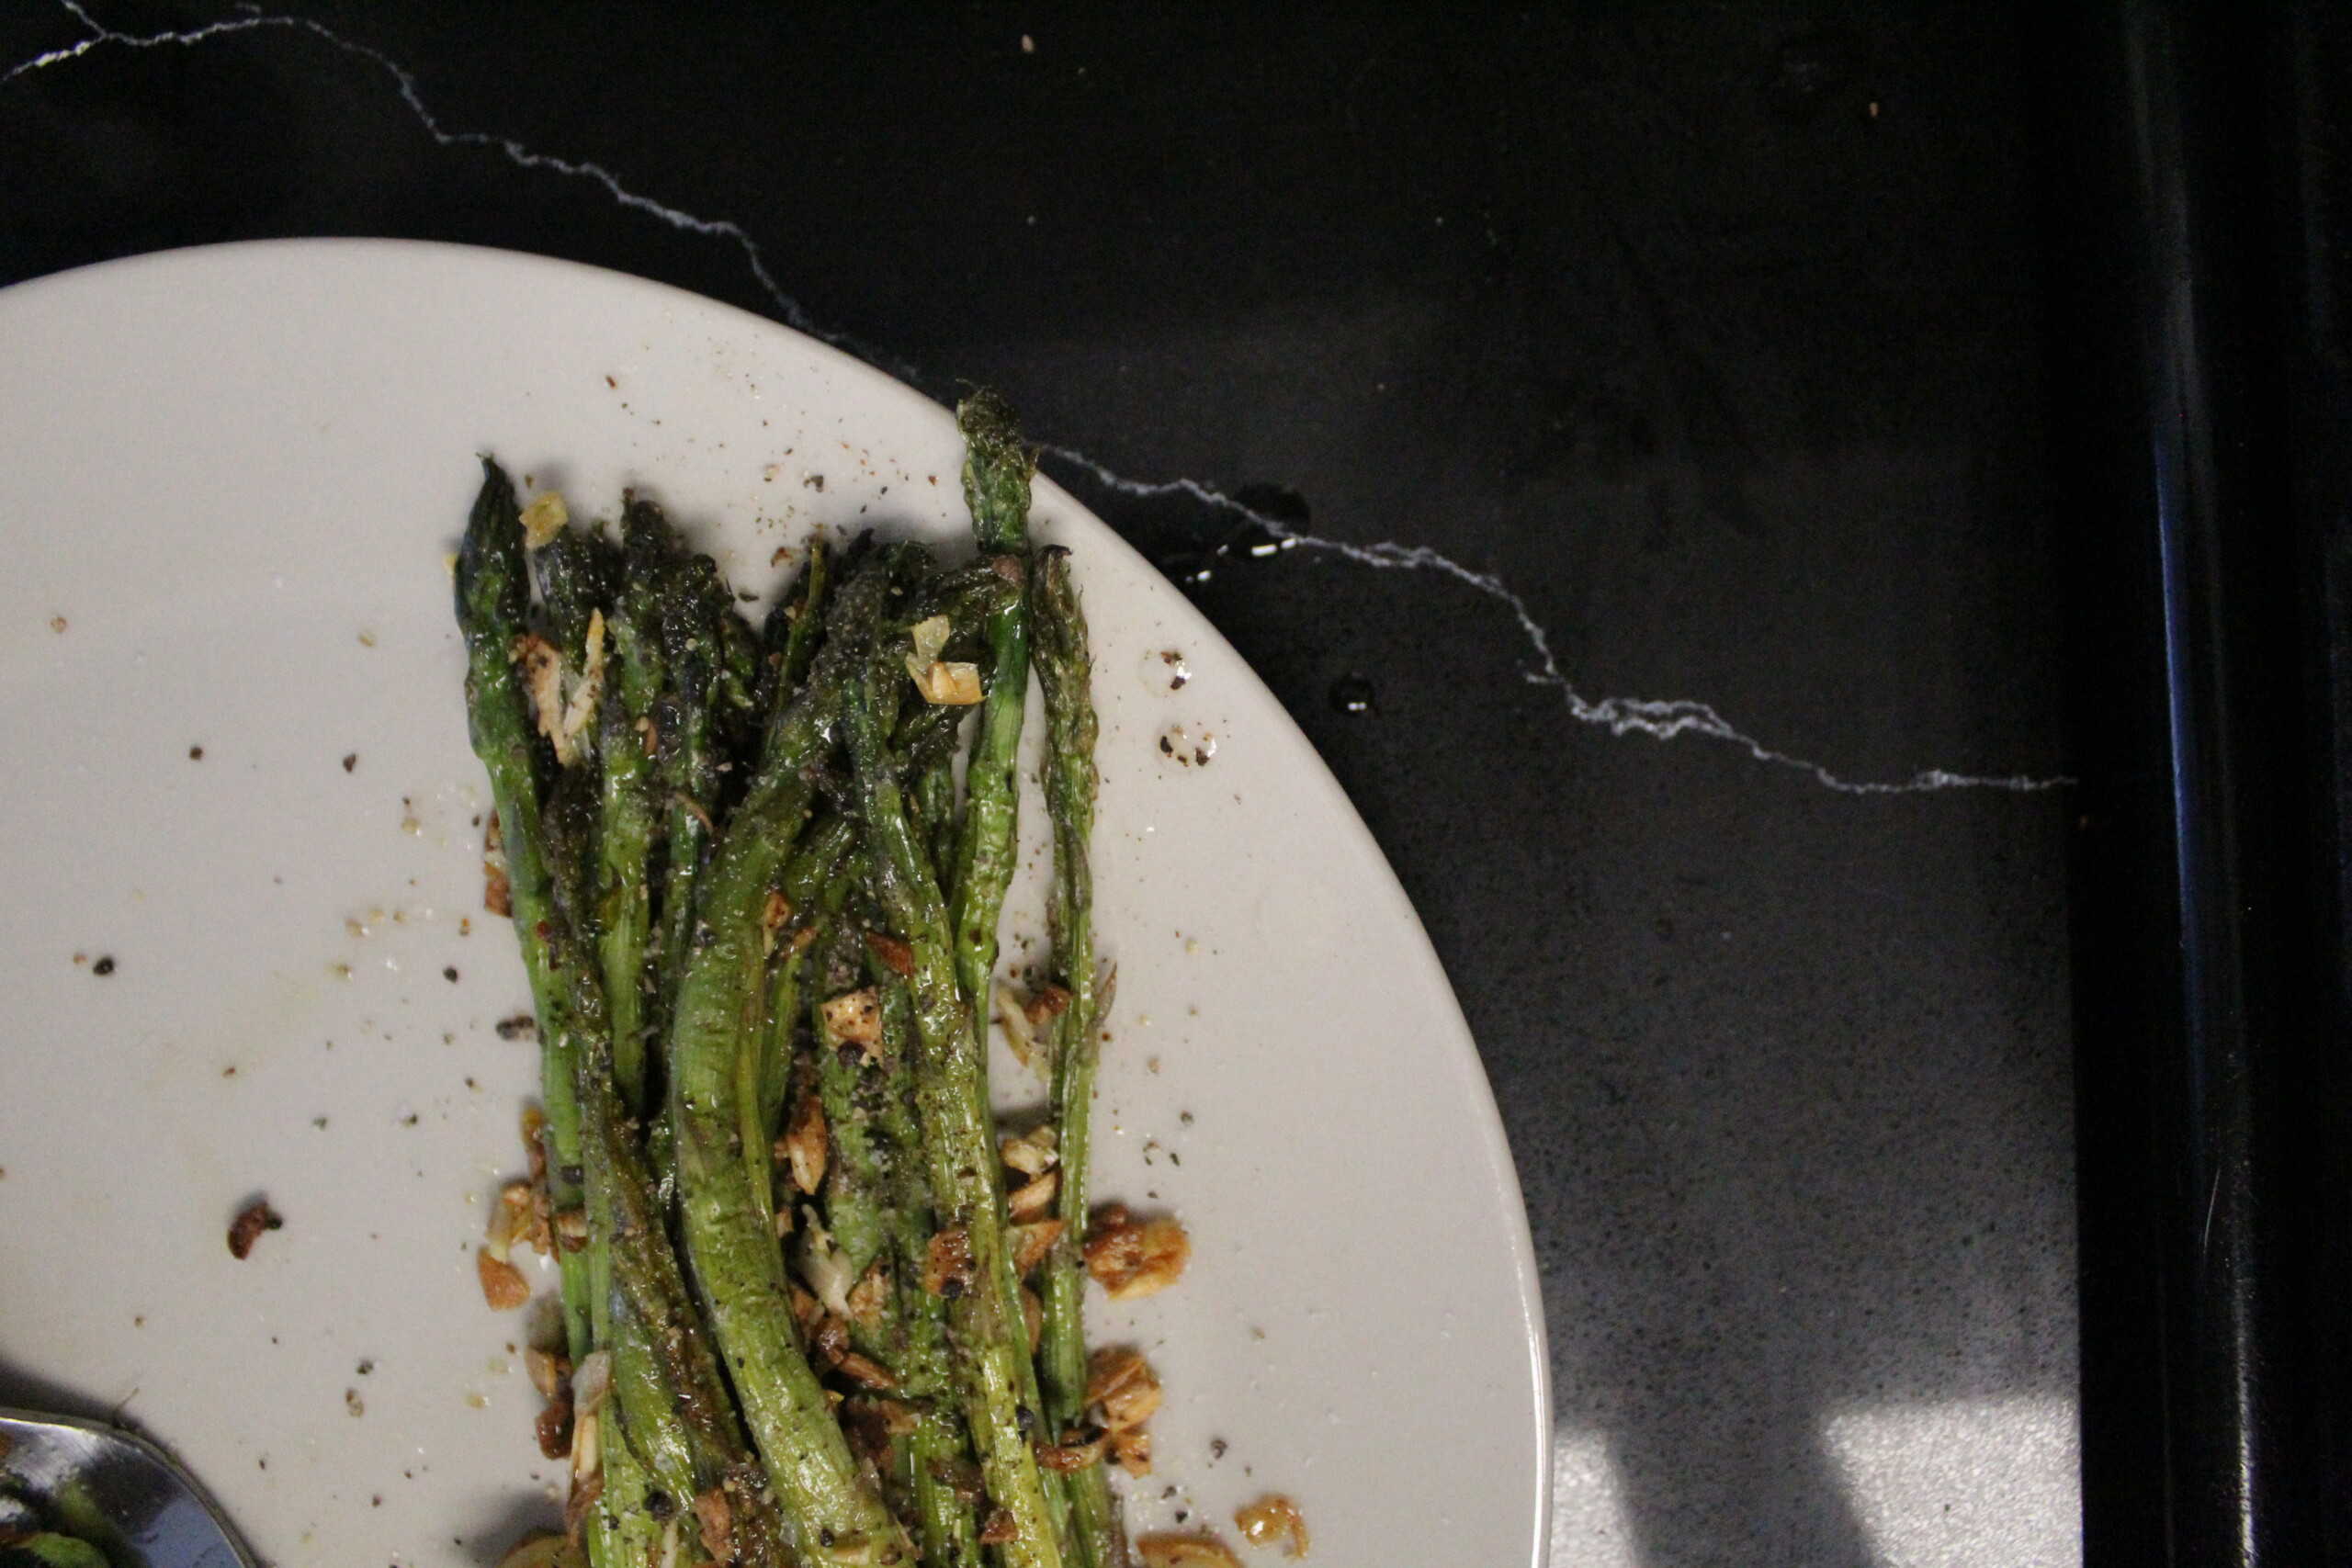
Step 6) Once your timer goes off, remove your asparagus from the oven and immediately sprinkle the lemon juice or the camu camu powder on top. This stops the veggies from cooking further, and helps make a sort of sauce for dipping. Add salt and pepper in levels you're comfortable with; I like a lot of salt and a little pepper, but it depends on what else I'm serving it with.
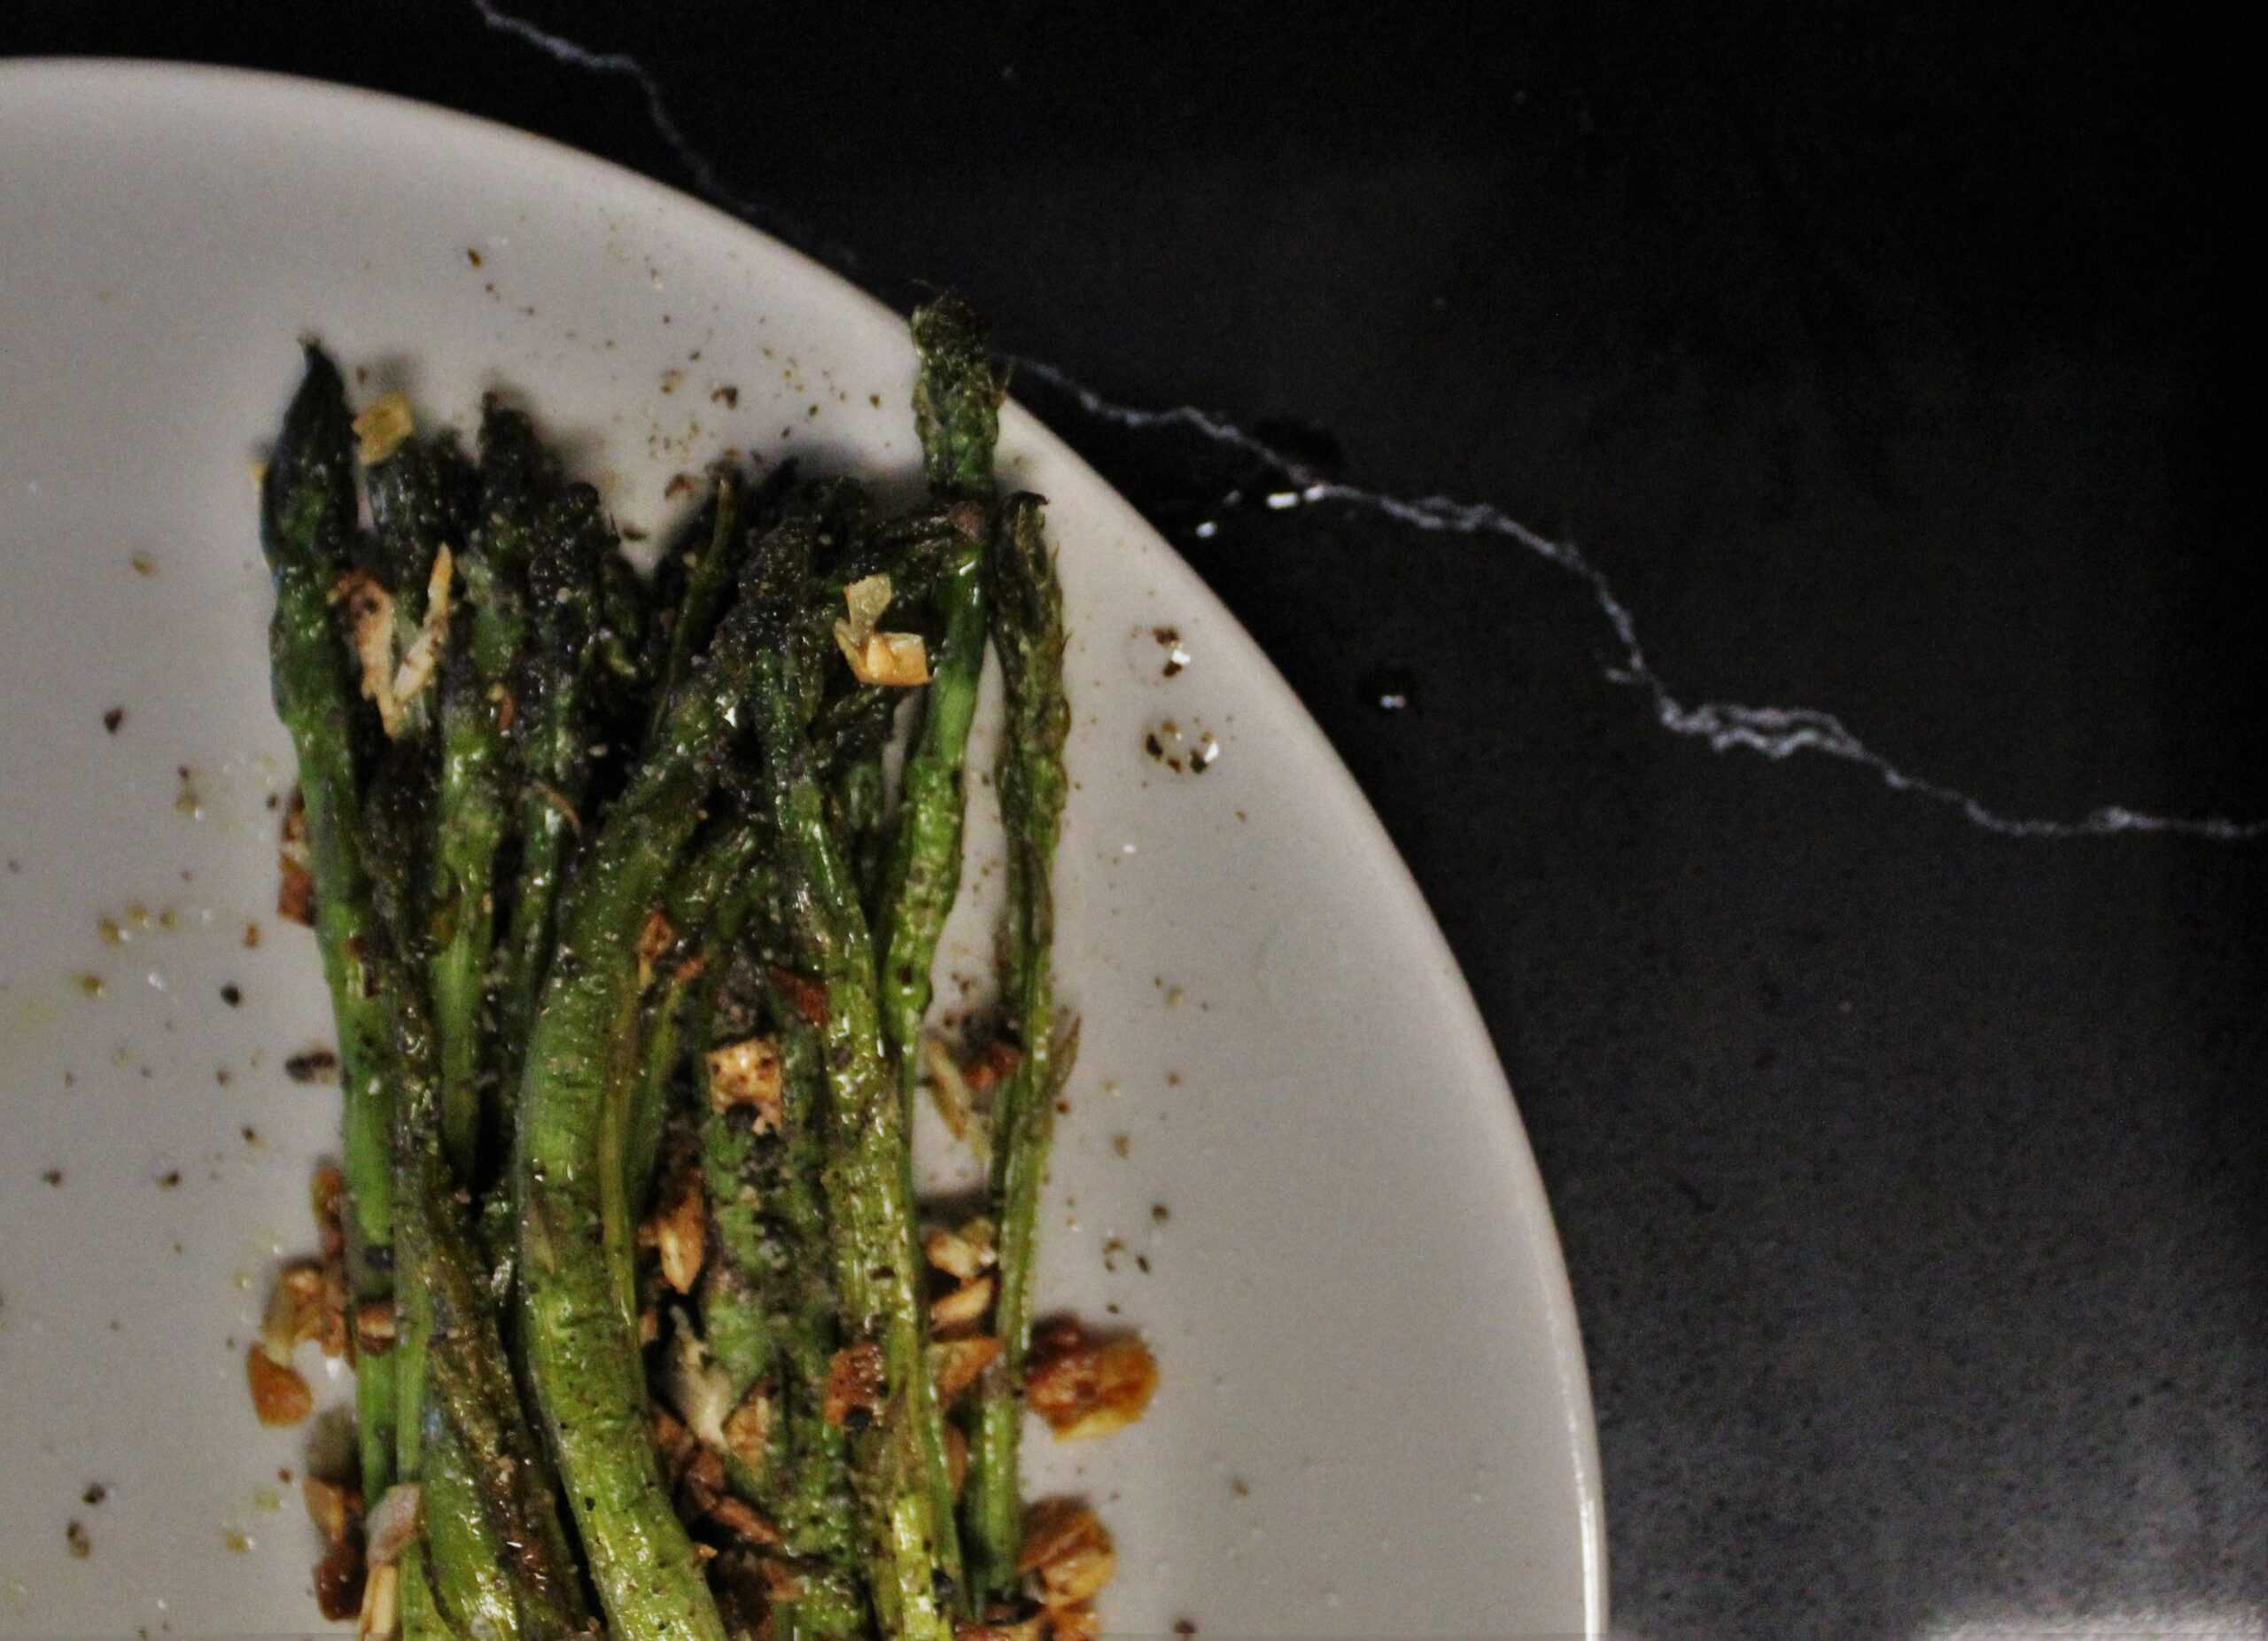
Step 7) Plate up your stalks, cut them into two or three pieces, and enjoy. Most people like the tips the best, but the middles get quite tender when they're roasted like this, so savor every bite!
🌿 Variations
- Garlic-Free Asparagus: Keep it minimal with just olive oil and sea salt, letting the natural flavor of asparagus shine.
- Herb-Roasted Asparagus: Add fresh or dried thyme, rosemary, or basil for gentle herbal flavor without increasing histamine.
- Extra-Crispy Asparagus: Roast or air-fry a few minutes longer, turning once, for crispier tips while keeping the ingredients low histamine.
- Oil-Sprayed Asparagus: Use an olive oil sprayer instead of pouring oil for a lighter version that still crisps nicely.
🥘 Freezing and Reheating
I wouldn't recommend freezing asparagus in any form - it will end up softened and wilted, with much less flavor than when it was first cooked. Make sure you only bake up as much as you can eat in that one sitting, or else deal with very mushy frozen asparagus.
👨🏻🍳 Expert Notes & Tips
Don't Burn! Make sure to keep an eye on your asparagus during the minute or so of cooking, because that's when they're crisping up the most (or possibly burning).
Swapping Lemon Juice: If you choose to abstain from the lemon juice, try a quarter teaspoon of camu camu powder as the acid.
Making a Single Serving: You can halve this recipe and cook it in the toaster oven instead of waiting for the regular oven to preheat. I prefer extra garlic and lemon juice when I do this, so that I can made a salty sauce out of the oil leftover after I eat the stalks. But if your accompanying foods don't have complementary flavors, you may want to be more conservative with your salt and lemon.
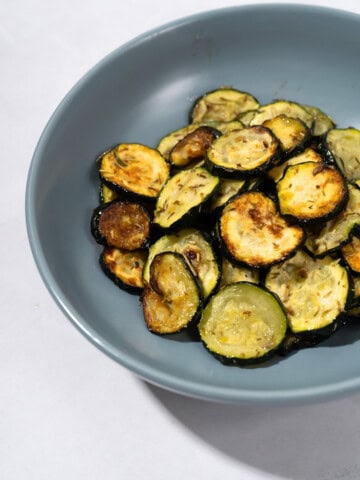
❓ What to Serve With Crispy Asparagus

🙋 Frequently Asked Questions
Yes, fresh asparagus is generally considered low histamine and is often well tolerated when cooked and eaten soon after preparation.
Yes. Garlic can be omitted entirely or replaced with fresh herbs like thyme or rosemary for a garlic-free, low histamine version.
If citrus is not tolerated, use a light sprinkle of camu camu powder or omit acidity altogether.
Yes, this dish is vegan, vegetarian, dairy-free, and gluten-free.
Yes. Air fry at a high temperature for a shorter time, shaking once, until the asparagus is tender with crispy tips.

Have you tried this recipe?
If you like the recipe, please leave a 5-star ⭐️⭐️⭐️⭐️⭐️ rating on the recipe card, or even a comment! I love to hear how your recipes turned out, and your feedback can help other readers! Also join us on Instagram, Facebook & Pinterest.
📖 Recipe
Crispy Garlic Asparagus (Lemon Optional)
Equipment
- oven
Ingredients
- 1 pound of thin organic asparagus stalks
- 3 Tablespoons organic olive oil
- 2-3 large cloves of organic garlic
- salt & pepper to taste
- spritz of lemon juice or lime use a sprinkle of camu camu powder if you can't tolerate citrus
Instructions
- First, preheat your oven to 400°F (205°C).
- Then wash your asparagus carefully, being gentle with the tips, especially if your stalks are more than a day or two old. Get out your cutting board and a sharp knife, and cut the bottoms of the asparagus stalks off. For reference, aim for just above where the color changes from white or purple to green, usually ⅓ or ½ of the way down the stalk. If you encounter resistance, you may need to cut a bit higher, because the closer you get to the bottom, the more fibrous the stalk is. Unfortunately the bottoms are too fibrous to enjoy, so just compost them.
- Next, peel your garlic cloves (remember to use fresh organic garlic!), and chop them into tiny pieces.
- Arrange your asparagus stalks on the baking sheet, tips all lined up at the edge, so they can roast evenly. Sprinkle the chopped garlic evenly onto the asparagus, but don't worry if it's not completely even. The garlic ends up flavoring the oil more than the asparagus, since the fat carries the flavor in any dish.
- Pour your olive oil evenly onto the stalks, making sure to cover the tips, since they'll get nice and crispy if they're oiled up. Slide your tray into the highest slot of the oven, and set a timer for 12 minutes.
- Once your timer goes off, remove your asparagus from the oven and immediately sprinkle the lemon juice or the camu camu powder on top. This stops the veggies from cooking further, and helps make a sort of sauce for dipping. Add salt and pepper in levels you're comfortable with; I like a lot of salt and a little pepper, but it depends on what else I'm serving it with.
- Plate up your stalks, cut them into two or three pieces, and enjoy. Most people like the tips the best, but the middles get quite tender when they're roasted like this, so savor every bite!
Notes
Nutrition
Save this post for later!

Mahala says
This was exactly what I was looking for! I can't have even a trace of dairy, so the olive oil is working perfect. Can't wait for summer asparagus!
-Mahala
lowhistamineeats says
Awww thank you for your comment, Mahala! I'm glad this helped. 🙂
-Max