


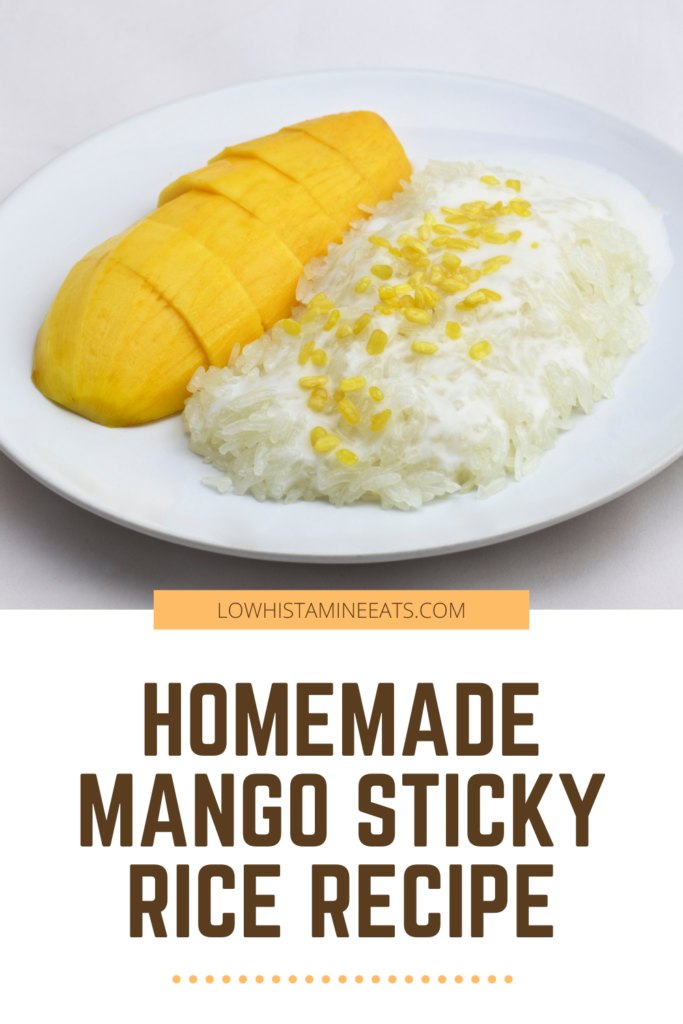
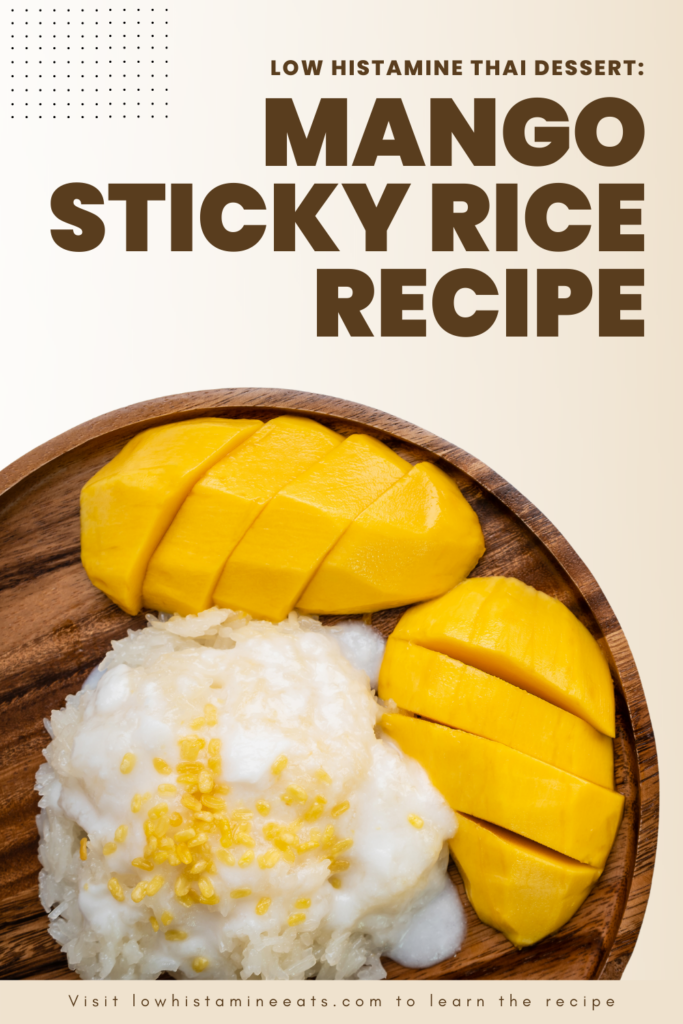
Mango sticky rice is a classic Thai dessert that combines chewy, sweet sticky rice with juicy, flavorful mango for a naturally satisfying treat. This homemade version is simple to make and highlights mango’s antihistamine benefits while keeping the recipe low histamine-friendly. With a few easy tips for steaming the rice perfectly, you can enjoy this tropical dessert anytime at home.
For other dairy-free dessert recipes, also try my vanilla olive oil cake and fluffy waffles.
Jump to:
✔️ Why This Recipe is Great
Low Histamine Dessert: For me, one of the toughest things about a low histamine diet is the loss of sweets. Or at least, it feels like a loss of sweets, since you're not supposed to have sugar outside of a short list of low histamine fruits, but this is a rare exception (sugar substitutes are listed on the recipe card).
Tropical & Antihistamine-Packed: Mango is not only delicious but also rich in antioxidants and antihistamine properties. Paired with coconut cream, this dessert balances sweet, creamy, and slightly tangy flavors that make it feel decadent while still being low histamine-friendly.
Easy to Make at Home: Steaming sticky rice might sound intimidating, but with a bamboo steamer or simple cheesecloth method, you can make this classic Thai dessert in your own kitchen with minimal fuss. It’s perfect for a special treat or a weekend indulgence.
🥭 Ingredients
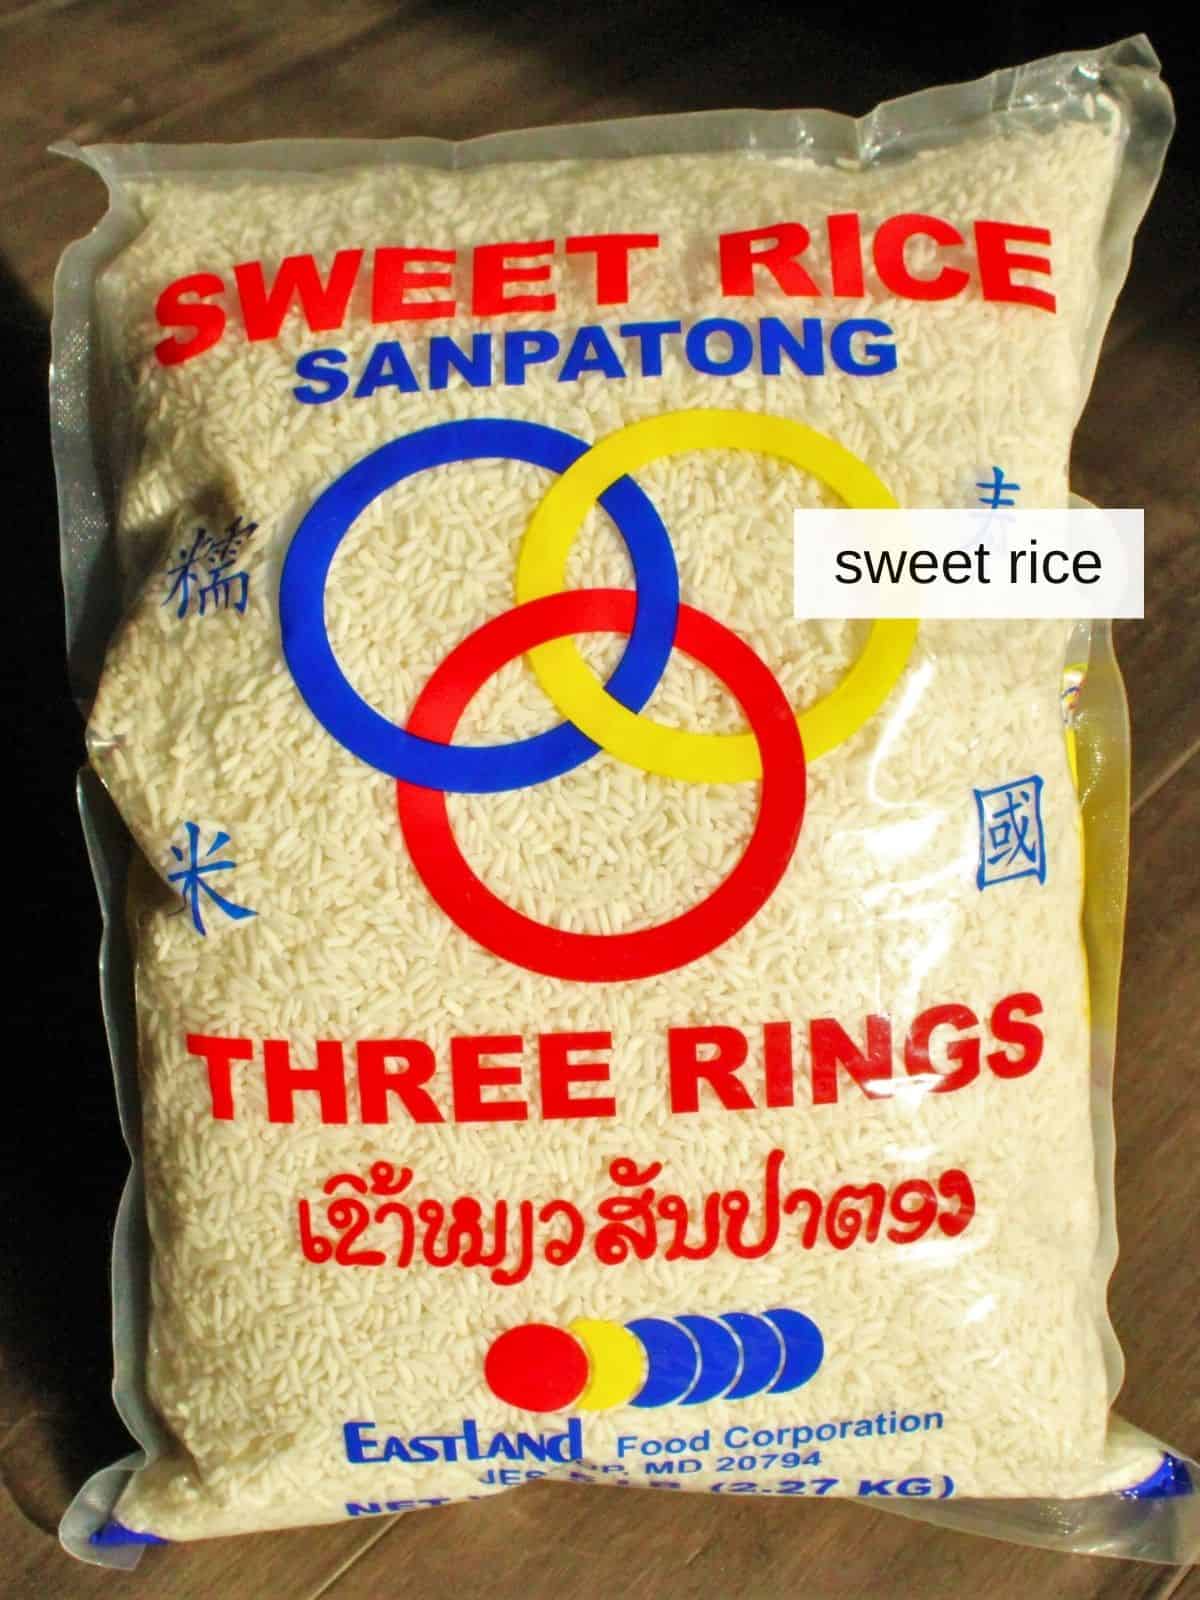
Cooked Sweet Rice: Also called glutinous or sticky rice, this rice is naturally sticky when steamed and provides the chewy, satisfying base for traditional mango sticky rice.
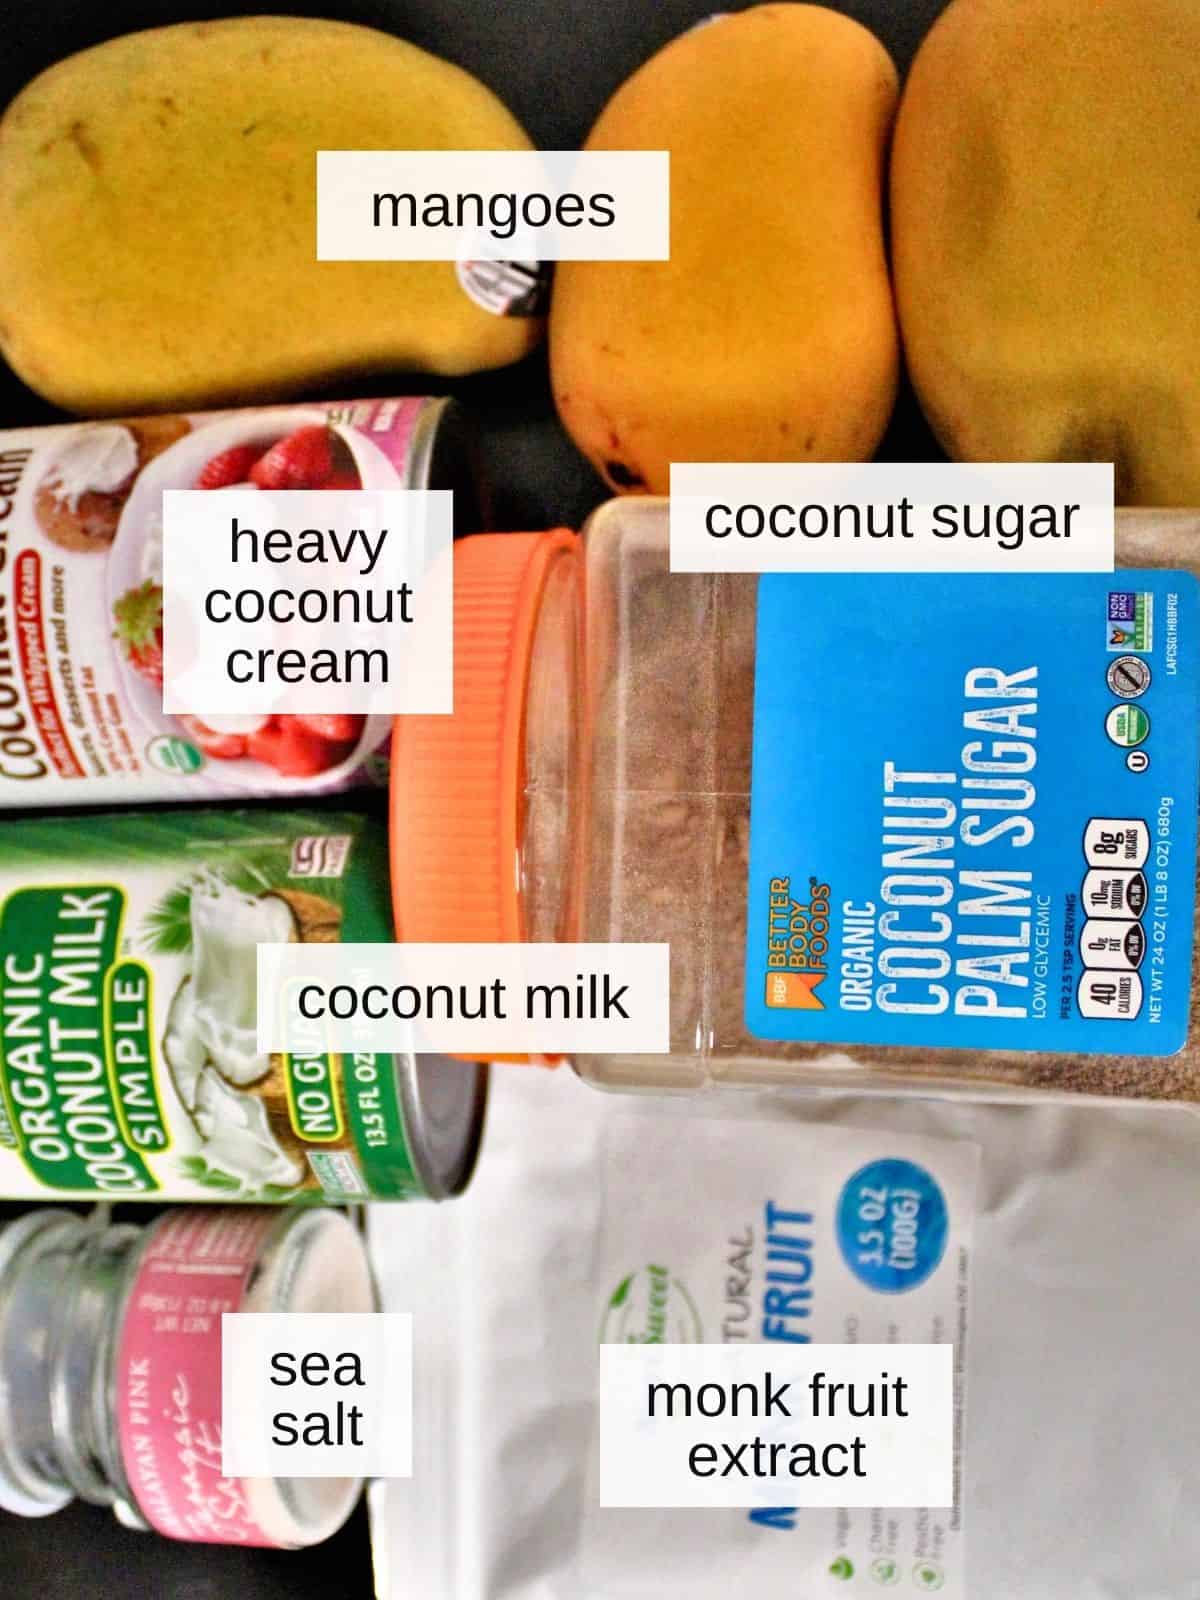
Heavy Coconut Cream: This thick, rich part of the coconut milk adds creaminess and a subtle coconut flavor, making the dessert indulgent without dairy.
Unsweetened Coconut Milk: Light coconut milk helps loosen the cream slightly and adds a gentle coconut flavor, keeping the recipe low histamine and dairy-free.
Coconut Sugar: this is a lower-glycemic, lower histamine sweetener that adds a nice toasty flavor to the mango sticky rice.
Monk Fruit: when you’re trying to eat low-sugar, monk fruit extract will be one of your best friends. It packs a sweetness level approximately 200x that of table sugar, so it should be used sparingly.
Mangoes: Ripe mangoes are naturally sweet, juicy, and packed with antioxidants, adding bright tropical flavor while remaining low histamine-friendly when fresh.
See recipe card for exact ingredients and quantities.
🍚 How to Make Mango Sticky Rice (Step-by-Step)
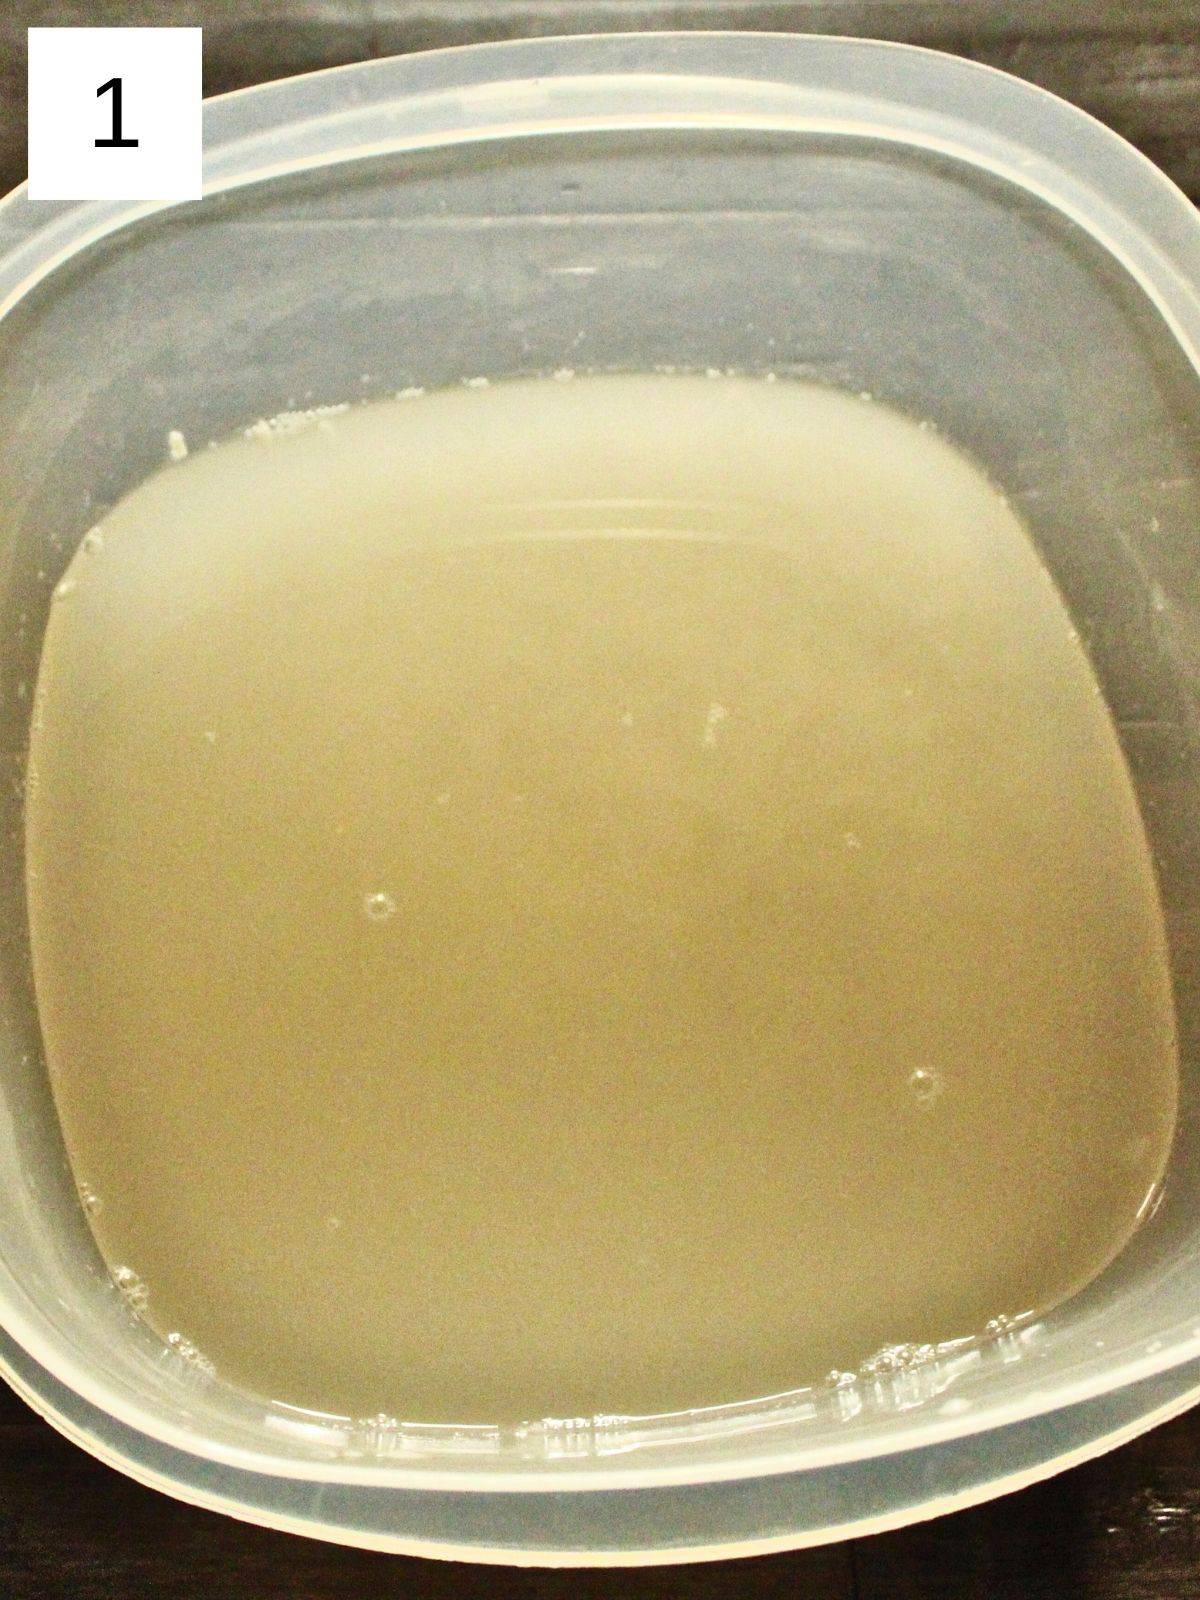
Step 1) To make the sticky rice, first soak the rice overnight (or at least 12 hours) (image 1) and place a can of coconut cream and a can of coconut milk into the fridge.
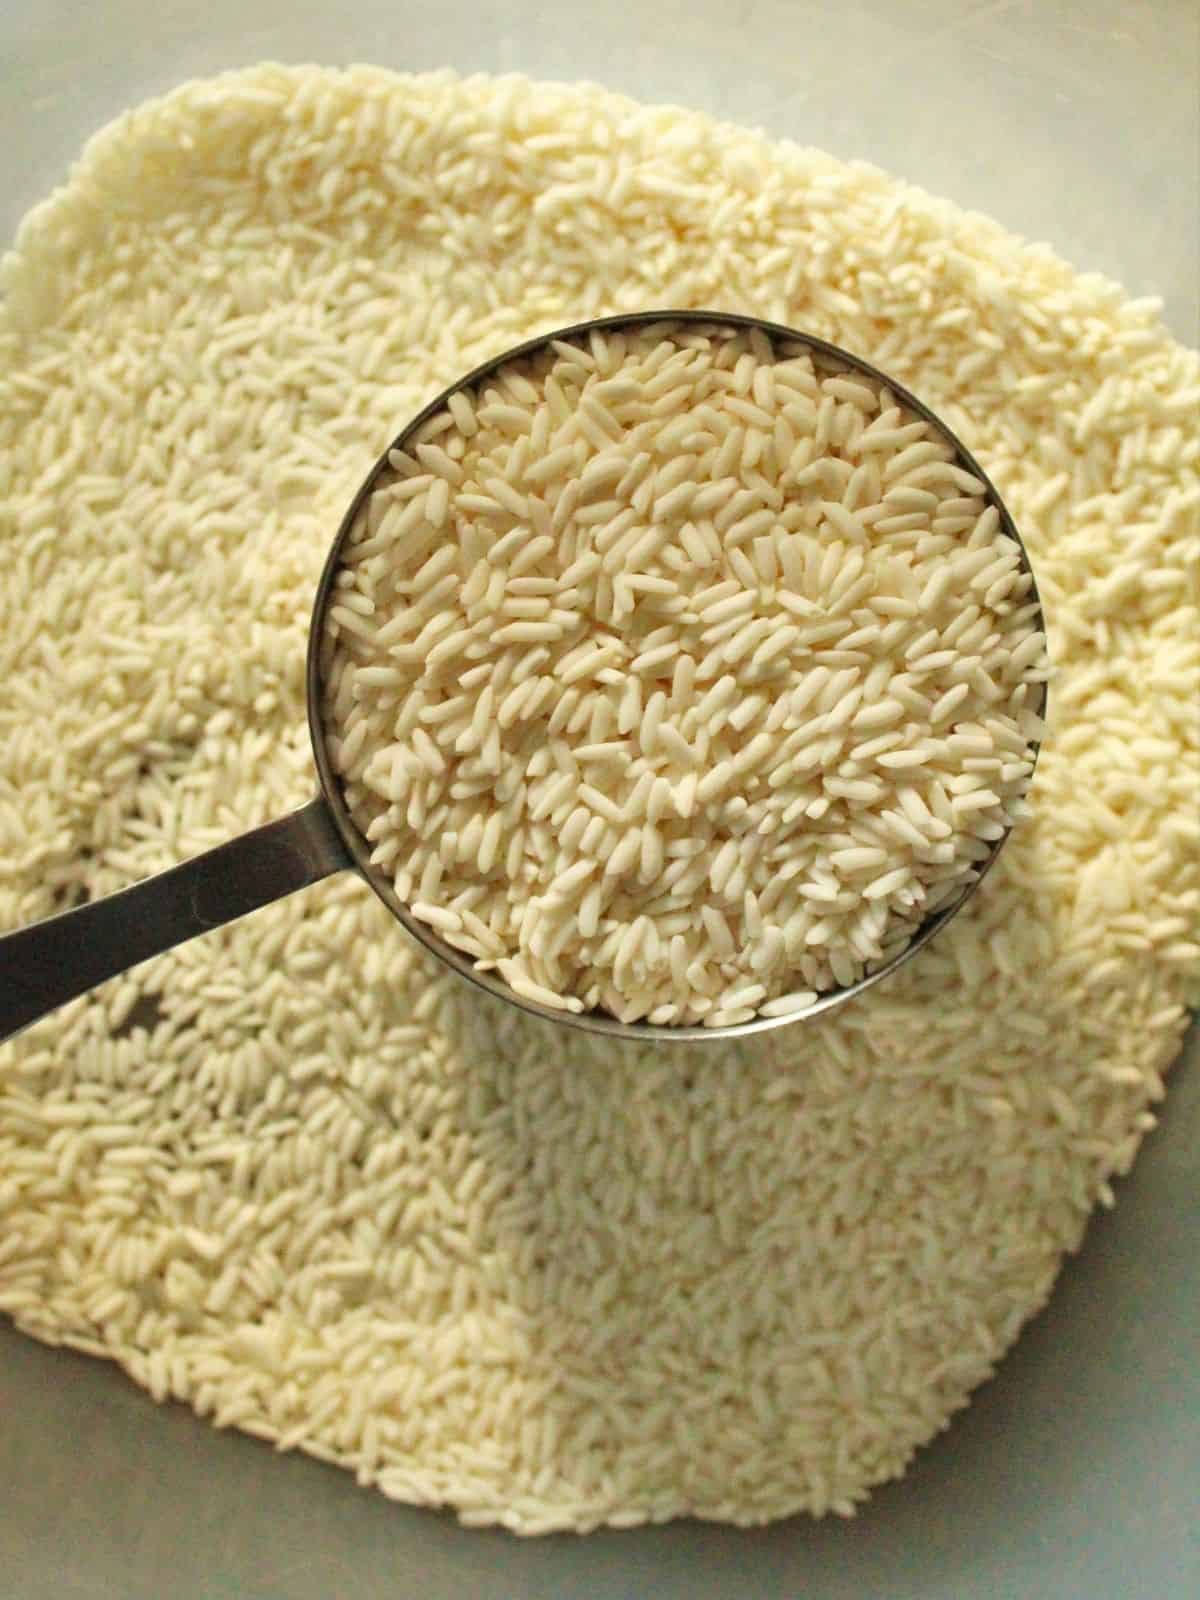
Step 2) Once your rice has had time to soften, set a fair amount of water to a full boil, since it will steam throughout the cooking process thereby lessening how much is in the pot. Rinse off your sticky rice at least 5 times, draining off as much as you can each time, until the water runs clear (image 2).

Step 3) Line your top steamer basket with cheesecloth and a steamer liner. Then add still-wet soaked rice to the cheesecloth-lined basket to get rid of excess water, and fold the cheesecloth onto top of rice pile if at risk of burning from an open flame. Stack steamers on top of pot of boiling water and keep water boiling so that the resulting steam cooks the rice (image 3).

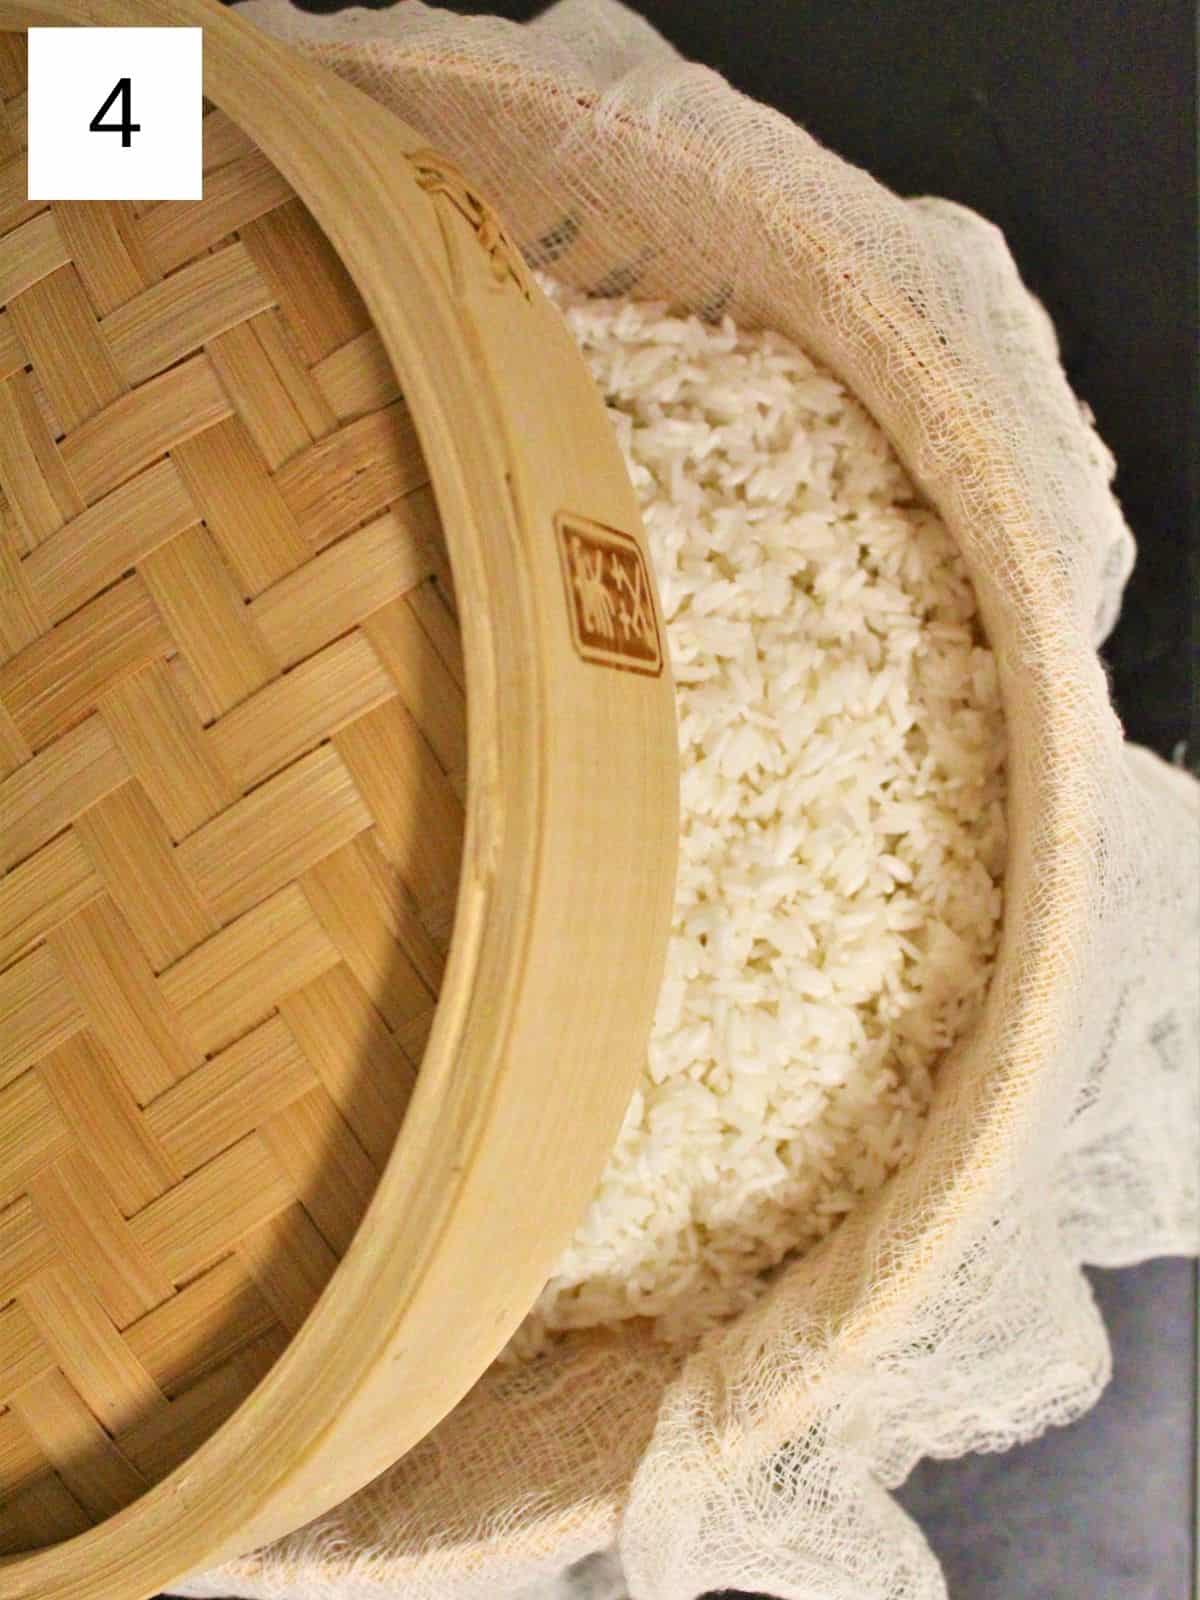
Step 4) Set a timer for 55 minutes and let the rice steam (image 4). I found 55 minutes with a roiling boil underneath to be perfect, but check on it after 40, and then 50 minutes. Don't lift up the steamer lid more often than that, though, because that dissipates the steam (which is the only thing cooking the rice).
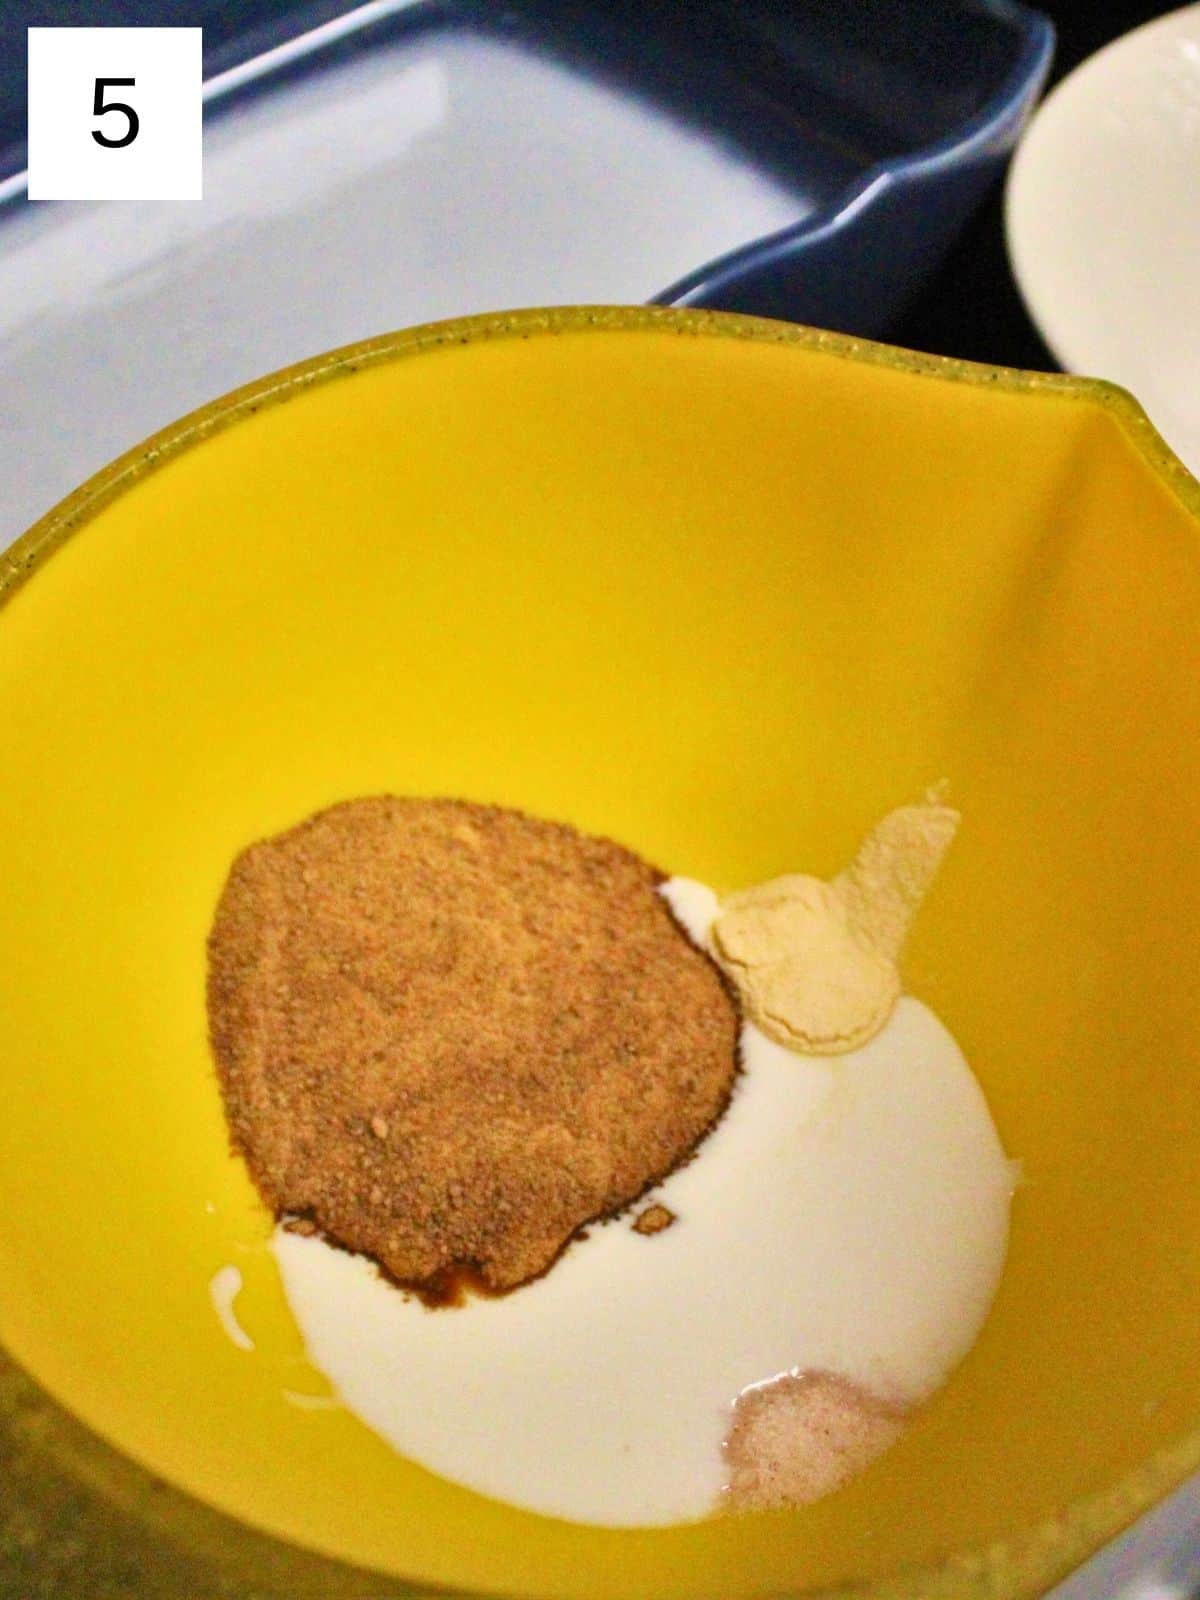
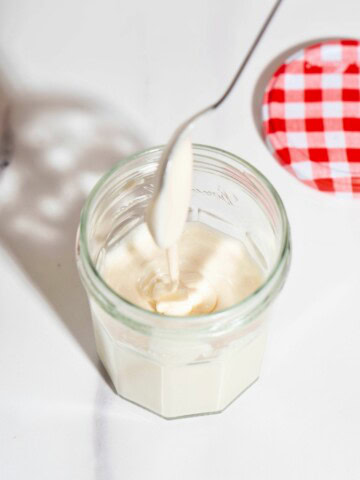
Step 5) Take the coconut cream, coconut milk, and the organic mangoes out of the fridge. Open the cans and put the coconut cream & milk into your bowl. Add the coconut sugar, monk fruit, and salt (image 5), and blend it all together until it has a smooth, almost whipped consistency (about 90 seconds). Pour the mixture into a saucepan and heat on low for 5 minutes, allowing the sugar and salt to fully dissolve. Set aside ½ cup of the mixture, and pour the rest back into the bowl.
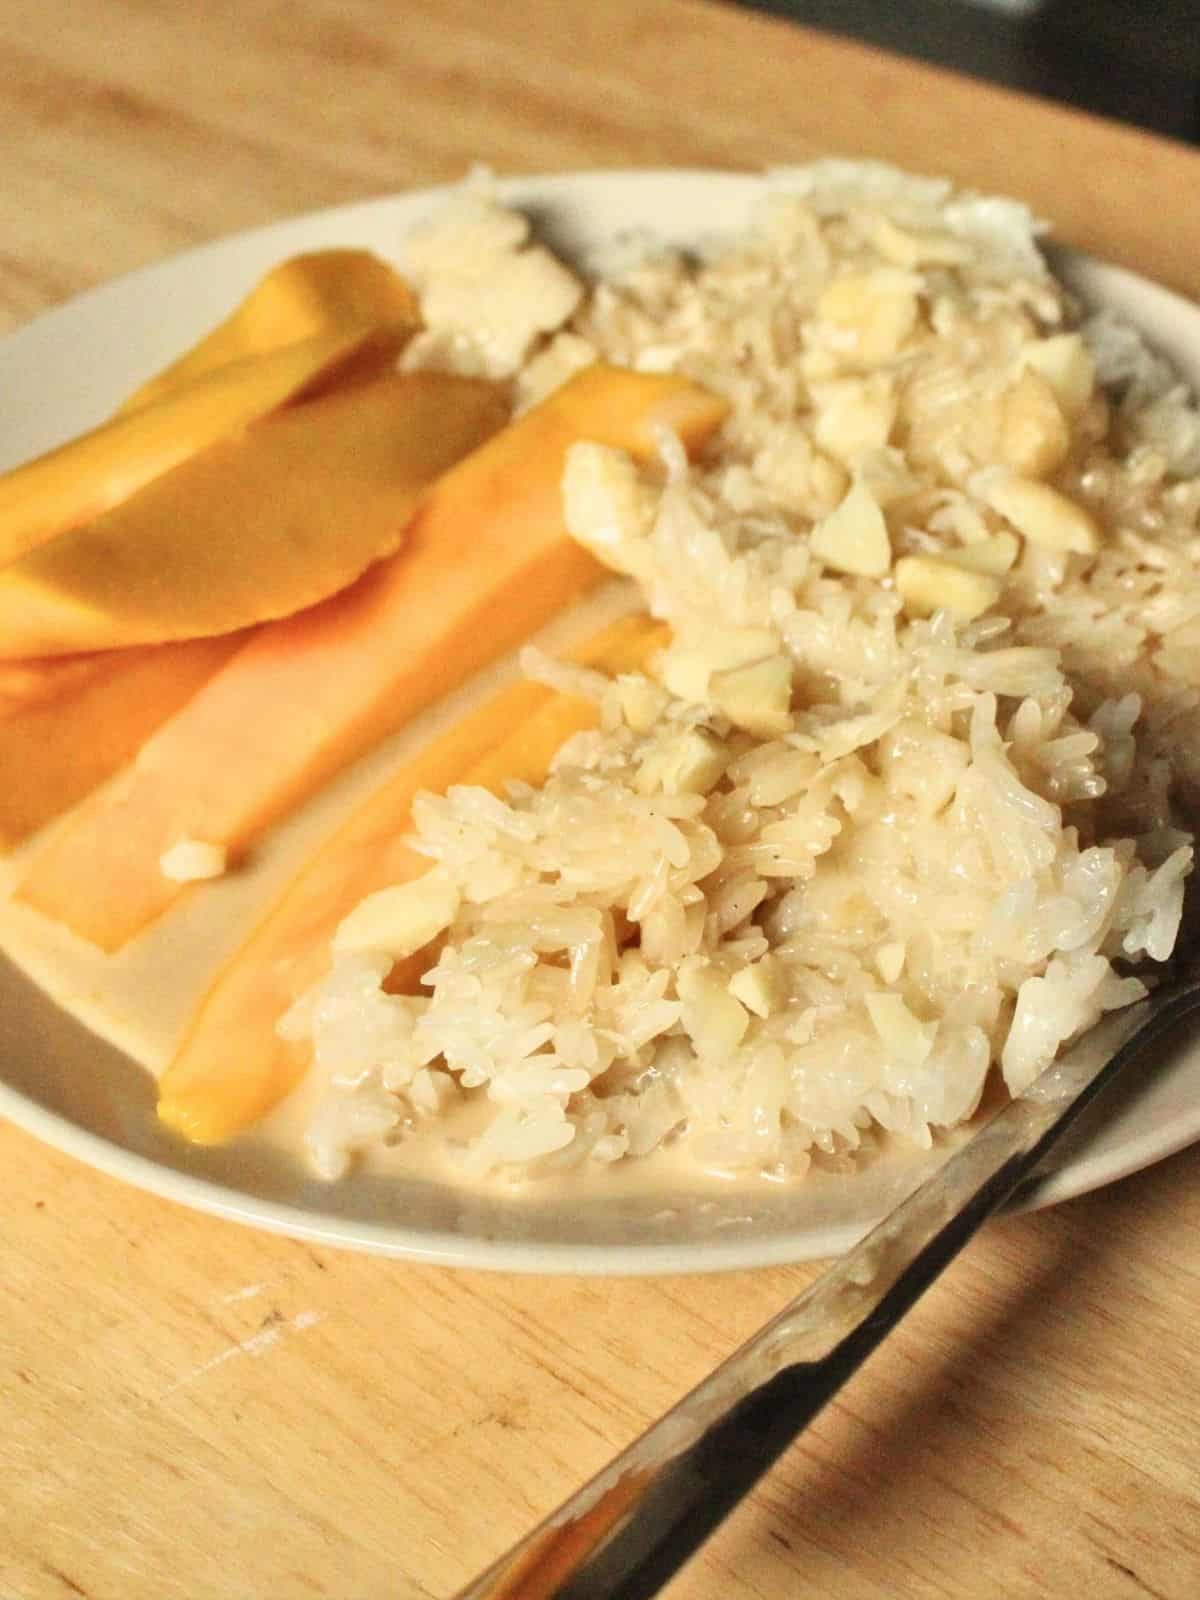
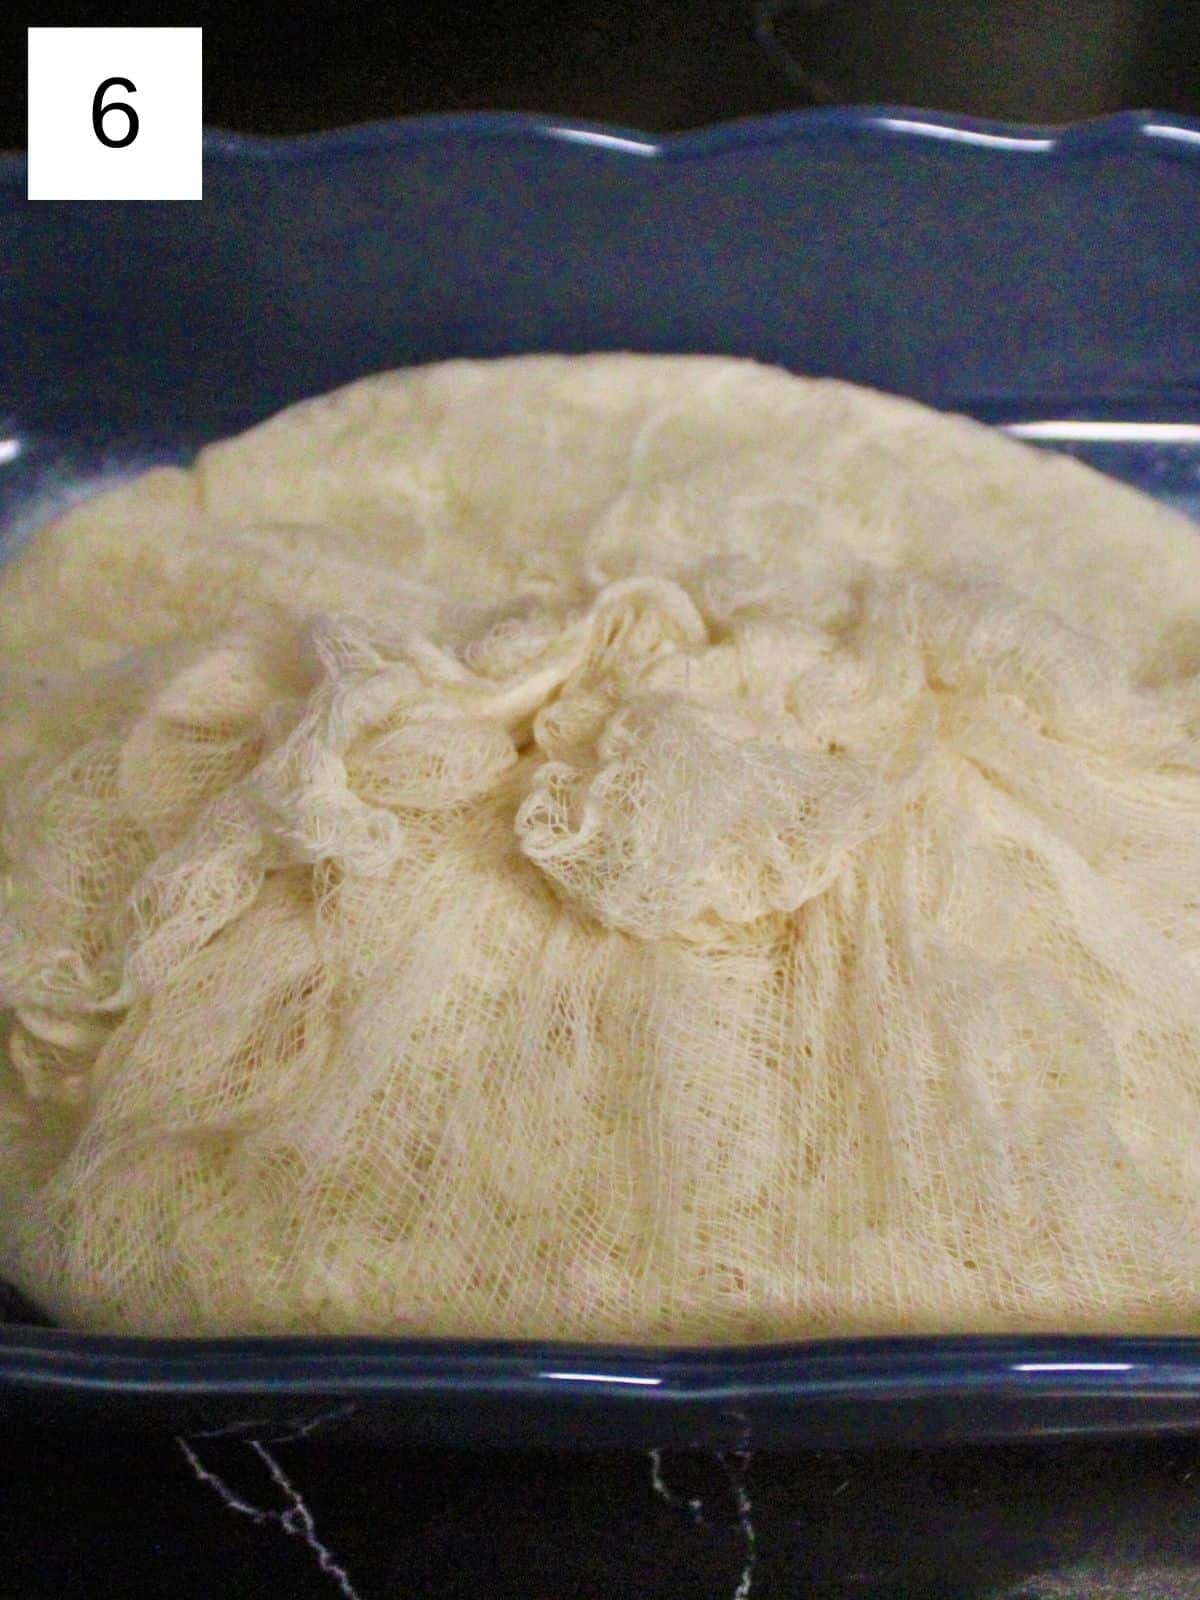
Step 6) Once the rice is done (image 6) (taste a small lump and it tastes like plain rice; this's how you know it's done), immediately put it into the remaining coconut milk mixture and mix everything together with your big spoon. The aim is for the rice to soak in the coconut milk for the next fifteen minutes, so let it sit for a bit, covered with a plate to keep the heat in. Make sure each grain of rice is thoroughly saturated before covering.
Step 7) While the rice finishes absorbing, wash and prepare your mangoes however you prefer to eat them. Serve the mango alongside the rice (with extra sauce spooned on top), and if you can tolerate them, chop and add some pili nuts or some puffed rice or toasted sesame seeds to the top. This rice freezes beautifully in single-serve containers, so your leftovers will be safe for the next time a ripe mango comes along!
🥥 Variations
- Extra Creamy Sticky Rice: Increase the amount of coconut cream slightly for a richer, creamier texture.
- Sweeter Version: Add an extra 1–2 teaspoons of coconut sugar or a bit more monk fruit extract if you prefer a sweeter dessert.
- Mango-Free Option: Substitute with crisp apple or peeled pear for a different low histamine fruit twist.
- Coconut Topping: Drizzle additional light coconut milk over the rice when serving for a creamier finish.
- Nutty Crunch: Sprinkle toasted sunflower seeds or pumpkin seeds on top for added texture (if tolerated).
- Chilled Dessert: Serve the sticky rice slightly chilled for a refreshing, summer-friendly version.
- Mini Portions: Use ice cube trays or small ramekins to portion and freeze individual servings for later use.
🍛 Freezing and Reheating
Once cooked, the sticky rice will freeze fine for up to 2 months, but you should use fresh mango when serving it, whenever possible.
👨🏻🍳 Expert Notes & Tips
Coconut Milk: This recipe DOES NOT work with a milk other than coconut milk. And make sure you use canned coconut milk, not any type of coconut milk drink or coconut water (they're different from coconut milk for cooking). You can increase the monk fruit to ½ teaspoon if it's not nearly sweet enough for you, but I'd recommend adding 1 extra tablespoon of coconut sugar, instead.
❓ What to Serve With Mango Sticky Rice


🙋 Frequently Asked Questions
No, glutinous (sticky) rice is essential for the chewy texture that makes mango sticky rice authentic. Regular rice will not achieve the same stickiness.
No, this recipe requires canned coconut cream and coconut milk for the proper creaminess and flavor; plant milks like almond or oat won’t give the same texture.
Fresh, ripe mango is ideal, but thawed frozen mango can be used in a pinch. Make sure it’s drained and not overly watery.
Yes, using fresh mango and coconut milk makes this dessert generally low histamine-friendly, but always check your individual tolerance for mango.

Have you tried this recipe?
If you like the recipe, please leave a 5-star ⭐️⭐️⭐️⭐️⭐️ rating on the recipe card, or even a comment! I love to hear how your recipes turned out, and your feedback can help other readers! Also join us on Instagram, Facebook & Pinterest.
📖 Recipe
Equipment
- steamer basket
- cheesecloth
Ingredients
- 2 cups Cooked Sweet Rice
- 13.5 oz. Organic Heavy Coconut Cream
- 4 oz. Unsweetened Coconut Milk ~⅓ can, stirred evenly
- 3 Tablespoons Coconut Sugar
- ¼ teaspoon Monk Fruit Extract
- ½ teaspoon Sea Salt
- 3-4 Organic Mangoes
Instructions
- To make the sticky rice, first soak the rice overnight (or at least 12 hours) and place a can of coconut cream and a can of coconut milk into the fridge.
- Once your rice has had time to soften, set a fair amount of water to a full boil, since it will steam throughout the cooking process thereby lessening how much is in the pot. Rinse off your sticky rice at least 5 times, draining off as much as you can each time, until the water runs clear.
- Line your top steamer basket with cheesecloth and a steamer liner. Then add still-wet soaked rice to the cheesecloth-lined basket to get rid of excess water, and fold the cheesecloth onto top of rice pile if at risk of burning from an open flame. Stack steamers on top of pot of boiling water and keep water boiling so that the resulting steam cooks the rice.
- Set a timer for 55 minutes and let the rice steam. I found 55 minutes with a roiling boil underneath to be perfect, but check on it after 40, and then 50 minutes. Don't lift up the steamer lid more often than that, though, because that dissipates the steam (which is the only thing cooking the rice).
- Take the coconut cream, coconut milk, and the organic mangoes out of the fridge. Open the cans and put the coconut cream & milk into your bowl. Add the coconut sugar, monk fruit, and salt, and blend it all together until it has a smooth, almost whipped consistency (about 90 seconds). Pour the mixture into a saucepan and heat on low for 5 minutes, allowing the sugar and salt to fully dissolve. Set aside ½ cup of the mixture, and pour the rest back into the bowl.
- Once the rice is done (taste a small lump and it tastes like plain rice; this's how you know it's done), immediately put it into the remaining coconut milk mixture and mix everything together with your big spoon. The aim is for the rice to soak in the coconut milk for the next fifteen minutes, so let it sit for a bit, covered with a plate to keep the heat in. Make sure each grain of rice is thoroughly saturated before covering.
- While the rice finishes absorbing, wash and prepare your mangoes however you prefer to eat them. Serve the mango alongside the rice (with extra sauce spooned on top), and if you can tolerate them, chop and add some pili nuts or some puffed rice or toasted sesame seeds to the top. This rice freezes beautifully in single-serve containers, so your leftovers will be safe for the next time a ripe mango comes along!
Notes
Nutrition
Save this post for later!


Comments
No Comments