


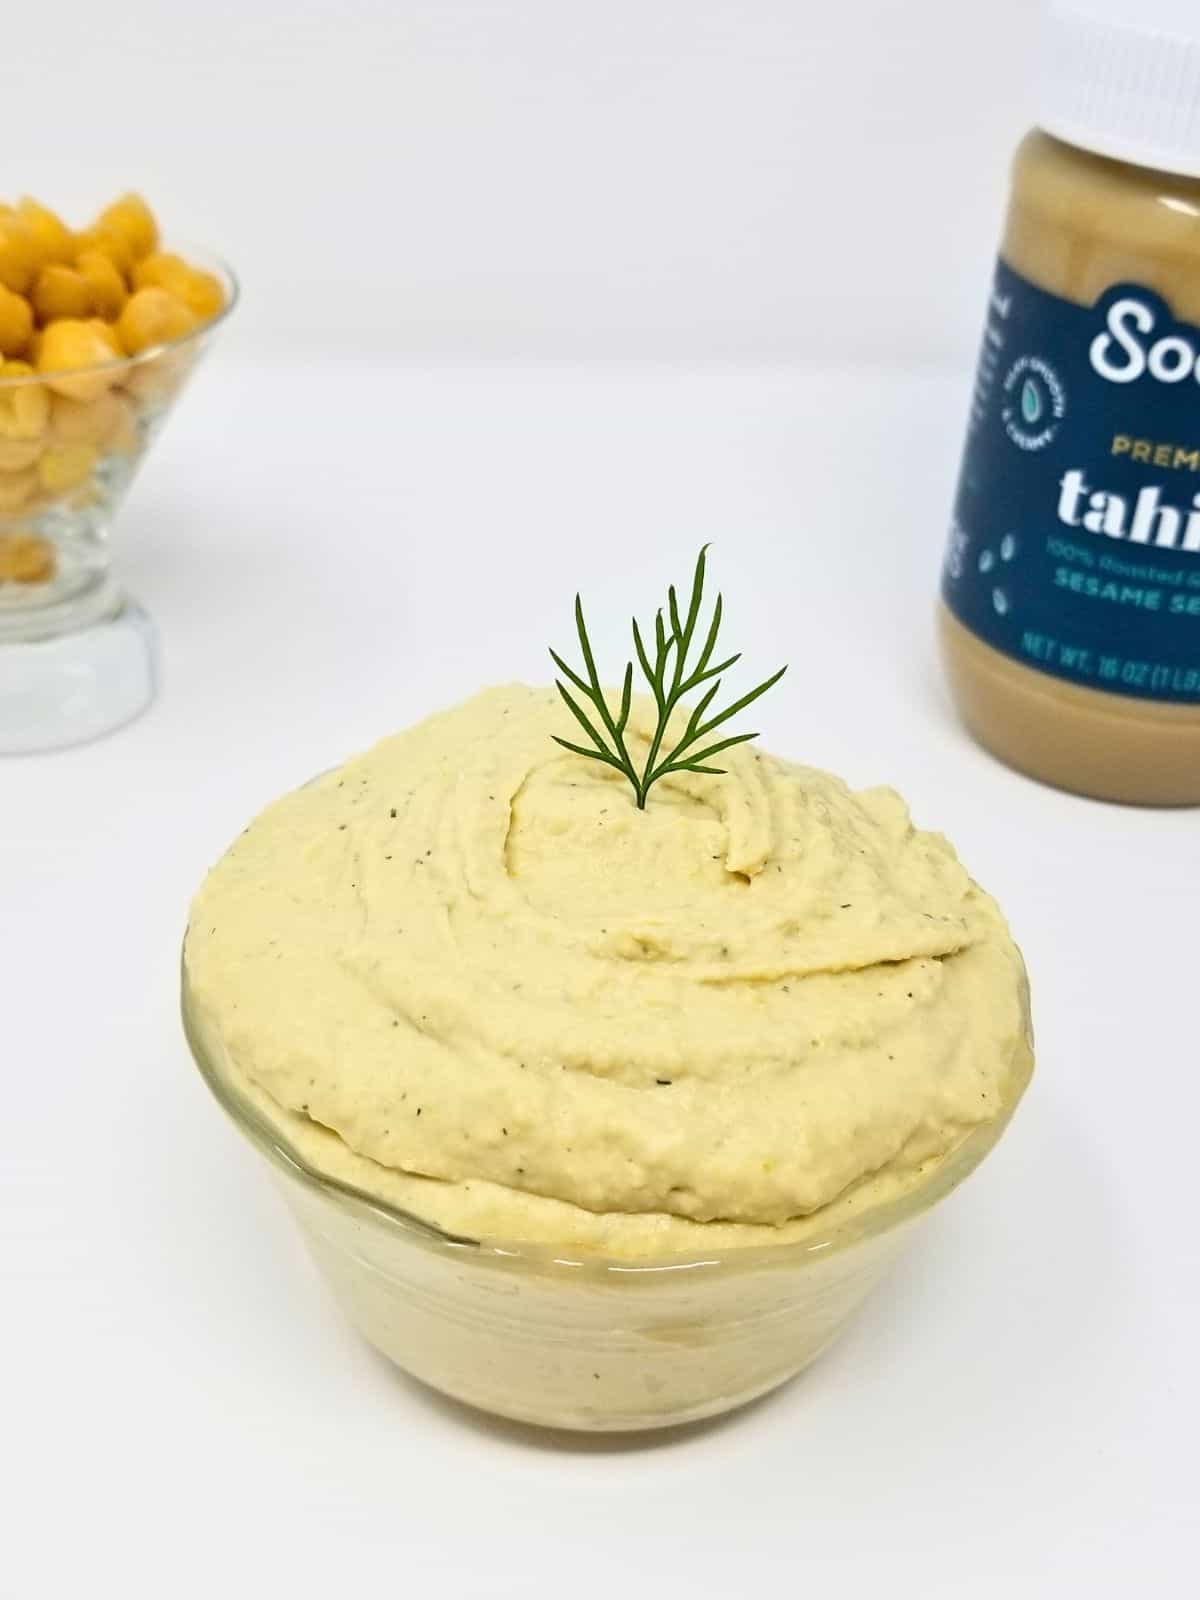
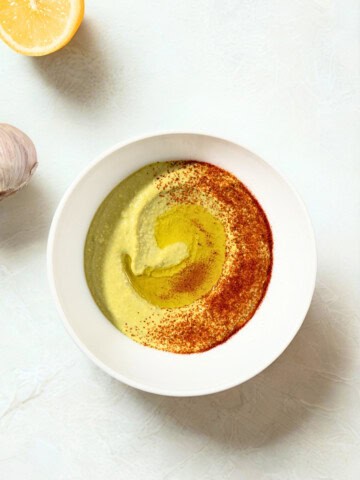
This flavorful Hummus Without Garlic has a lemony undertone and a pleasant herbal note from fresh dill. It's creamy, herbaceous, and most importantly, you can make in under 15 minutes!
For other delicious hummus recipes, try my fava bean hummus and easy beetroot hummus.

Jump to:
✔️ Why This Recipe is Great
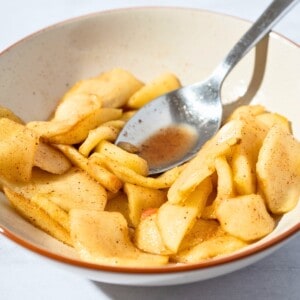
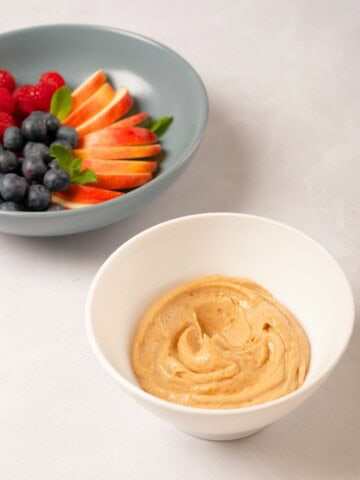
Low Histamine Breakfast: I love having some cassava chips with this hummus, and maybe an apple for a quick low histamine breakfast or packed lunch. If you tolerate grains, corn chips are another great option.
High Protein & High Fiber: from the chickpeas and tahini comes lot of protein, and a balanced amount of fiber. This is one of my most tried & true low histamine recipes, and I wish it hadn't taken me three years to post it here. For more texture, whole nigella seeds add a great element to replace or just enhance the cumin flavor in the dip.
Vegan Low Histamine: more vegan-friendly recipes is probably the number one request in my inbox. This no garlic hummus is both my answer to that request and a response to my current diet, which is low histamine, as well as free from grains. Because of that, I'm always looking for ways to make fruits and veggies more interesting.
🍋 Ingredients
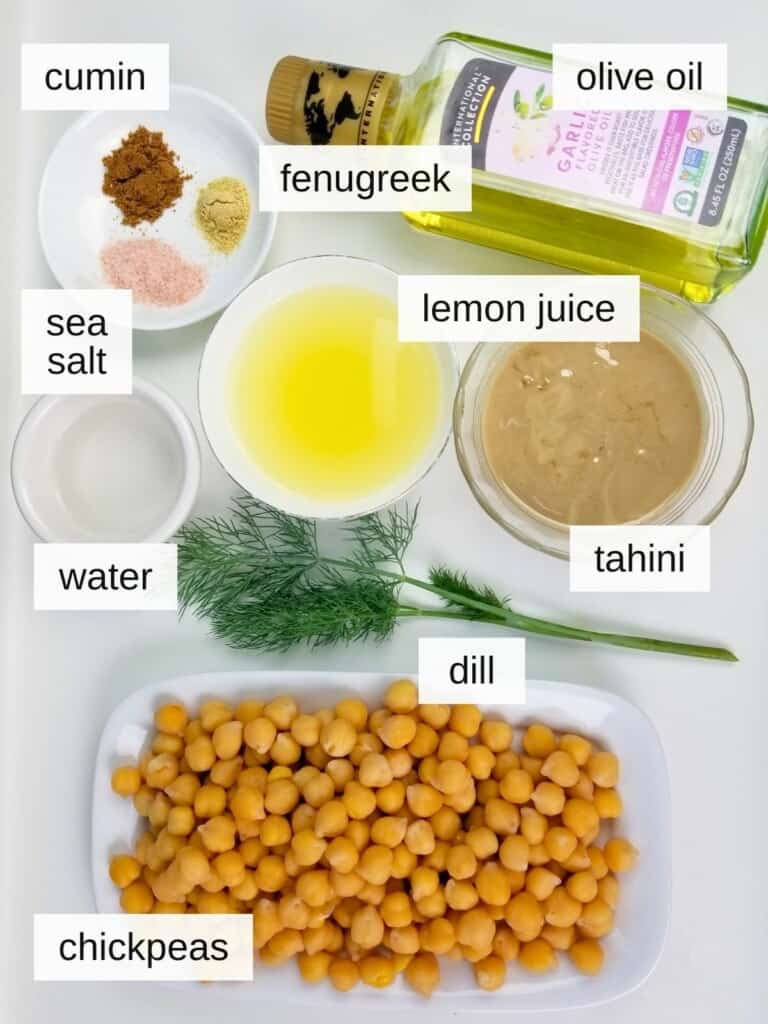
Chickpeas: while you can use canned chickpeas if tolerated, I like to use the dry ones and just soak them overnight, and then cook them for an hour or so (as described in the recipe).
Tahini: another word for hulled, toasted, and ground sesame seeds, tahini has long been used in Mediterranean cuisine to make sauces and even desserts. One of the most classic and integral ingredients to hummus, the seed butter adds heft and umami as well as creaminess.
Fresh Lemon Juice: the kick of acid from the lemon juice really accentuates and balances out the nutty, mildly bitter flavor of the tahini without adding too much flavor of its own. Additionally, lemon contains loads of vitamin C, a known mast cell stabilizer, though some people are sensitive to citrus-derived forms of it, i.e. lemon juice.
Olive Oil: this neutral-tasting plant oil has a smooth flavor and is rich in one of the building blocks of DAO, an integral enzyme for breaking down histamine in the gut.
Chopped Fresh Dill: a flavorful low histamine herb, fresh dill may remind you of pickles, or yogurt sauce, or of a summer garden, depending on your childhood. It combines beautifully with the other ingredients in this garlic-free hummus. Alternatively you could use a tablespoon of dried dill or of another herb, like cumin or antihistamine nigella powder.
Ground Cumin: I have yet to find any studies that show it to have histamine-releasing qualities, but cumin can be contentious. It adds a delicious toasty, savory flavor to the turmeric potatoes, however nigella seeds would be a decent substitute, whether you use the dill or not.
See recipe card for exact ingredients and quantities.
🥣 How to Make Hummus Without Garlic (Step-by-Step)
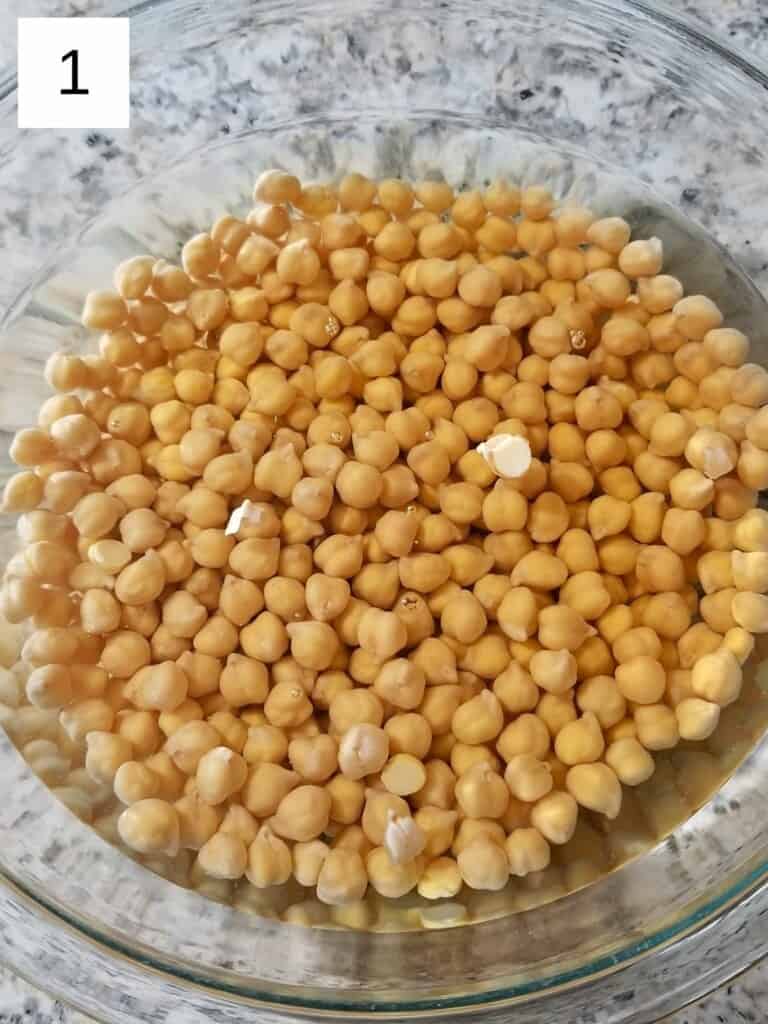
Step 1) If using canned chickpeas, skip to step 4. Soak ¾ cups of dried chickpeas overnight in 4 cups of water (with a pinch of baking soda for tenderness), giving them at least 8 hours in the water (image 1). Once soaked they will roughly double in size, so only soak half the amount of chickpeas called for in the recipe (you can also make a double batch of hummus without garlic by just soaking 1 ½ cup dried chickpeas!).
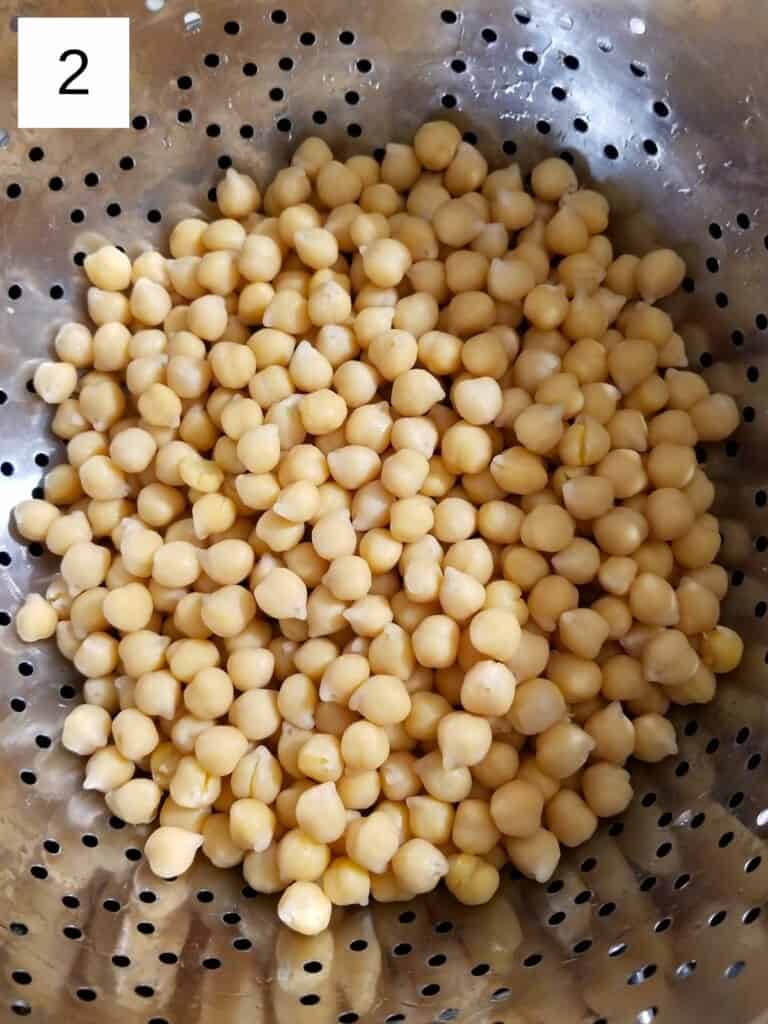
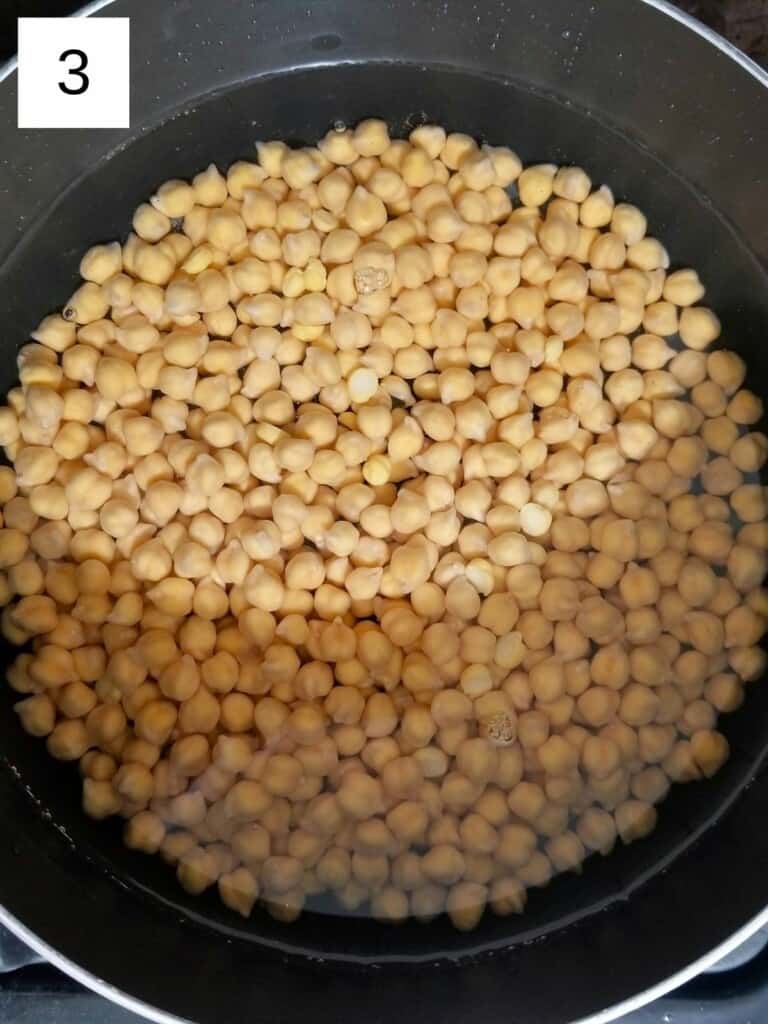
Step 2) After the chickpeas have finished soaking, drain them & then rise them well to get off any lingering plant chemicals (image 2). Then put them in a covered pot of 3 cups of water, turn the heat to medium, and set a 45-minute timer; turn the heat down and set the lid ajar once the water starts boiling up (images 3 & 4).
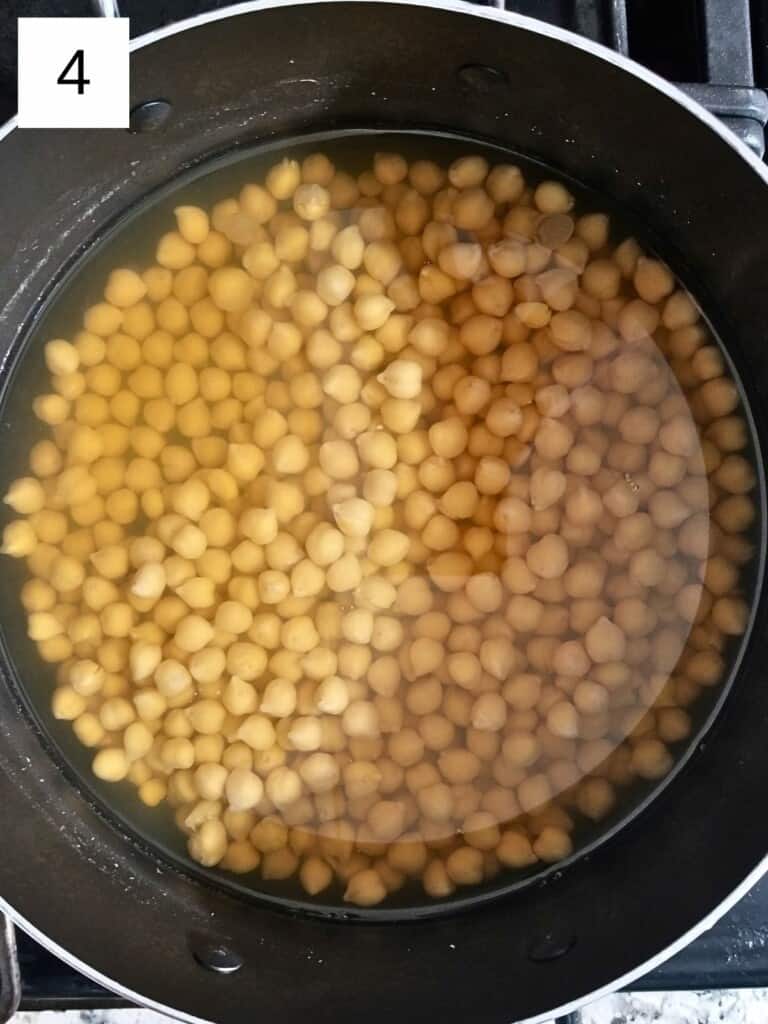
Step 3) The chickpeas are done cooking once they're soft and the skins come off easily (you may need up to 20 more minutes for this, if your chickpeas are old). Drain the chickpeas of their water and set aside.
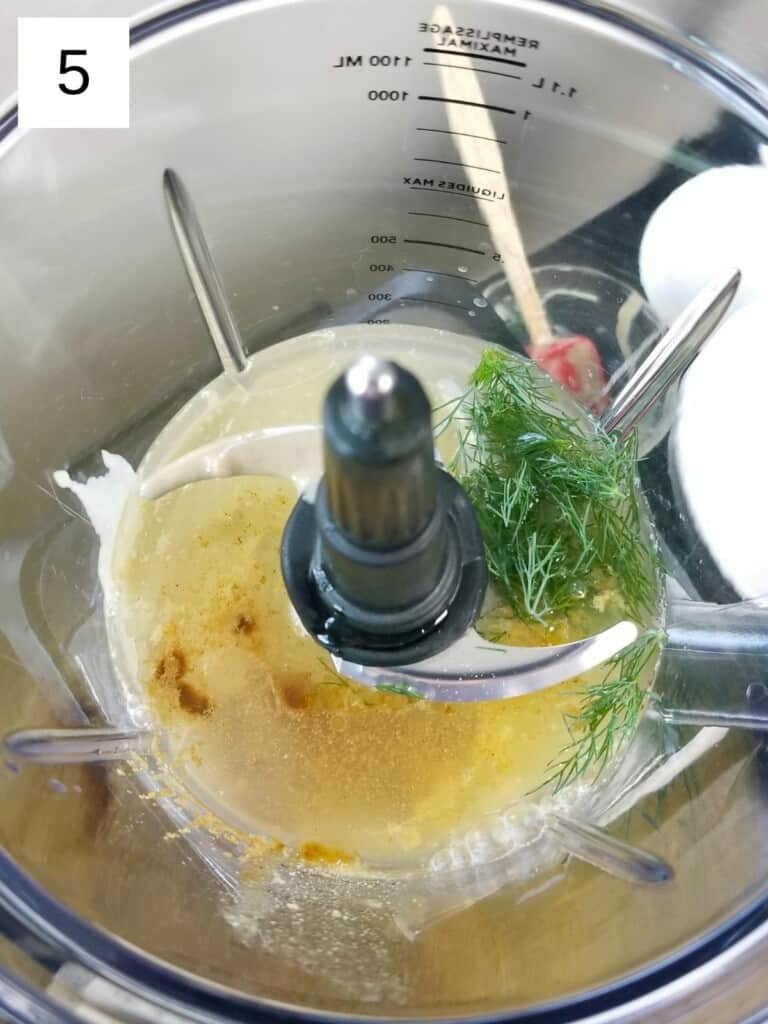
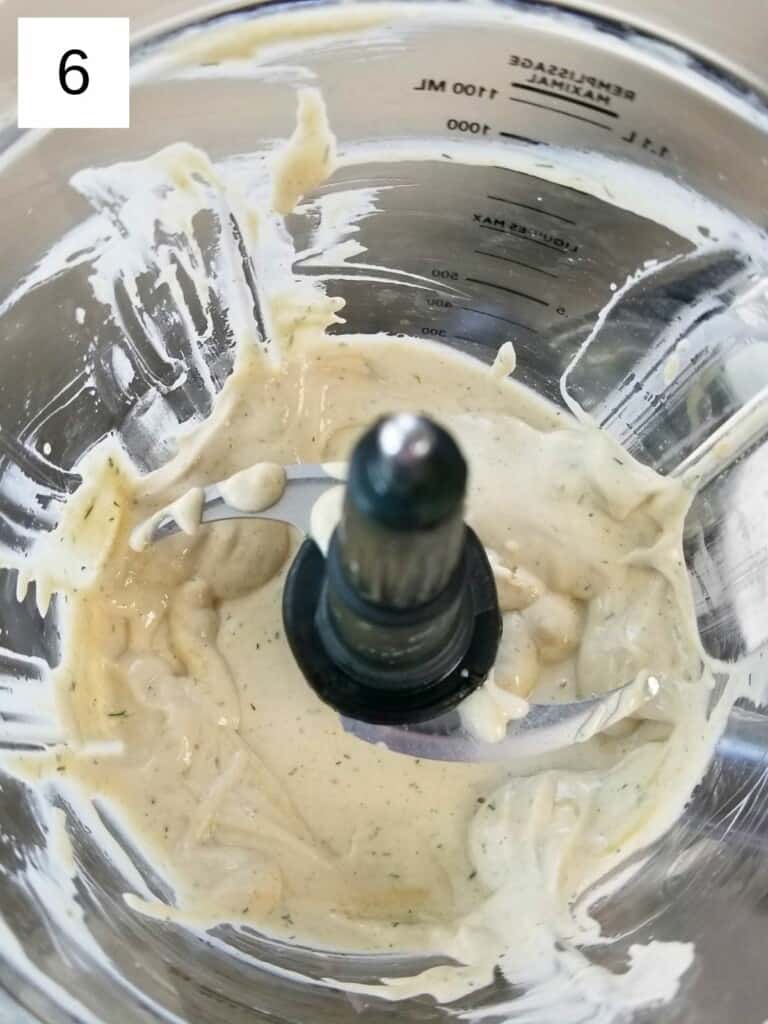
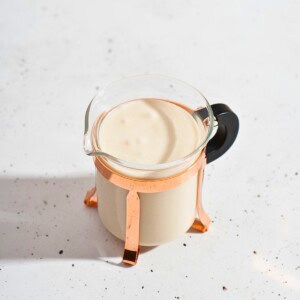
Step 4) Measure & add all the ingredients to your food processor, except the chickpeas, then blend them on high until fluffy (images 5 & 6).
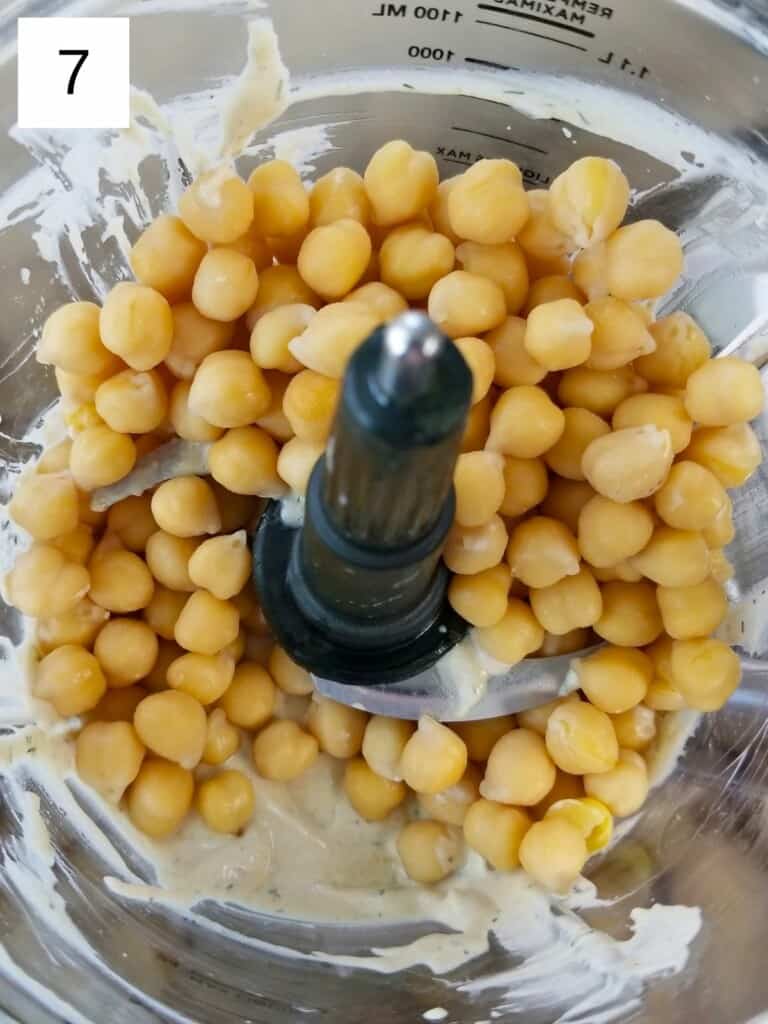
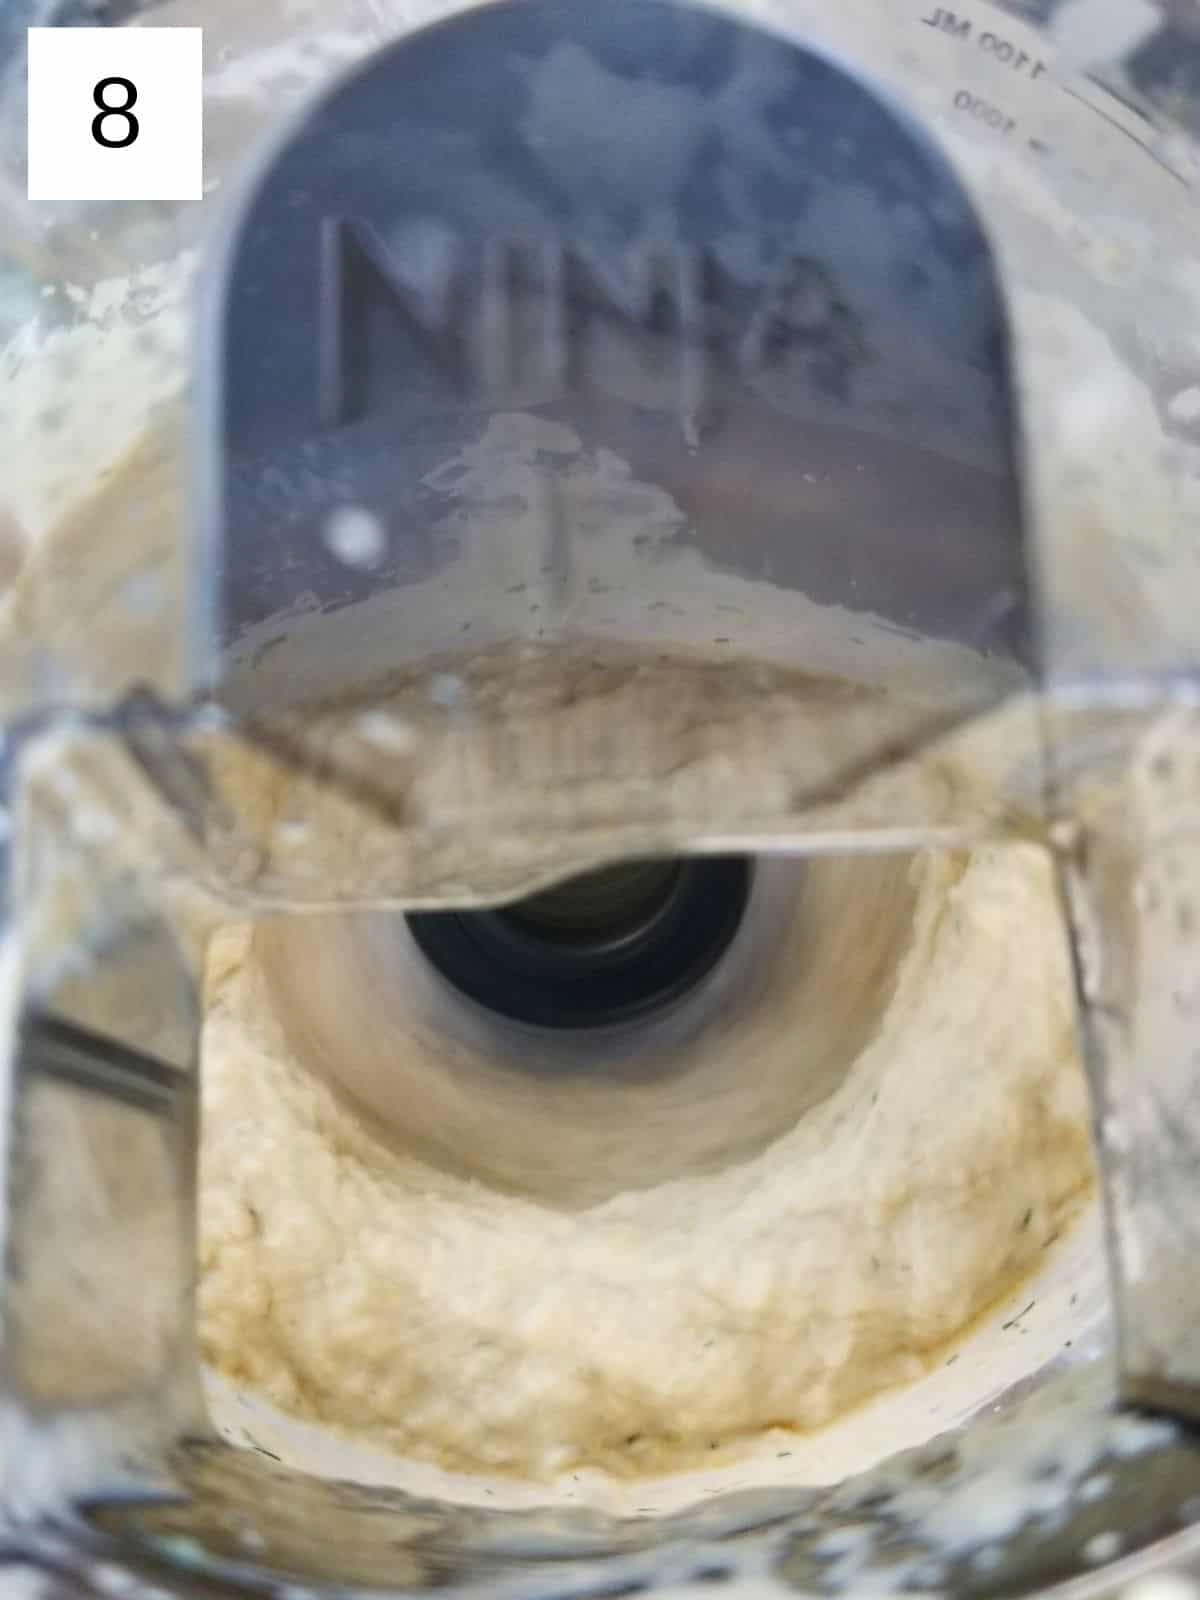
Step 5) Add the chickpeas to the blender body (image 7), and mix everything well, scraping down the sides at least twice, until fluffy (about 2 minutes) or otherwise to the desired consistency (images 8 & 9).

🥥 Variations
- Herb-Forward Hummus: Add extra fresh herbs like parsley or chives for a vibrant, low-histamine twist.
- Spiced Hummus: Stir in a pinch of smoked paprika or ground coriander seed for gentle flavor without garlic.
- Creamier Hummus: Blend in 1–2 tablespoons of coconut cream or aquafaba for an extra smooth texture.
- Citrus Zest: Add a little lemon or lime zest for a brighter, tangy flavor that complements the dill.
- Seed Butter Swap: Substitute tahini with sunflower seed butter for a nut-free, low-histamine alternative.
- Mildly Tangy Hummus: Replace part of the lemon juice with a splash of tolerated apple cider vinegar for a subtle tang.
🫙 Freezing and Storage
If you're not on a low histamine diet, this homemade hummus keeps well in the fridge for up to a week when stored in an air-tight container, so it's perfect for meal prep. It's also great to use for my 5-ingredient hummus chicken, which you can then freeze in single servings.
But if you want to freeze it right after making it, the hummus can stay good in the freezer for up to 6 months, though the texture will get a bit denser the longer it's in there. Also note that it will get a bit grittier and watery, but this can be combatted by throwing it back in the blender or food processor and pulsing it until once again smooth.
👨🏻🍳 Expert Notes & Tips
Swapping Spices: if you don't have fresh or dried dill, you could also swap the called-for amount for either 1 teaspoon of cumin or ½ tablespoon whole nigella seeds. If you don't have histamine issues, the cumin is probably an easier swap. 1 teaspoon of sumac powder would be delicious, as well, and enhance the lemon flavor!
Adding Garlic Flavor: if you're avoiding garlic due to FODMAP issues, many people have found that they tolerate garlic-flavored oil. So if you do enjoy the flavor of garlic but just need to eat hummus without garlic for the moment, you can swap regular olive oil for the garlic-flavored version.
Lemon Juice: do NOT use the bottled stuff or even frozen stuff, as it won't have the same sharpness and tang as fresh lemon juice. You may be able to swap it for lime or yuzu, but leaving it out completely makes it hard to create a complete flavor profile. If you don't tolerate lemon well, you may need to find a different recipe.
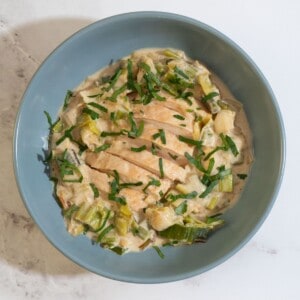
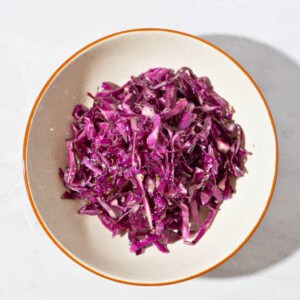
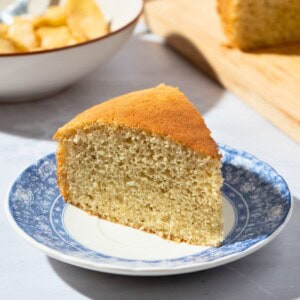
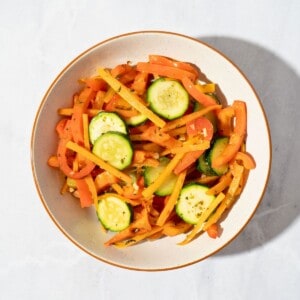
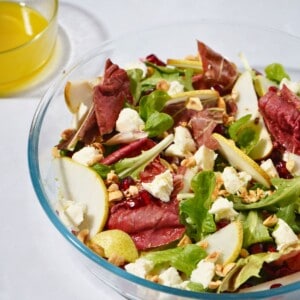
❓ What to Serve With No Garlic Hummus
🙋 Frequently Asked Questions
Yes! Make sure to rinse and drain them well to reduce excess sodium.
Yes, it’s specifically designed to be low histamine by omitting garlic and using fresh, tolerated ingredients.
Absolutely — you can replace tahini with sunflower seed butter or pumpkin seed butter.
Yes — mild spices like smoked paprika, ground coriander seed, or a pinch of fenugreek work well for low histamine variations.

Have you tried this recipe?
If you like the recipe, please leave a 5-star ⭐️⭐️⭐️⭐️⭐️ rating on the recipe card, or even a comment! I love to hear how your recipes turned out, and your feedback can help other readers! Also join us on Instagram, Facebook & Pinterest.
📖 Recipe
Hummus Without Garlic (Lemon Dill)
Equipment
- Food Processor
Ingredients
- 1 ½ Cups cooked chickpeas see directions; alt. one can cooked chickpeas
- ½ cup fresh lemon juice 2 large lemons
- ⅓ cup tahini
- 1 Tablespoon filtered water
- 2 Tablespoons olive oil garlic-flavored, if desired
- ½ teaspoon ground cumin
- ½ teaspoon sea salt
- ½ teaspoon chopped fresh dill optional
- ¼ teaspoon ground fenugreek optional
Instructions
- If using canned chickpeas, skip to step 4. Soak ¾ cups of dried chickpeas overnight in 4 cups of water (with a pinch of baking soda for tenderness), giving them at least 8 hours in the water. Once soaked they will roughly double in size, so only soak half the amount of chickpeas called for in the recipe (you can also make a double batch of hummus without garlic by just soaking 1 ½ cup dried chickpeas!).
- After the chickpeas have finished soaking, drain them & then rise them well to get off any lingering plant chemicals. Then put them in a covered pot of 3 cups of water, turn the heat to medium, and set a 45-minute timer; turn the heat down and set the lid ajar once the water starts boiling up. The chickpeas are done cooking once they're soft and the skins come off easily (you may need up to 20 more minutes for this, if your chickpeas are old).
- Drain the chickpeas of their water and set aside.
- Measure & add all the ingredients to your food processor, except the chickpeas, then blend them on high until fluffy.
- Add the chickpeas to the blender, and mix everything well, scraping down the sides at least twice, until fluffy (about 2 minutes) or to otherwise desired consistency.

Comments
No Comments