Microgreens are experiencing a resurgence these days. Extremely popular among the health-conscious due to their high concentration of nutrients, some of these best microgreens may help to reduce the risk of cardiovascular and chronic disease.
Despite their small size, these little greens contain up to 40% more phytochemicals, powerful vitamins and minerals, and other health-promoting micronutrients, than mature counterparts, according to preliminary research.
Even when consumed in moderation, growing a few of the healthiest microgreens at home may provide nutritional benefits comparable to larger portions of mature vegetables. So the next time you’re dining out and see those tweezer-placed greens on your salad, don’t push them aside but rather enjoy their bold flavors & nutrients.
Grow microgreens at home for personal consumption. It’s a lot less expensive and relatively easier to manage than mature vegetables.
If you’re interested in learning more, here are our recommendations for the most nutrient-rich, most healthy microgreens for your next salad or to top your favorite stew. Read on to find out more about the best microgreens to grow, which are the easiest to grow, the healthiest microgreens to eat, and more.
Medical Disclaimer: as with everything on this site, this article is provided for information only. I strongly urge you to speak with your doctor or a licensed medical professional in order to assess whether or not you have histamine issues, and/or which foods cause a histamine release for you personally. Every body is different, and some people will tolerate different foods than you do. Please keep comments respectful.
Jump to:
🌱 Benefits of Growing Microgreens at Home
Nutritional Value
Microgreens have risen to prominence as a result of our discovery of their dense nutritional value. They’re a type of edible green produced from the seeds of vegetables, herbs, or other plants. These immature greens are one to two inches long at most, usually with the stem and leaves still attached.
These tiny and tender greens are smaller than "baby greens" but harvested later than "sprouts," though many people use ‘microgreens’ and ‘sprouts’ interchangeably. They’re harvested one week to as long as a month after germination, when their nutritional values peak.
Microgreens contain up to 40 times more nutrients than mature greens, including vitamins C, E, and beta-carotene. An early study determined the concentrations of essential vitamins or provitamins A, C, E, and K1 in 25 commercially available microgreens.
The results of that study showed that different microgreens provide widely varying amounts of the four vitamins. Likewise, they generally have significantly higher concentrations of phytonutrients in comparison with mature leaves from the same plant species.
In essence, a bunch of broccoli microgreens will be even better for you than an entire broccoli floret. They retain their high nutritional value while also providing an extra boost of life-sustaining chlorophyll.
Chlorophyll is known as "nature's greatest healer" because it has the most healing properties of any element. Because each plant has its own set of advantages, combining a variety of microgreens allows you to receive a full spectrum of vitamins and minerals.
Many people, children and adults alike, do not consume a sufficient amount of vegetables per day for various reasons. Microgreens can help offset this trend by providing a huge return in terms of nutrients with just a handful of sprigs. It’s known to provide great flavor to dishes too!
With More Intense Flavors (Similar to Spices or Herbs)
With remarkable nutritional benefits, microgreens represent a healthy addition to anyone’s diet. Microgreens are generally more expensive than mature greens, but thankfully, it’s also much easier to grow microgreens at home.
But they don’t just look beautiful on a plate and have a more pronounced flavor, they’re also packed with a powerful nutrition punch.
The intense flavor, almost like a spice or herb, makes it easy to overpower the flavor of a dish, so a little goes a long way. For example, when looking to add basil microgreens to your soup or stew, only add a few sprigs because it has a more prominent flavor than mature basil leaves.
As a culinary ingredient, microgreens provide rich flavors, vivid colors, and crisp texture when added to salads, soups, sandwiches, and anything else you dream up. Higher-end restaurants particularly use them as garnishes or to add a unique flavor pop.
Like most other fresh greens, microgreens are best consumed raw. They are extremely delicate and have a high water content, making them unsuitable for cooking. They must also be washed with care, with as little water as possible, or even consumed fresh if growing microgreens at home.
A Shorter Growing Time
Microgreens are simple to cultivate, and boast of a shorter growing time than their mature counterparts. Microgreens will grow in simple conditions and only require a short growing period.
Though the growing time is short, microgreens can be labor-intensive because of the frequency of harvest. This means if you want constant supply, be prepared to regularly plant and harvest greens, which can be fun if you regularly change microgreen varieties.
Still, microgreens are inexpensive and relatively simple to grow, even for a newbie gardener. They require little space and are usually ready within a handful of days of sowing. Some plants are simpler than others, however (more on that below).
Depending on the environment and the types of microgreens grown, production time can range from between five to twenty-five days from seedling to harvest. They germinate best in soil temperatures ranging from 60°F to 75°F, and in air temperatures ranging from 60°F to 70°F.
They are a low-light crop needing indoor lighting or daylight to germinate. As a general rule, most microgreens require 10-12 hours of low light and well-drained but moist soil.
Pea microgreens, radishes, kale, and mustard microgreens are the best microgreens to grow for a beginner. Overall, the easiest microgreens to grow are pea microgreens, while the fastest to grow are radishes.
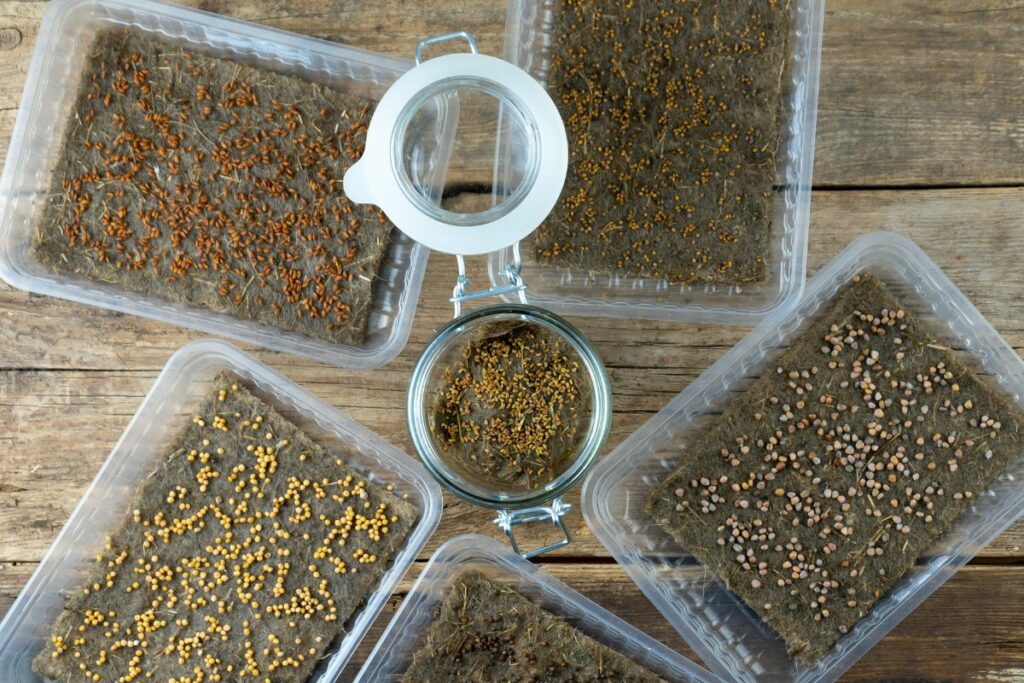
Best and Easiest Microgreens to Grow
Microgreens can be grown from a wide variety of vegetables and herbs. In general, they include any of the following plants from garden-variety herbs, salad greens, edible seeds, and even your favorite legumes.
- Arugula
- Basil
- Beans
- Beets
- Broccoli
- Cabbage
- Celery
- Chard
- Cilantro
- Fennel
- Kale
- Mustard
- Peas
- Radish
🪴 Top Types of Microgreens to Grow
Microgreens are a superfood that has the potential to change the way we eat vegetables. As microgreens, many plants can be sown & grown in less than a month.
Microgreens’ nutrition is also remarkable; broccoli, kale, and red cabbage contain extremely high levels of sulforaphane, which has been scientifically proven to have anti-cancer and anti-inflammatory properties.
Hundreds of vegetables and herbs can be used to grow microgreens at home. It makes for a great indoor project for kids, too, especially the pickier ones!
Arugula Microgreens
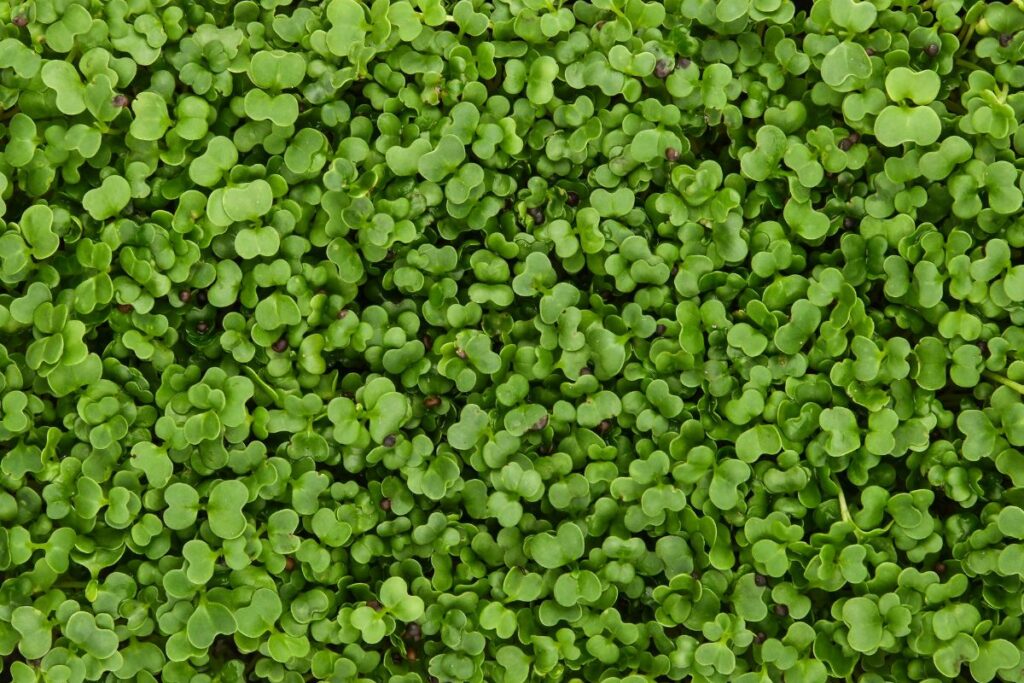
Arugula is a member of the mustard and cabbage green families. Arugula microgreens are distinguished from mature arugula by their harvest time. These micro greens are harvested much earlier than mature arugula, typically harvested in around ten days.
They're simple to grow but can be sensitive to overcrowding, so seed density is critical. The plants grow slower than pea microgreens or radishes, so keep them in bright light and apply moderate watering for 10 to 14 days before harvesting.
Once a day, mist the microgreens with an even, light spray of water, and aim for at least 7 to 8 hours of indirect sunlight. At normal room temperatures, the seeds will germinate in just two days. Although arugula can be sown in as little as 10 days, the flavor is best when the first true leaves appear.
Vitamins A, B, C, and E are abundant in arugula microgreens, as are calcium, iron, magnesium, niacin, phosphorus, potassium, and protein. These quick microgreens are milder than mature arugula, with a subtly sweet, tangy, peppery, and earthy flavor with grassy, vegetal, and nutty undertones.
Radish microgreens' zesty flavor brightens up salads, scrambled eggs, sandwiches, meatballs, and soups.
Radish Microgreens
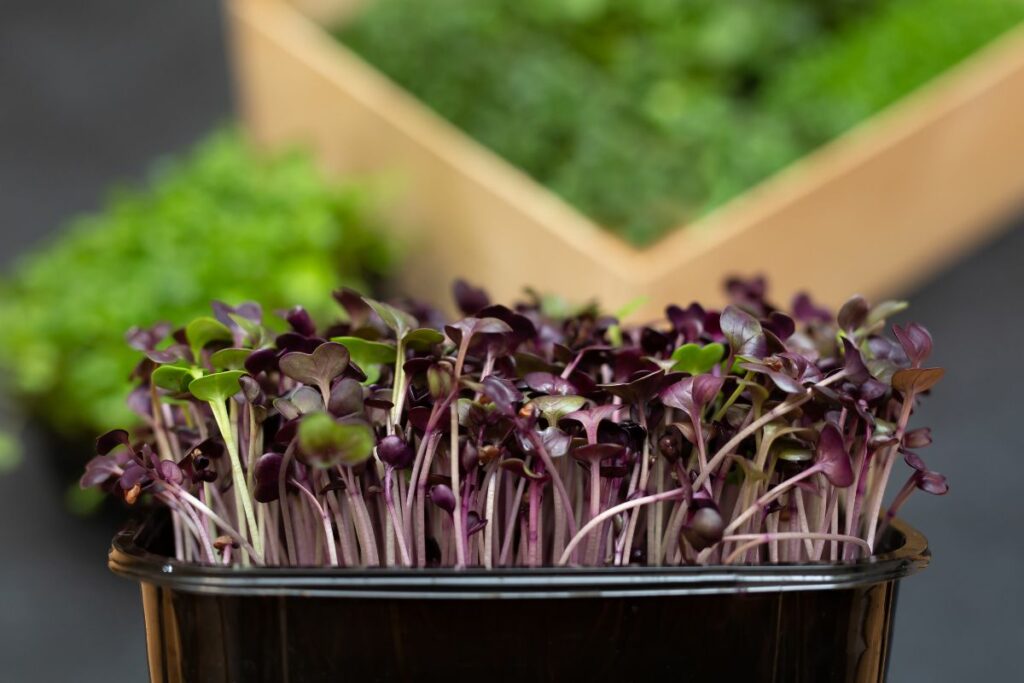
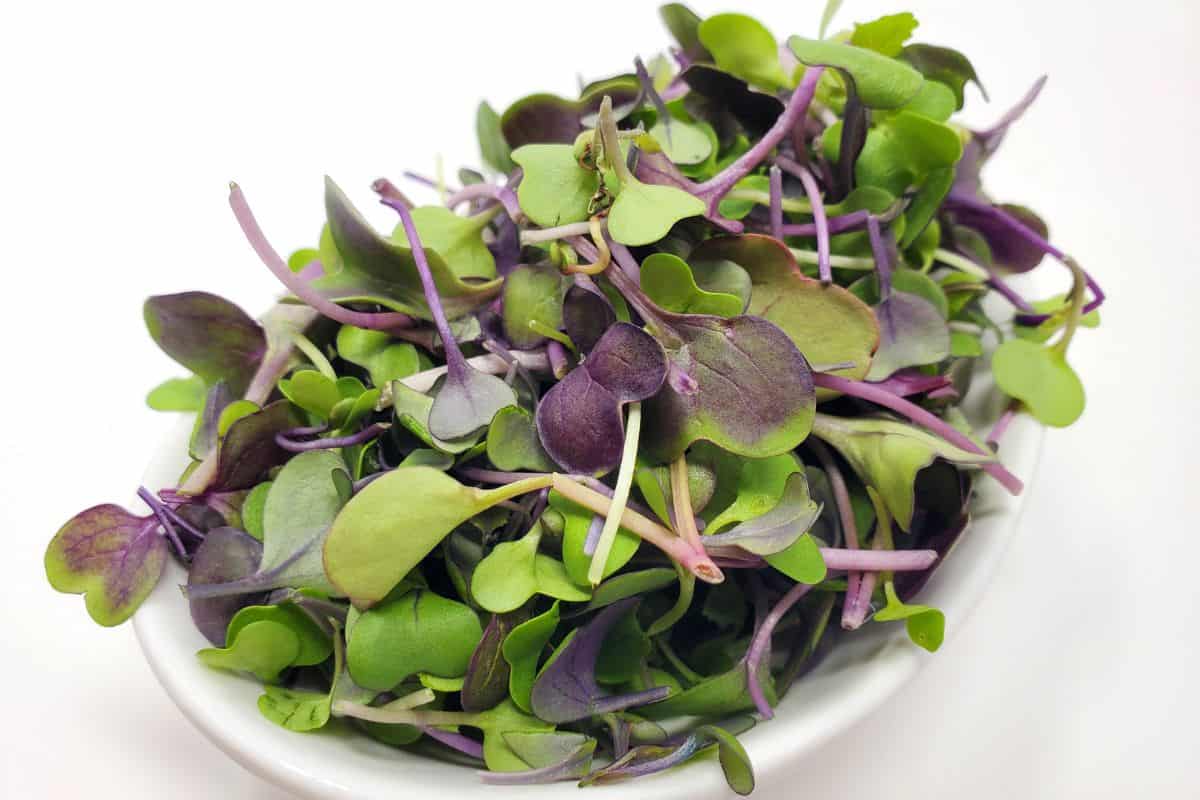
Radish microgreens are tiny radish plants, harvested when they are just a couple of inches tall. Part of the Brassica family, they’re tender, delicately crisp, and taste herb-like, nutty, peppery, or spicy depending on the variety.
These little shoots are best eaten raw, though they can also easily be tossed into a cooked dish right before serving. They're a great way to add color and flavor to a variety of dishes, like sandwiches and rice bowls.
Radish sprouts are also rich in calcium, Iron, Magnesium, Phosphorus, vitamins B, C, E, and K, Amino acids, Folic Acid, Riboflavin, Selenium, carotene, chlorophyll, potassium, and zinc, which are all nutrients and antioxidants that provide numerous health benefits.
Radishes, one of the quickest microgreens to grow and reach harvestable size, should be harvested before their first true leaves appear. They are usually ready 10-12 days after planting.
These microgreens should be grown in a sunny window with plenty of indirect light. Radish microgreens require at least 12 hours of light per day for healthy growth and vibrant green color. Maintain constant moisture in the soil.
Red Cabbage Microgreens
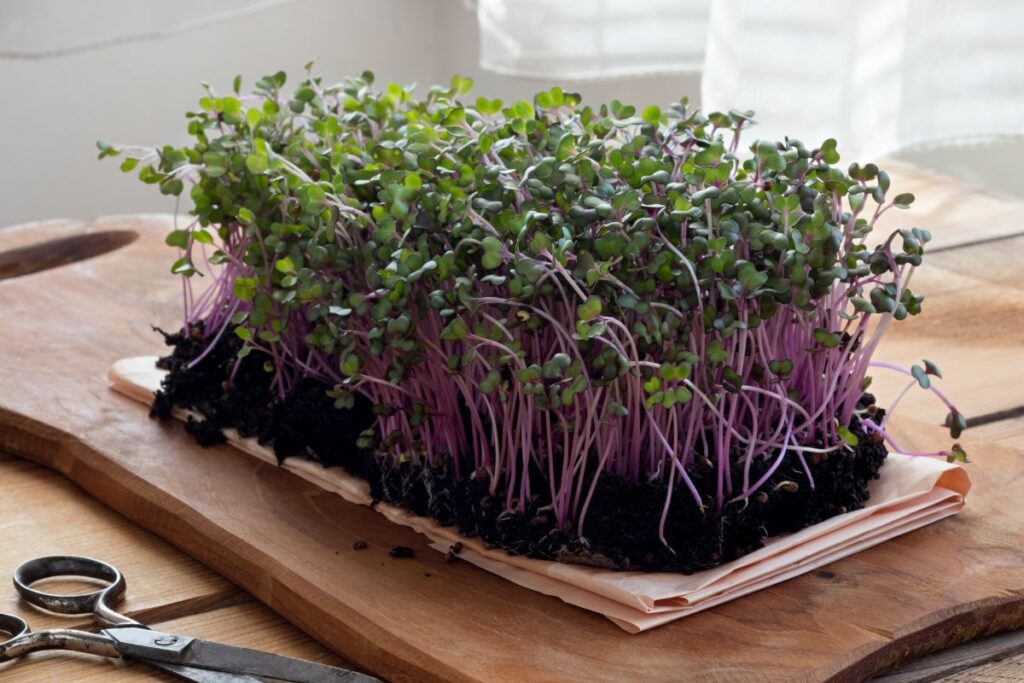
Cabbage microgreens are edible leafy greens that are grown from seed to harvest in less than two weeks. Much like other edibles from the Brassica family (like broccoli and bok choy), it has an inherent sweetness with undertones of spice.
Their deep purple leaves and reddish-violet stems make them a great garnish and pop of color for savory and sweet dishes alike.
It has a high germination rate, which means that a large proportion of the seeds will sprout, making it easy for beginners to start with this type of microgreen. Maintain consistent moisture in the soil, and provide at least 7 to 8 hours of indirect sunlight to the greens.
Vitamins A, C, E, and K, as well as beta-carotene, potassium, and iron, are all abundant in cabbage microgreens. They’re also high in antioxidants, which are known to lower bad cholesterol and triglycerides, lowering the risk of cardiovascular disease.
These baby plants can help support proper metabolism, fight & prevent cancer cell growth, strengthen the immune system, and a variety of other significant health benefits.
Cilantro Microgreens
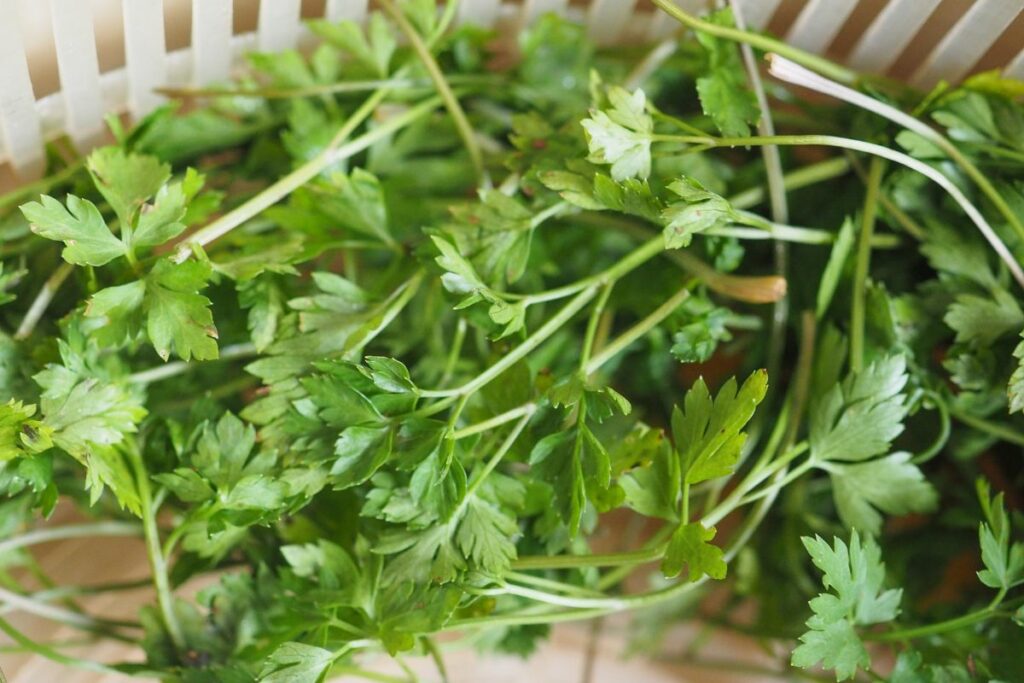
A cilantro microgreen has a sweet, citrusy aroma, a crisp cilantro (like mature cilantro) finish, and a peppery and grassy taste. The smell is fresh and bright, unlike the somewhat off-smelling mature cilantro.
I’m one of those people for whom cilantro tastes like soap, but even I’m fine with a sprinkle mixed into my salad; it doesn’t have quite the same sharp flavor impact.
Apart from their delicious nature, they’re also packed with nutrients that are beneficial to a healthy, antiinflammatory lifestyle. Cilantro microgreens are a good source of antioxidants as well as vitamins and minerals such as A, C, K, and E, beta-carotene, folate (B9), manganese, iron, and potassium.
It's one of the slower-growing microgreens, however. To slightly speed it up, you can soak them before planting or skip this step entirely. Plant the seeds close together but not overlapping, keeping them moist. Germination will take place between 2 and 6 days.
When the leaves are open and green and the first true leaves appear, your cilantro microgreens are ready to harvest.
Cilantro shoots thrive in bright light. It's easiest to use a grow light because you can program it to run for 12 hours or more per day. Keep the grow light close to the microgreen tray and make sure it casts an even light on all of the plants.
Beet Microgreens
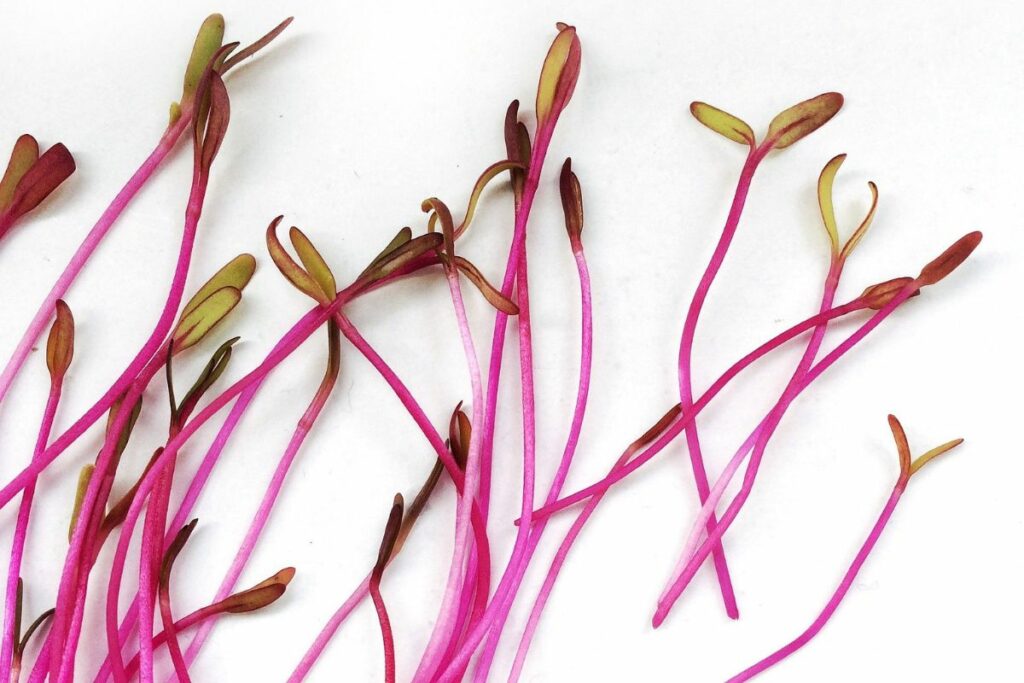
Beets are members of the Amaranthaceae family, which also includes amaranth, chard, and spinach. Beetroot microgreens are usually 2.5 to 7.5 cm (approximately 1-3 inches) tall and have an amazing texture and aroma. The flavor of beet shoots is mild, sweet, and earthy.
They have intensely purple stems and bright green leaves that are both aesthetically pleasing and beneficial to the body. Beets are a root vegetable that can be consumed both raw and cooked. You can eat both the fleshy root and the leaves of these tiny beet sprouts.
Beet microgreens are high in antioxidants and contain a whole host of vitamins and minerals, including vitamins A, C, and K, protein, iron, magnesium, manganese, and potassium. These vibrantly hued microgreens have many benefits including reducing inflammation, improving digestion, promoting bone strength, and promoting healthy skin.
It’s also relatively easy to grow beet microgreens, though they do take a little longer than other types. Because the seeds of beet microgreens are larger than most others, too, they must be covered with a very thin layer of soil. This makes it preferable to use soil rather than a growing pad.
It should also be placed in an area out of direct sunlight and at room temperature. Beet microgreens will also require a longer blackout period of 5-8 days. Your beet tops should be ready to harvest between 10 and 20 days after planting.
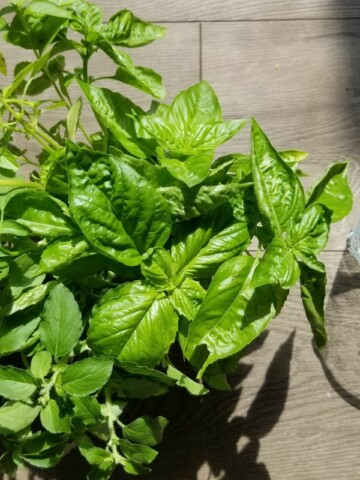
Basil Microgreens
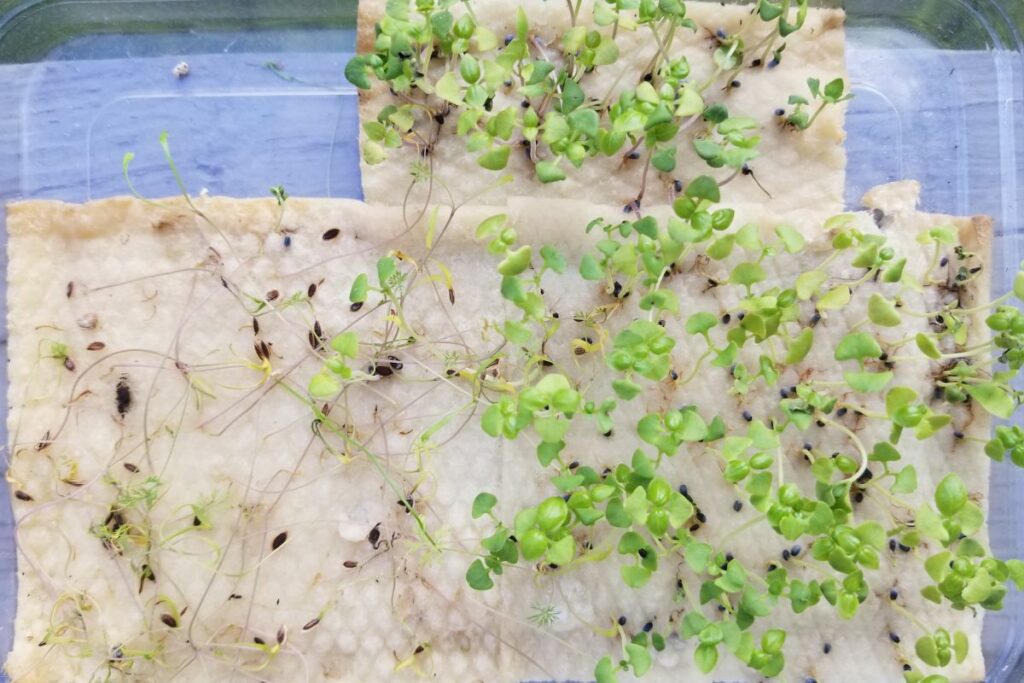
Basil microgreens are basil plants' young vegetable greens. Each one begins as a mucilaginous seed. When these seeds come into contact with water, a gel-like coating forms around the seed that holds moisture.
Basil microgreens grow to be 2.5 - 7.5 cm tall (1-3 inches). These baby basil greens have a strong flavor with a slightly sweeter and mildly sour aftertaste.
They're a tasty ingredient that can be incorporated into a wide variety of dishes such as Mediterranean baked chicken or fish, Italian pasta and salads, and just about any of your favorite soups, sandwiches, or wraps.
Basil microgreens don’t just add flavor but they also incorporate a ton of nutrients into your food. Proteins, vitamins E, A, K, B6, and C, calcium, iron, zinc, magnesium, copper, phosphorus, and potassium, are all present.
They are high in antioxidants and have numerous health benefits, including anti-inflammatory and anti-bacterial properties. Basil shoots are, however, among the slower-growing microgreens. They germinate in two days but can take up to twenty to mature, so plant them in a tray that has adequate drainage to avoid mold.
There is no need to cover and subject it to a blackout period because basil requires light to germinate, which despite the longer growing period, can make them more straightforward for beginners. Keep the soil moist but not drenched! Harvest between 14 - 21 days.
Kale Microgreens
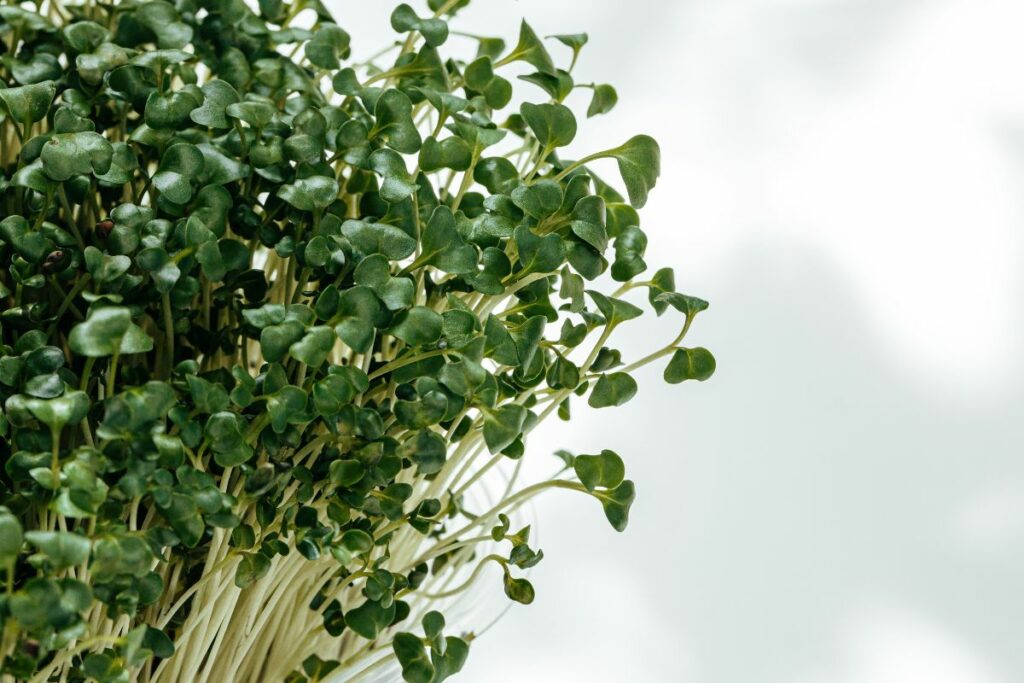
Kale microgreens are young plants that sprout from seeds before maturing into full-grown plants. In comparison to mature kale, which has large, flat, or curly leaves, and a strong central stem, they have small leaves.
They have a flavor of mild cauliflower, broccoli, and mustard leaves, similar to other Brassicas. The taste is somewhat bitter and slightly sweet, more so than regular kale. They can be eaten with just about anything, but most especially in salads, wraps, and sandwiches.
You can also make an iron-rich green smoothie with them. Kale microgreens are a nutrition superstar due to the amounts of vitamins A, K, B6, and C, calcium, potassium, copper and manganese they contain. They’re great for detox, improved heart health, increased weight loss, and protection against disease.
Kale microgreens are among the quickest and easiest microgreens to grow, making them an excellent pick for beginners. Plant them in a tray with a well-watered medium, keeping the lights on for 2 to 8 days.
As always, keep your medium moist by lightly watering it as needed. Remove the cover and relocate your crop to a well-lit area once your microgreens have begun to sprout leaves. Harvest the leaves when they are open and about an inch or three tall (days 8-12).
Mustard Microgreens
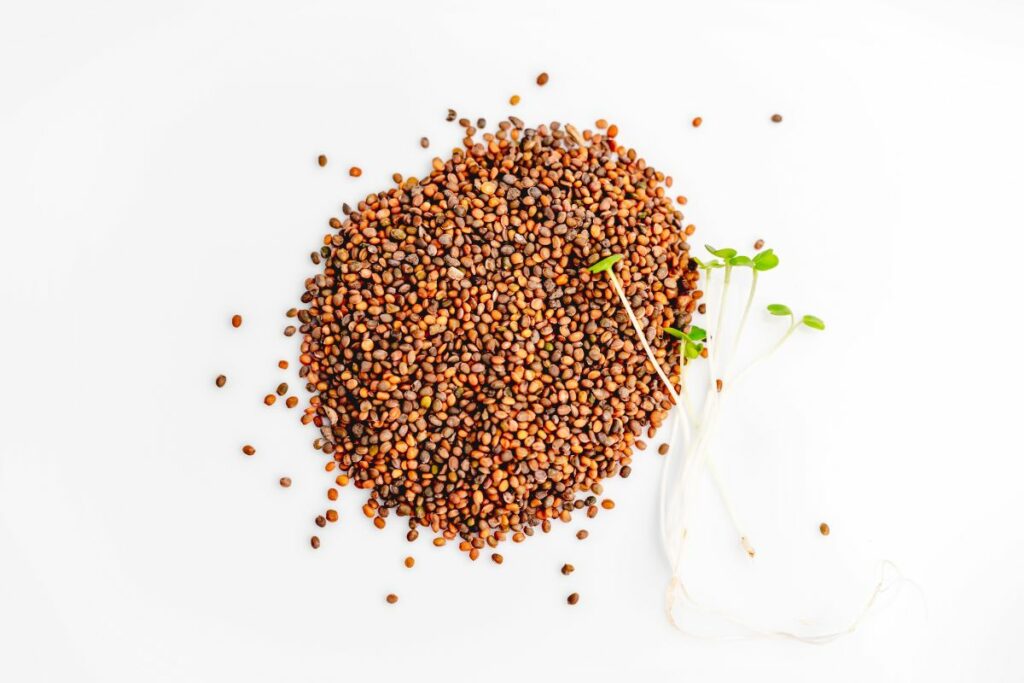
Mustard microgreens are both tasty and nutritious. Medium-spicy with a mild mustard flavor, the microgreens are zestier than mature mustard greens, with an immediate sweetness; some varieties have a horseradish flavor. They have a firm consistency and a crisp, succulent, and tender bite.
Mustard greens are high in antioxidants, especially vitamins A and C, as well as phytonutrients and fiber. These superfoods are excellent for detoxing, lowering the risk of heart disease and obesity, promoting hair growth, and managing diabetes.
Depending on the variety, they can be harvested in as little as 6 to 10 days. Prepare your growing tray by adding soil and then saturating it with water. Plant your seeds, covering your crop with another tray or a plate.
This is called a blackout stack; it keeps the light out while locking moisture in. When your plants have begun to show leaves, remove the cover and move them to a well-lit location. Harvest everything when the true leaves are open and about two-three inches tall. This is usually from day 6 onwards.
Cauliflower Microgreens
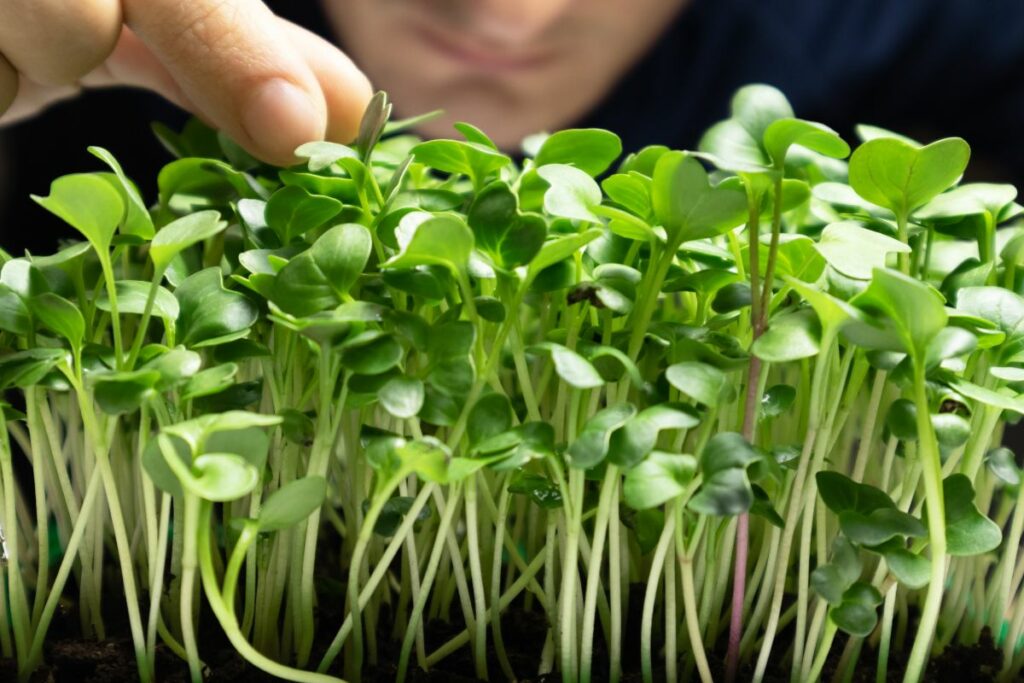
Cauliflower microgreens have a mild peppery flavor that is brimming with nutrients. These microgreens only take about a week to grow and harvest, but they do take longer than some of the easier microgreens to grow, like radishes.
Get your soil moist and ready to grow cauliflower sprouts. Plant your seeds, pressing them firmly in the soil. Make a blackout stack by covering it with another tray and adding weight to it, and then after 2-3 days of germination, put your tray under a grow light or indirect sunlight until they’re ready to be harvested.
Cauliflower microgreens are a great addition atop your next sandwich, salad, soup, or vegetable stir-fry.
Onion Microgreens
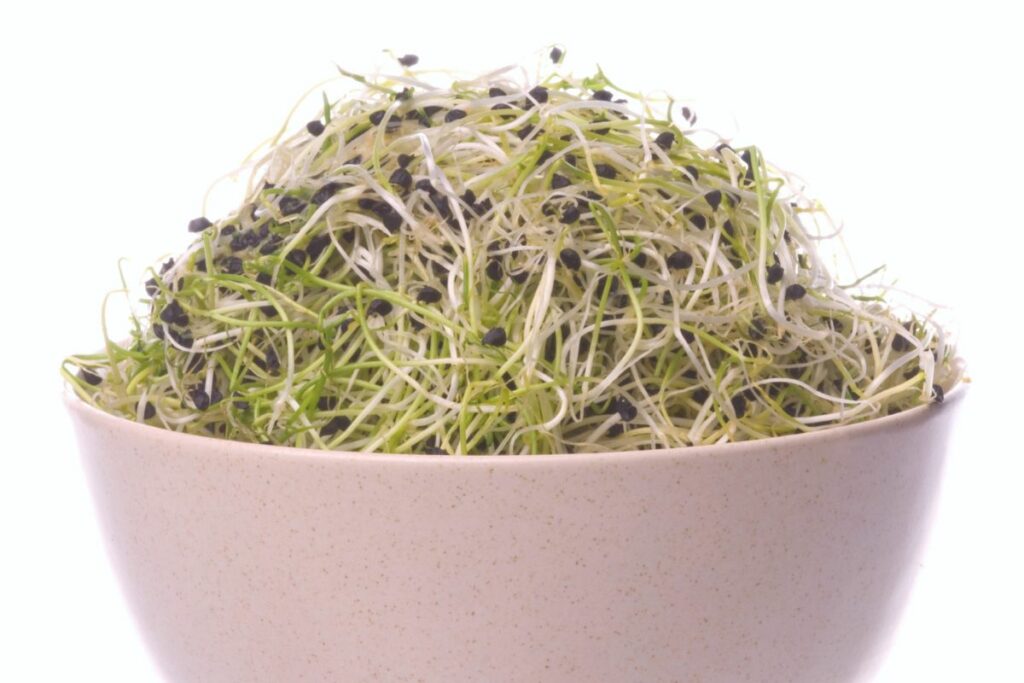
Onion microgreens are one of the more unique microgreens available. These long, skinny greens cling to their black seed husks, giving them a signature black dotted “beauty mark” at the tips. If you want to try something new on your plate with a nice umami flavor and aroma, try growing onion microgreens.
The husks are edible and have a surprising garlic flavor. The onion microgreens themselves are savory and have a mildly sweet, pungent flavor that is slightly less pronounced than full-grown onions. Micro onions are delicious in sandwiches, pasta, eggs, and salads! They have a strong flavor.
Onion microgreens are not only delicious, but they are also high in nutrients! They contain vitamins A, B, C, and E, as well as calcium, iron, zinc, phosphorus, magnesium, potassium, and amino acids.
Growing onion microgreens is simple, but maturation takes between 15 and 21 days. Grow micro onions at home by filling a growing tray halfway with sifted soil and water. To aid in germination, add a thin layer of soil on top and then sow your seeds.
Peas Microgreens
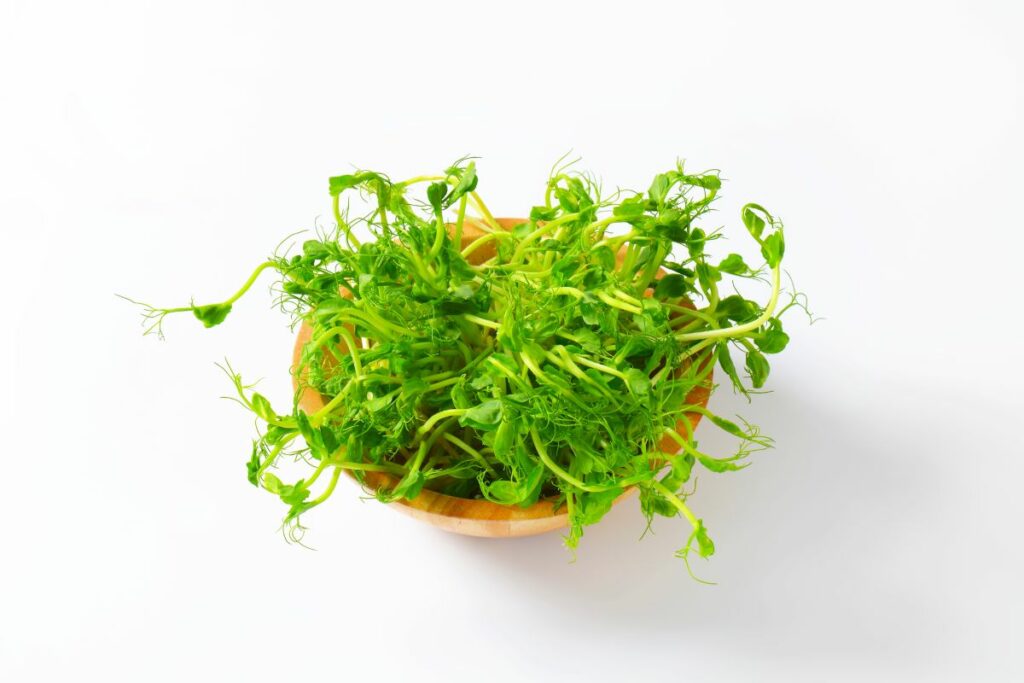
Not to be confused with pea sprouts, which are grown in water, these are also called pea greens or pea microgreens. Pea microgreens are the immature pea leaves and shoots that sprout from the seeds found within legume pods that are grown in soil.
Pea microgreens have a very mild flavor profile - slightly nutty, and sweet, similar to fresh whole peas. Both the leaves and the stems of pea greens are edible and can be eaten raw in salads or as garnishes while the greens may also be lightly cooked to showcase their savory grassy flavor in vegetable dishes.
A crowd favorite because of their pleasing taste but also for their high nutritional value, pea shoots are rich in vitamins, and antioxidants, and have anticancer and anti-inflammatory properties.
One of the easiest microgreens to grow is pea micro greens. You can harvest them when they reach three or four inches tall, or you can leave them to grow for up to three weeks. Pre-soaking the seeds helps them germinate; aim to give them at least 10-12 hours of sunlight and water.
Bok Choy Microgreens (Pak Choi)
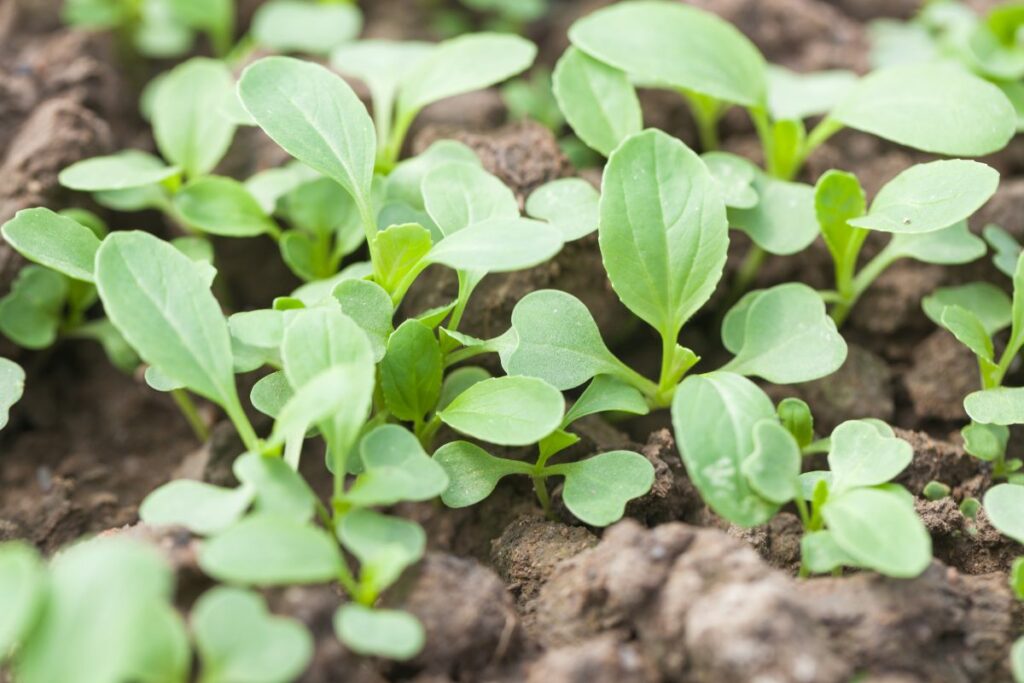
Bok choy microgreens, also known as pak choi or Chinese cabbage, are delicious in Asian dishes. They have a wonderfully crisp and crunchy texture and a slightly sweet nutty flavor, just like their mature counterpart.
They have the same health benefits as full-grown bok choy. This nutrient-dense vegetable contains numerous essential vitamins, minerals, and antioxidants that can aid in the promotion of better overall health.
They're also not difficult to grow and can be harvested in 10 days. Plant them in the same manner as other microgreens, then cover and wait 1-2 days for them to germinate.
Keep them moist and covered until they reach a height of about an inch, then let your tray bask under partial light until the greens are ready to harvest.
Sunflower Microgreens
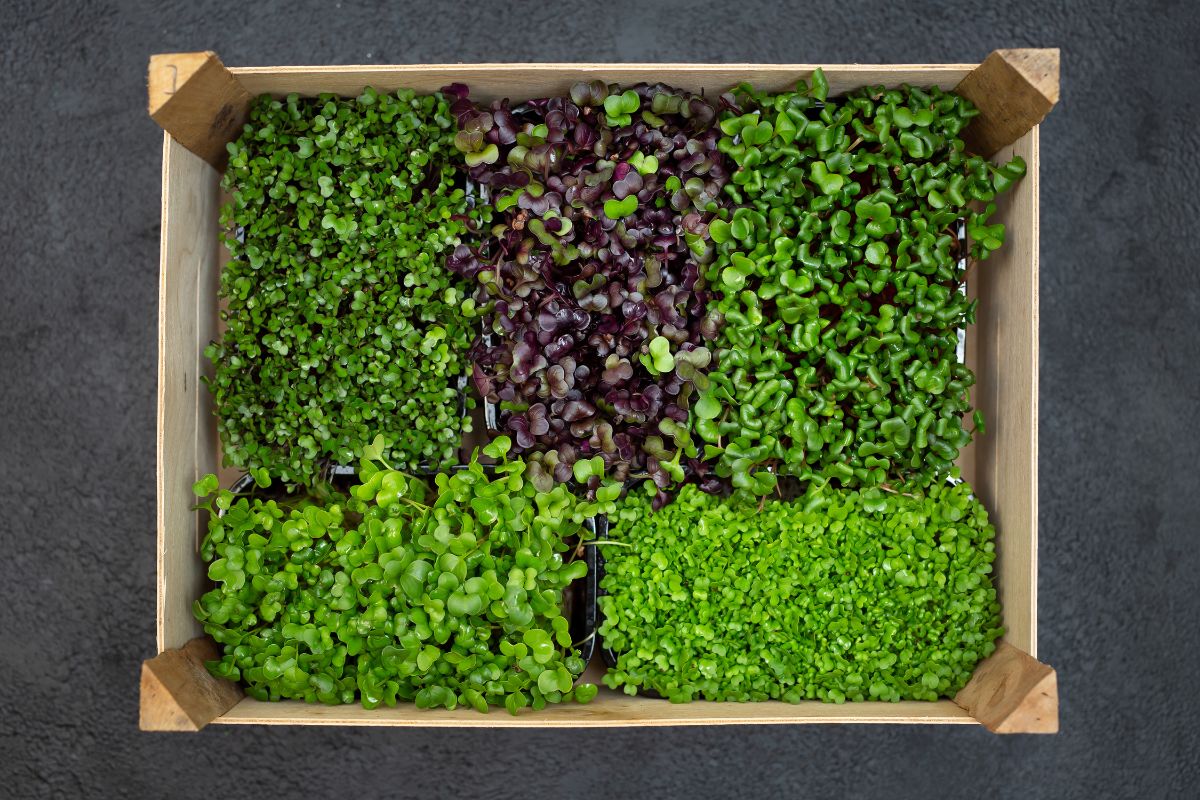
Sunflower microgreens are crunchy and have a mild flavor. They tend to taste pleasantly zest and nutty, reminiscent of lemons and almonds combined. Sunflower shoots, like radish shoots, are best consumed raw in salads, smoothies, soups, sandwiches, and wraps.
Just like with the seeds themselves, all of the essential amino acids are present in this complete plant protein, as well as vitamins A, B complex, D, and E, zinc, iron, potassium, magnesium, calcium, copper, and phosphorus.
They are particularly high in zinc, which has a variety of benefits including the immune system and digestive system support.
Sunflower microgreens are easy, quick, and nutritious to grow year-round. Give them enough water and sunlight, and you'll have a simple homegrown microgreen. Allow for abundant natural light or grow them under grow lights 12-18 hours per day. They’ll be ready in just 10 to 12 days.
🍃 How to Grow Microgreens
Microgreens are actually a great starter gardening activity for non-gardeners, novice gardeners, or even kiddos. They also require very little to no garden space so they’re great for city dwellers, too.
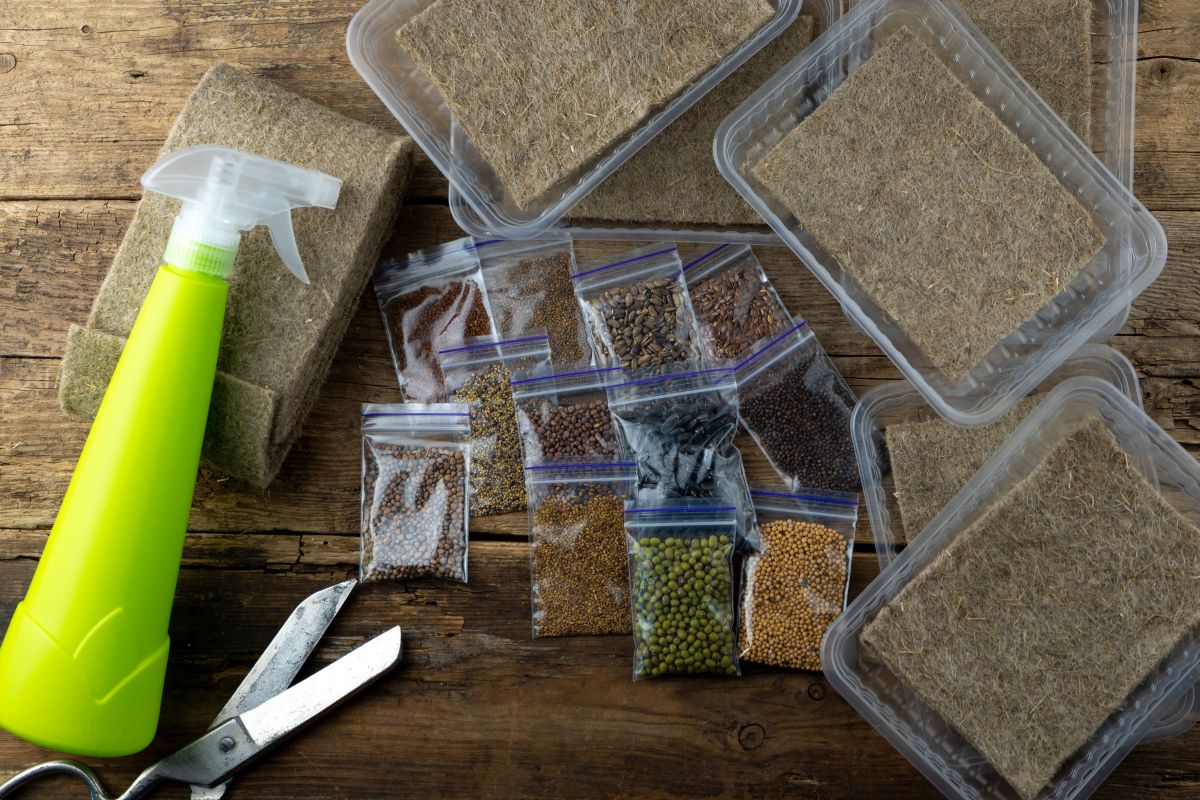
Here’s a simple round-up of the things to consider and tools you will need to get started with growing microgreens at home.
The Space
When looking around the house for where to start growing microgreens, choose a space indoors that has access to light; a windowsill or kitchen bench works well. If you have garden space outdoors or any partially-shaded outdoor section of your home, be it a deck, covered porch, or small balcony, you can set up shop there too.
Before you begin, clean your surface or windowsill with bleach to kill any bacteria that may be lurking. You don't want any to grow in your tasty and nutritious microgreens, especially if you have a sensitive stomach, already.
The Growing Process
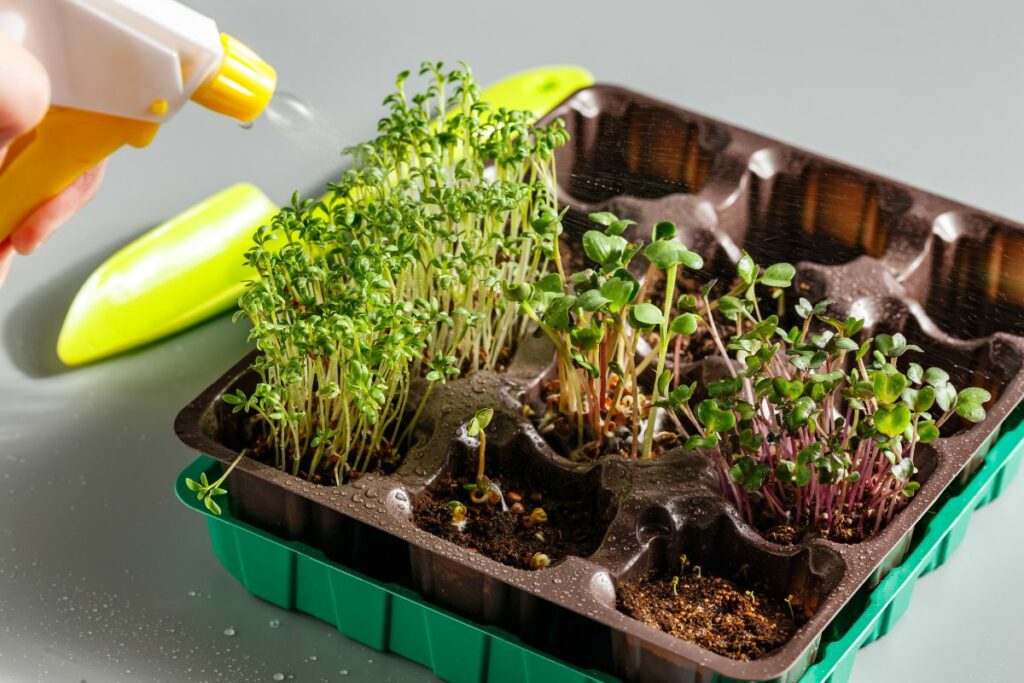
Microgreens are grown quickly from seeds in good light with adequate moisture. They are usually sown in a growing medium (potting soil or substrate) wherein their roots have direct contact with the growing medium.
Then after germination, they photosynthesize with the help of grow lights or sunlight, producing chlorophyll.
The cotyledon, or seed leaves, emerge from the soil first during seed germination. A cotyledon is a part of the embryo within a plant's seed. The cotyledons provide initial food to give the plants a burst of energy for the true leaves to develop, which happens through a process called photosynthesis.
When the germinated seeds have developed tiny roots and at least their first true leaves, they're now known as microgreens and can be harvested. They are harvested before they reach full size, as each seed needs enough space to grow.
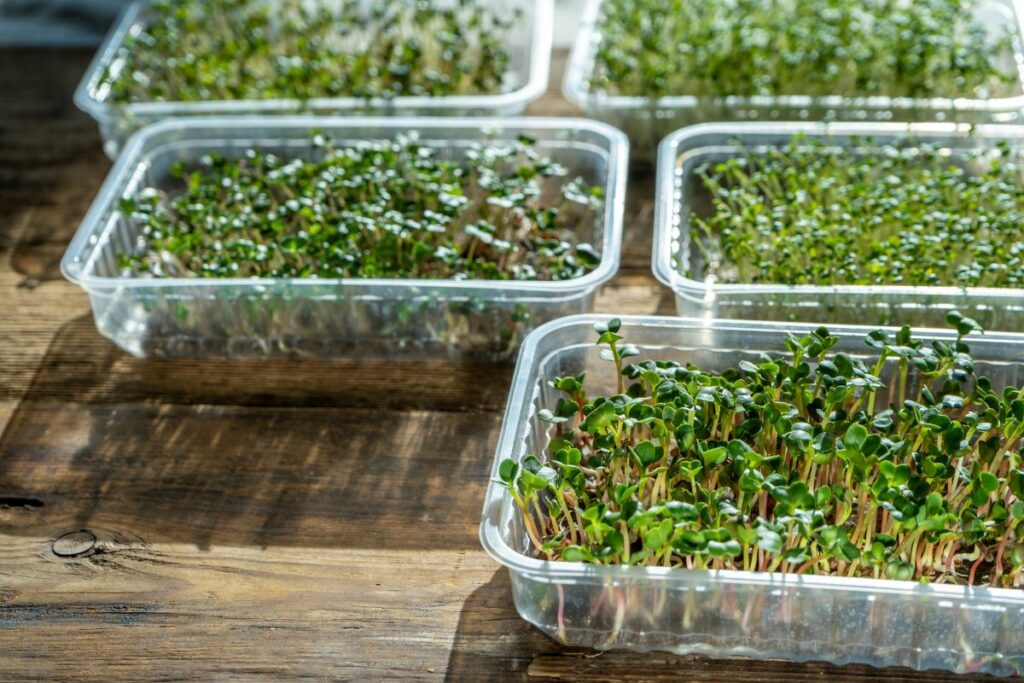
While this isn’t a one-size fits all, this is a good step-by-step guide to growing microgreens.
- Put the growing medium in the tray container.
- Moisten the growing medium so that it is damp but not wet. After watering, the soil should be about an inch from the top of your container.
- Plant the seeds. Seeds can be spaced 1 cm (½ inch) apart or closer. Some people use a spice shaker for this. Try to spread your seed so that there is a little room around each one; your plants will grow better and you can prevent mold growth this way.
- Sprinkle a small amount of soil (less than 1 cm or ½′′) on top of the tiny seeds to thinly cover it. It is fine if not every seed is covered with soil; seeds planted directly on top of the soil will still have a chance to grow.
- Water the soil gently until the top layer is saturated and the seeds are in contact with the water. Press the soil gently with your fingers.
- Cover it with another tray or cardboard and weigh it down. This is called the blackout stack (weighted blackout) for the blackout period. Microgreen seeds are typically sown so densely that when they germinate, the growing leaves "throw" soil everywhere. The weighted blackout method results in better seed-to-soil contact and germination. It produces stronger, more vigorous microgreens. Don't be concerned about the weight; the plants will be able to withstand it. The weight helps to keep the seeds in contact with the moist planting media. Furthermore, the weight causes each tiny seedling to better anchor itself in the soil, resulting in a stronger and more deeply-rooted plant.
- Put the container somewhere warm to help the seeds germinate.
- While the seeds germinate and sprout into seedlings, keep checking your soil to make sure it’s still moist. Regularly water the sprouted microgreens. As soon as germination occurs, move your plants to the light to prevent mold growth.
- Watering can be less frequent once the sprouts have established themselves.
- Once the sprouts have grown several inches tall and the true leaves have emerged, they can be harvested as a microgreen.
The Tools
You only need a few simple tools to get started growing the best microgreens.
- Seeds - Choose high-quality seeds and certified organic ones that have been FDA-approved. One of the most important factors in deciding what type of microgreens seeds to grow is to buy untreated ones, and most people prefer to get certified organic seeds for added assurance. Because you're eating the young shoots of these plants, pesticides may be present, and you don't want to eat any dyes, fungicides, or insecticides that were applied to the seeds.
- Containers - Use an upcycled shallow container or purchase growing trays that come as a set (1 with drainage holes and 1 without, to better-control moisture levels). Microgreen trays in general, whether using soil or matting, should be as shallow as possible, reusable, sturdy, and consistent in size for various reasons discussed below.
- Growing Medium - Organic potting soil mix, any substrate or coconut coir. Coconut coir retains moisture well, so you will definitely be doing less frequent waterings, though in some regions it will be more prone to mold.
- Light - Whether you choose sunlight or use a grow light it’s up to you. Microgreens only need moisture and warmth to grow. They don’t need direct sunlight.
- Water Mister - Use a spray or misting watering bottle with good quality water, preferably potable.
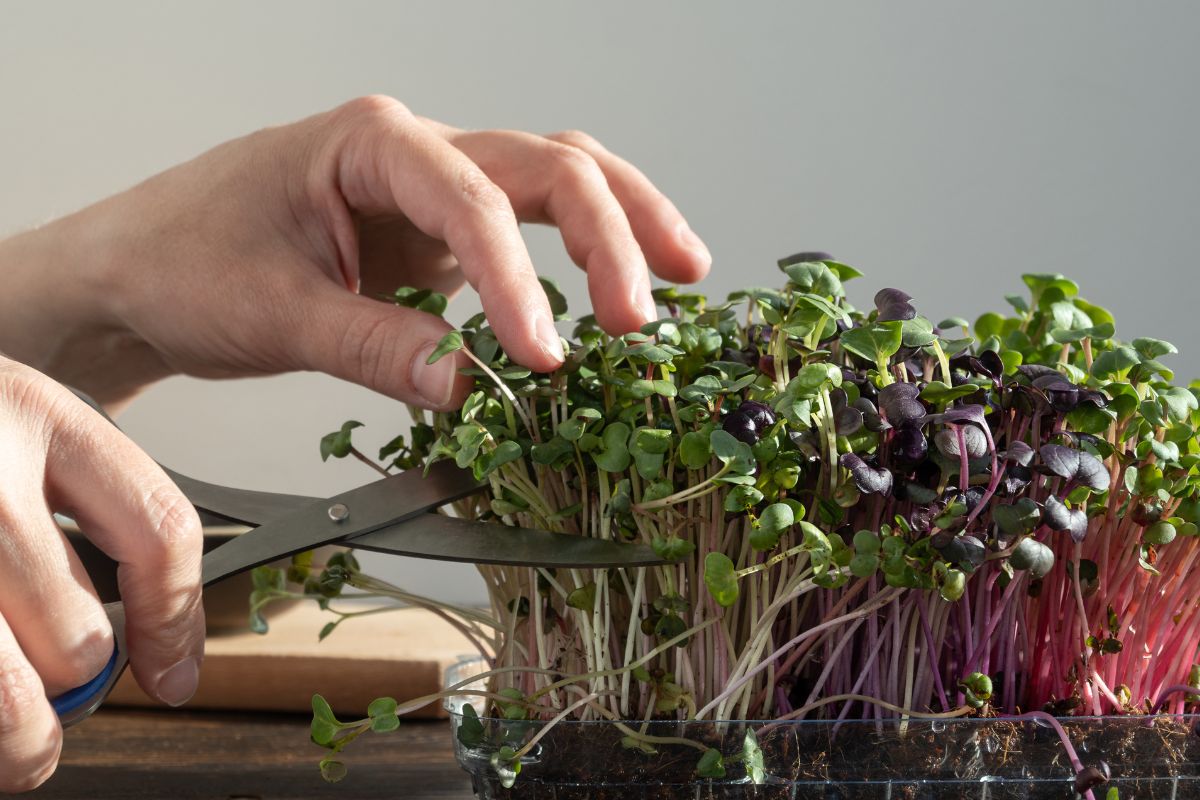
- Kitchen Shears - most important for harvesting the goods!
🌿 How to Store Microgreens
Once you’ve harvested your microgreens, you won’t need all of them at once. Remember, microgreens are so nutrient-dense, even a sprinkle in your dishes or as a garnish will already reward you with a whole host of benefits.
Store them properly in the fridge. Placing your microgreens in your vegetable crisper right away after harvest will prolong their shelf-life and keep away mold. Check that the temperature in your refrigerator is between 35°F and 40°F.
This will keep most of your microgreens in good shape for 14-21 days after cutting them, though their nutrient level will slowly decline each day.
Microgreens can be kept in the refrigerator if properly stored in an airtight container, preferably in the coolest part of the fridge. You can also sandwich them in between two dry paper towels to absorb moisture. Change these every 2-3 days.
When ready to use, dunk the microgreens in cool water and spread them out on paper towels in a single layer; consider using a colander. Your microgreens are ready to eat after they have been washed and dried.
Feel free to experiment with this nutritious garnish and flavor accent in the kitchen. Use them in sandwiches, wraps, salads, soups, pastas, or grain bowls. You won’t know what type of microgreens you’ll like best until you’ve tasted a handful of them.
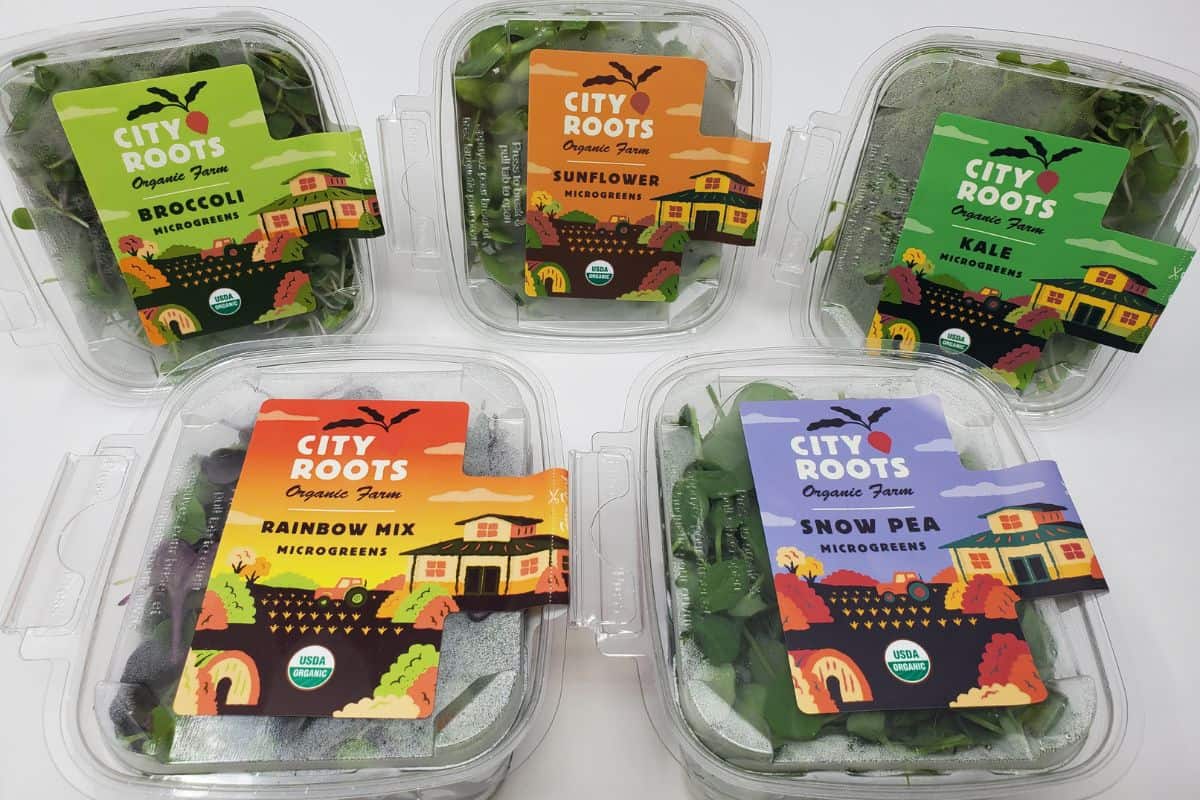
Microgreens can be grown from almost any edible plant including herbs, leafy greens, immature roots, and legumes. You can often even see them in health food stores, specialty marketplaces, or at your local farmer’s market.
They’re rarely found packaged and ready-to-eat in supermarkets, however, because microgreens have a shorter shelf life and are more expensive to produce & sell than their mature counterparts.




Comments
No Comments