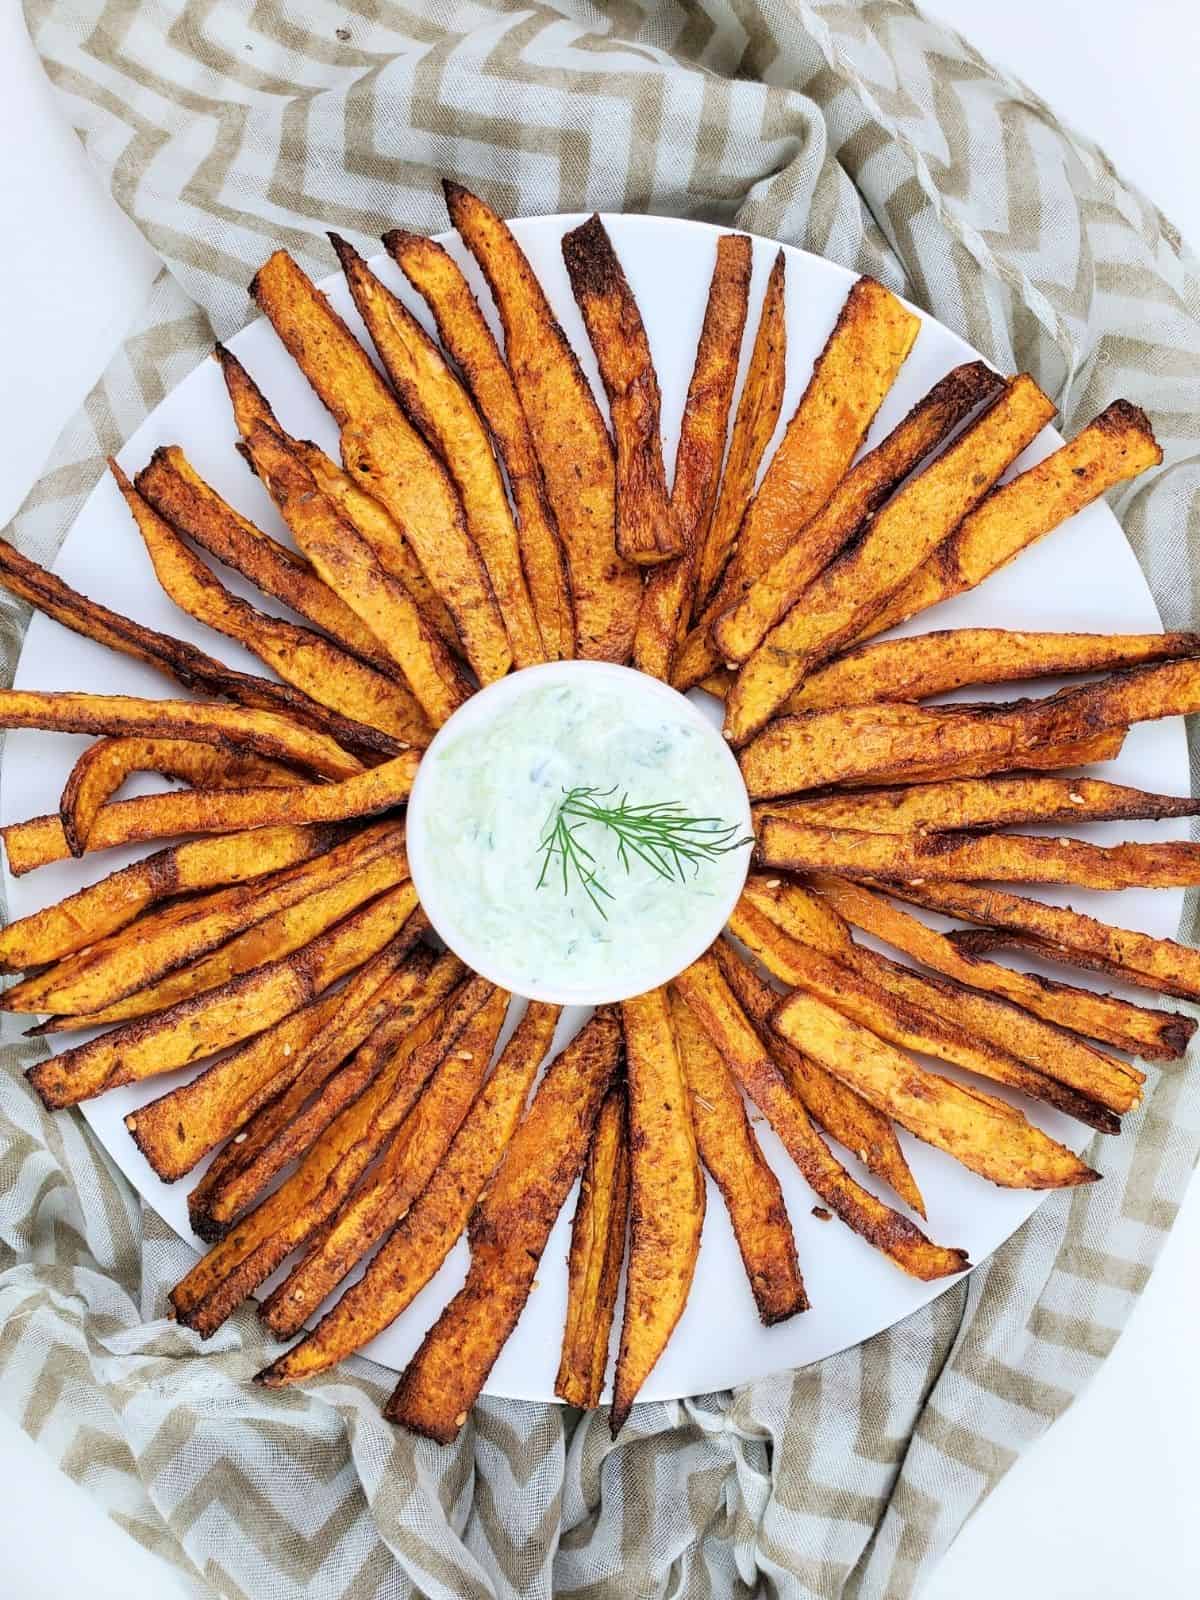
This recipe for crispy Air Fryer Butternut Squash Fries takes less than 30 minutes to prep and cook. They'll quickly become your go-to healthy swap for french fries, with a rich and nutty flavor that even picky eaters will reach for more of!
If you love crispy air fried dishes, try my air fryer frozen roast potatoes or air fryer delicata squash fries.
Jump to:
- ✔️ Why This Recipe is Great
- 🧄 Ingredients
- 🔪 How To Prep & Cut Butternut Squash
- 🧂 Substitutions and variations
- 📋 How To Make Butternut Squash Fries (Step-by-Step)
- 🧂 Variations
- 🥘 Freezing and Reheating
- 👨🏻🍳 Expert Notes & Tips
- 🍴 What to Serve With Butternut Squash Fries
- 🙋 Frequently Asked Questions
- 📖 Recipe
- 💬 Comments
✔️ Why This Recipe is Great
Better Than Sweet Potato Fries: comparing butternut squash fries vs. sweet potato fries, I'd say that both are crispy on the outside but soft and rich inside, though squash has just half the sugar and a little over half the carbs and calories of sweet potatoes.
Great Source of Vitamin A: Just like my delicata squash fries, these squash fries are high in fiber and nutrients like vitamins A and C, as well as smaller amounts of potassium, magnesium, and manganese.
Easy Side Dish: air fried butternut squash cooks up in about 15 minutes, and can be seasoned with whatever you tolerate, and even flavored specifically to complement the rest of your meal. We like to use za'atar, but if you find a blend you like, it's a great kid-friendly side dish for holidays.
🧄 Ingredients
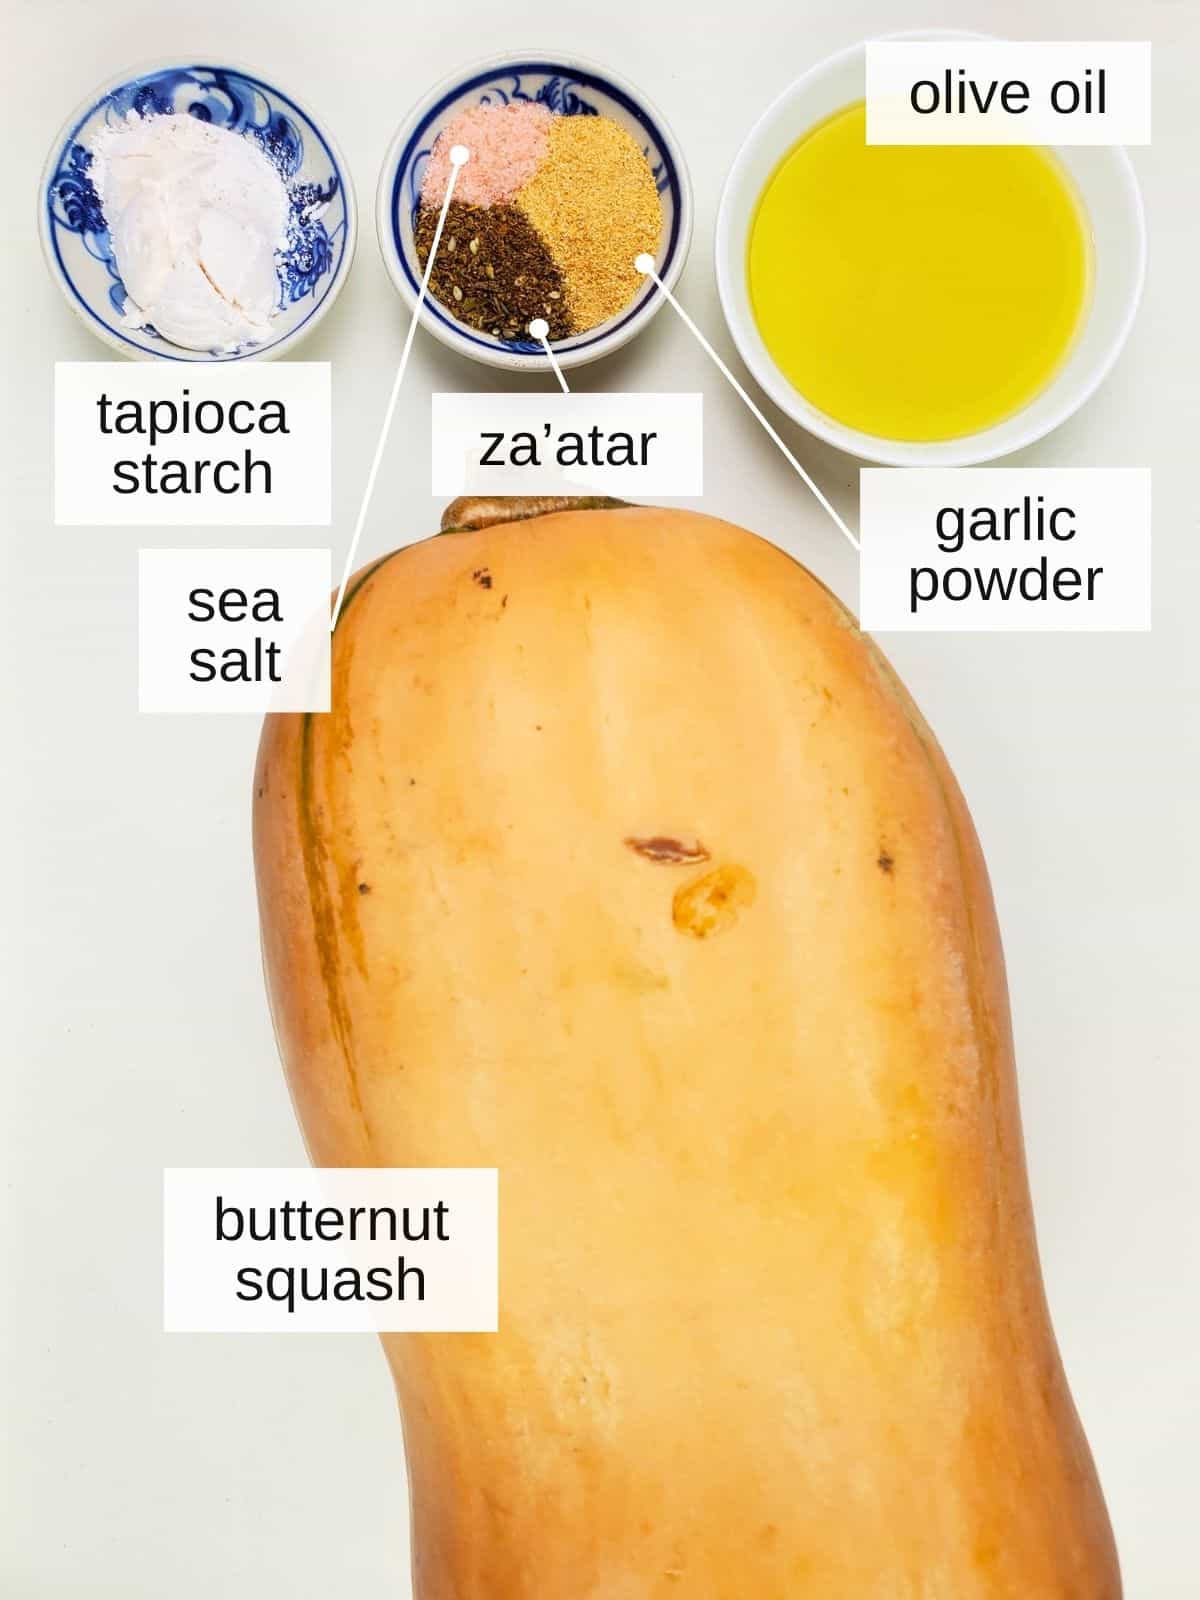
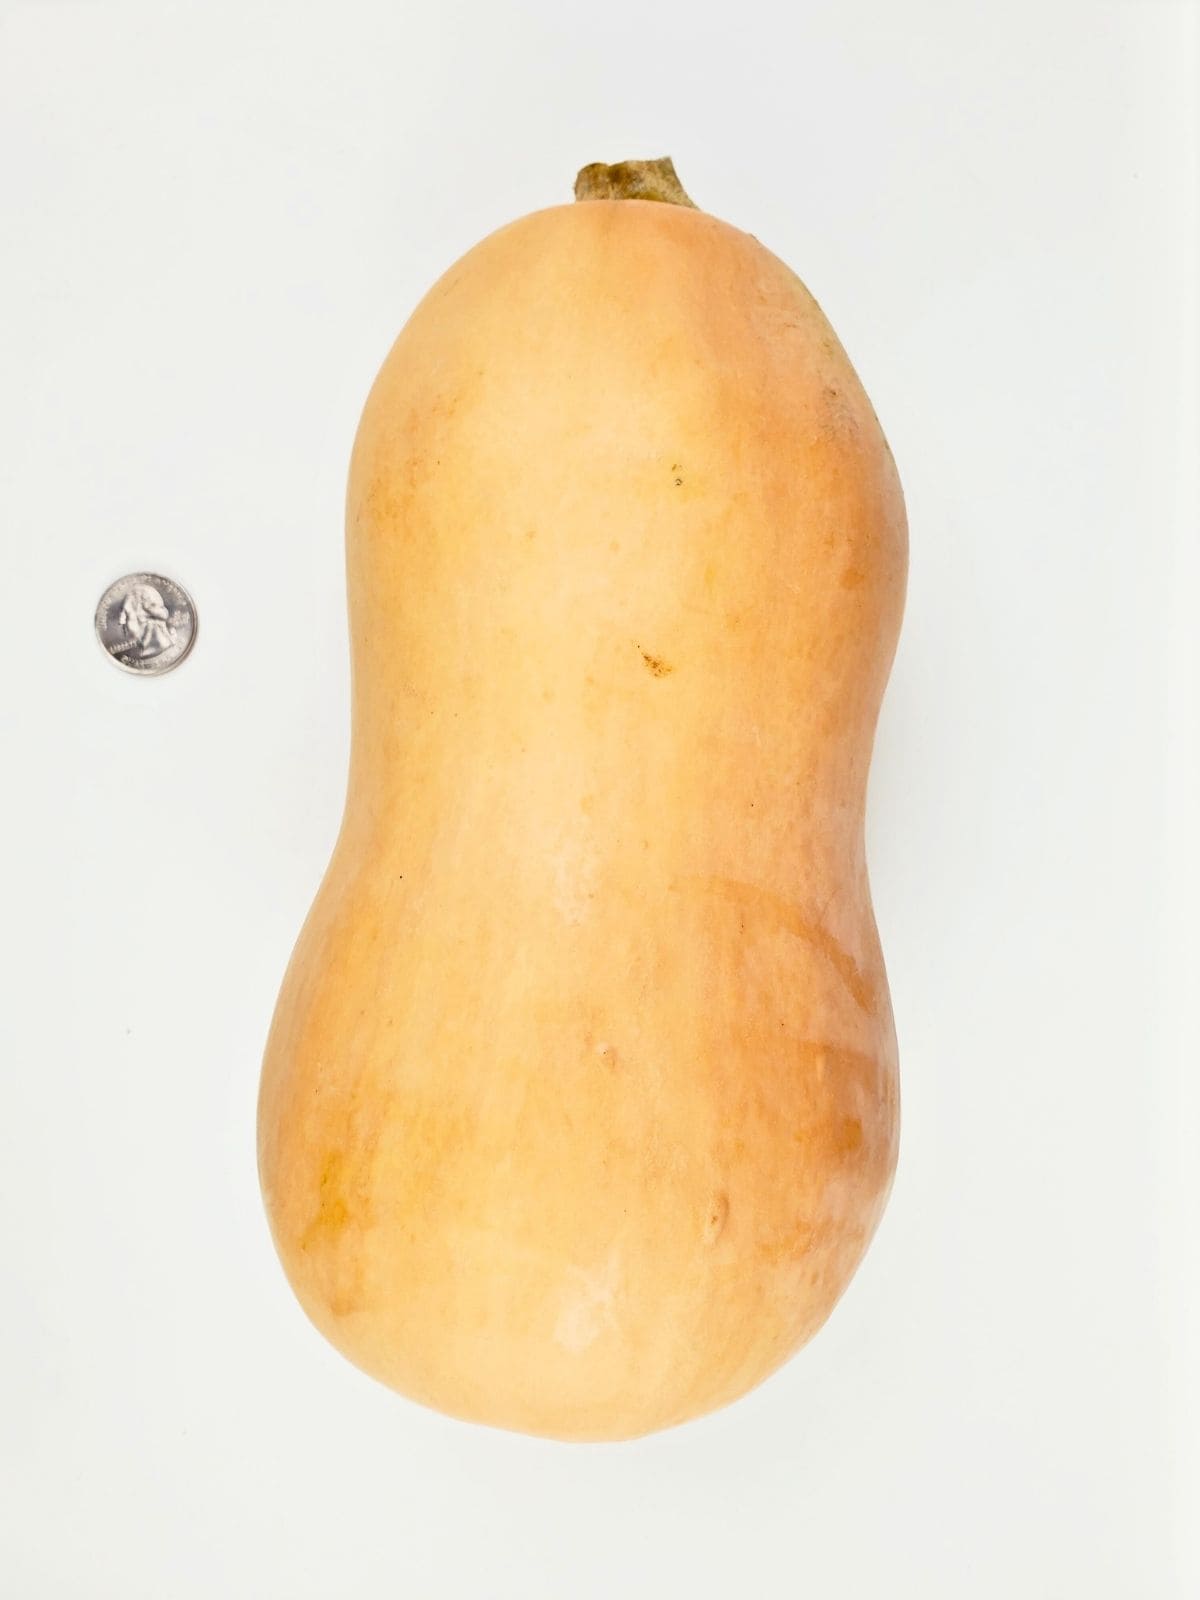
Butternut Squash: coming from a vining plant, these mild orange fruits can be stored many months (into wintertime) and taste just as good fried or baked as fresh. This bright orange squash has a sweet and mild nutty flavor, and when you have way too much of it but no idea what to do with it all, squash fries are the move to make use of their creamy taste and texture.
Olive Oil: while butternuts are most commonly baked, they can also be microwaved, sautéed, steamed, or air fried like we do here. For that you need a low histamine cooking oil that's safe to use at higher temps, like the plain olive oil I've used here.
You don't need much, either, especially if using an oil sprayer! For an intolerance, use lard or another high-heat oil like refined coconut.
Tapioca Starch: this starchy flour made from yuca root is added to help the fries crisp up, and while you could skip it for softer fries, it's great for making crispy butternut squash fries in the air fryer.
Seasoning: while this is technically optional, I highly recommend using 1 ½ to 2 teaspoons of your favorite tolerated seasoning, along with ½ teaspoon of sea salt per pound or so of squash. See the notes section for ideas, though I really like equal parts za'atar and garlic powder.
See recipe card for exact quantities.
🔪 How To Prep & Cut Butternut Squash
- The best way to prep a butternut squash for any cooking method is to start by washing and lightly scrubbing it. Though they need to be peeled, we still want the outside super clean so that we don't push dirt into it as we cut it.
- Then cut off the very top and bottom, and cut the squash in half. If using the bottom, use a large spoon to scoop out the seeds and innards. See directly below for images and more detailed step-by-step instructions.
Remember: the seeds can also be roasted and eaten! Don't toss them if you enjoy pumpkin seeds, as they're very similar.
- Next cut each half in half, and then you can either cook the squash from there or slice the squash as desired. For squash fries I like to start by cutting each half in half to make butternut steak fries, about ⅓" thick, though you can also slice each half into thin half-moon shapes or cubes for sauteeing.
🧂 Substitutions and variations
Other Squash - other than butternut, you could also make squash fries with any hardier winter squash, including delicata and even honeynut squashes (neither of which needs to be peeled).
Alternate Oils - since you need to air fry squash fries, you do need some high-heat oil. If you can't tolerate or don't want to use olive oil, some good alternatives would be coconut oil, avocado oil, lard, or even ghee. The latter two would add some serious richness to this roasted winter squash recipe!
No Garlic - you can omit the garlic in the recipe for more plain-flavored fries.
Seasoning & Flavorings - If you know you don’t tolerate one or more of the spices on this air fryer squash, you can swap it for a blend of other low histamine herbs and spices you think would go well. You can use anything, but other flavors and seasonings good on butternut squash include:
- fresh thyme with garlic
- any premade steak seasoning (if tolerated)
- your favorite cheese to make cheesy fries
- dried rosemary & garlic
- a plain pesto sauce (a great dipping sauce)
📋 How To Make Butternut Squash Fries (Step-by-Step)
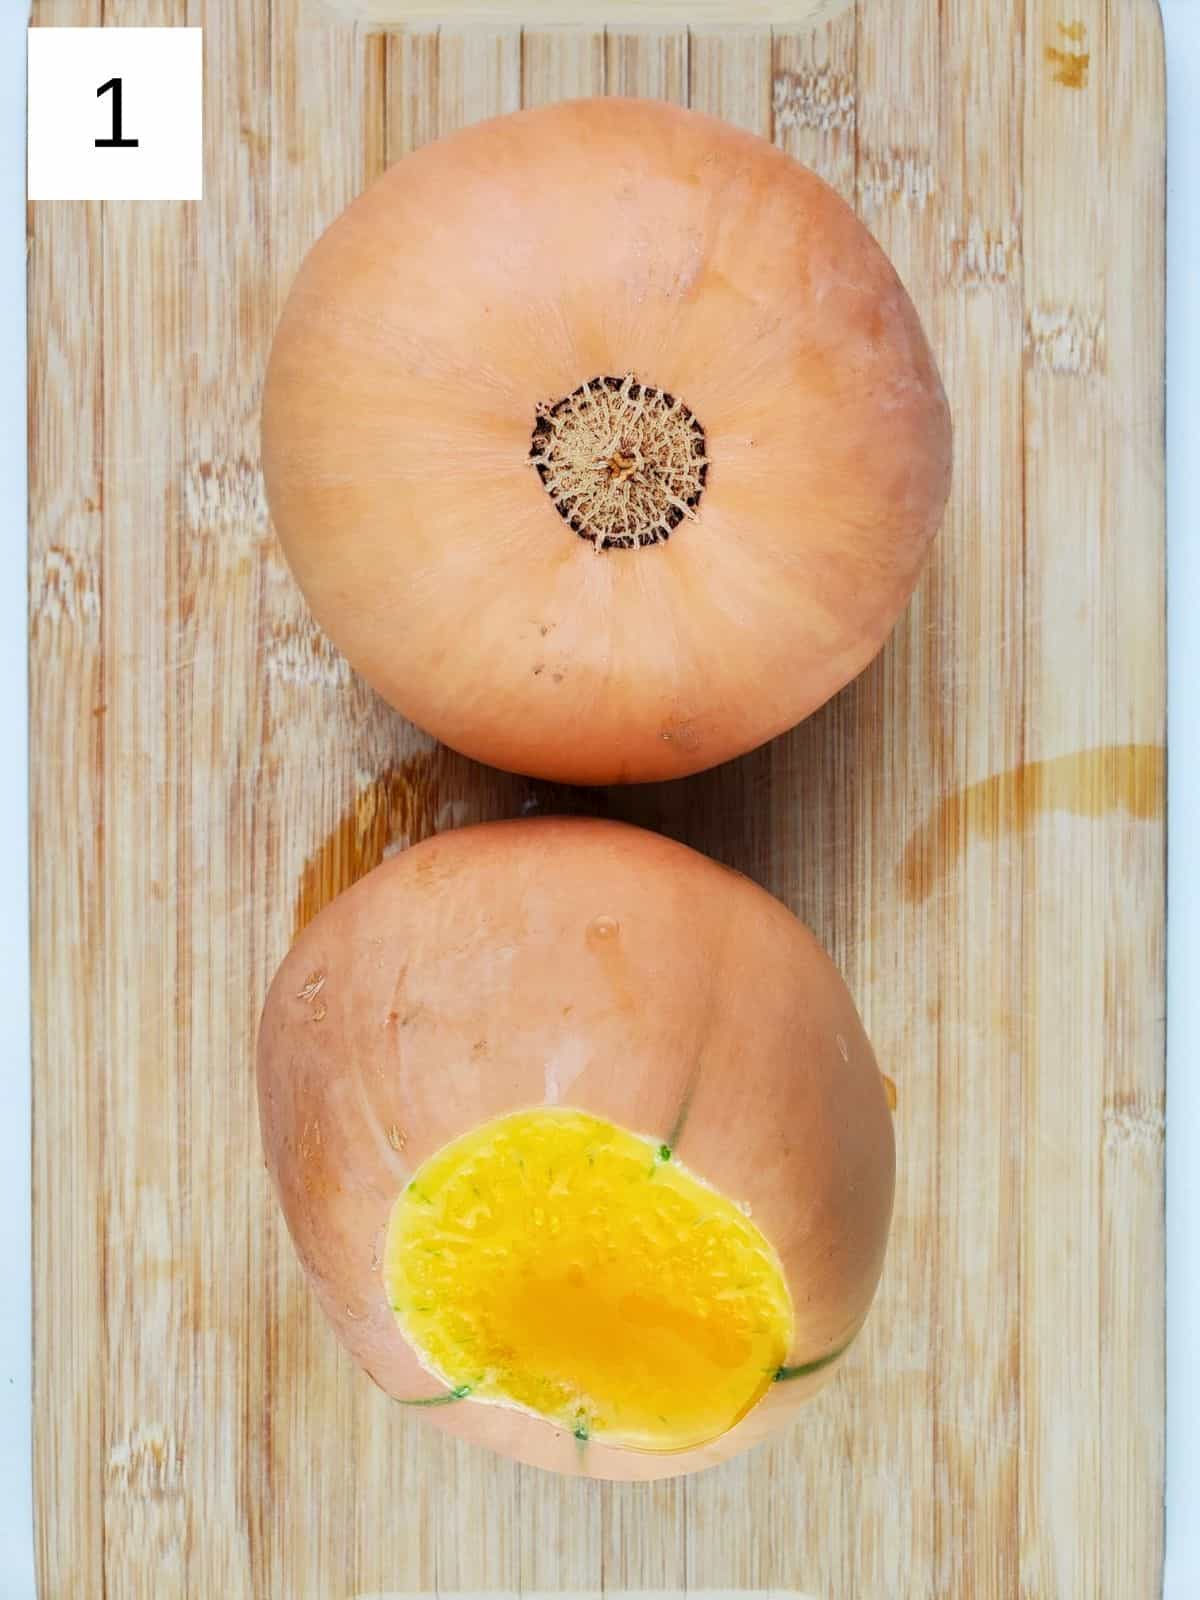
Step 1) If using pre-cut squash fries, dry them off very well then skip to step 4. Wash your butternut squash and cut off the very top (where it was growing off the vine) and separate the long neck of the squash (image 1), which is what we'll use for the fries, setting aside the bottom for a different recipe (see notes for how to prep the bottom for butternut squash fries, as well).
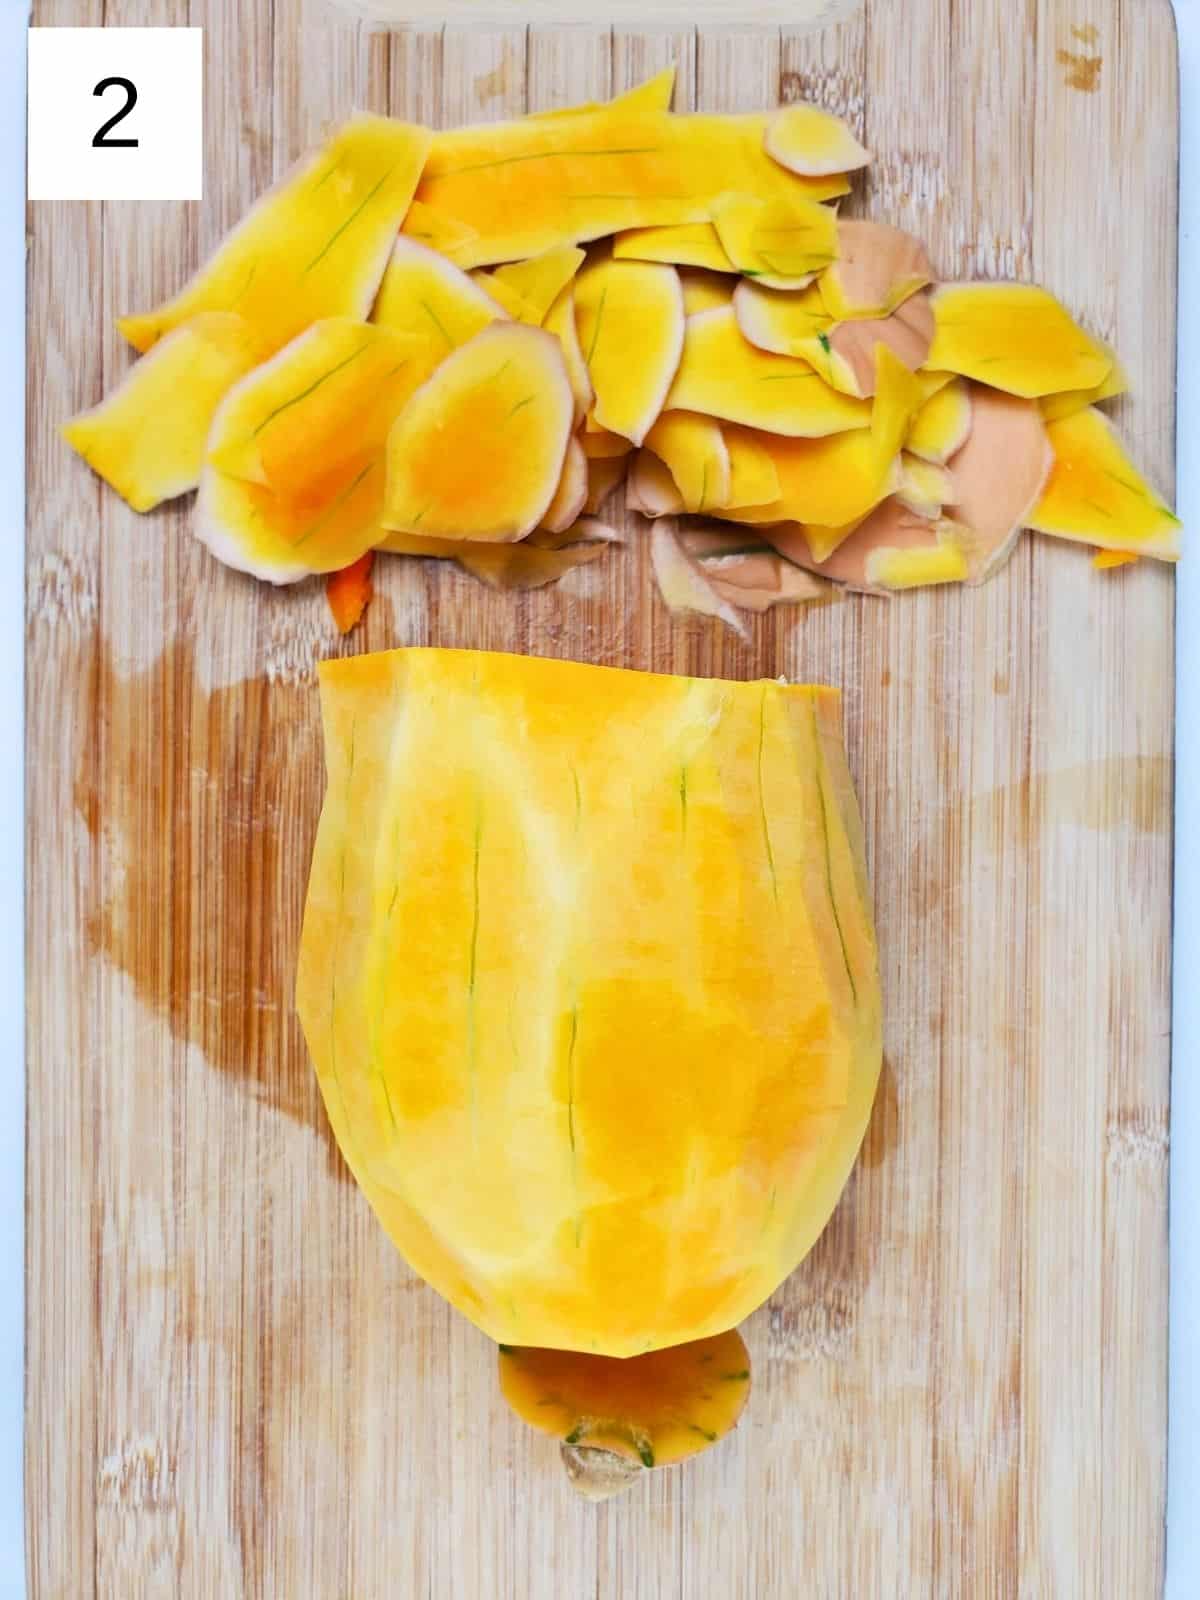
Step 2) Microwave the squash for 2 minutes to make it easier to peel, then skin the squash (image 2) and slice it lengthwise into 5 to 7 thick pieces, depending on how thick your squash is (image 3).
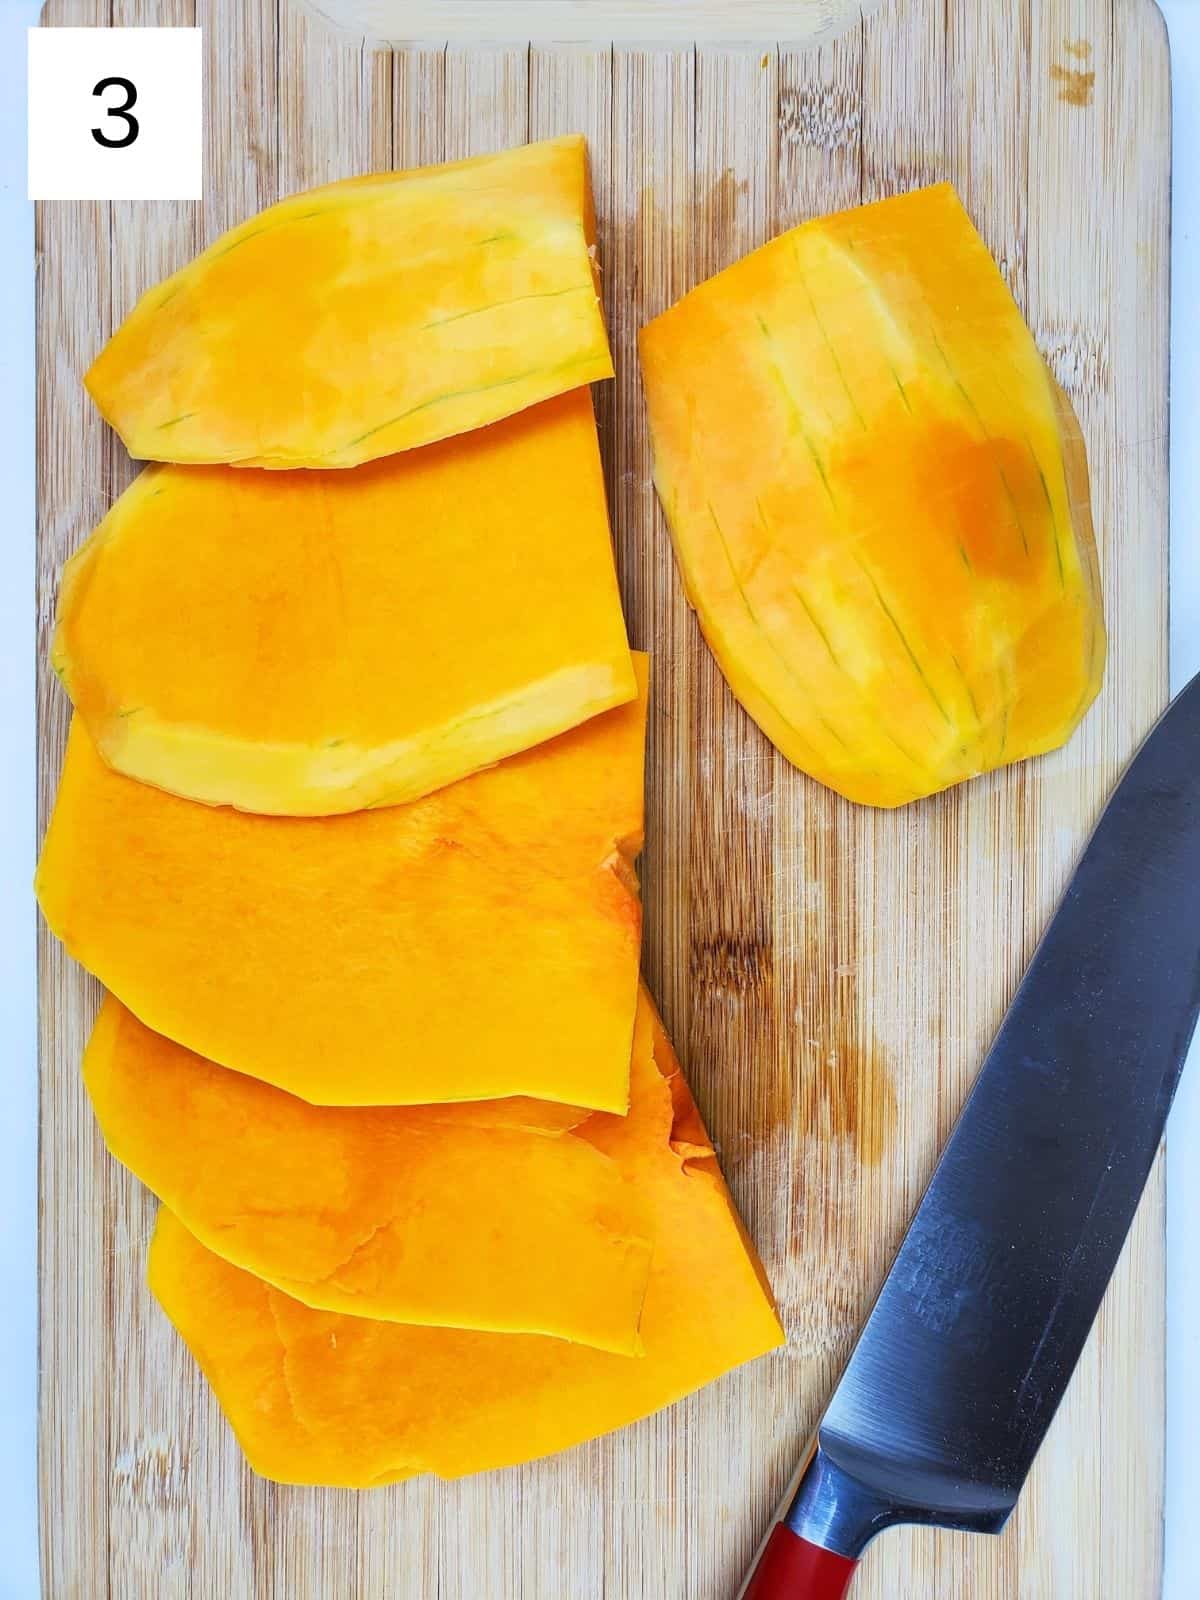
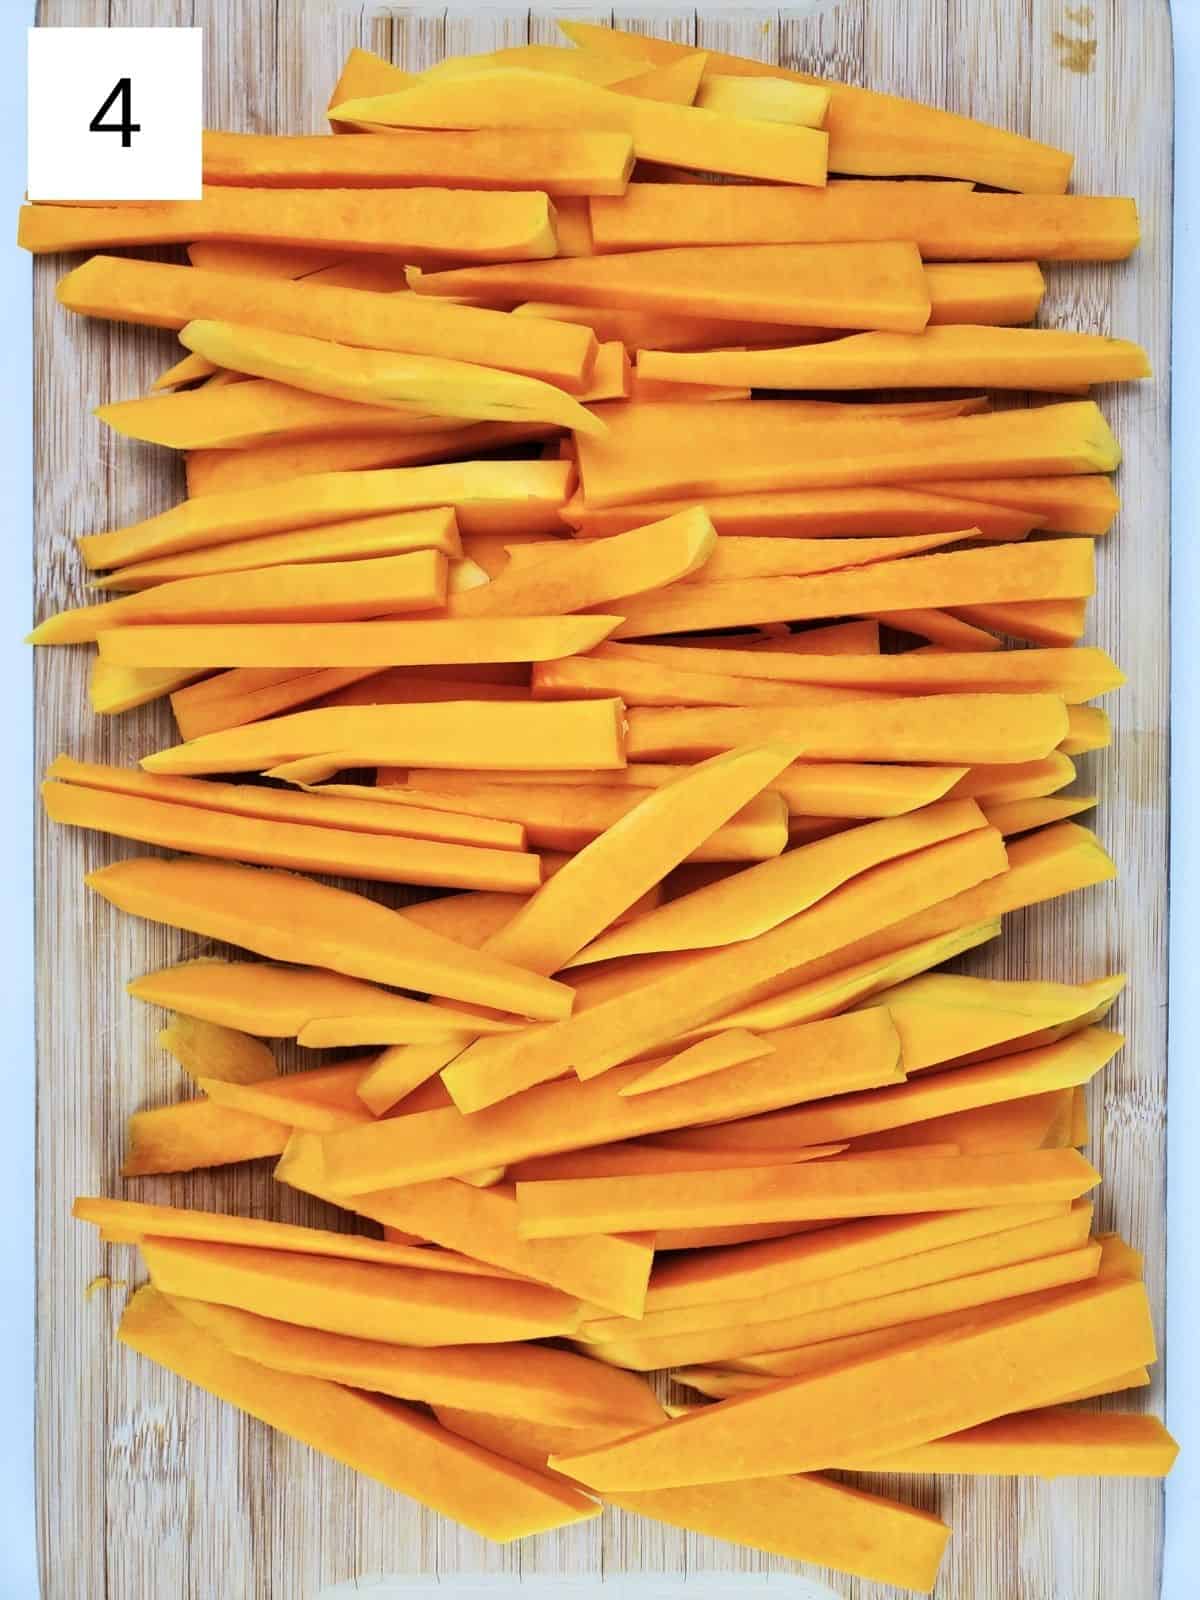
Step 3) Next slice each slab into butternut squash steak fries, about ⅓" thick, making sure each squash fry is about the same size for even cooking (image 4). Dry these cut fries very well for optimal crisping up, and this goes the same for those zig-zag squash fries from Trader Joe's.
Step 4) Set your air fryer to preheat to 400°F (205°C) for 3-5 minutes, and while it's heating up, gather your oil, salt, starch, and seasonings of choice (I like 1 teapsoon za'atar & 1 teaspoon garlic powder).
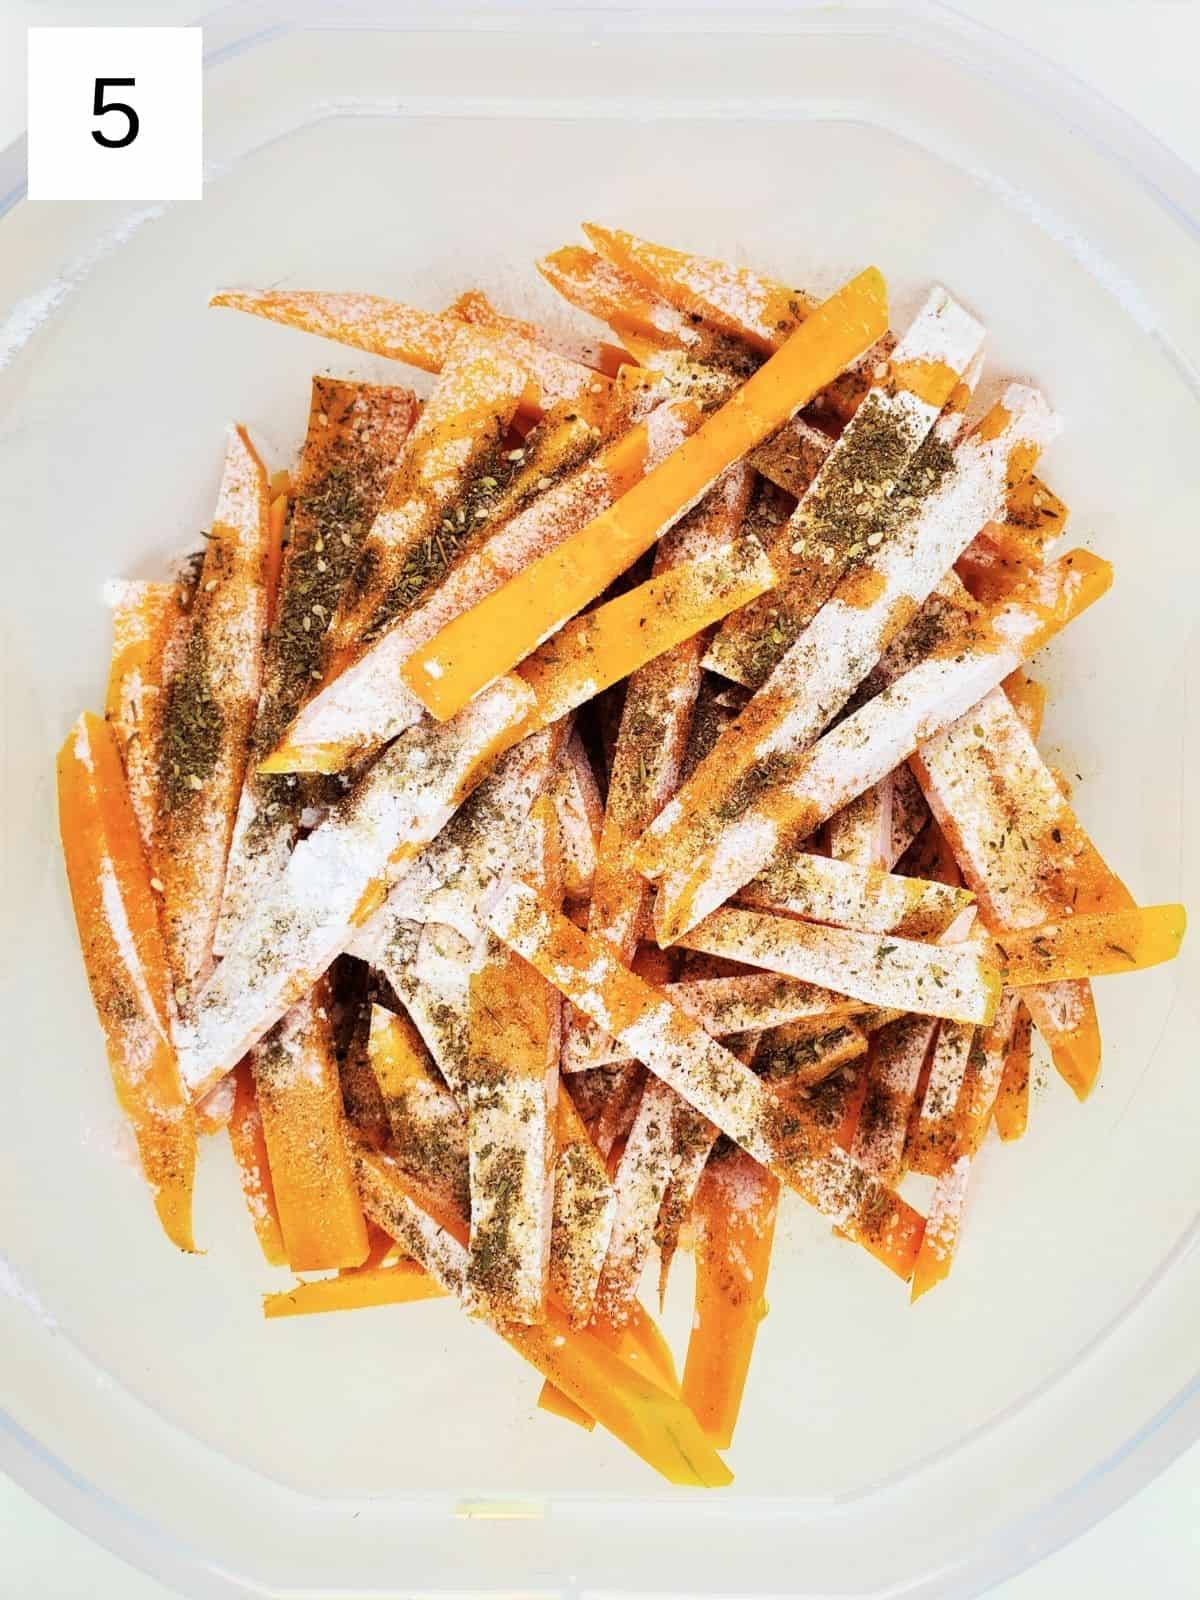
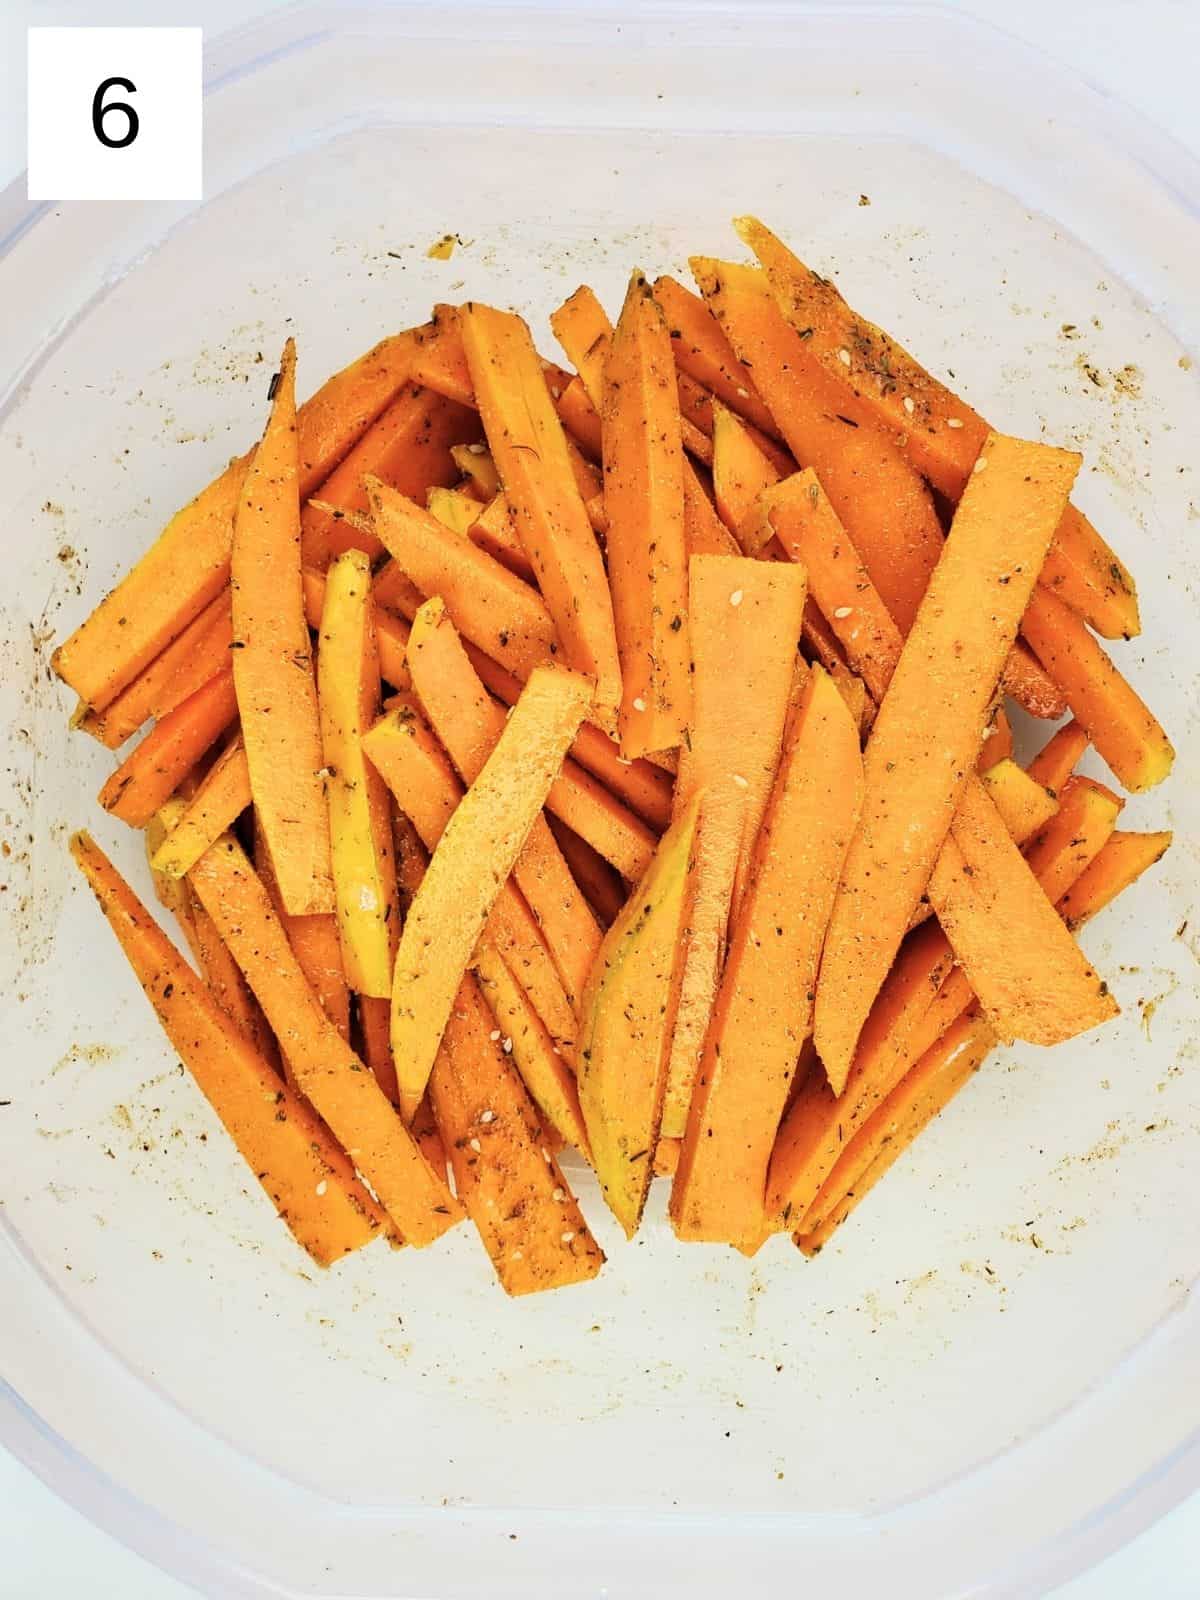
Step 5) Once your butternut french fries are dried, put them in a bowl and drizzle over or spray on your oil, and sprinkle on the salt, garlic powder, starch, and za'atar (if using) (image 5), and toss until well-coated (image 6).
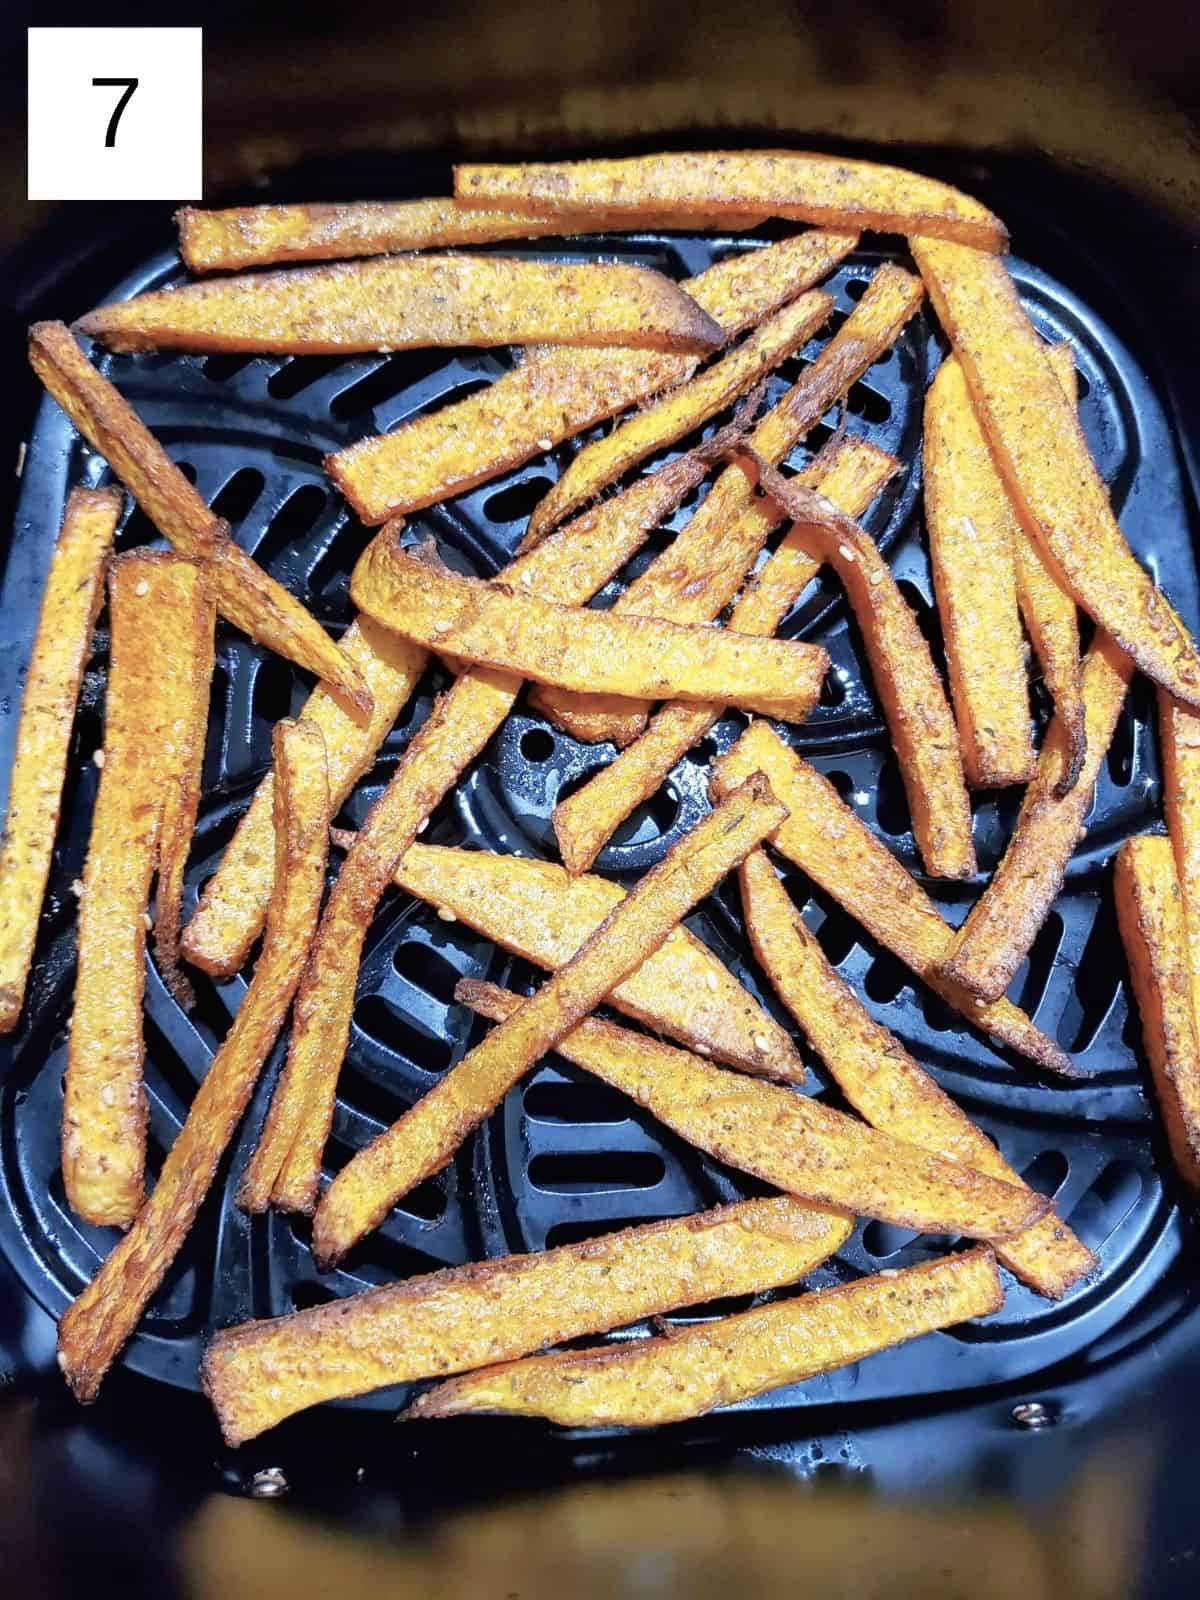
Step 6) Pour the seasoned butternut squash fries in the air fryer and arrange them in as thin a layer as possible (don't let them overlap; cook in 2 batches if needed), and cook them at 400°F (205°C) for 12-15 minutes (image 7), shaking the basket of squash fries halfway through your cook time. Less time will yield softer fries, while more time gets you something more like shoestring fries.
Step 7) When the timer goes off, take out your crispy butternut squash fries and taste one, then add extra salt (if needed) & enjoy with your favorite sauce. For butternut squash fries dipping sauce, try chimmichurri, tahini maple, or pesto aioli.
Reader Review
Super nutty flavor and chewy texture. This will become a favorite!
⭐⭐⭐⭐⭐ - CA
🧂 Variations
- Herb-Only Butternut Fries: Skip the za’atar and garlic powder and toss the fries with fresh or dried rosemary or thyme for a gentle, low histamine herb flavor.
- Extra Crispy Fries: Lightly dust the fries with tapioca starch or arrowroot powder before air frying for an extra crunchy texture.
- Garlic-Free Option: Omit garlic powder entirely and use herbs like basil or oregano to keep it flavorful for those sensitive to garlic.
- Lemon-Free Zesty Twist: Add a tiny pinch of food-grade citric acid after air frying for a bright flavor without using high-histamine citrus.
- Simple Salted Fries: Keep it ultra-simple by just tossing with olive oil and sea salt for a naturally sweet, low histamine side dish.
🥘 Freezing and Reheating
Honestly, I don't like to freeze these. I purposefully use just a pound to a pound and a half of squash whenever I make this recipe, as it's very forgiving and can easily be halved or doubled for varying crowd or squash sizes.
However if you need to freeze them, cook them beforehand. Then put a single layer of them on a baking sheet topped with a piece of waxed paper, freeze them fully through (at least 30 minutes), and pour them into a larger container for long-term storage.
To reheat squash fries, heat them in a preheated air fryer at 400°F (205°C) for 3-5 minutes, then serve as desired. If you're not on a low histamine diet, these butternut squash fries can stay good in the fridge for up to 3 days when stored in an air-tight container and cooled to room temperature beforehand.
👨🏻🍳 Expert Notes & Tips
Squash Storage: You can store thick winter squash on the counter, but mine ended up on our counter for about a month before we used them and they tasted great, so use your best judgement when storing squash before making this recipe.
Fry Size: when cooking butternut squash in the air fryer, it's most common to simply dice them, but I most like the steak fries shape you get when you slice them lengthwise. But what's most important is to make sure the pieces are all the same size, to ensure even cooking.
What Sauce?: like with the delicatas, my mom enjoyed her butternut squash fries plain, while my fiance liked them with ketchup, and I liked mine with some homemade aioli (contains lemon juice). Other great sauces to try include pesto aioli or chimichurri.
Use Bottom of Squash to Make Fries: like with the top, cut the bottom portion of the squash in half, then use a spoon to scoop out the seeds and innards. Next cut each half in half, and then slice the squash lengthwise into butternut squash steak fries, about ⅓" thick. If making such thick fries, you may need to air fry them for 2-3 extra minutes.
🍴 What to Serve With Butternut Squash Fries
🙋 Frequently Asked Questions
Butternut squash pairs well with sweet, nutty, and buttery flavors, and can be enhanced with spices such as chili, cumin, Italian seasoning, thyme, oregano, and/or cinnamon.
To cut butternut squash into fries, first peel the squash, remove the seeds, and then cut it into long, thin strips about the width of traditional French fries, aiming for uniform thickness to ensure even cooking.
Yes, you should peel butternut squash when making fries or other recipes where a soft texture is desired, as the peel can be tough and fibrous and really doesn't add anything to a dish.
To cut butternut squash into wedges, you typically cut the squash in half lengthwise, scoop out the seeds, and then slice each half into wedges, ensuring that they are of even thickness for consistent cooking, similar to the initial steps described for fries but cut into wider pieces instead of thin strips.
Yes, you should remove the seeds from butternut squash before cooking, but they are edible if you wash and toast them, just like pumpkin seeds.
While butternut squash are generally larger than delicatas, they're also a deeper orange color and have a stronger squash flavor, though both squashes have very similar price points and availability.
📖 Recipe

Crispy Air Fryer Butternut Squash Fries
Equipment
- air fryer
Ingredients
- 1 medium butternut squash ~1.5lbs. of fries
- 2 Tablespoons olive oil try using a sprayer
- 2 teaspoons tapioca starch optional
- 1 teaspoon za'atar optional
- 1 teaspoon garlic powder optional
- ½ teaspoon sea salt
Instructions
- If using pre-cut squash fries, dry them off very well then skip to step 4. Wash your butternut squash and cut off the very top (where it was growing off the vine) and separate the long neck of the squash, which is what we'll use for the fries, setting aside the bottom for a different recipe (see notes for how to prep the bottom for butternut squash fries, as well).
- Microwave the squash for 2 minutes to make it easier to peel, then skin the squash and slice it lengthwise into 5 to 7 thick pieces, depending on how thick your squash is.
- Next slice each slab into butternut squash steak fries, about ⅓" thick, making sure each squash fry is about the same size for even cooking. Dry these cut fries very well for optimal crisping up, and this goes the same for those zig-zag squash fries from Trader Joe's.
- Set your air fryer to preheat to 400°F (205°C) for 3-5 minutes, and while it's heating up, gather your oil, salt, starch, and seasonings of choice (I like 1 teapsoon za'atar & 1 teaspoon garlic powder).
- Once your butternut french fries are dried, put them in a bowl and drizzle over or spray on your oil, and sprinkle on the salt, garlic powder, starch, and za'atar (if using), and toss until well-coated.
- Pour the seasoned butternut squash fries in the air fryer and arrange them in as thin a layer as possible (don't let them overlap; cook in 2 batches if needed), and cook them at 400°F (205°C) for 12-15 minutes, shaking the basket of squash fries halfway through your cook time. Less time will yield softer fries, while more time gets you something more like shoestring fries.
- When the timer goes off, take out your crispy butternut squash fries and taste one, then add extra salt (if needed) & enjoy with your favorite dipping sauce! I recommend chimmichurri, tahini maple, or a pesto aioli.





CA Marquardt says
Thank You for this recipe -- I saw it, read it, and made it happen!!
Super nutty flavor and chewy texture. This will become a favorite!
Again, Thank You So Much For Sharing!!
Max says
Oh, that's so great to hear!! They are super nutty, eh? We've been eating them all week with homemade tzatziki.
Whenever we get a squash, I tend to prep it all at once and keep the uncooked 'fries' in the fridge, then we'll cook them in small batches and enjoy over the next 3-4 days. I hope you'll bookmark or print the recipe and continue making them, because they really are a fun side!