


These crispy Frozen Air Fryer Butternut Squash Cubes are super simple and very customizable, no matter your tastes or tolerances. They go from freezer to table in just 20 minutes, with only four ingredients you probably already have at home.
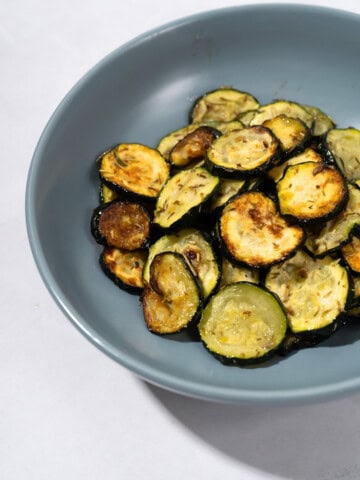
If you enjoy easy air fryer recipes, check out my air fryer peaches or easy sweet potatoes in the air fryer.
Jump to:
✔️ Why This Recipe is Great
Simple Enough for Beginners: This is the same technique I use for other frozen air fryer frozen veggies, so I know this recipe is easy & detailed enough for beginners and home chefs alike. We like to mix up the seasonings, but if you find a blend you like, it's always nice to have a comfort food dish to come back to!
Great Source of Vitamin A: Just like my air fryer sweet potatoes, butternut squash is high in fiber and nutrients like vitamins A and C, and make for a great addition to roasted potatoes with your next meat-focused meal.
Low Histamine Side Dish: butternut squash is one of the 15 foods I let myself eat during my first week of a low histamine diet, and all my squash dishes are quite popular on the site. This easy air fryer frozen butternut squash can be seasoned with whatever you tolerate, and can even be flavored specifically to complement the rest of your meal.
🍠 Ingredients

Frozen Butternut Squash: you can buy it in any form, but I like the cubed version and always try to buy organic, if not using vegetables I've cut & frozen myself.
Coconut Oil: this high-heat oil is a saturated fat well-known for its fantastic frying ability, which stores beautifully in the freezer for longer periods of time. For a coconut intolerance, use lard or another high-heat oil.
Seasoning: while this is technically optional, I highly recommend using 1 to 1 ½ teaspoons of your favorite tolerated seasoning. See the notes section for ideas, though I really like half each cumin and garlic powder.
See recipe card for exact ingredients and quantities.
🧄 How to Make Air Fryer Butternut Squash (Step-by-Step)
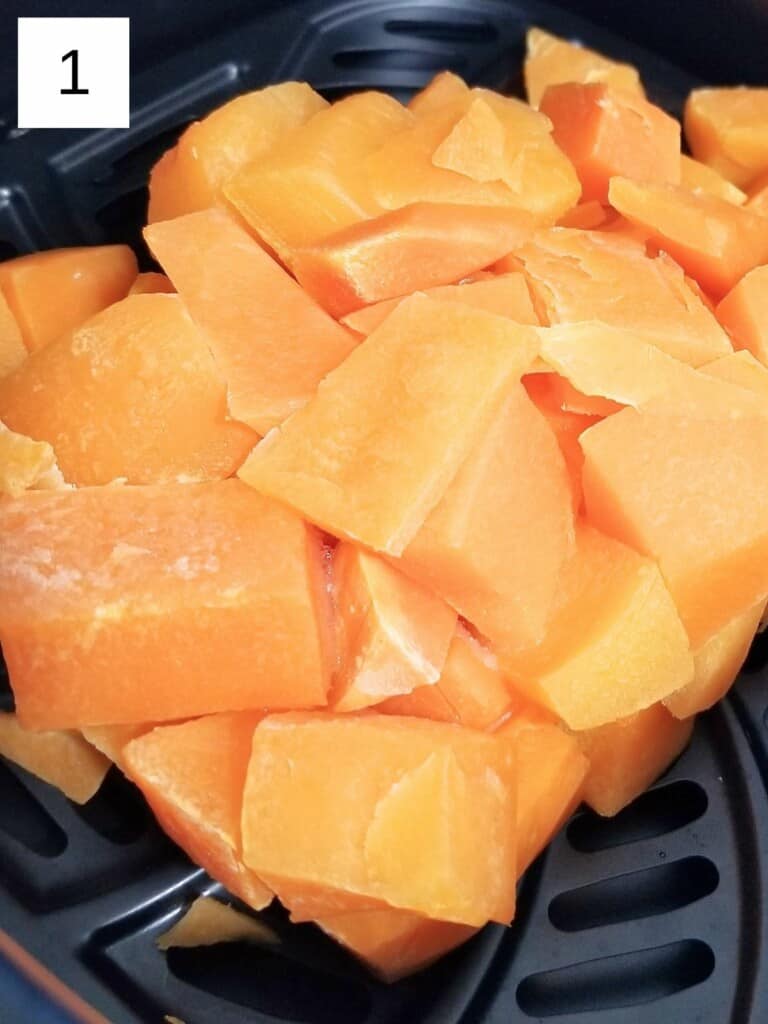
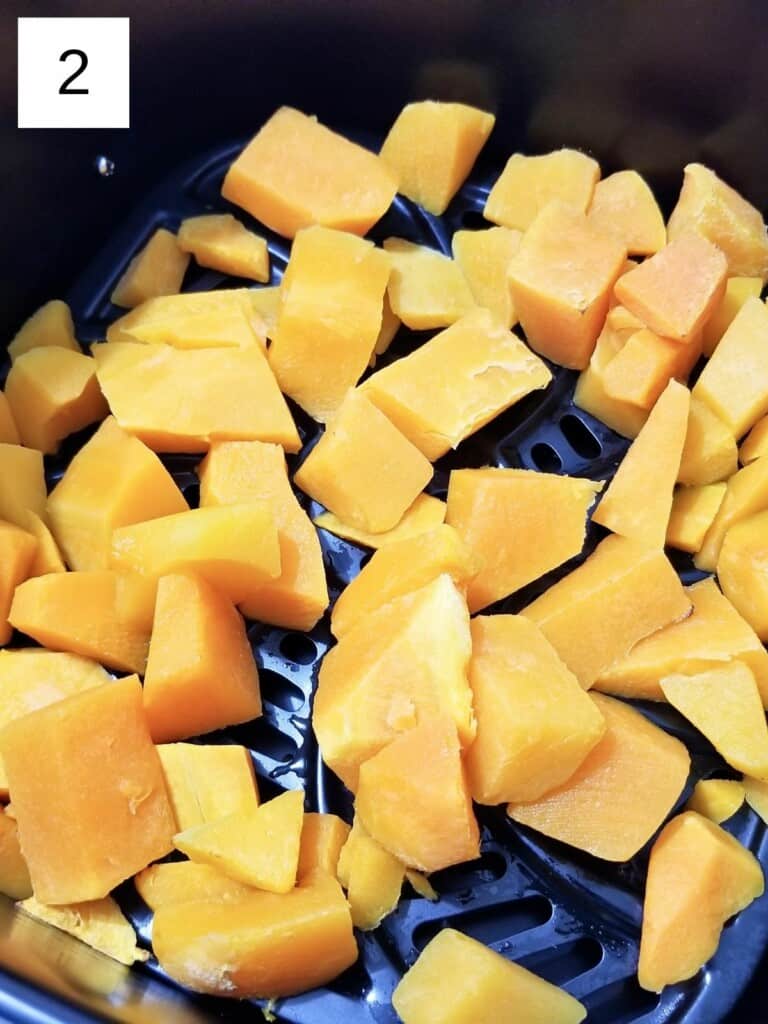
Step 1) Pour your frozen butternut squash into your air fryer basket and set it to preheat at 400°F (205°C) for 4 minutes. This will get any frost off and break the pieces apart before seasoning (images 1 & 2), but let them go much longer than 4 minutes and the pieces will start cooking and stick to the basket.
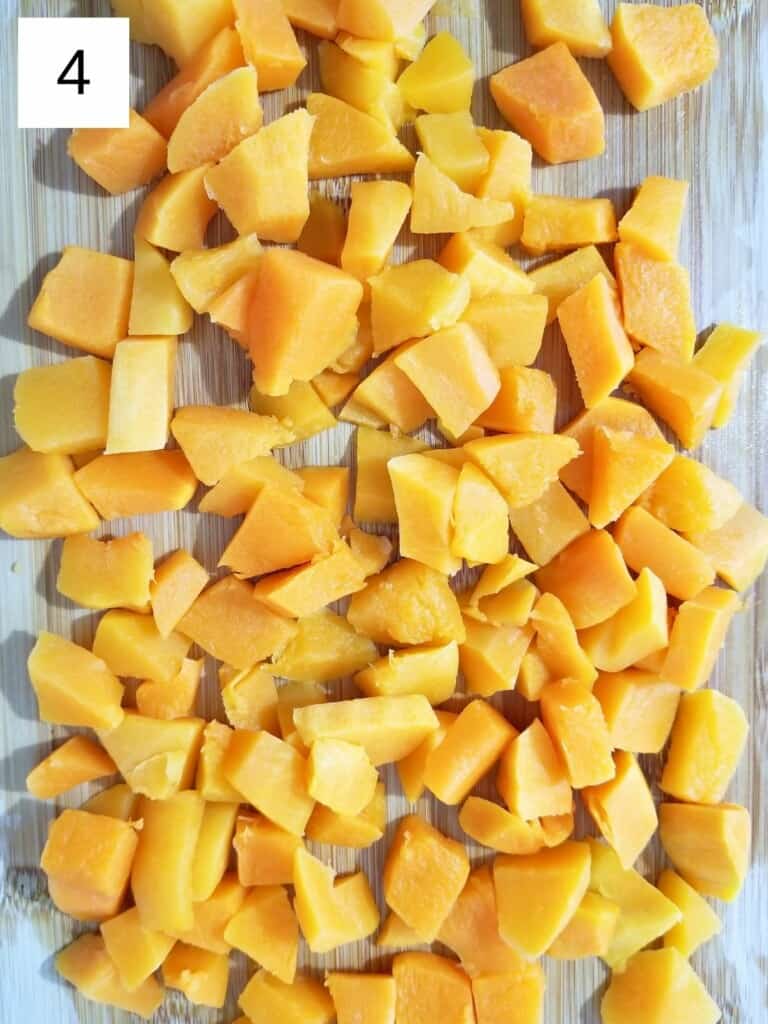
Step 2) While your frozen squash is heating up, gather your oil, salt, and seasoning of choice (I like ½ cumin & ½ garlic powder). Once the preheating is complete, carefully scoop your warm butternut squash into a small bowl and pat them dry with a dishtowel or several paper towels (this took me about 2 minutes); this is integral to getting them crispy. This is also the best time to cut your pieces into smaller cubes for even cooking (images 3 & 4). Toss any water left in the bottom of the air fryer after preheating.

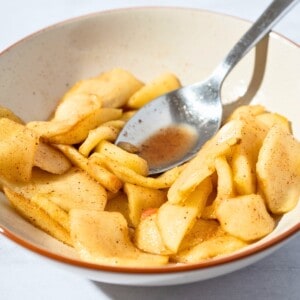
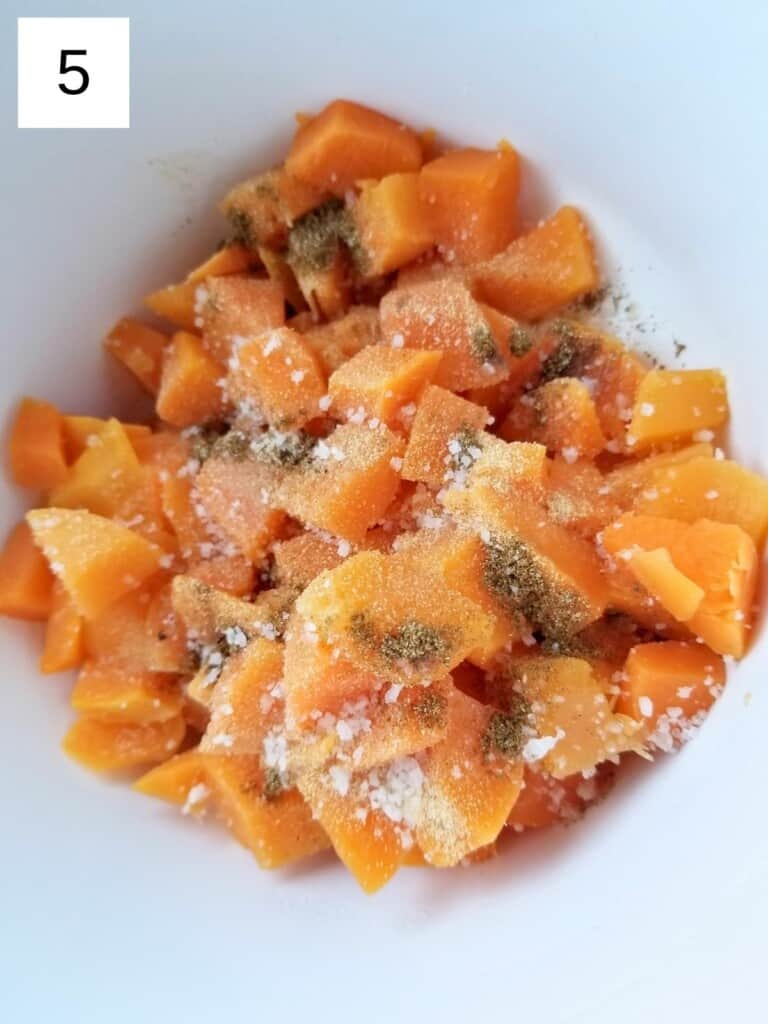
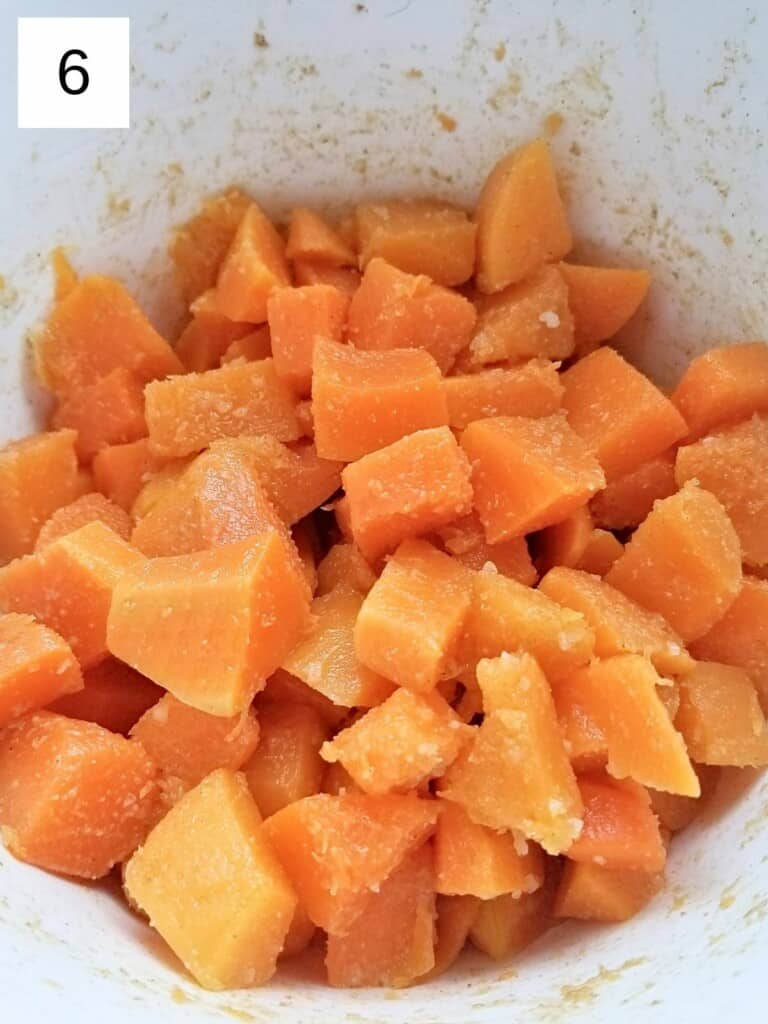
Step 3) Next drizzle the oil, salt, and seasoning over the squash and stir or toss them in the bowl until well-combined (about 30 seconds) (images 5 & 6). If you want to use less oil, spray the inside of your air-fryer basket with a tolerated oil spray; otherwise just proceed to pouring in the pieces.
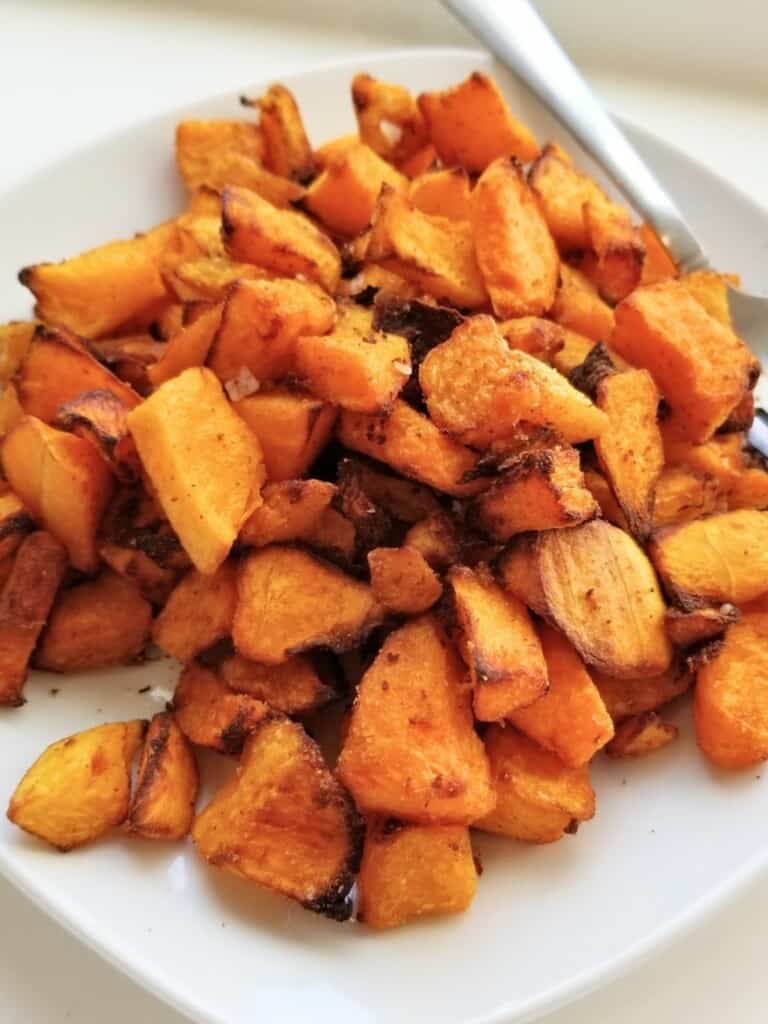
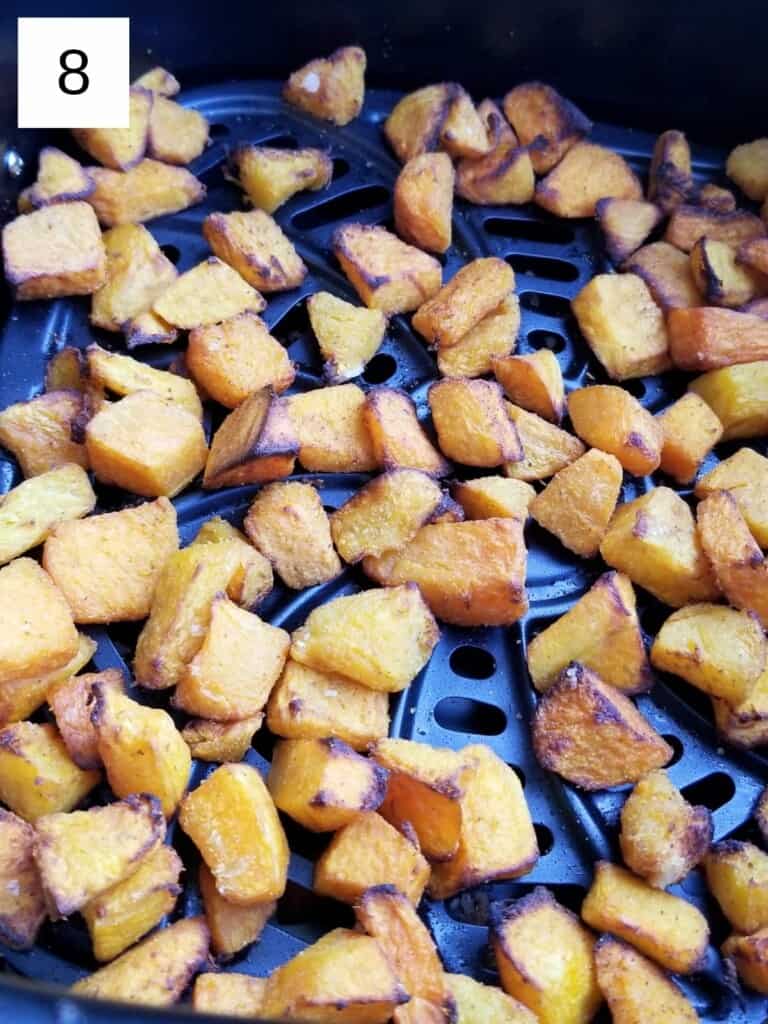
Step 4) Arrange the squash in as thin a layer as possible (image 7), though a bit of overlap is okay, and then put back the frozen butternut squash in air fryer for another 16 minutes at 400°F (205°C), shaking the basket halfway through (if you tend to forget such things, just set your timer for 8 minutes). Bigger pieces may need an extra 2-3 minutes cooking time. Take out your crispy bits (image 8)and taste one, then add extra salt (if needed) & enjoy!

🧂 Variations
- Garlic & Herb – Toss with garlic powder (or fresh minced garlic) plus dried thyme, rosemary, or sage for a savory, comforting flavor.
- Cinnamon Squash – Add a pinch of cinnamon for a lightly sweet, cozy version that works well as a side or snack.
- Turmeric Sea Salt – Sprinkle with turmeric and sea salt for a simple anti-inflammatory twist.
- Plain & Crispy – Skip seasonings entirely and focus on salt + fat for naturally sweet, ultra-crispy cubes (great for sensitive days).
- Apple-Spice Style – Finish with a tiny pinch of cinnamon and ground ginger for a gentle fall-inspired flavor.
- Herb Butter Finish (Non-Dairy Option) – Toss with coconut oil or lard during cooking, then finish with fresh chopped herbs right before serving.
❌ Freezing
I wouldn't recommend putting these back in the freezer once cooked, as it will negatively affect the texture quite a bit, making them mushy. This is why I purposefully used just a pound of squash for this recipe; it can easily be halved or doubled for varying crowd sizes.
👨🏻🍳 Expert Notes & Tips
Defrosting: When making frozen butternut squash in the air fryer, the very first thing you need to do is bring them as much back to normal as possible. Much like patting dry brussels sprouts or regular potatoes before browning them at a high heat, it's imperative to bring the pieces to room temp and thoroughly dry them; otherwise they won't properly crisp up.
Seasonings: If you know you don’t tolerate garlic powder or one or more of the spices on this air fryer squash, you can swap it for a blend of other low histamine herbs and spices you think would go well. You can use any type of seasoning, but otherwise I'd recommend homemade garam masala, dried rosemary & garlic, or any premade steak seasoning (if tolerated).
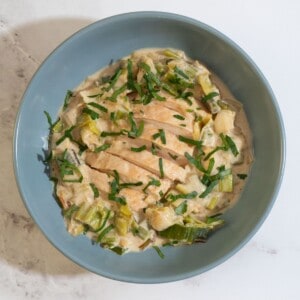
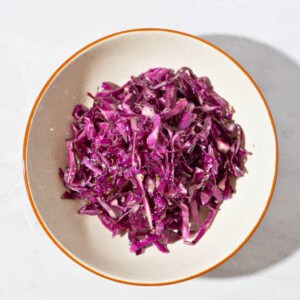
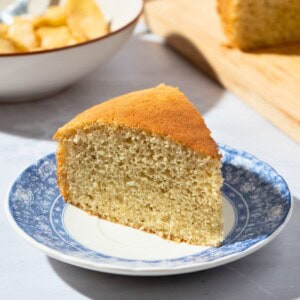
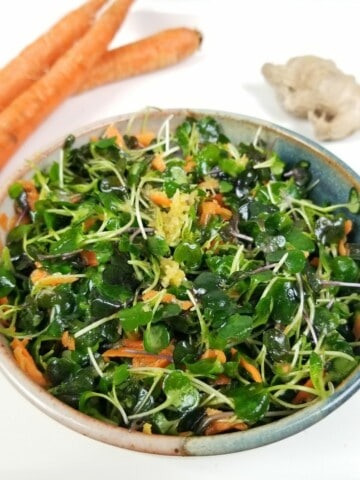
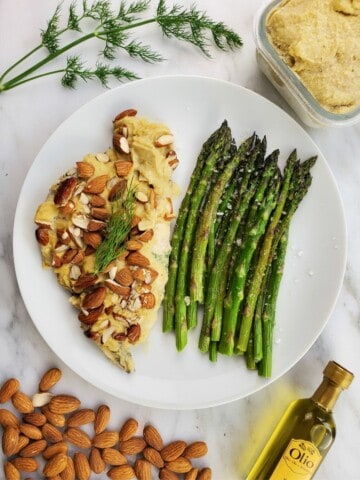
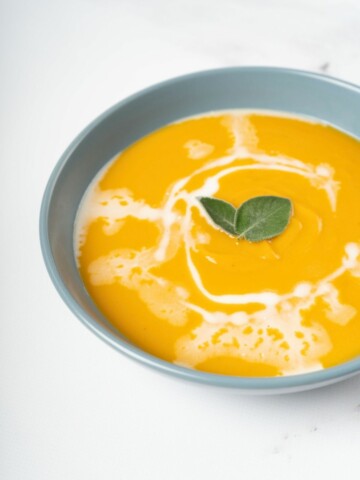
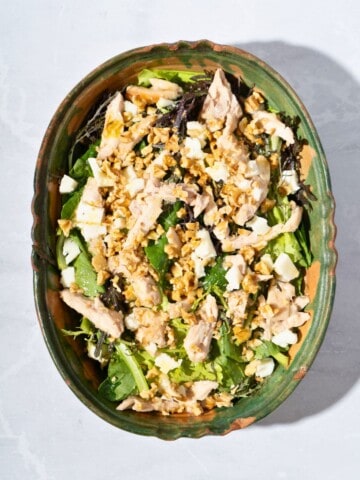
❓ What to Serve With Air Fryer Butternut Squash
🙋 Frequently Asked Questions
Coconut oil and lard are both great low-histamine options. You can also use fresh olive oil added after cooking if preferred.
Avoid overcrowding the air fryer basket and cook in a single layer. This allows hot air to circulate properly and helps the cubes crisp up.
Absolutely. Simply use fat and salt for a naturally sweet, gentle option that’s perfect for sensitive days.
Yes — frozen vegetables are typically well tolerated on a low histamine diet because they’re frozen shortly after harvest, which limits histamine buildup.

Have you tried this recipe?
If you like the recipe, please leave a 5-star ⭐️⭐️⭐️⭐️⭐️ rating on the recipe card, or even a comment! I love to hear how your recipes turned out, and your feedback can help other readers! Also join us on Instagram, Facebook & Pinterest.
📖 Recipe

How Make Frozen Butternut Squash in Air Fryer
Equipment
- air fryer
Ingredients
- 20 oz. frozen butternut squash cubes
- 1 Tablespoon fat of choice I like coconut oil or lard
- 1 teaspoon seasoning optional; see notes
- ½ to 1 teaspoon sea salt exclude if seasoning has salt
Instructions
- Pour your frozen butternut squash into your air fryer basket and set it to preheat at 400°F (205°C) for 4 minutes. This will get any frost off and break the pieces apart before seasoning, but let them go much longer than 4 minutes and the pieces will start cooking and stick to the basket.
- While your frozen squash is heating up, gather your oil, salt, and seasoning of choice (I like ½ cumin & ½ garlic powder). Once the preheating is complete, carefully scoop your warm butternut squash into a small bowl and pat them dry with a dishtowel or several paper towels (this took me about 2 minutes); this is integral to getting them crispy. This is also the best time to cut your pieces into smaller cubes for even cooking. Toss any water left in the bottom of the air fryer after preheating.
- Next drizzle the oil, salt, and seasoning over the squash and stir or toss them in the bowl until well-combined (about 30 seconds). If you want to use less oil, spray the inside of your air-fryer basket with a tolerated oil spray; otherwise just proceed to pouring in the pieces.
- Arrange the squash in as thin a layer as possible, though a bit of overlap is okay, and then put back the frozen butternut squash in air fryer for another 16 minutes at 400°F (205°C), shaking the basket halfway through (if you tend to forget such things, just set your timer for 8 minutes). Bigger pieces may need an extra 2-3 minutes cooking time. Take out your crispy bits and taste one, then add extra salt (if needed) & enjoy!
Comments
No Comments