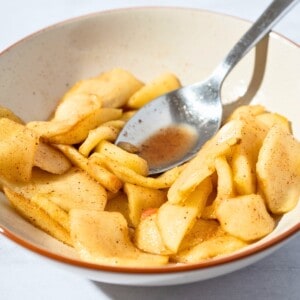
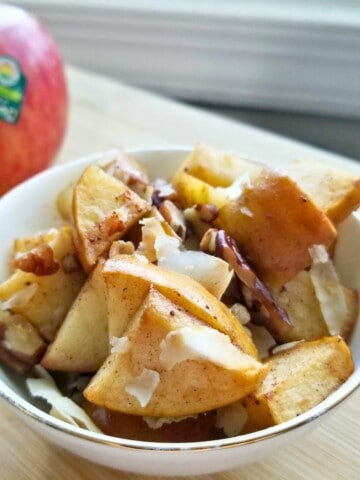
These delicious Caramelized Apples are an easy fall dessert you can make on the stovetop in under 20 minutes. They're a great way to use up extra apples, and make for a great addition to a variety of dishes, from caramelized apple topping for cakes and crepes to serving alongside roast pork.
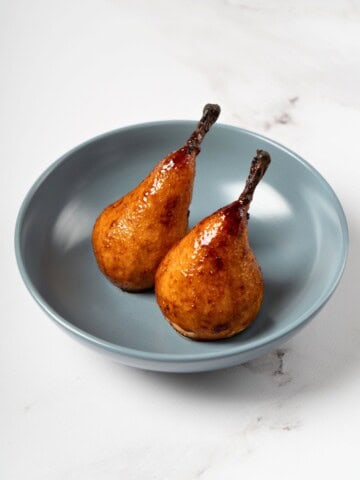
If you enjoy sweet roasted fruits, try my whole baked pears or these quick baked apples.
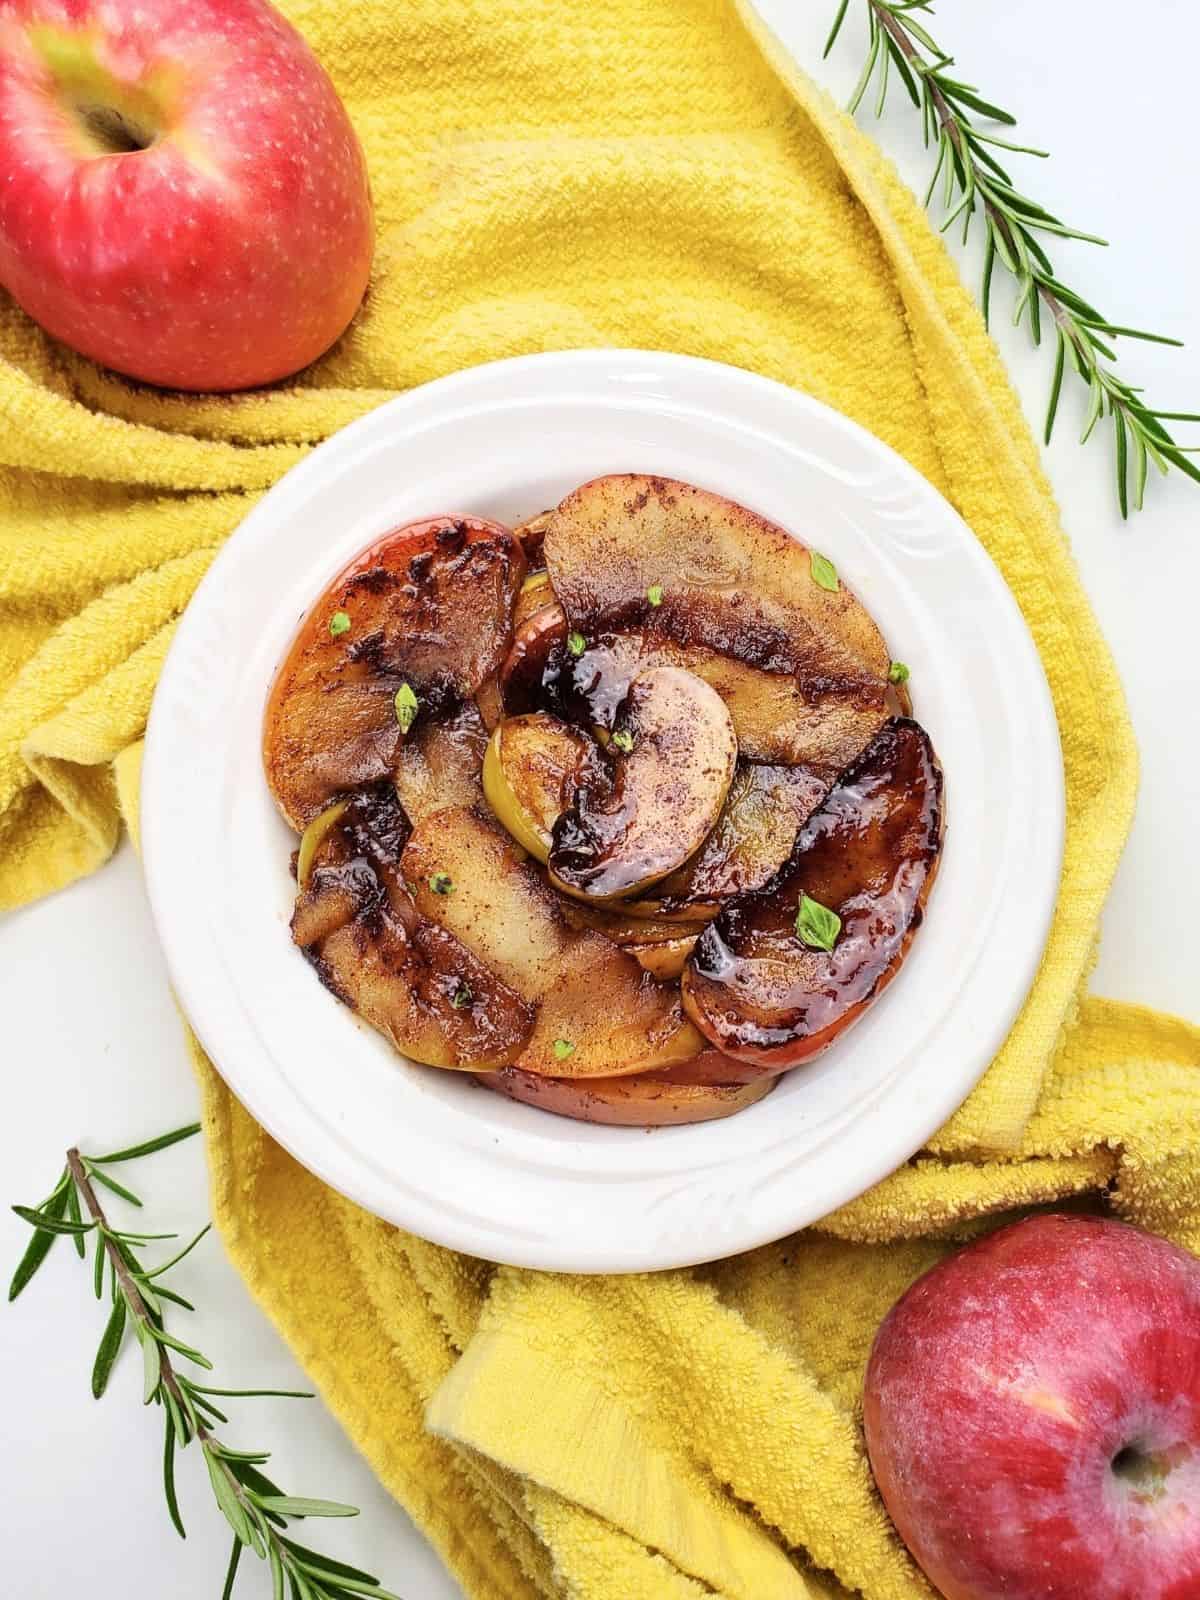
You can make these simple caramelized apples on stovetop as a quick dessert at any time during apple season, from August to November. The apples I used in this recipe all come from a local apple farm, where I've been able to pick apples as soon as early August.
They're basically sliced apples cooked in brown butter with a sprinkle of sugar to complete the caramelization process, creating roasted caramelized apples you can use on almost anything.
Making quick caramelized apples without lemon juice is the perfect holiday dessert made in just one pan, ideal for Thanksgiving or Christmas. Just note that this is not the same as a caramel apple, which is a whole apple dish coated in a thick caramel.
Jump to:
- ✔️ Why this recipe is great
- 🍎 Ingredients
- 🍴 How to Cut Apples Without an Apple Corer
- 🍏 Best Kinds of Apples to Use
- 🍲 How to Make Caramelized Apples (Step-by-Step)
- 🌿 Substitutions & Variations
- 🥘 Freezing & Reheating
- 👨🏻🍳 Expert notes & tips
- 🍨 What to Do With Caramelized Apples
- 😋 Other Great Apple Recipes
- 🙋 Frequently Asked Questions
- 📖 Recipe
- 💬 Comments
✔️ Why this recipe is great
Quick to Make: this fall dessert recipe is like a healthy apple pie filling, but without all the work of creating a base or a streussel topping. It's done in under 20 minutes, from stovetop to table.
Very Versatile: sauteed caramelized apples in a pan make a great topping for desserts, though in reality these are great for breakfast or dessert. They're even a great, quick way to use up apple slices your kid didn't want to finish off, but you just don't have the heart to throw out.
Forgiving Recipe: whether you need to stuff more apples onto the pan, use up a bit of extra butter, or you're short on sugar, you can slightly push the limits in either direction with this caramelized apples recipe. The only place where it's not as forgiving is if you over- or under-season the apples, so be sure to measure the spices carefully.
🍎 Ingredients
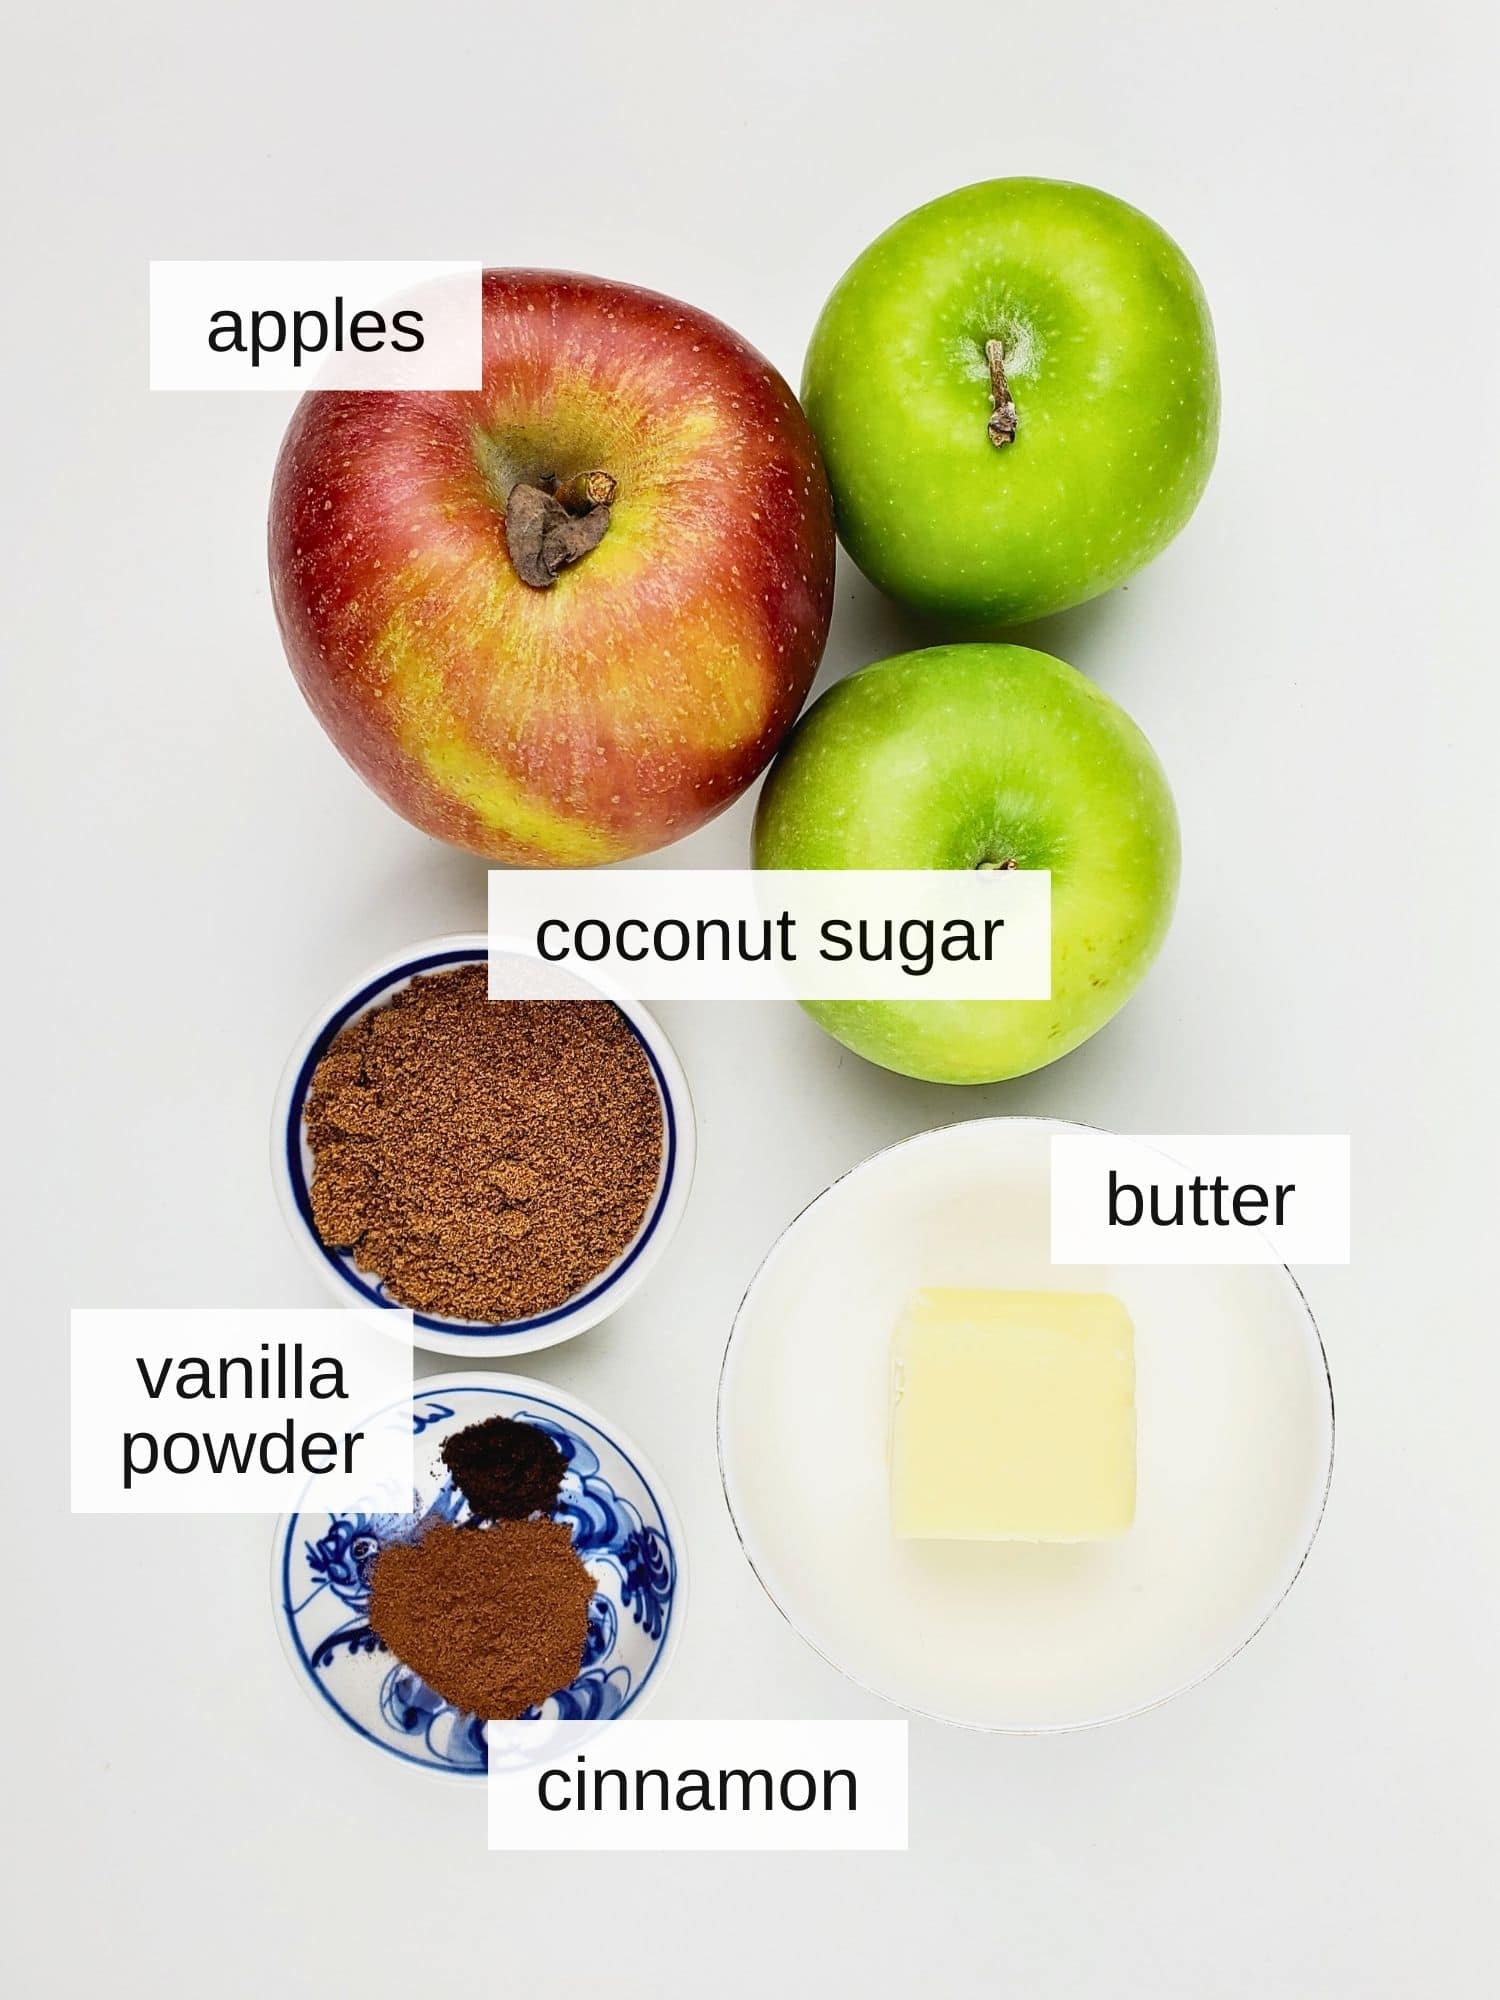
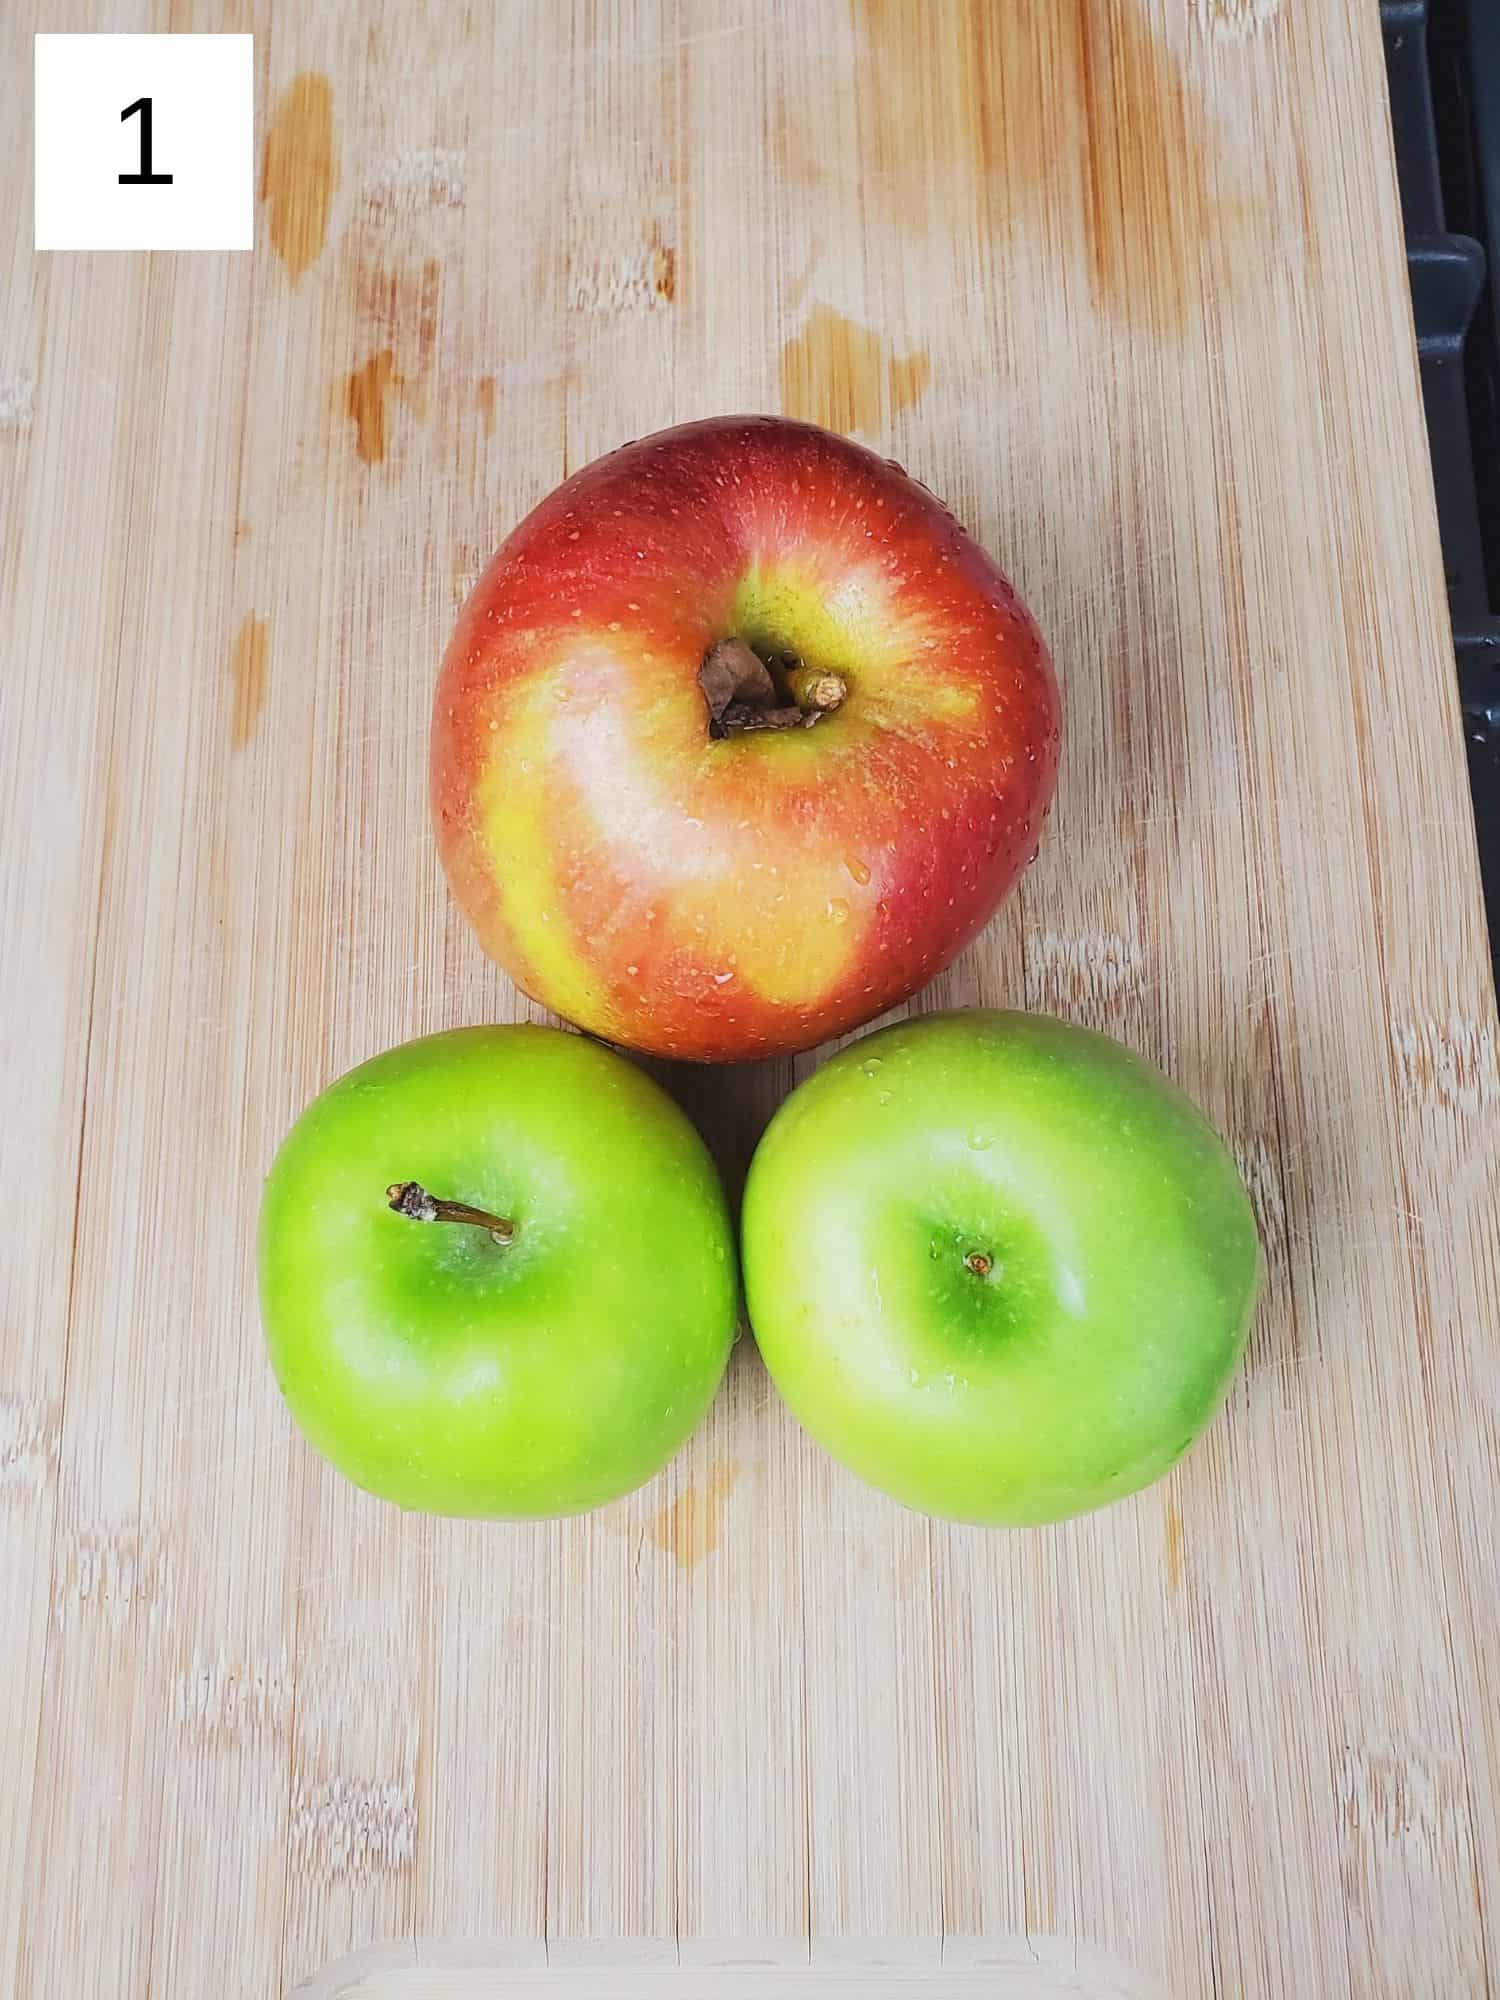
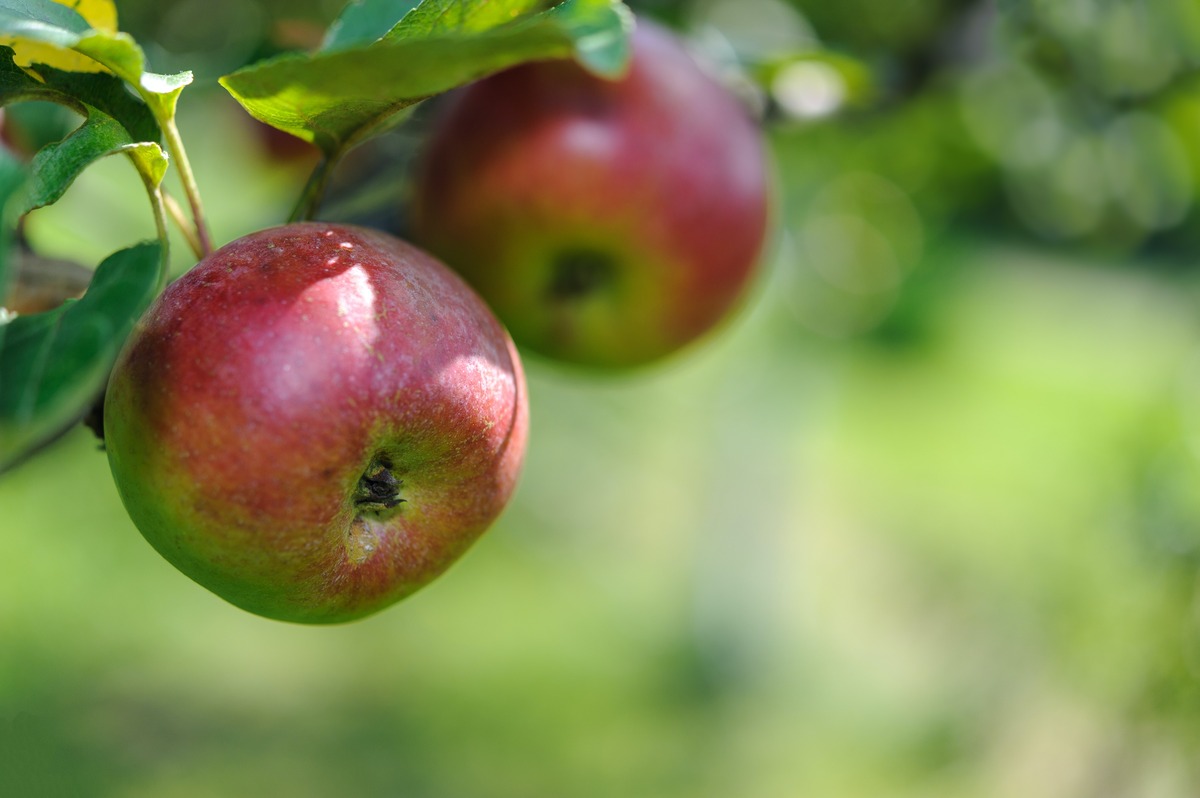
Apples: you can use any harder type of cooking apples, but I recommend a more tart varietal of apple like granny smith or pink lady. You can even mix varietals, as I did here, but it's not necessary. Also, there's no peeling required, so try to buy organic if possible.
Salted Butter: this is the key to making golden brown caramelized apples, as the high fat content helps caramelize the sugars and temper the spices you pick. Alternatively, you could use vegan butter if tolerated.
Coconut Sugar: this natural sweetener is a great swap for the usual caramelized apples with white sugar or brown sugar, though there are numerous alternatives to coconut sugar if that's not your preference.
Spices: here I use cinnamon and vanilla, though you can also add cardamom if you'd like more complexity in the delicious sweetness.
🍴 How to Cut Apples Without an Apple Corer
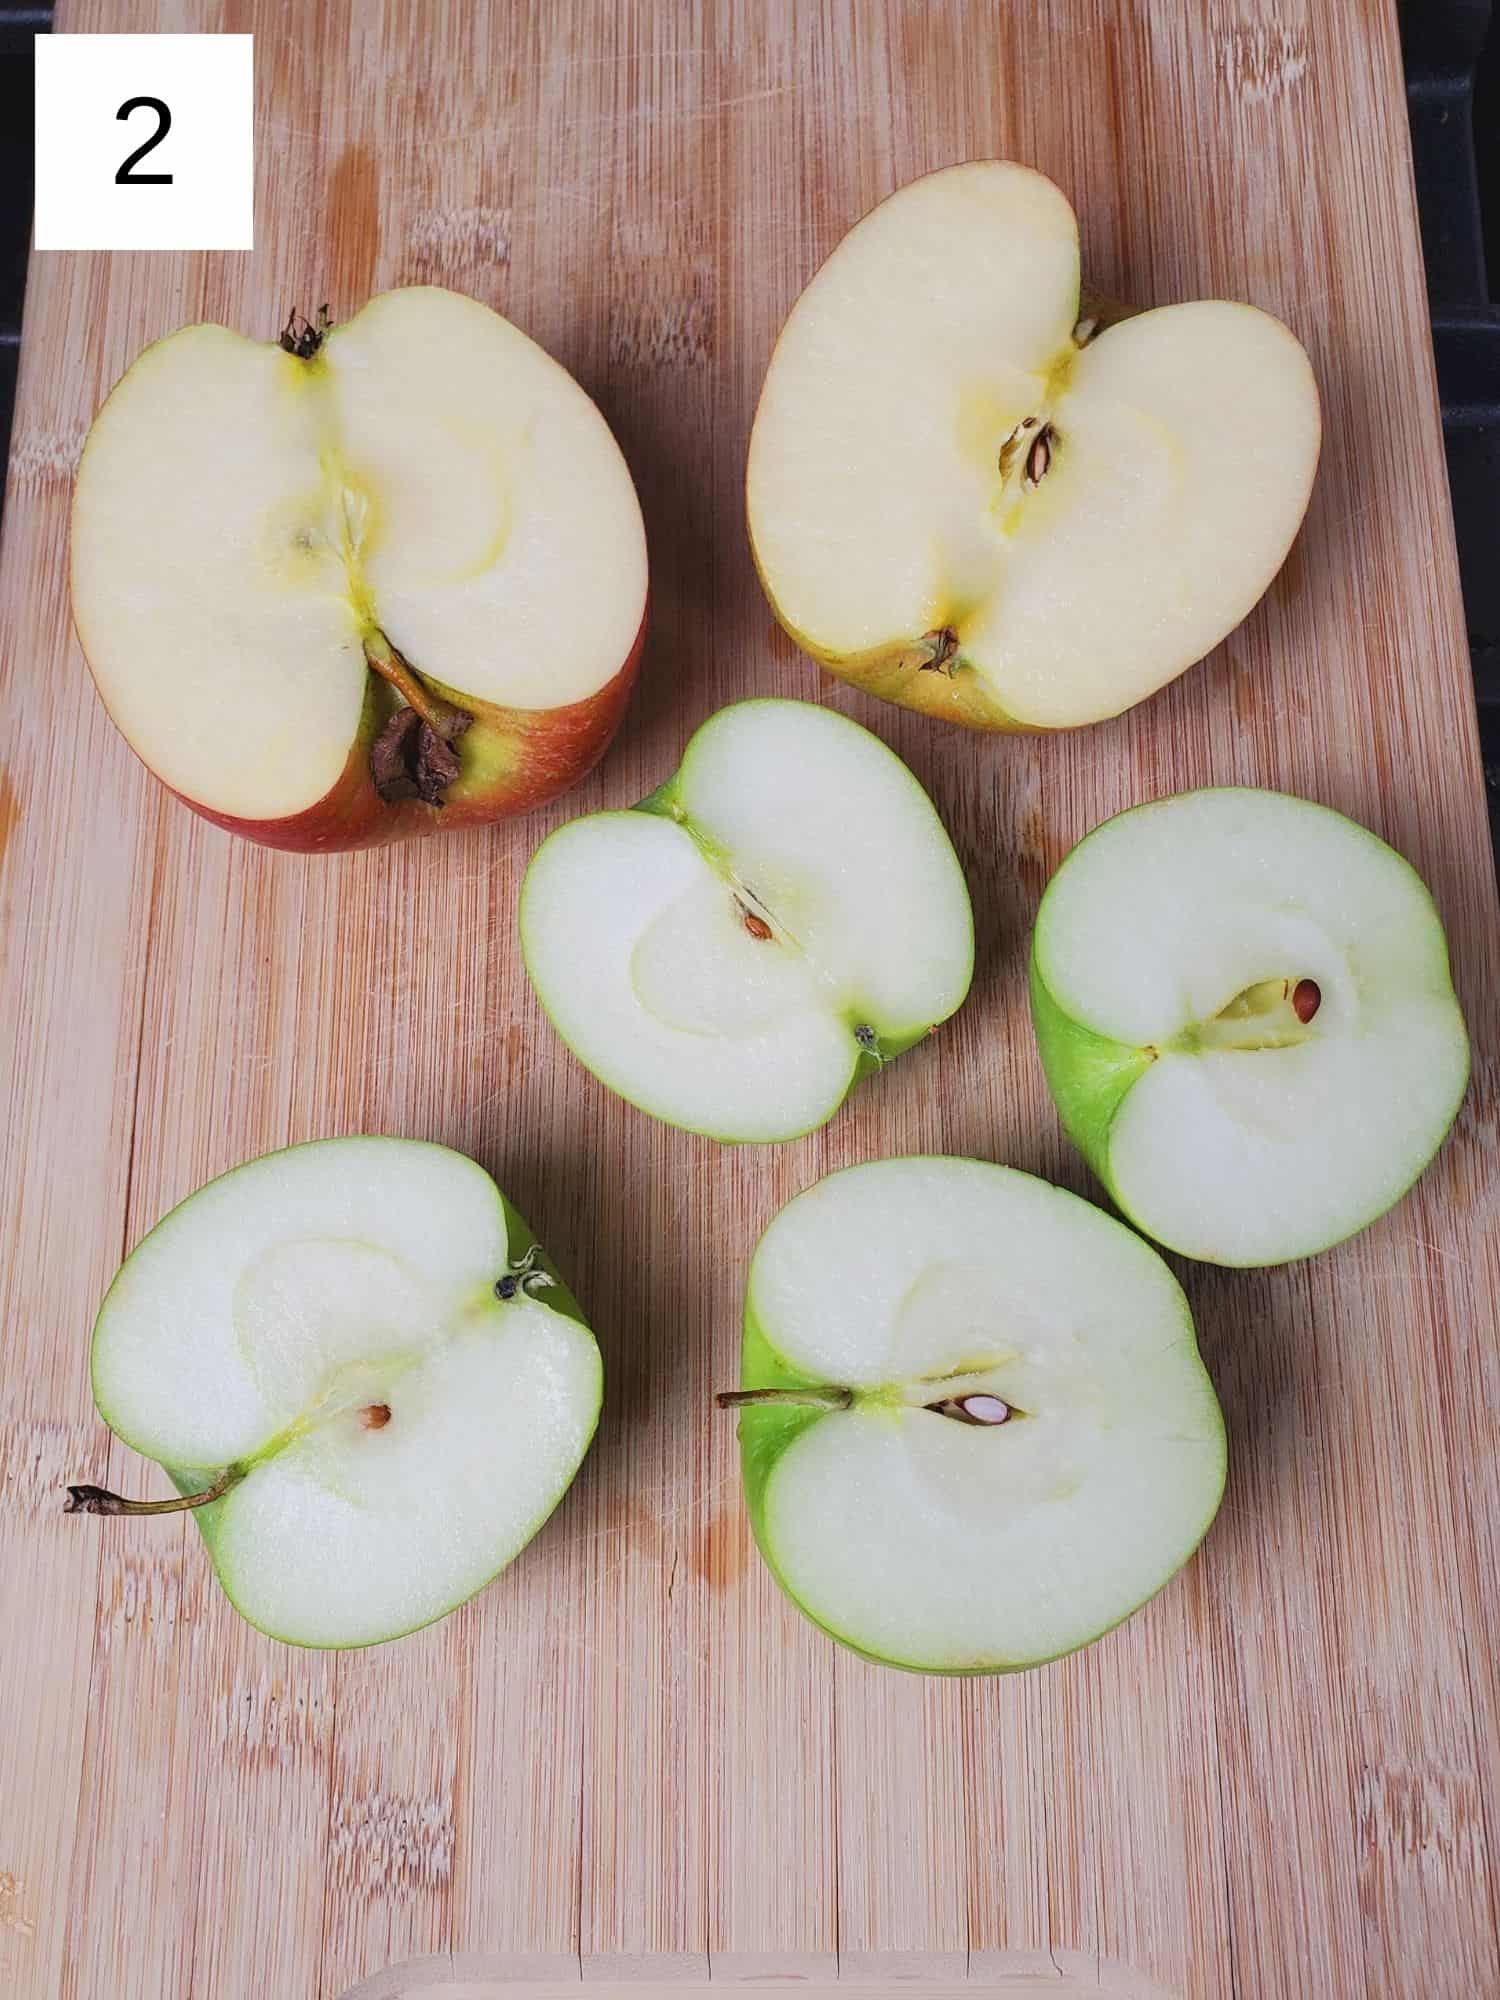
- If you, like me, seem to have permanently misplaced your apple corer, the best way to cut apples without an apple corer is to start by cutting the apples cleanly in half.
- Then take a sharp knife and cut a V shape into the center of each apple half, removing the seeds and the pithier pieces from the middle without digging into the 'good' bits.
- From there cut your apple into slices from the center outwards, while carefully holding onto one side of the apple half to ensure even, safe slicing.
🍏 Best Kinds of Apples to Use
It's best when making apple desserts to actually use harder cooking apples, especially when there's an added sweetner, as these apples varietals tend to hold up best to prolonged heating (and reheating). The caramel flavor of this apple recipe also shines best when made with sweet-tart apple varieties like:
- Golden Delicious
- Honeycrisp
- Granny Smith
- Crispin
- Pink Lady
- Cortland
- Winesap
🍲 How to Make Caramelized Apples (Step-by-Step)
Step 1) Carefully wash and core each apple (images 1 & 2), cutting them into slices ~⅛" thick on the outer edge (images 3 & 4).
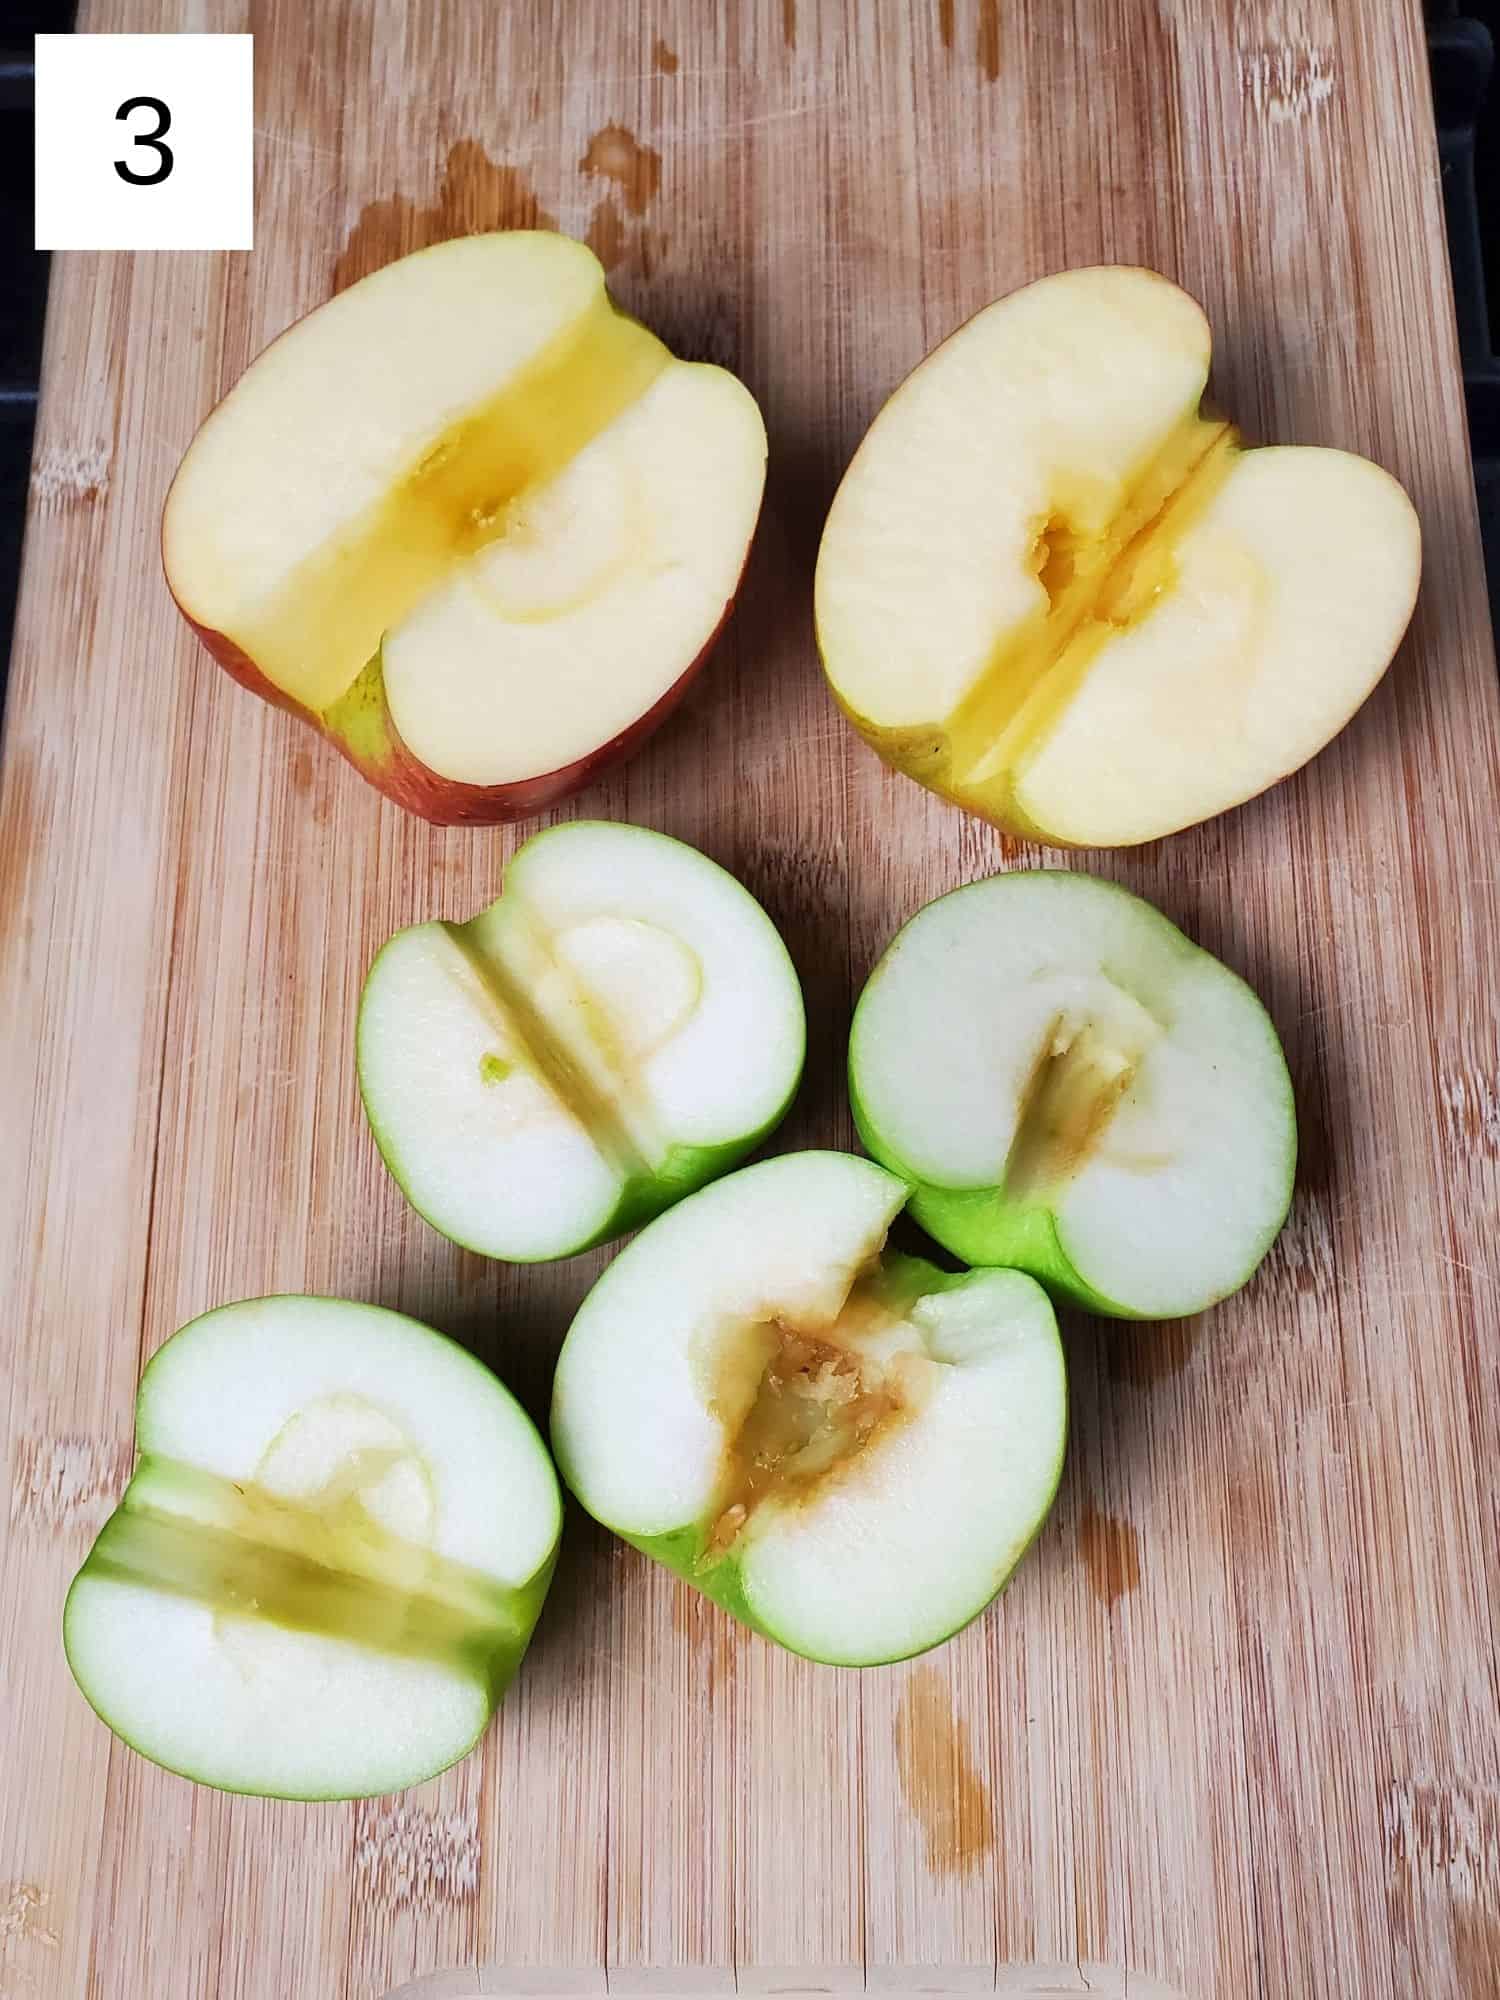
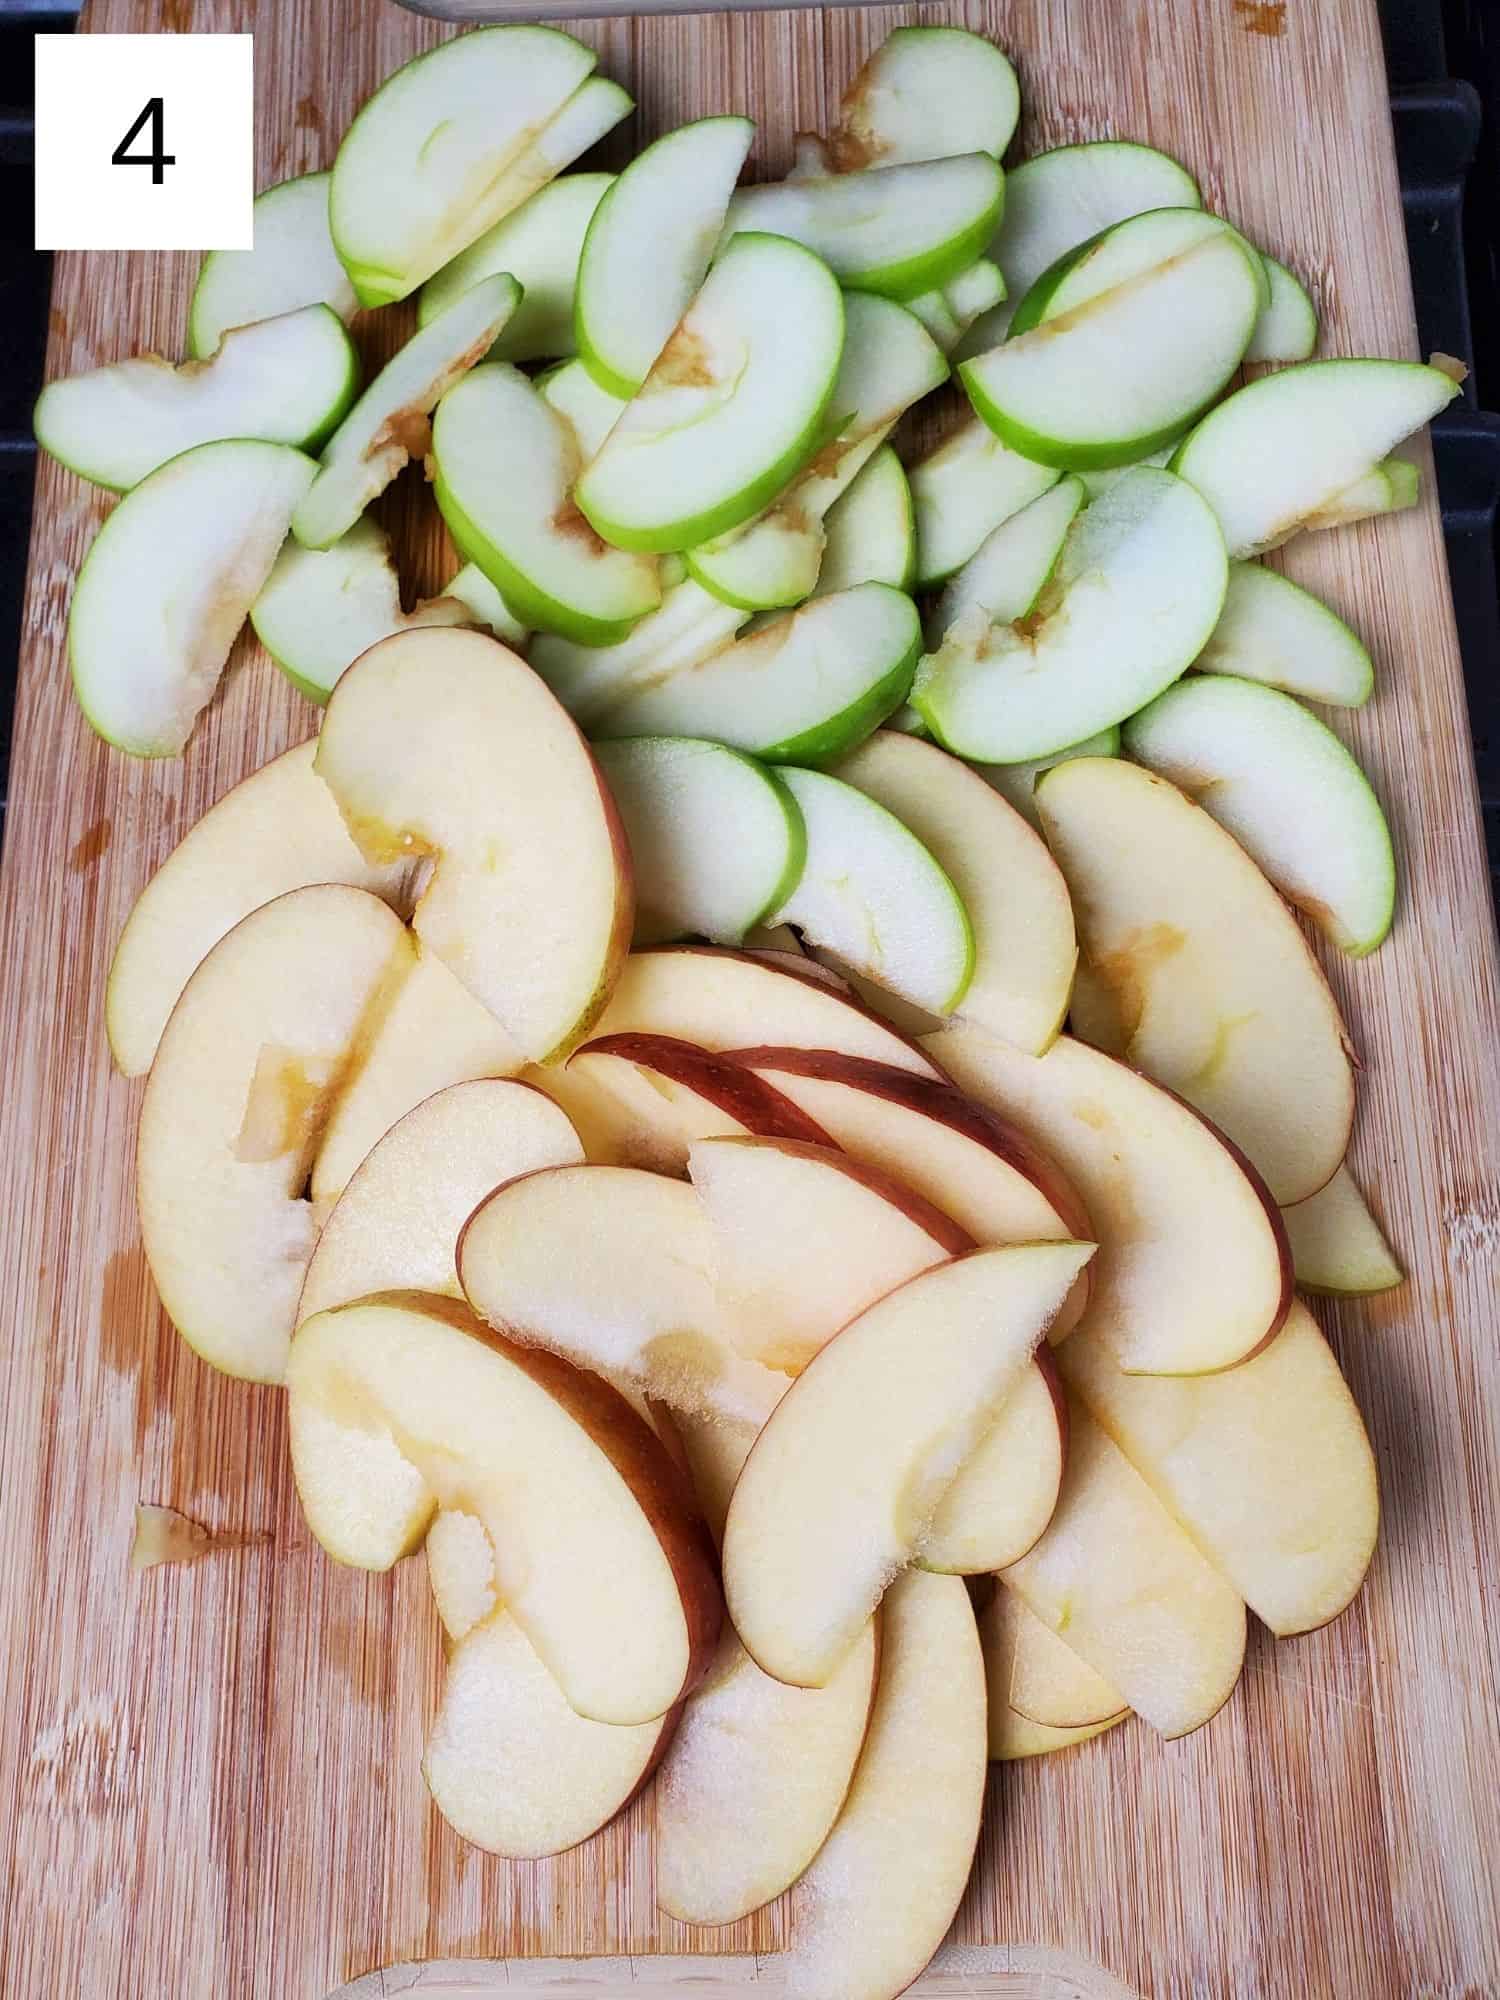
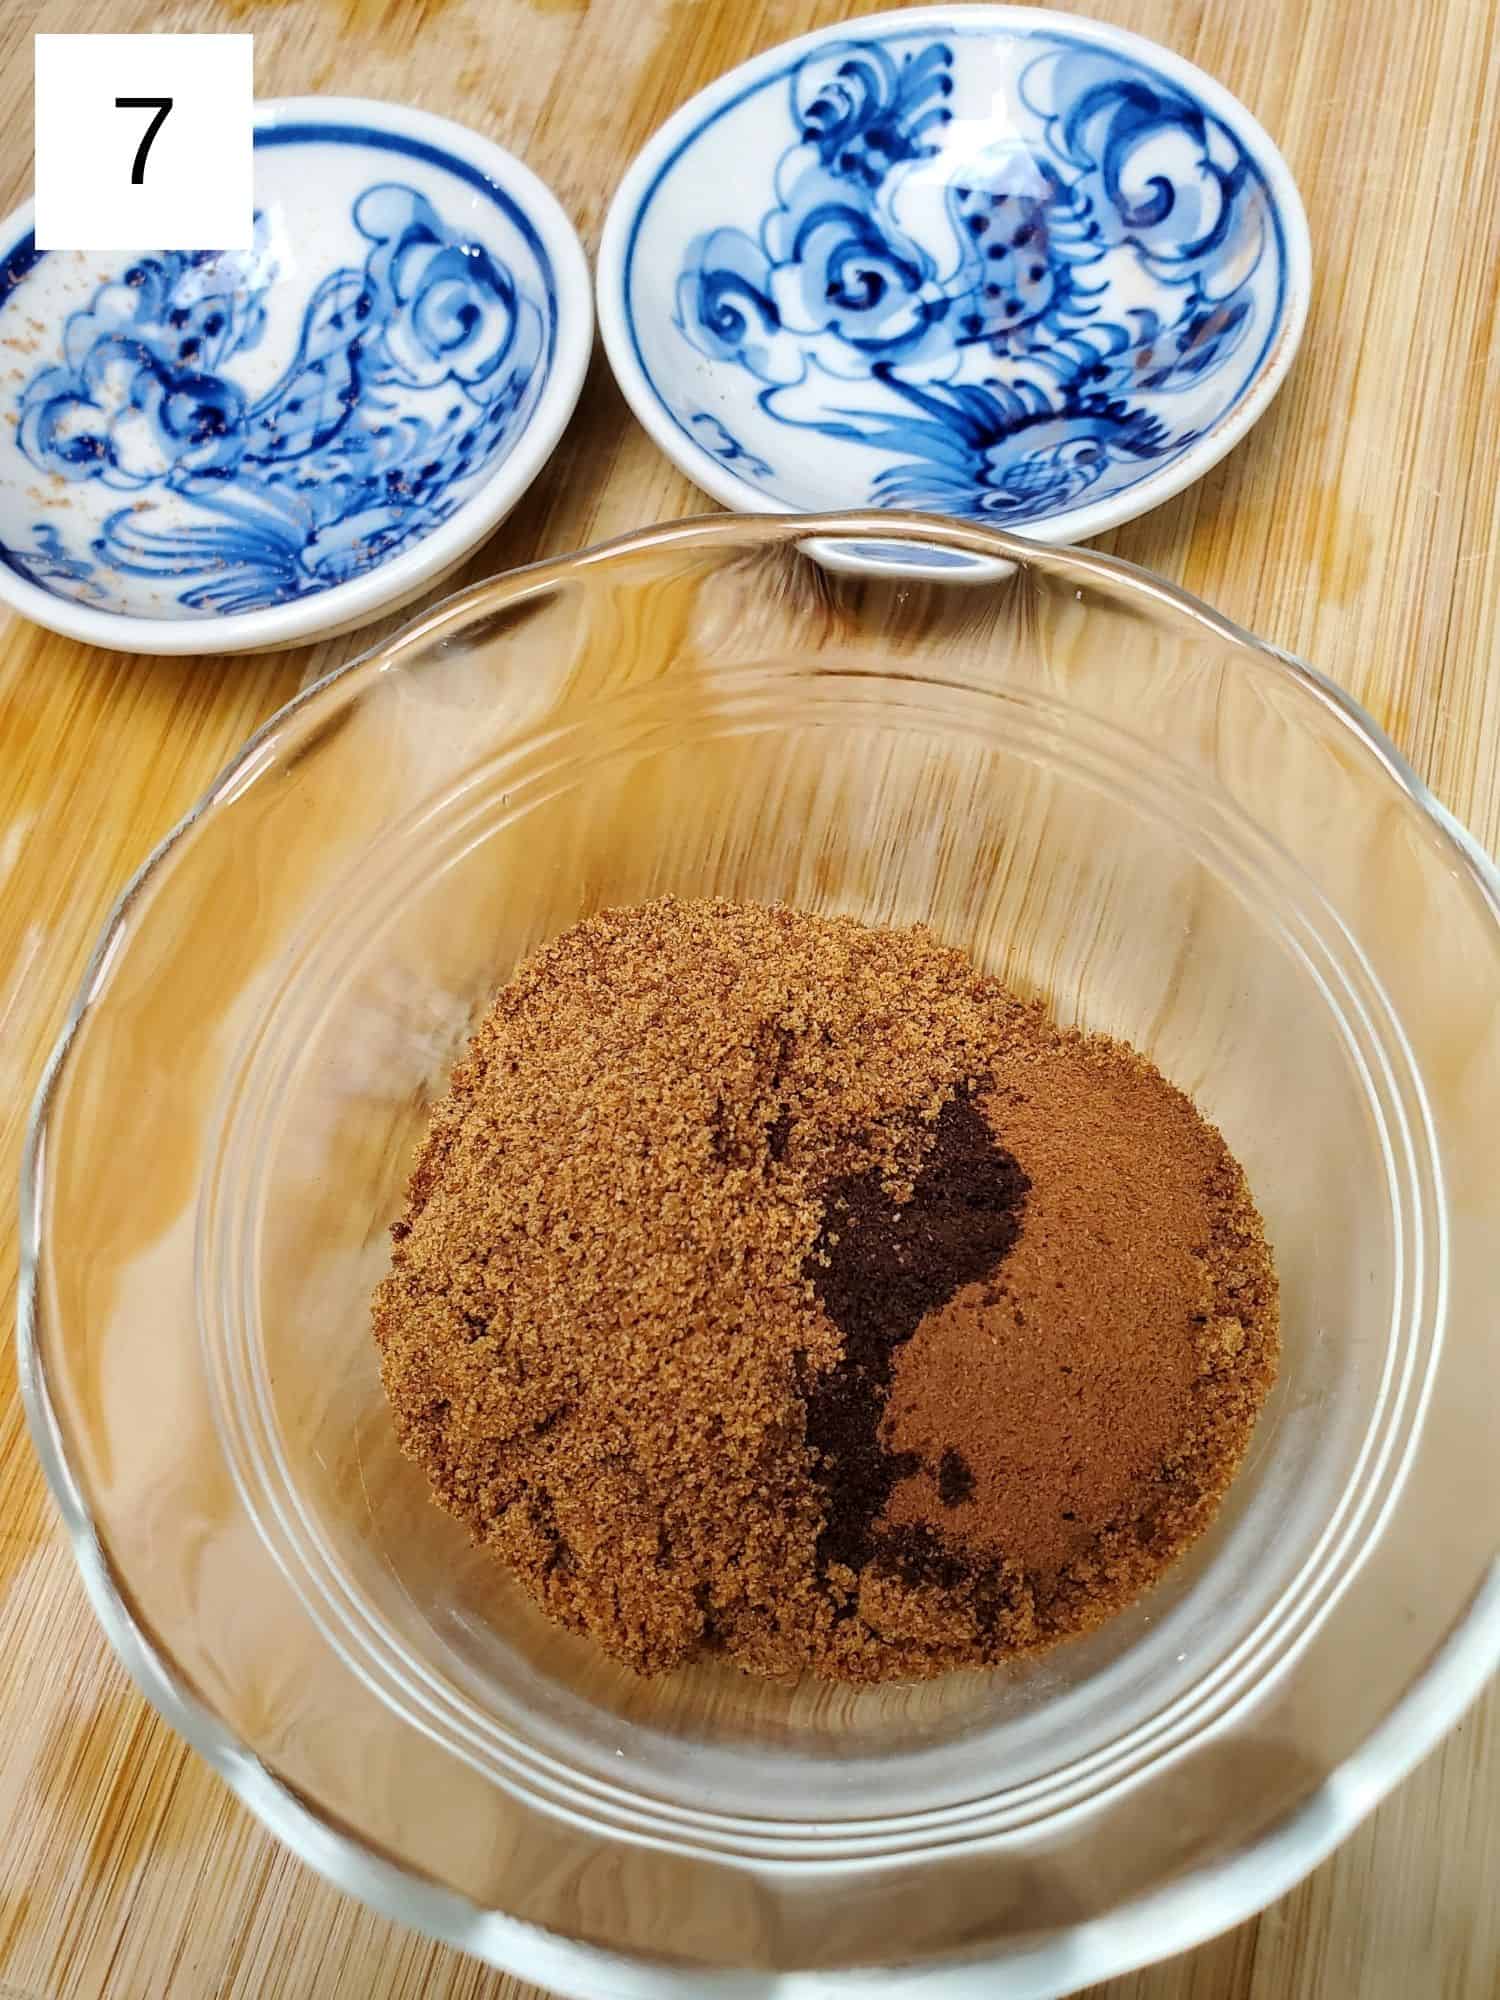
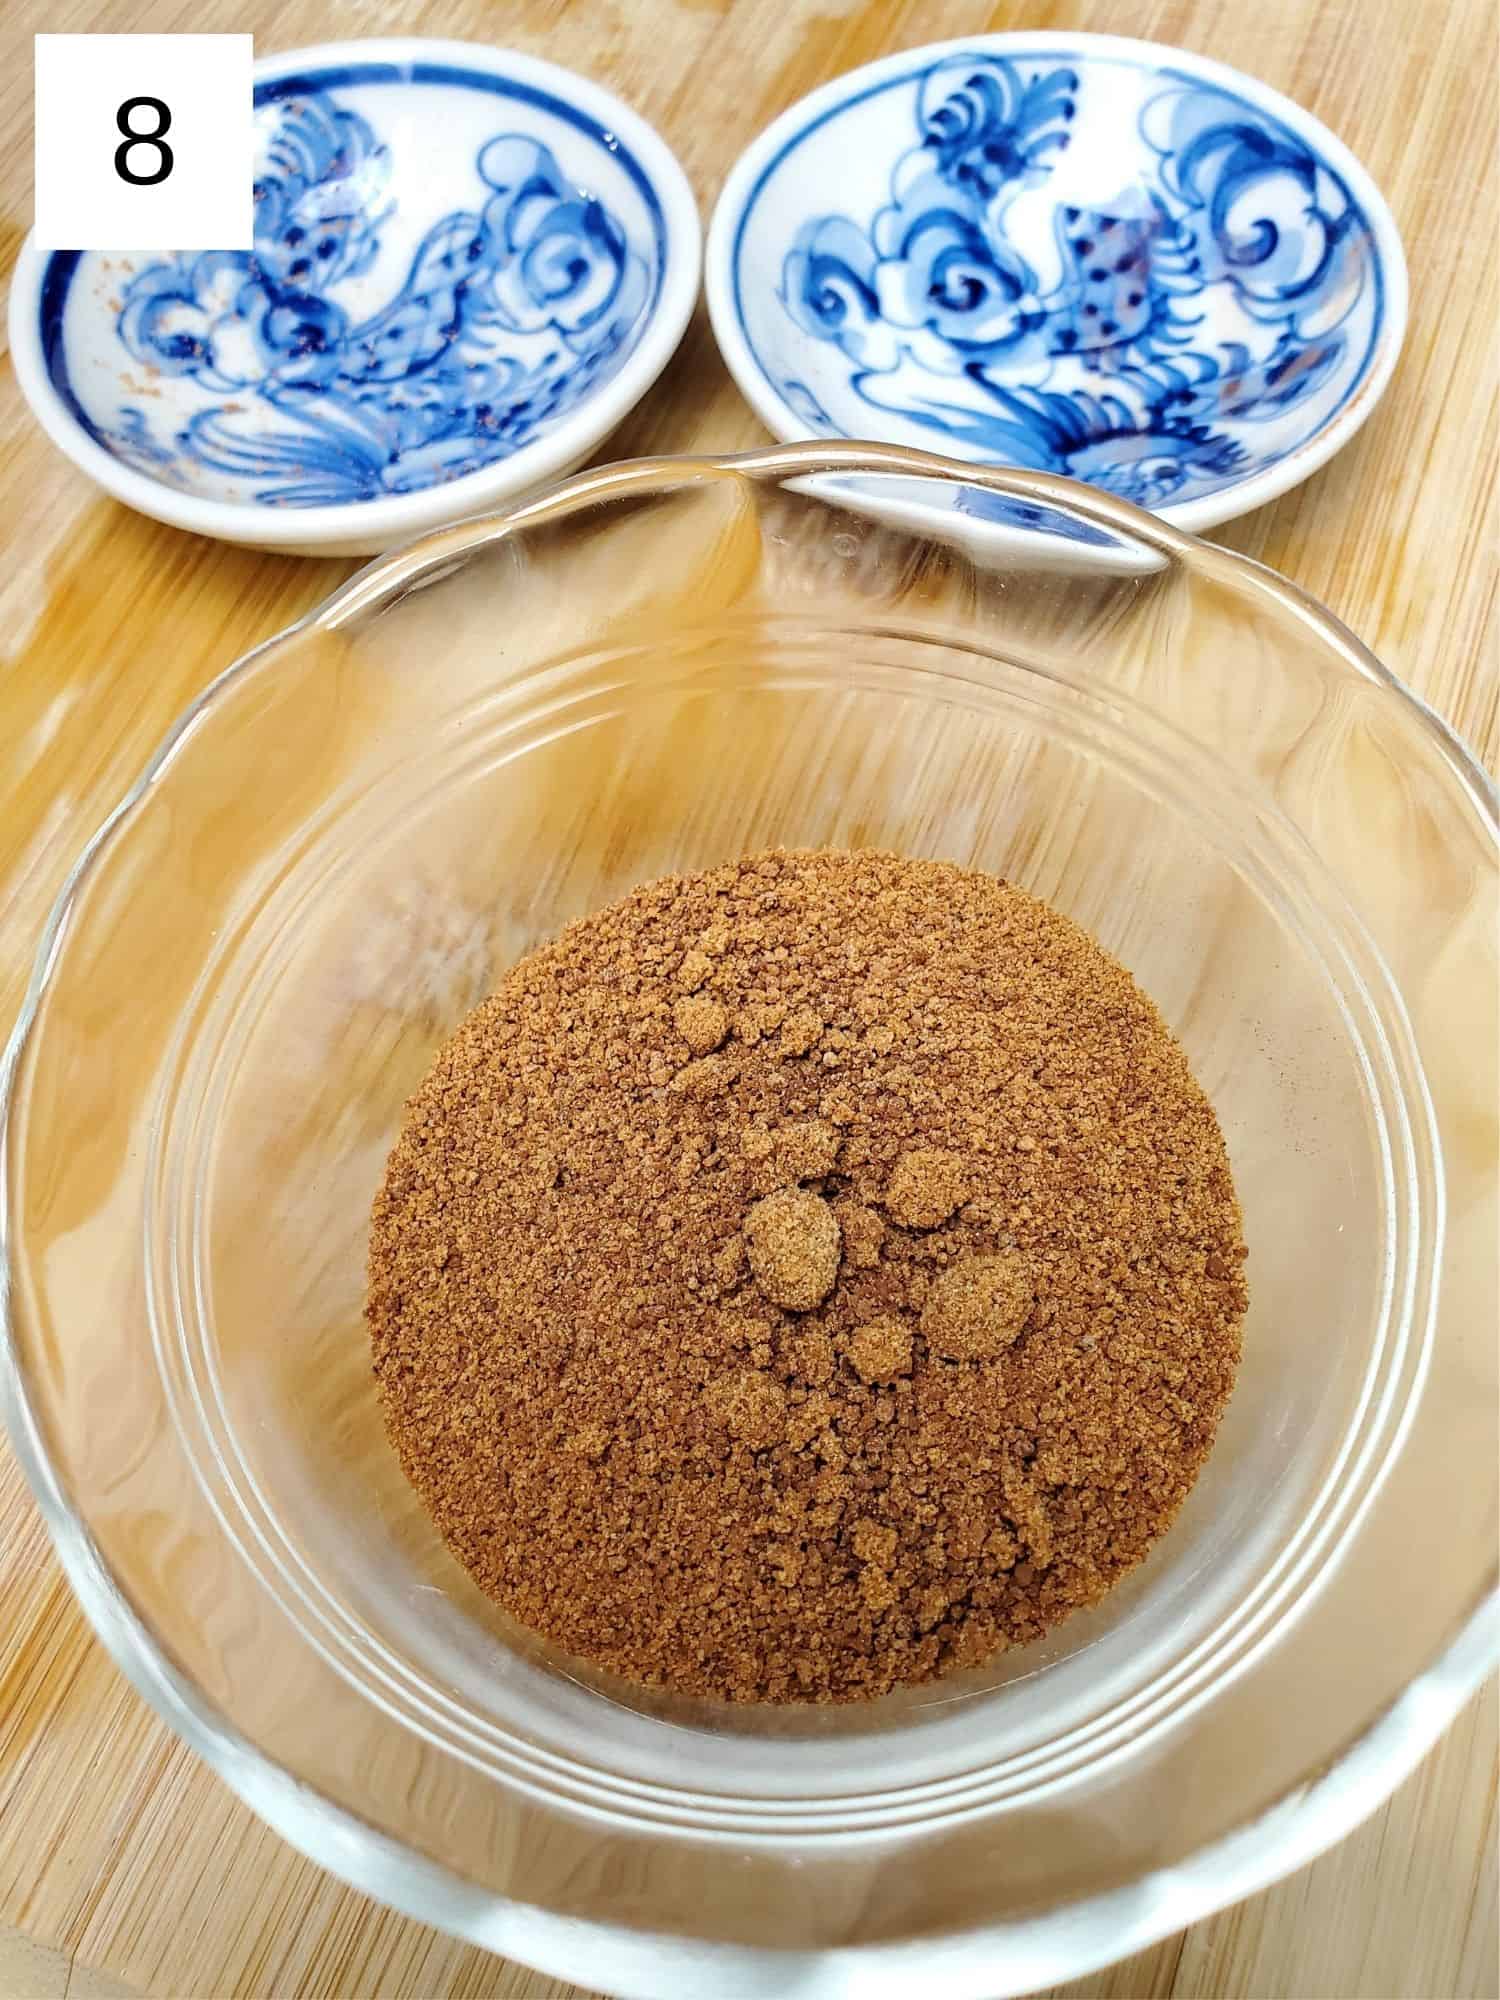
Step 2) In a large nonstick pan over low heat, add the butter (image 5). While it melts (image 6), mix the sugar, cinnamon (if using), and vanilla together in a small bowl (images 7 & 8).
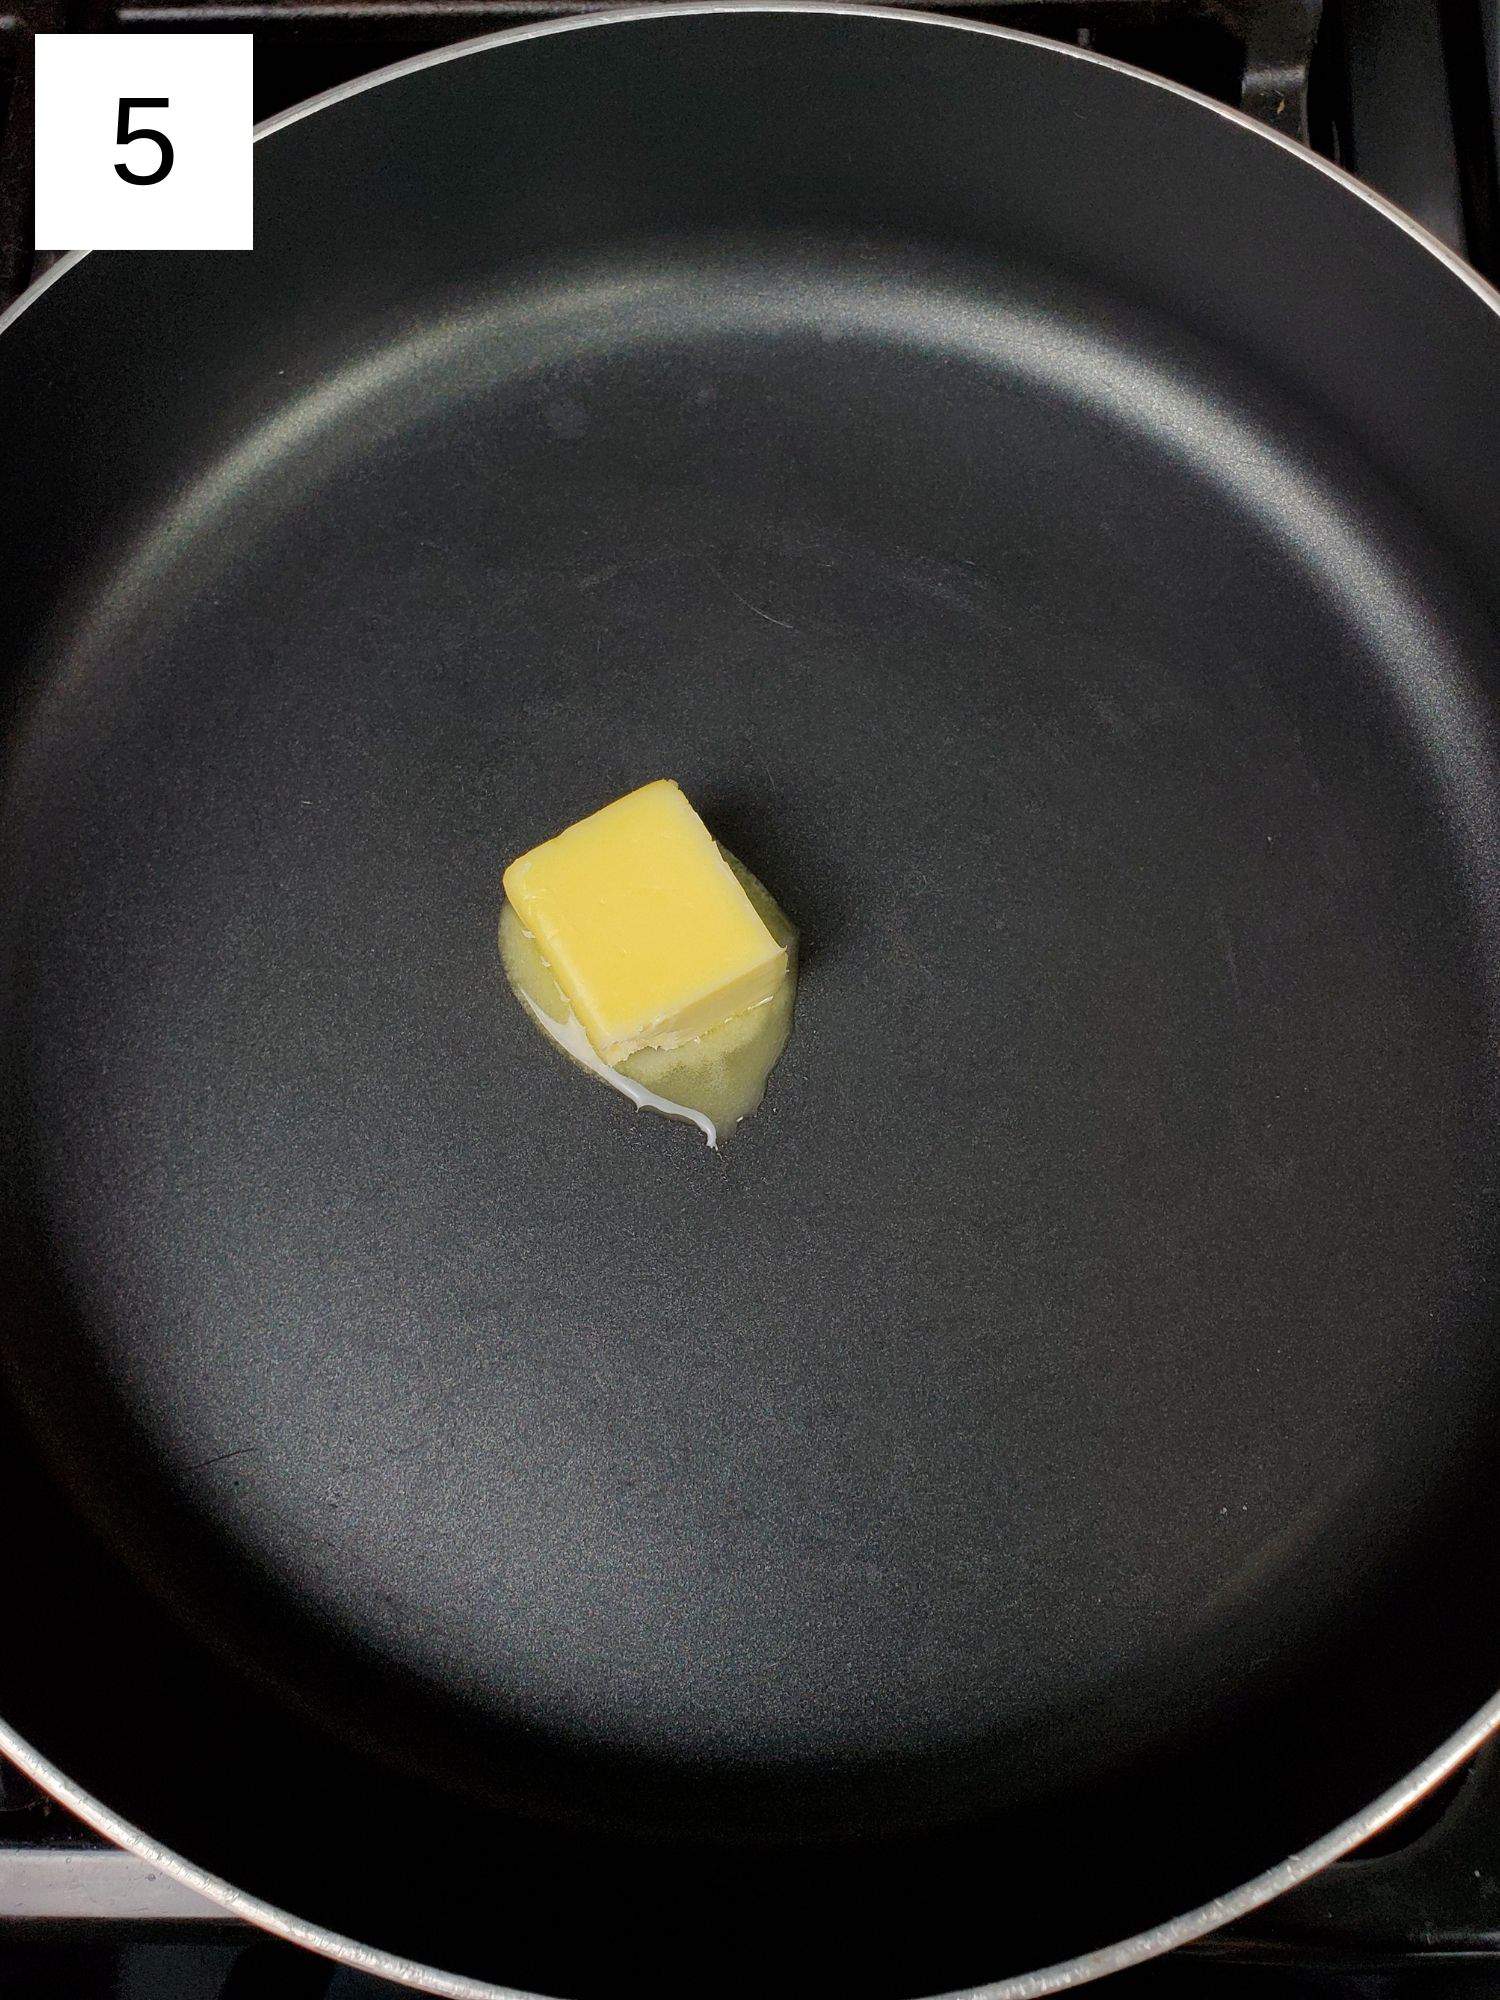
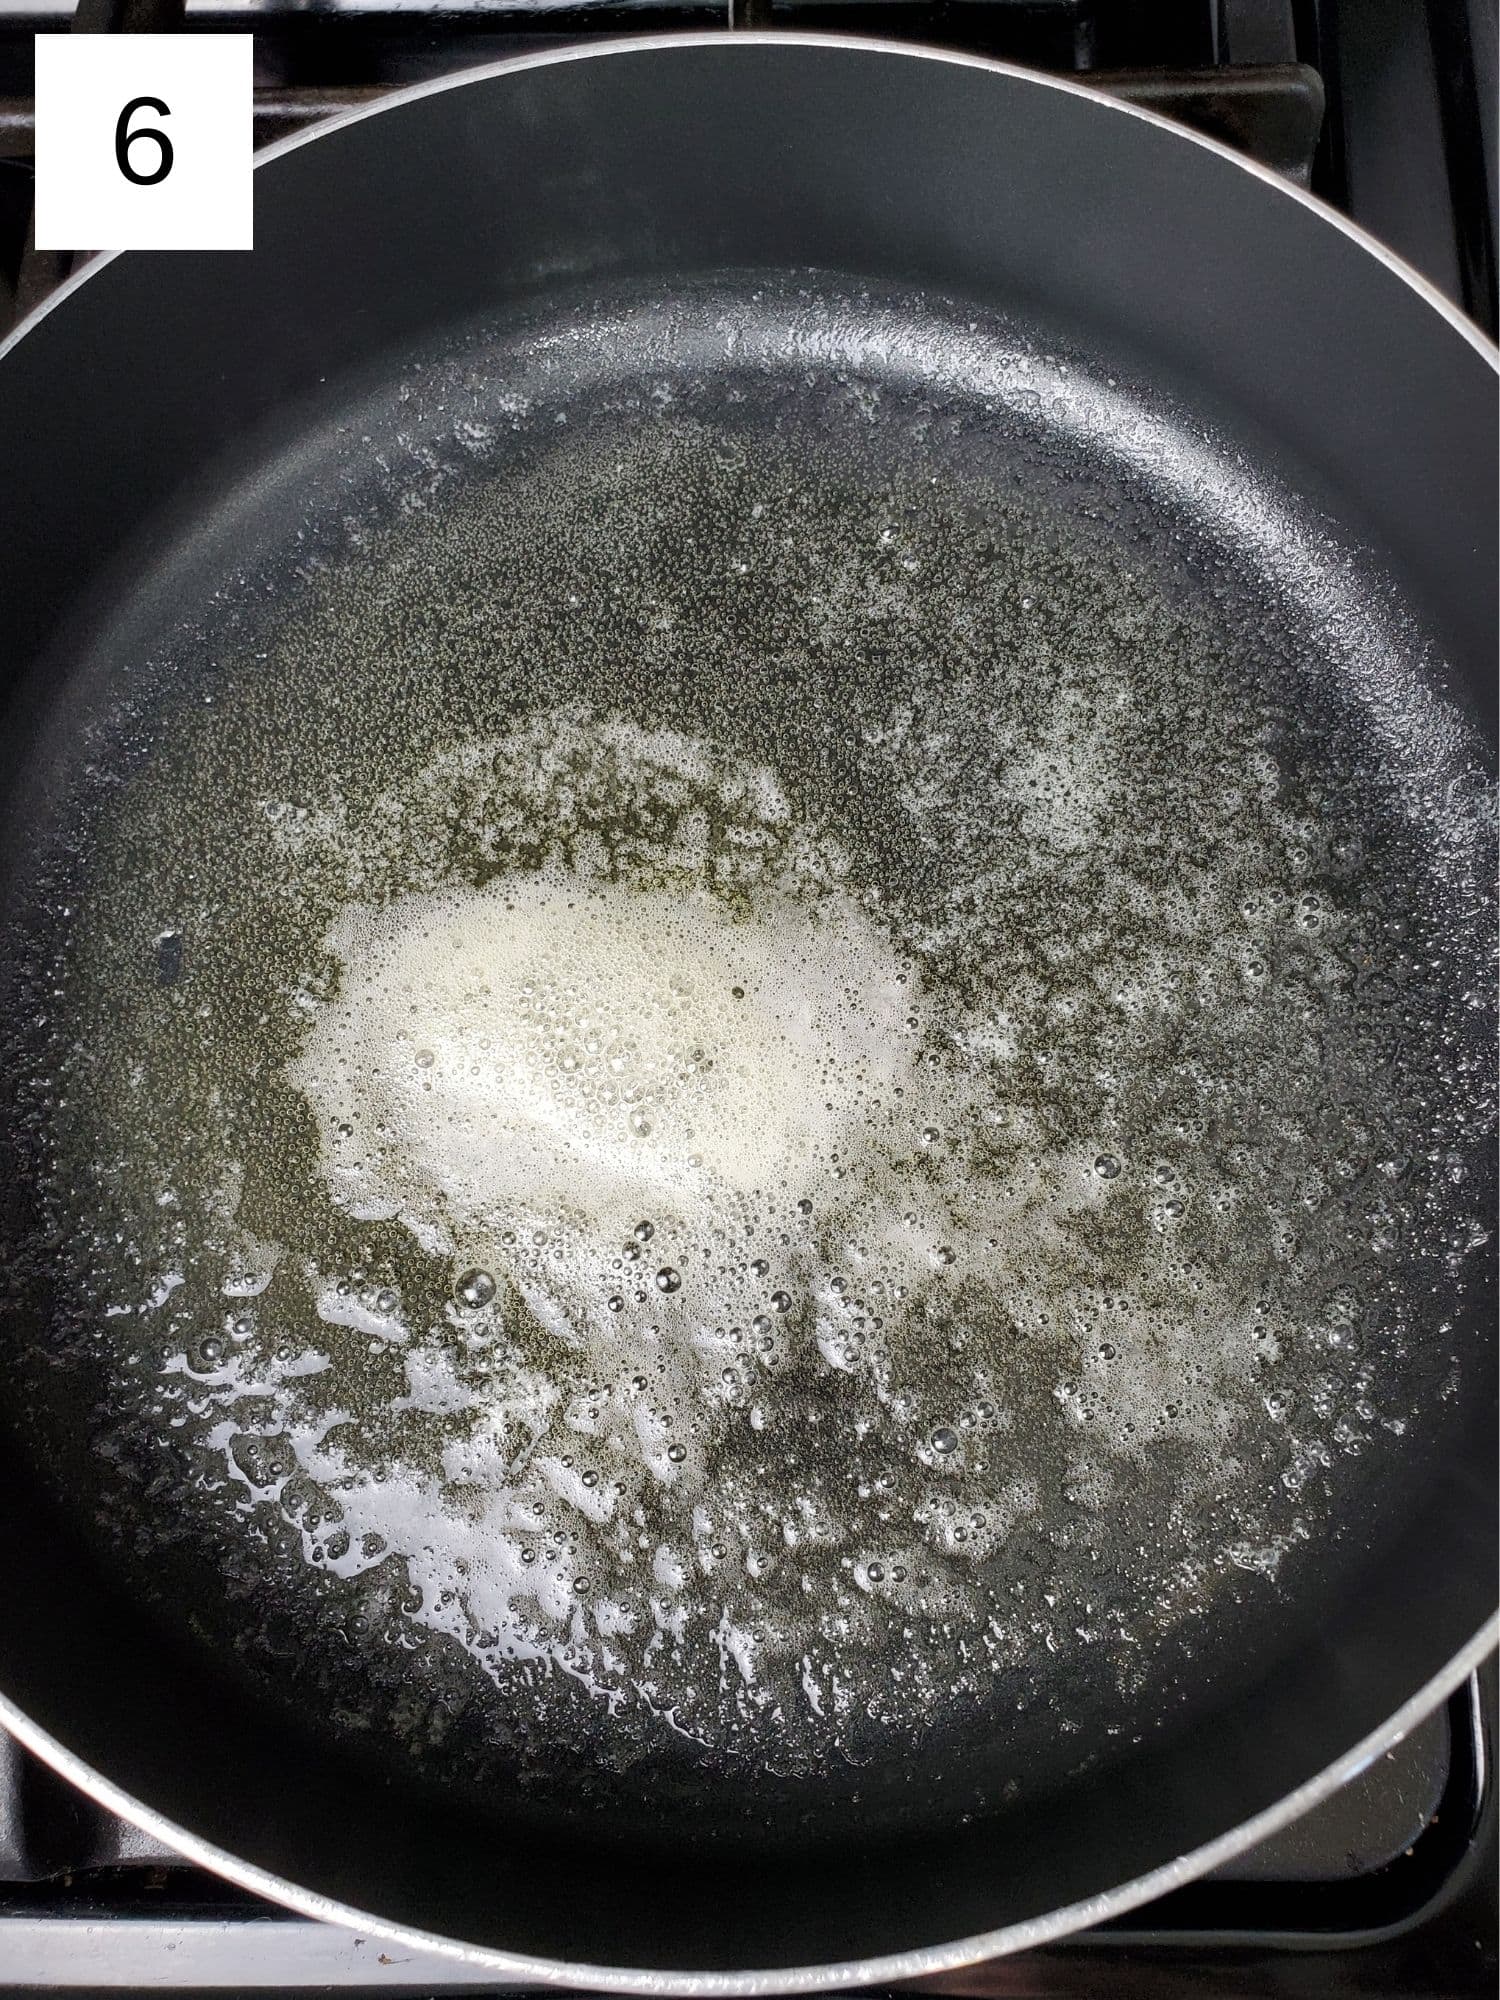
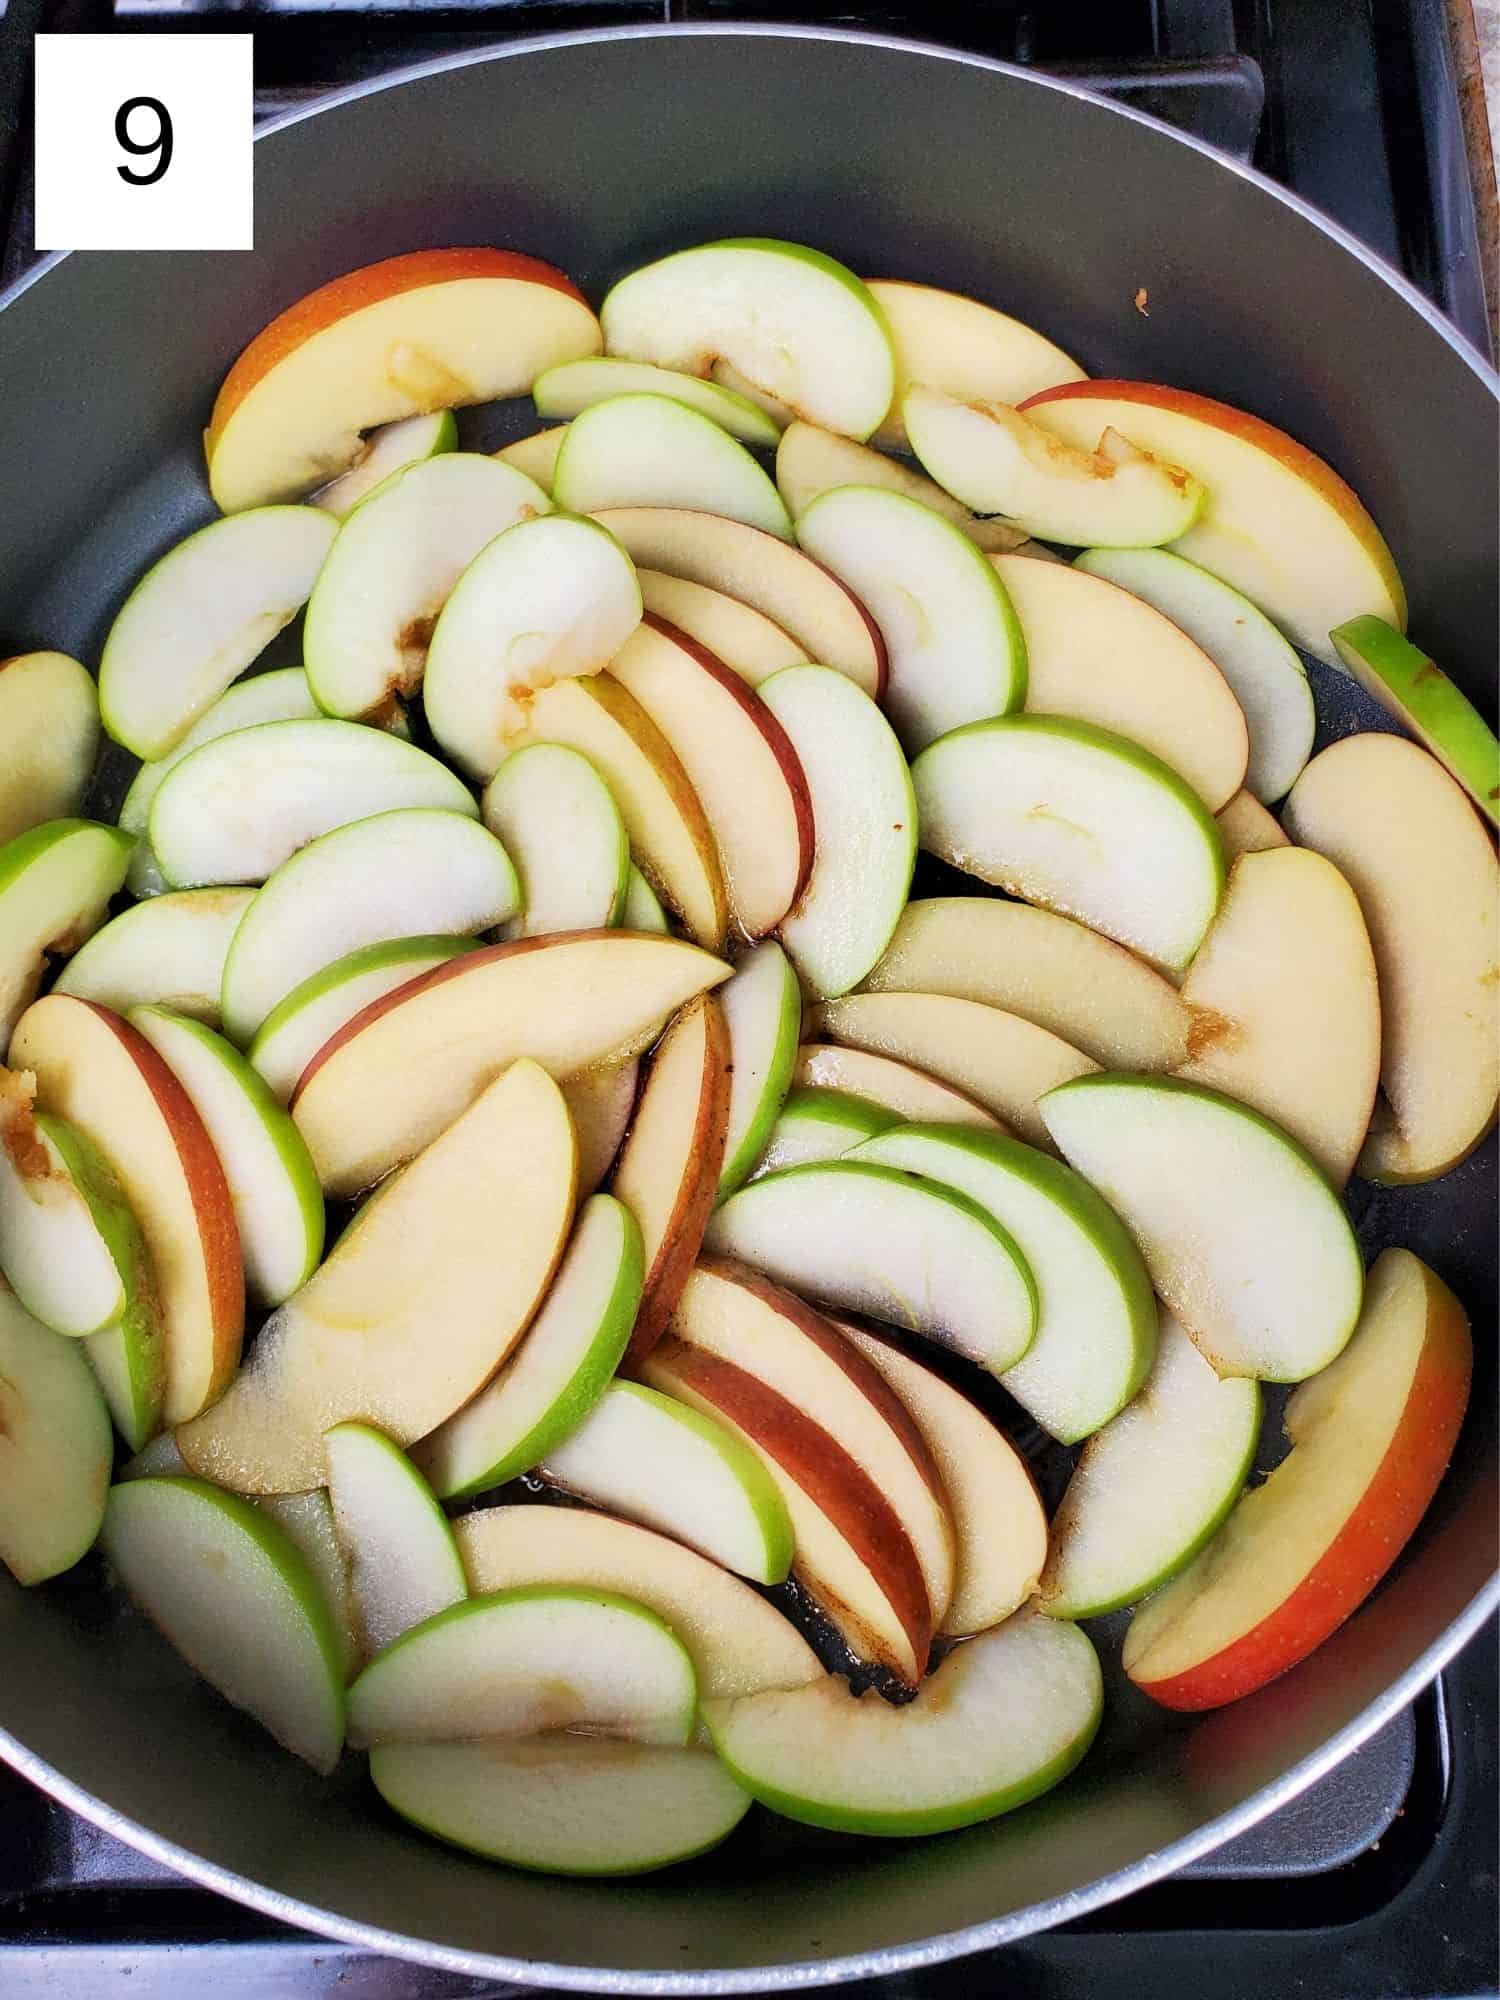
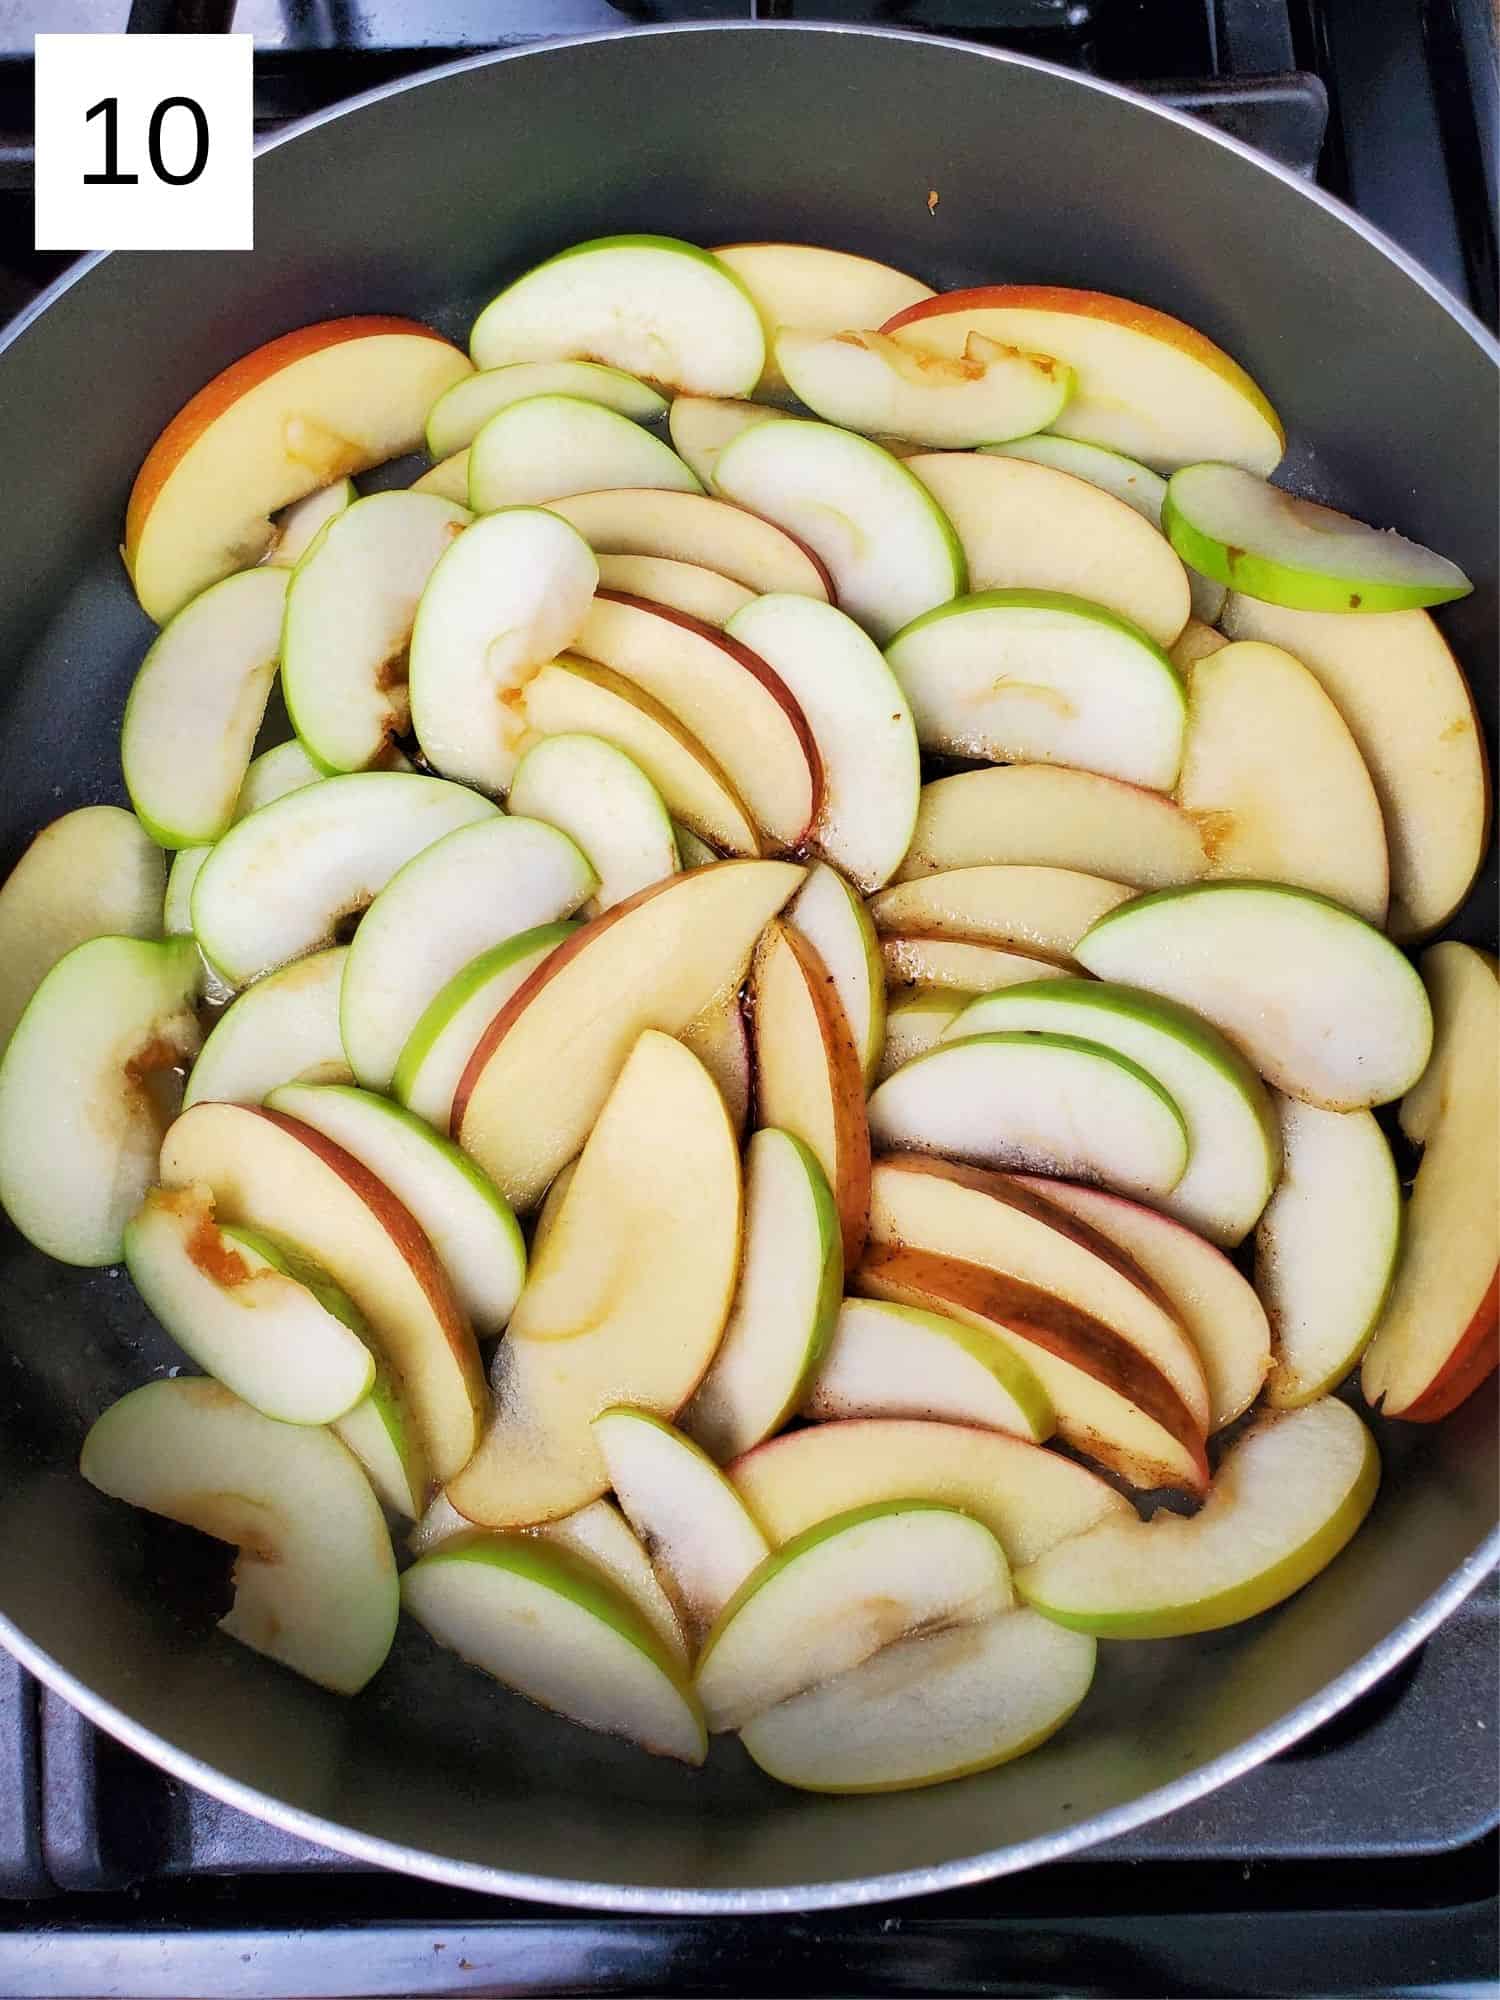
Step 3) Then arrange the apple slices in a single layer in the pan (image 9), then raise the heat to medium-low for 5 minutes (6 if considering the time spent layering the apples), until the apple juices have mostly dissipated (image 10).
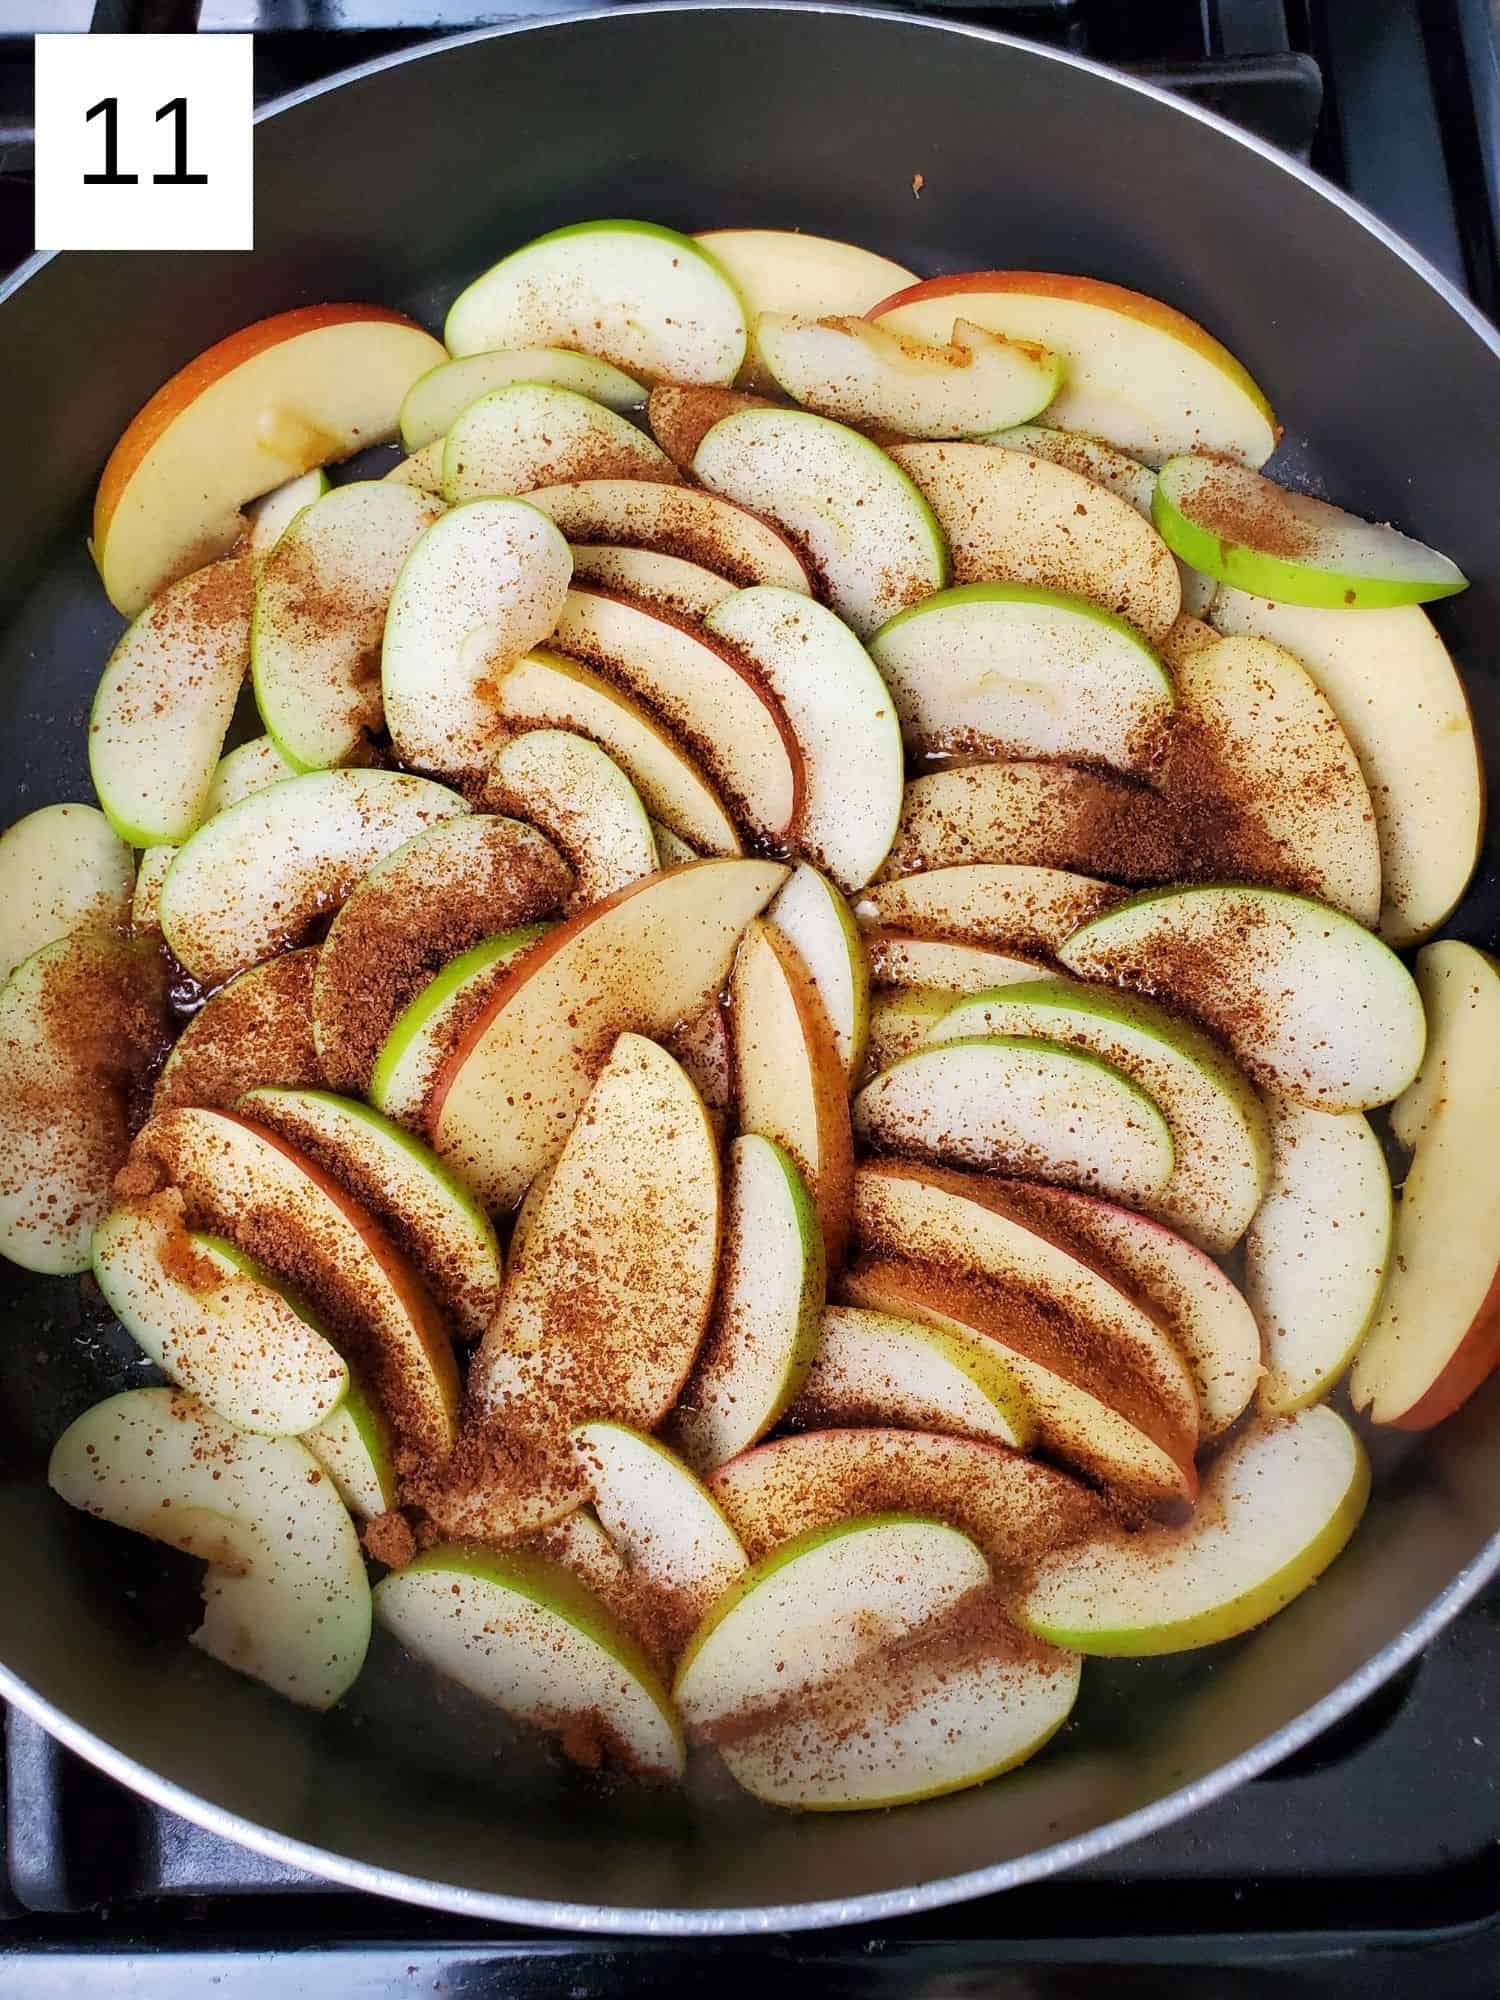
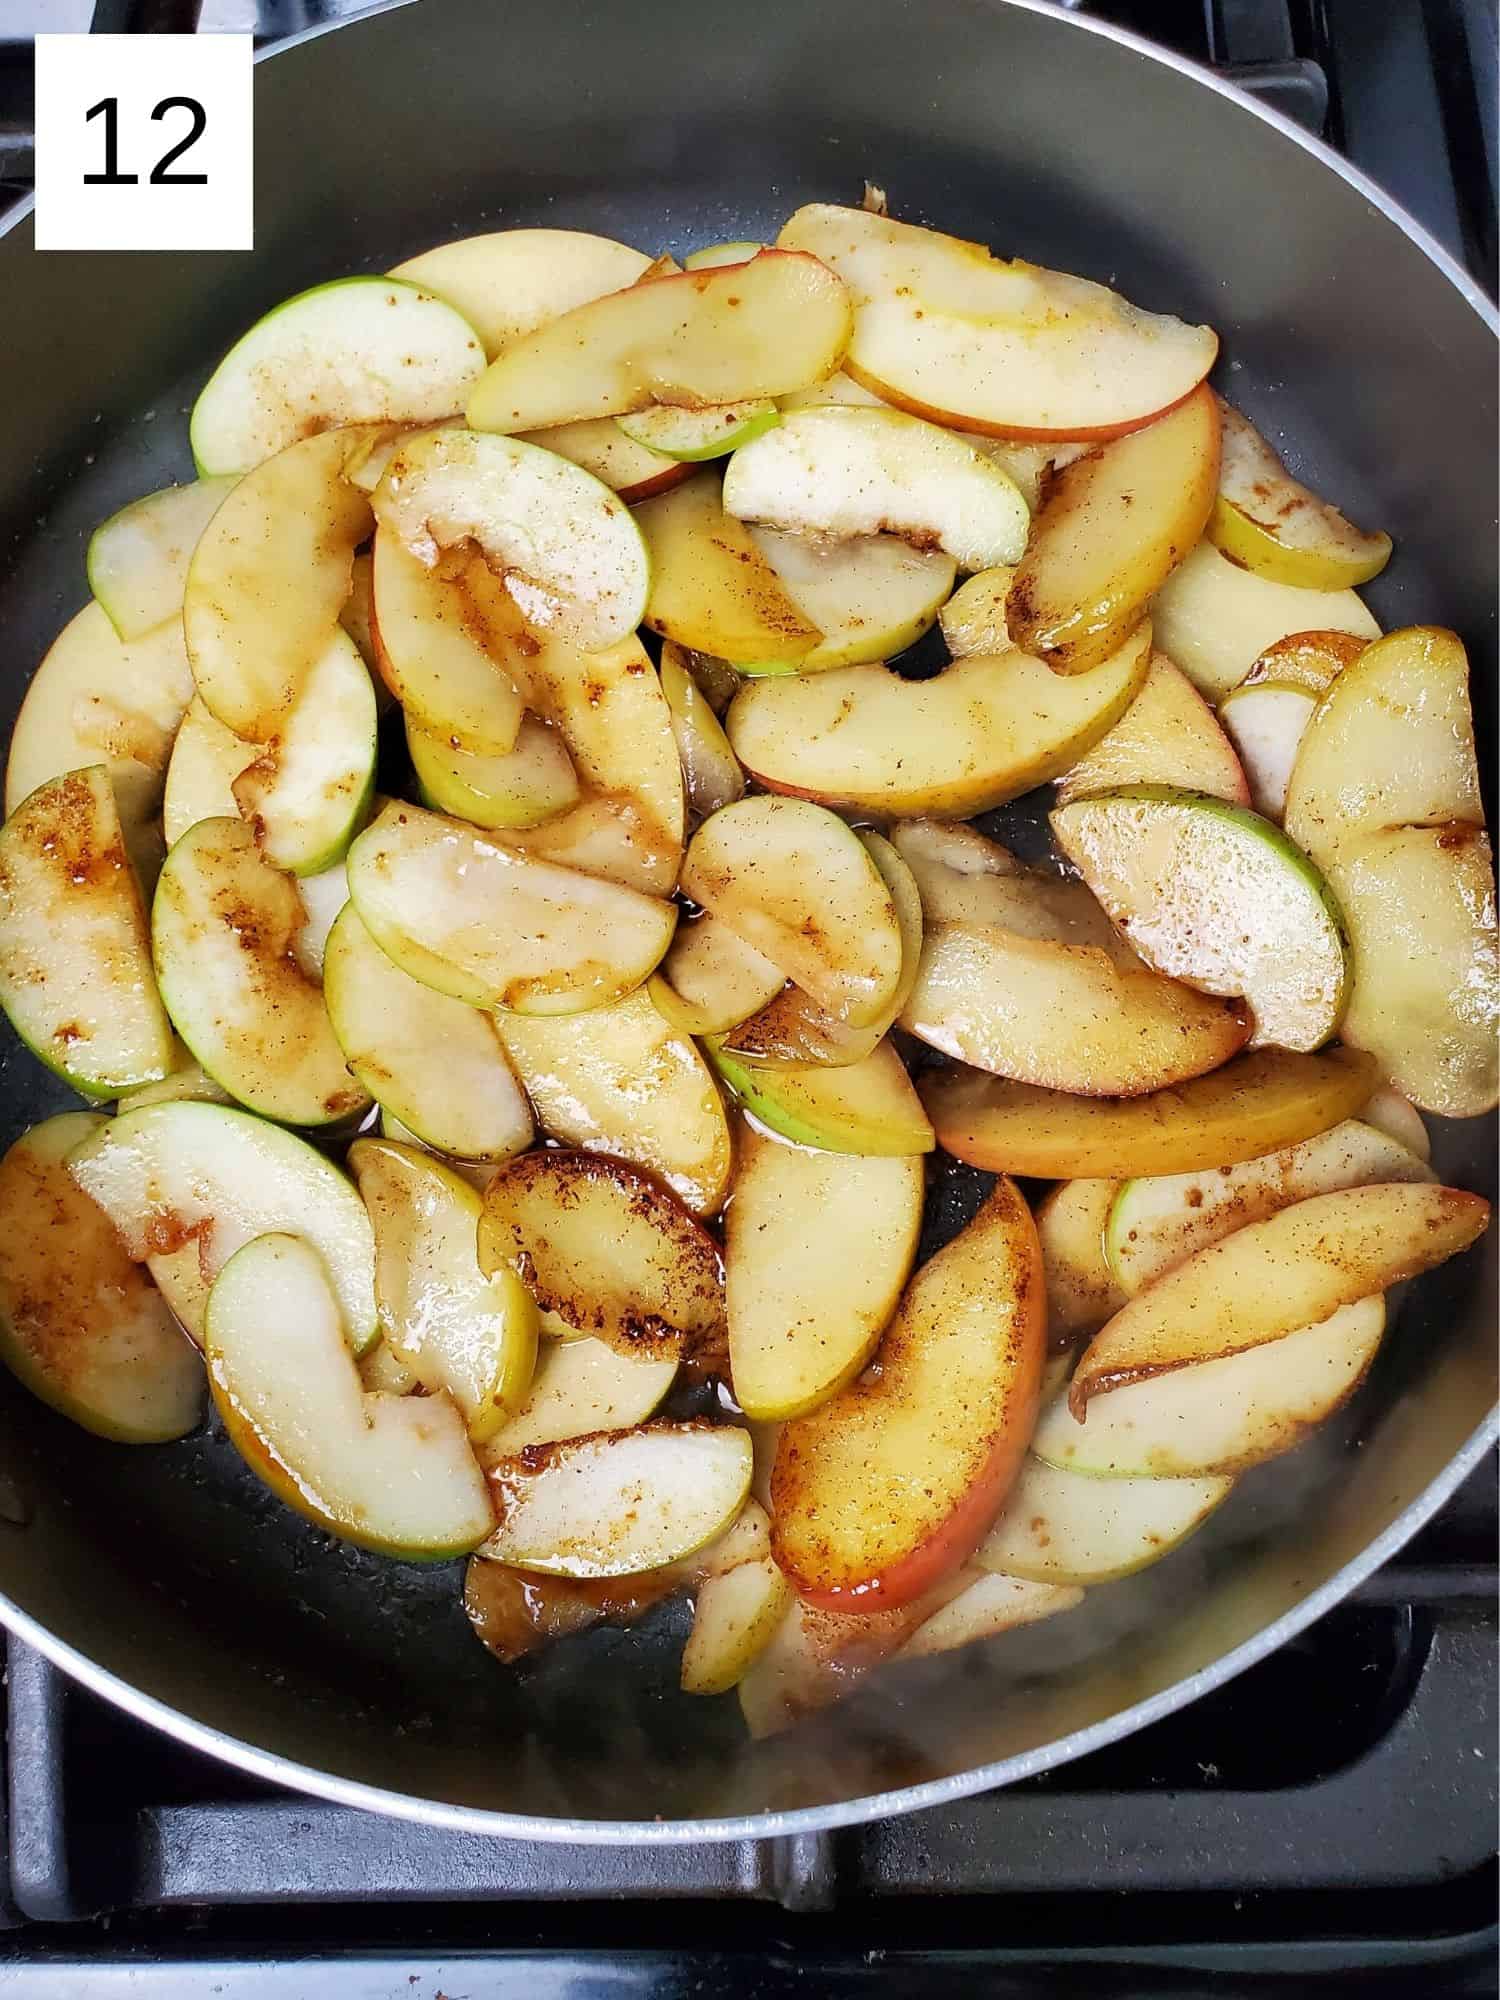
Step 4) Then sprinkle half the sugar mixture over the apple slices (image 11), flip the slices over and turn the heat down to low, then cook for 3 more minutes (image 12).
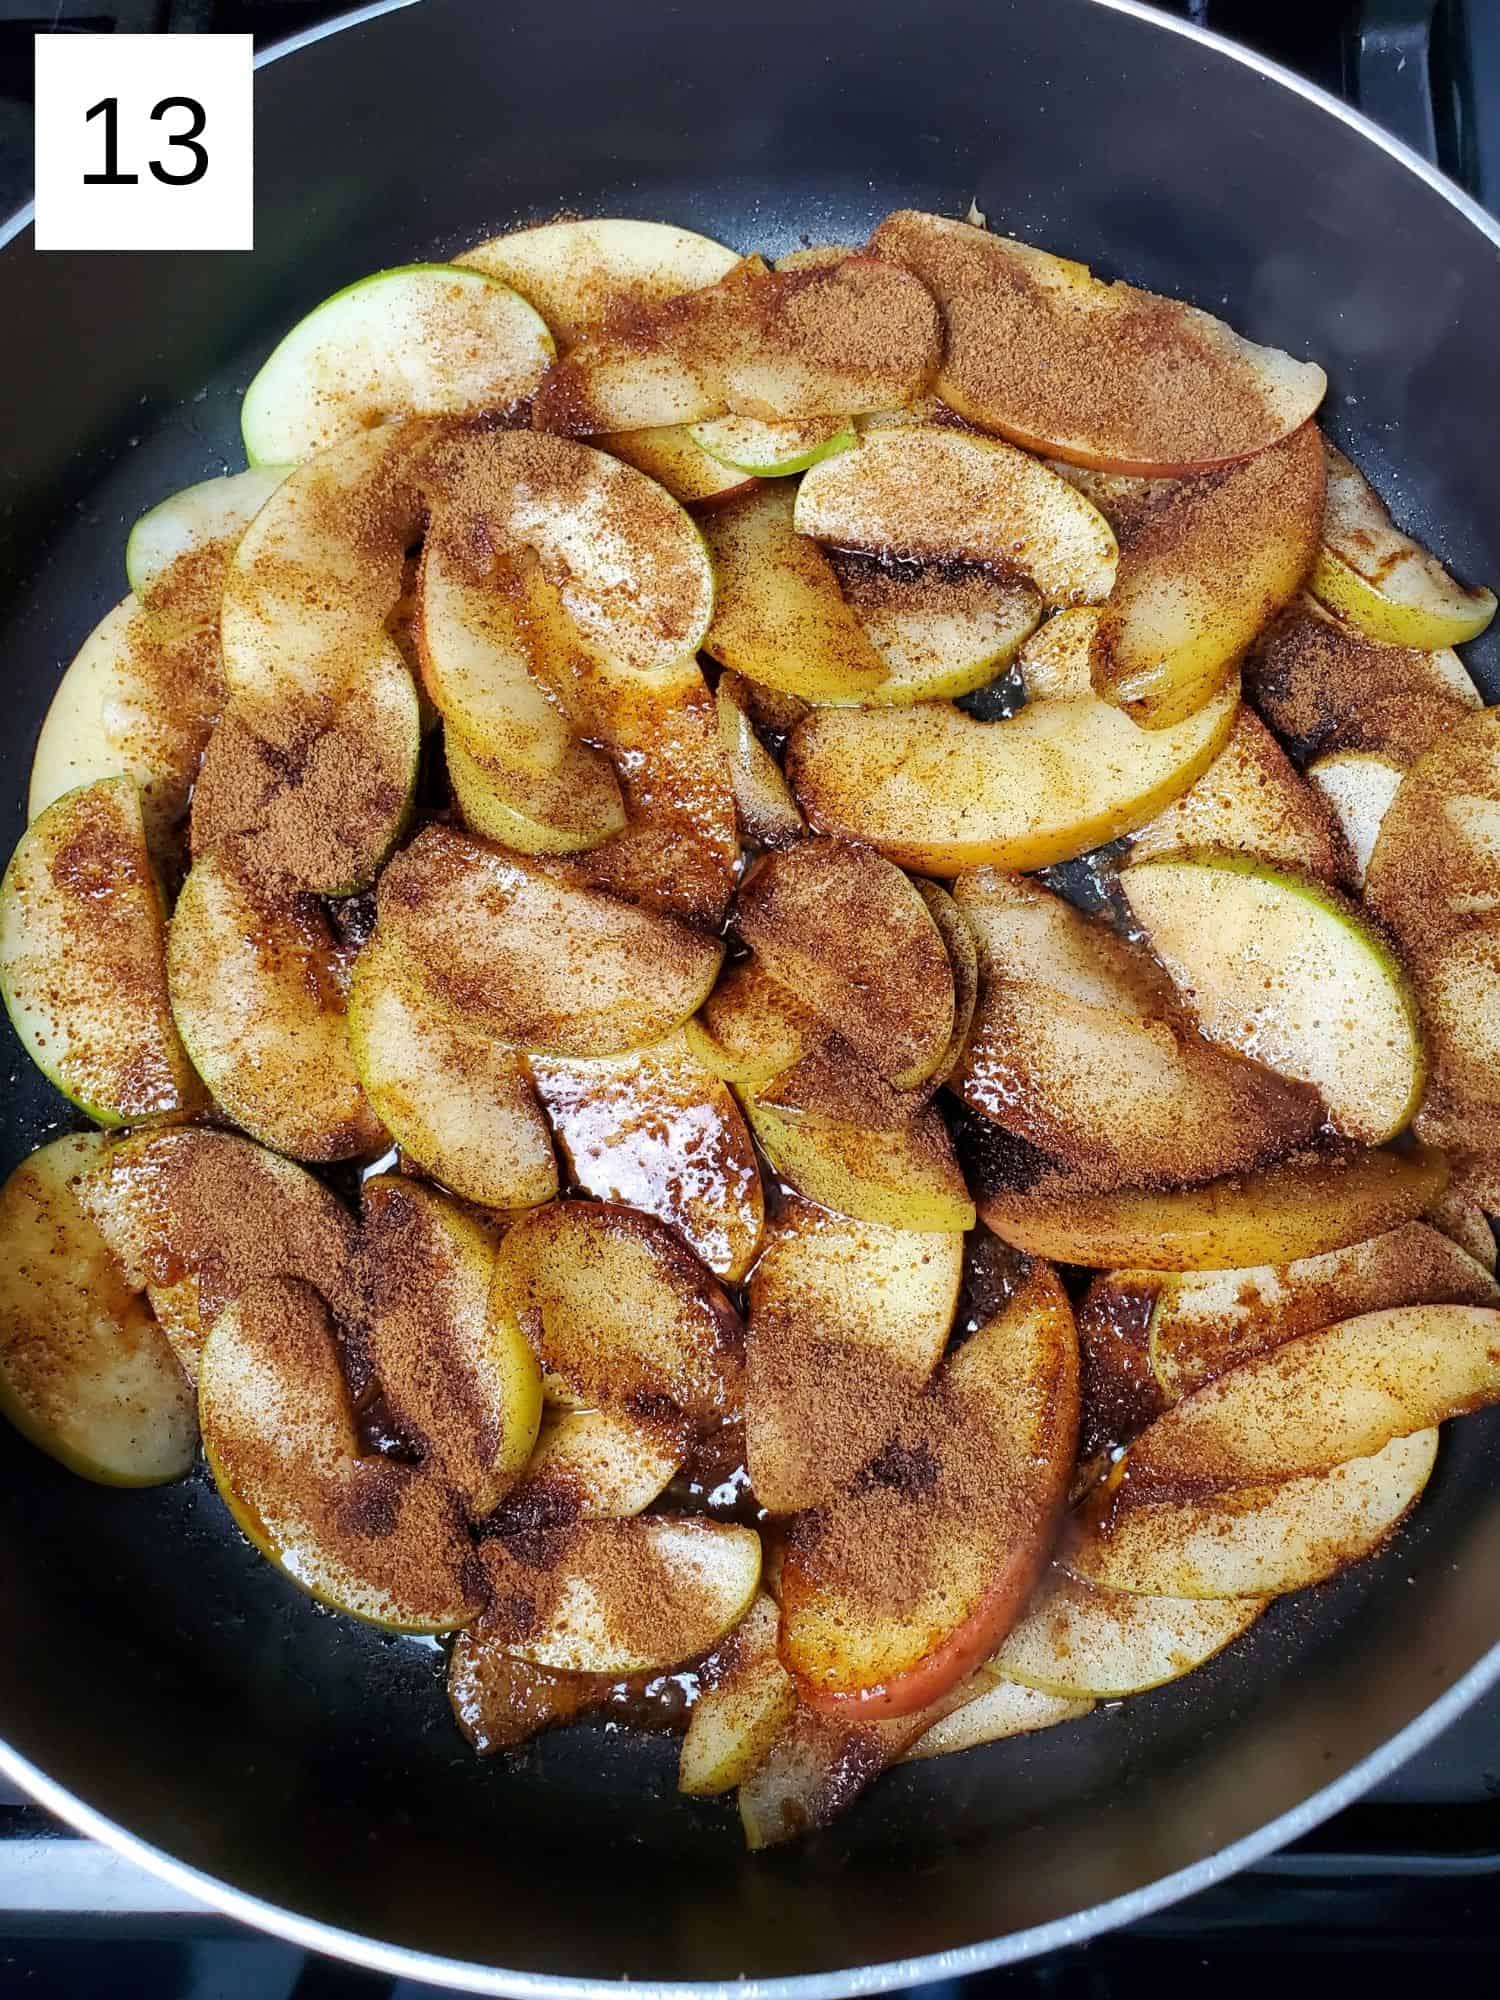
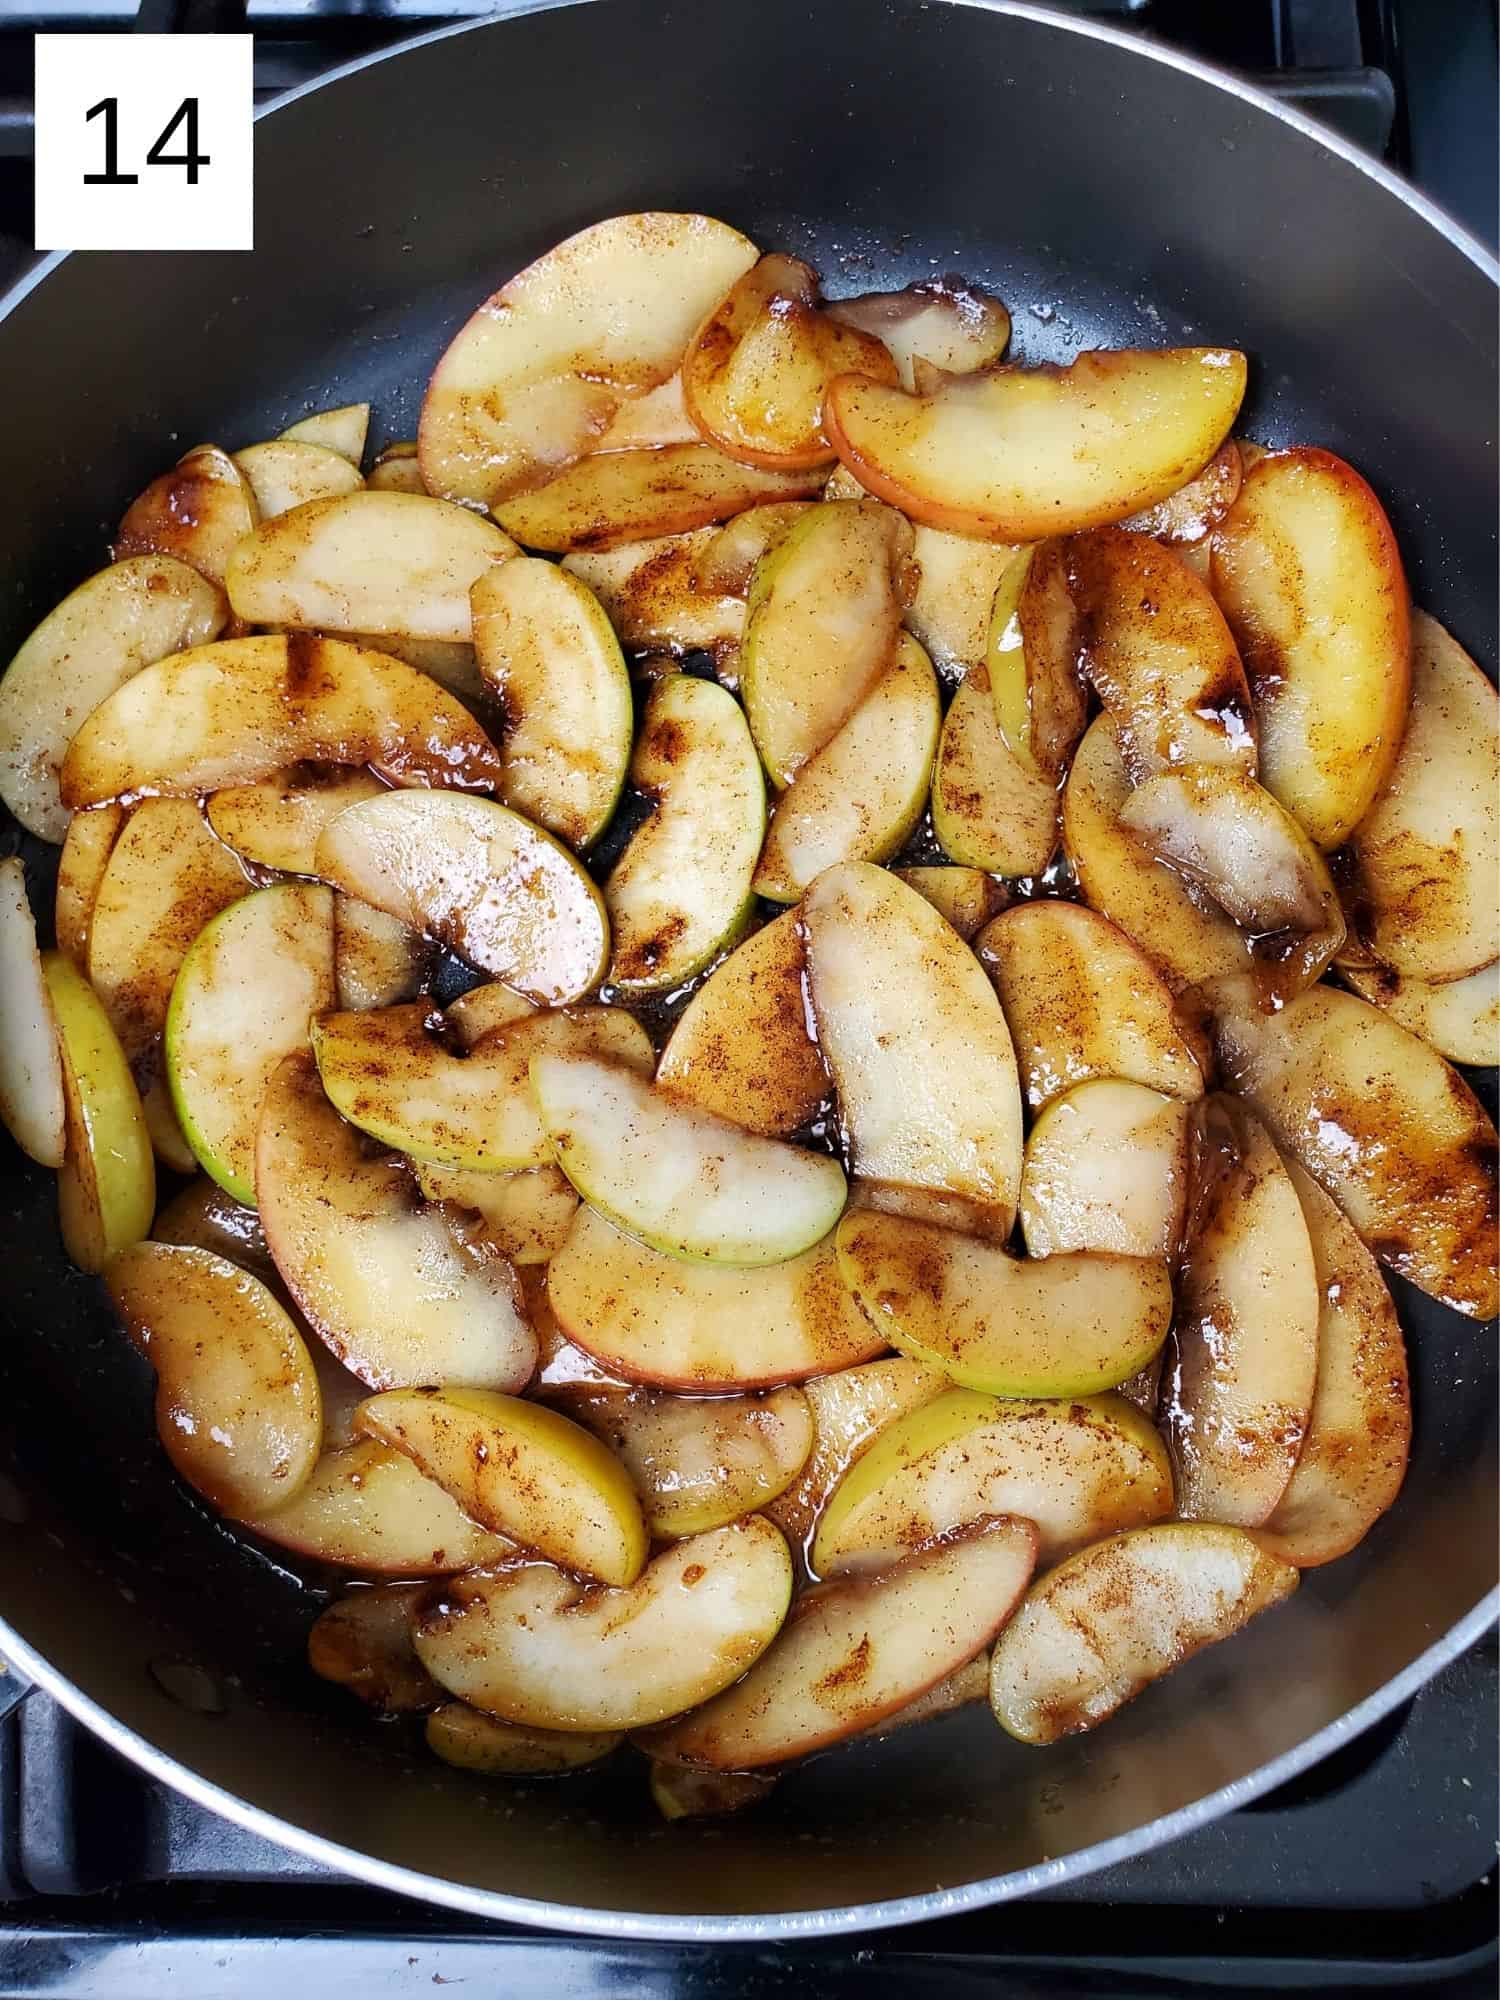
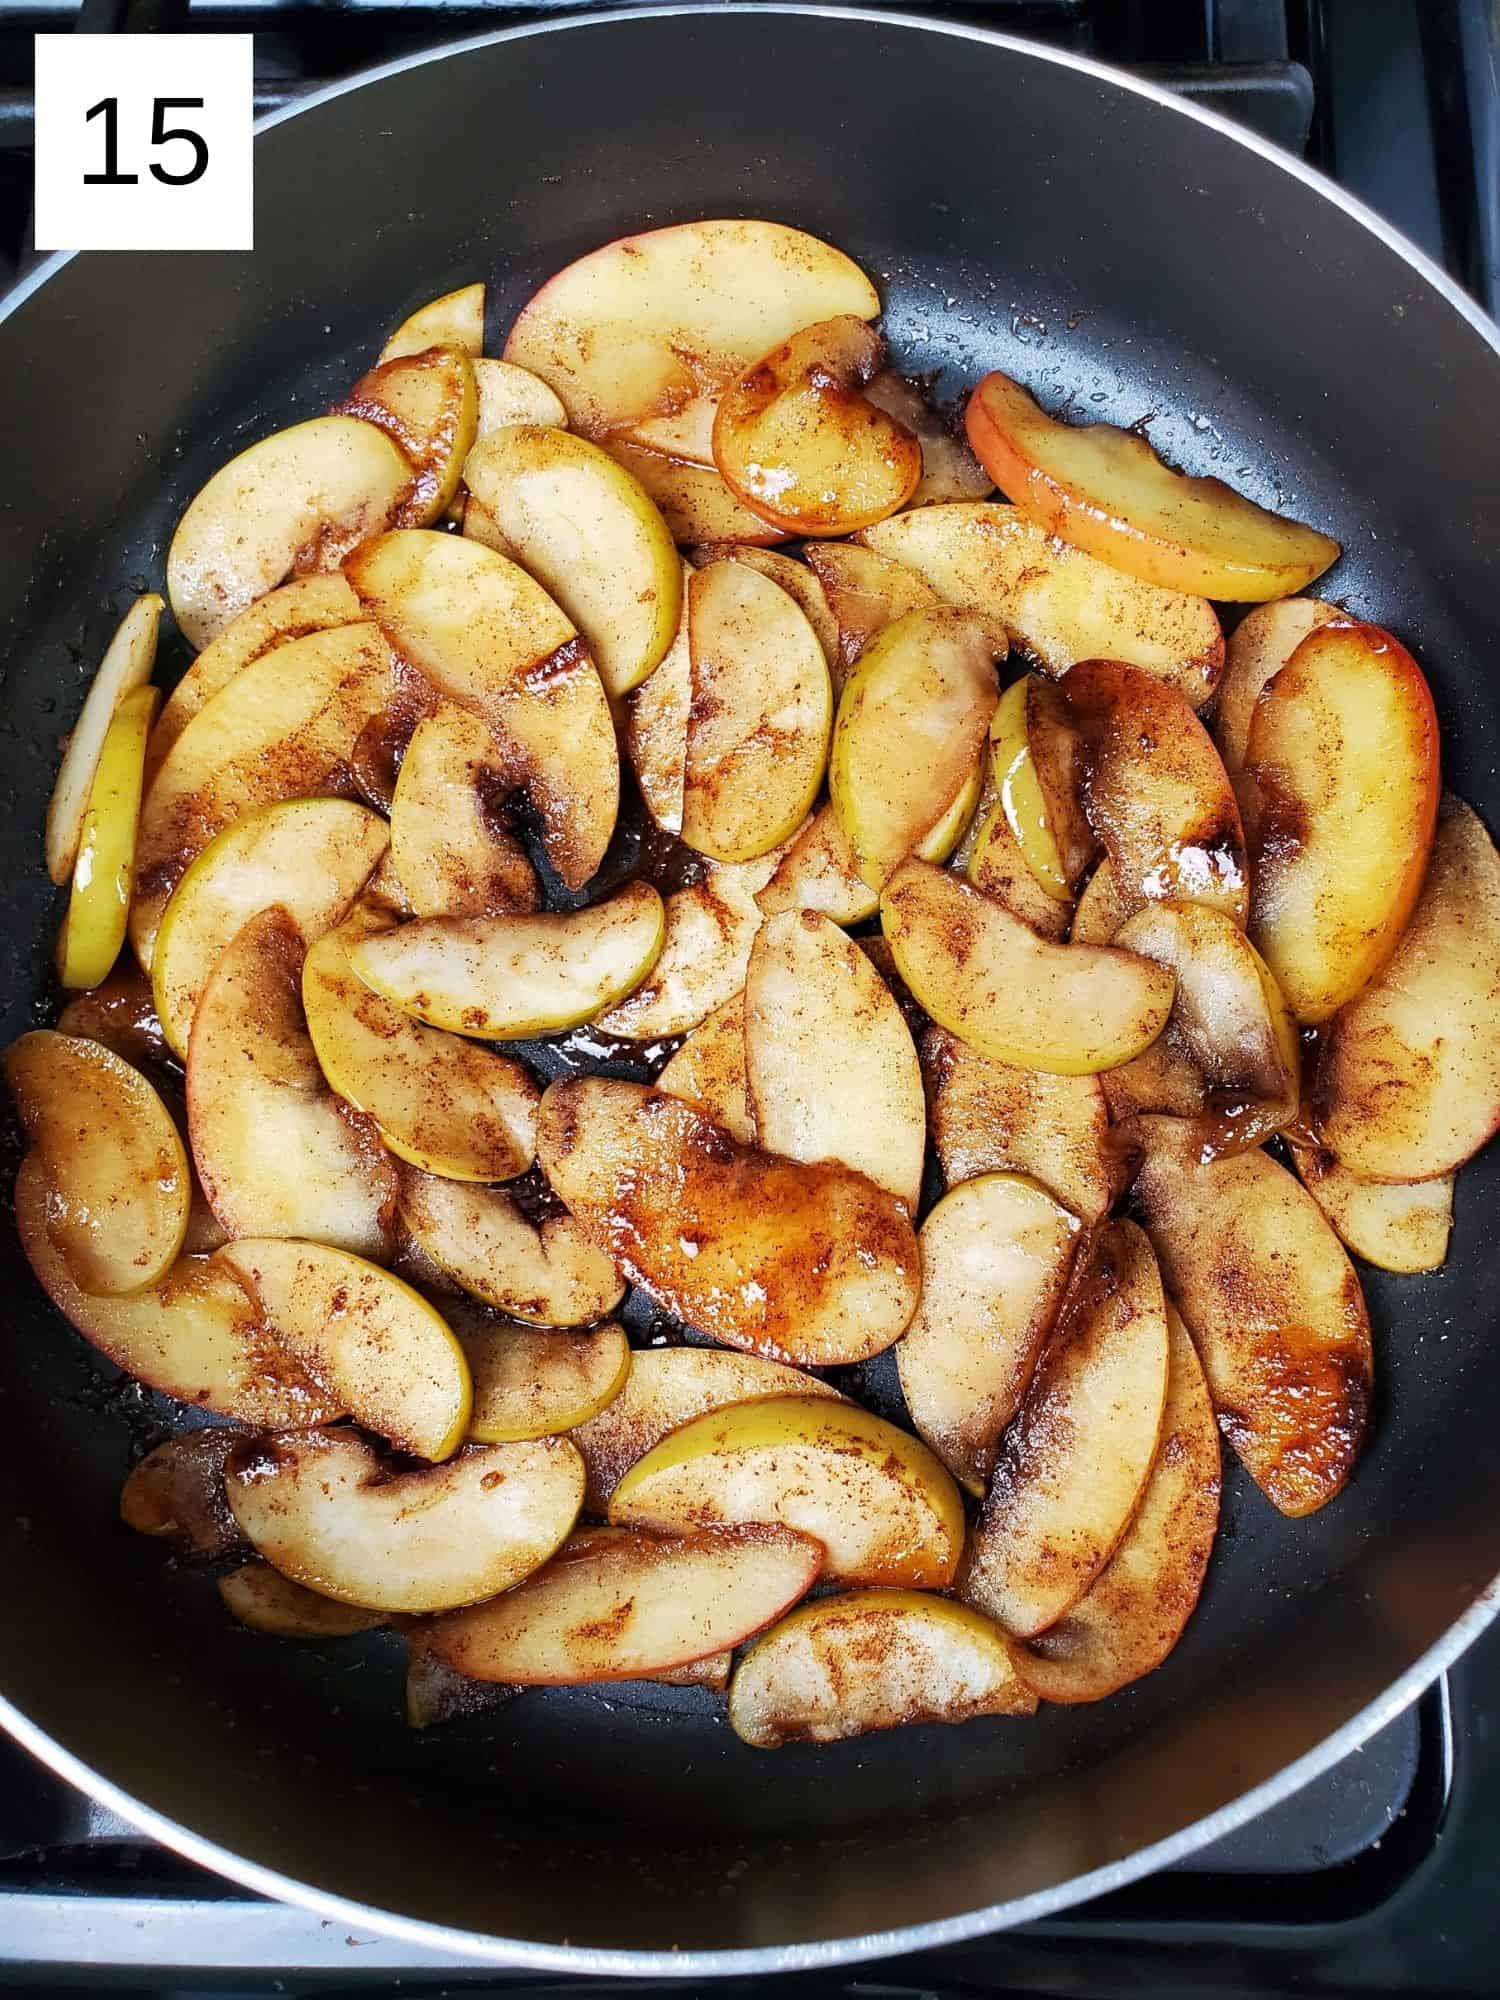
Step 5) Flip the apple slices one more time and then sprinkle on the rest of the sugar mixture and cook for 7-10 more minute, keeping heat low, until the apple slices finish browning (images 13-15).
🌿 Substitutions & Variations
No Apples - if you want to try mixing things up, try swapping some or all of the apples for Asian pears or unripe American pears, though you could also use a similar technique with less-ripe peaches, though the technique for making caramelized peaches does vary a bit due to the texture difference.
Alternate Oils - since you need to caramelize apples at a relatively higher temperature, and the butter is essential for creating a caramel sauce for the apples, you do need some high-heat oil. If you can't tolerate or don't want to use butter, some good alternatives would be coconut oil or even avocado oil.
No Sugar - alternatives to coconut sugar are white sugar, allulose, or brown sugar, though you could also use maple syrup or honey. Just note that apples caramelized with honey or maple syrup will have a more sticky caramel sweetness, but do need to be cooked at a slightly lower temperature to avoid burning.
No Cinnamon - most warm, sweet spices go well with apples, including cinnamon, cardamom, ginger, vanilla, and even very small amounts of nutmeg or clove.
- Savory Caramelized Apples: onions for pork, and consider adding a spicier savory ingredient, like a pinch of mustard powder or my mustard toum.
- Adding Herbs: if you'd like to add fresh herbs to these apples for a bit more complexity, add them at the very end of cooking, after the heat has been turned off, so the residual heat can help the herbs flavor the apples without wilting.
- Using Sweet Apples: I prefer to use more tart apple varieties like granny smith, though if you can't find any, you'll want to add 1 tablespoon of lemon juice once your caramelized apples are finished cooking.
🥘 Freezing & Reheating
Honestly, I don't prefer to freeze these. They do reheat pretty well from the fridge, but that's not a viable storage option for everyone, so I purposefully use just a pound of apples at a time when I make this recipe, as it can easily be halved or doubled for varying crowd sizes.
However if you need to freeze them, cook them beforehand and mentally prepare for a mushier texture once defrosted. To freeze them, put a single layer on a baking sheet topped with a piece of waxed paper, freeze them fully through (at least 30 minutes), and break them into chunks and place in a larger container for long-term storage.
To reheat caramelized apples, heat them in the air fryer at 400°F (205°C) for 3-5 minutes or on low on the stovetop for 5-7 minutes, then serve immediately.
If you're not on a low histamine diet, these apples can stay good in the fridge for up to 3 days when stored in an air-tight container and cooled to room temperature beforehand.
👨🏻🍳 Expert notes & tips
Caramelized Apple Topping: if you want a more saucy caramelized apples topping, swap the sugar for maple syrup, adding it at the same time as you would have added the sugar, though keep in mind that once it's refrigerated, the caramely apple topping will be way thicker than when it's still hot and fresh.
Browned Not Brown: because apples oxidize pretty quickly, I recommend hurrying your apples into the pan once sliced.
Batching: to make more than a pound of apple caramelized, you need to either use a much larger pan or cook just a pound at a time. This is becaise it's the apple slices' contact with the browned butter in the bottom of the pan that helps make the apples caramelize.
Let Them Cool: make sure the apples have come to room temperature before adding them to any uncooked dough or pie crust, otherwise the residual heat from the caramelized apples may cause your dessert to cook unevenly.
🍨 What to Do With Caramelized Apples
These stovetop caramelized apples are great on top of a dutch baby, with cream cheese as a muffin filling, or even between two slices of french toast. Here are a few more ideas for how to use caramelized apples:
- Pair these caramelized apples with some granola or chopped candied pecans to top yogurt or oatmeal for a bougie breakfast
- These pseudo-grilled caramelized apples, pan fried or even baked make a great filling for pie
- Serve warm over ice cream with blackberry syrup
- Put them on top of cheesecake
- Use as a topping for pancakes or waffles
- Top cakes that are more plain or dry, like angel food cake, pound cake, or almond flour cake
- Make them into a filling for your favorite sweet crepes
😋 Other Great Apple Recipes
🙋 Frequently Asked Questions
Caramelized apples are moderately healthy, because unlike with most fall desserts, these stovetop caramelized apples
In other words, do you peel apples before you cook them? The answer is that you can, but it's not necessary, as apple skin is also a great source of antioxidants like quercetin. Just make sure you wash the apples very well before cooking or baking with them.
Yes! You can use allulose or erythritol in place of caramelizing apples with white sugar or even coconut or brown sugar. Though keep in mind that allulose browns while erythritol won't, so while allulose will make a more caramelized apple flavor, it will need to cook at a slightly lower temperature due to the temp at which allulose browns.
Yes! You can also roast caramelized apples in the air fryer or oven at 350°F (175°C) for 10-15 minutes, using an oven-safe glass dish to keep everything together, and mixing everyhting well & adding spices halfway through cooking. Note that air fryer caramelized apples will cook much faster than in the oven.
You can make caramelized apples in advance for pies, pancakes, and more, but note that the texture will be affected by any storage. Caramelized apples will lose texture in the freezer, but will still taste great for up to 4 months, whereas refrigerated caramelized apples will last up to 3 days with minmal impact on texture.
📖 Recipe

Easy Caramelized Apples (Without Brown Sugar)
Equipment
- non-stick pan
Ingredients
- 3 medium apples cored & sliced (~1lb.)
- 2 Tablespoons salted butter
- 2 ½ Tablespoons coconut sugar
- ½ teaspoon cinnamon optional
- ⅛ teaspoon vanilla powder optional
Instructions
- Carefully wash and core each apple, cutting them into slices ~⅛" thick on the outer edge.
- In a large nonstick pan over low heat, add the butter. While it melts, mix the sugar, cinnamon (if using), and vanilla together in a small bowl.
- Then arrange the apple slices in a single layer in the pan, then raise the heat to medium-low for 5 minutes (6 if considering the time spent layering the apples), until the apple juices have mostly dissipated.
- Then sprinkle half the sugar mixture over the apple slices, flip the slices over and turn the heat down to low, then cook for 3 more minutes.
- Flip the apple slices one more time and then sprinkle on the rest of the sugar mixture and cook for 7-10 more minutes, keeping heat low, until the apple slices finish browning.




Linda Hamilton says
I am so excited to have found you and your website, Max! I do not have a medical doctor in my area that I know of who is knowledgeable, but I am just 3 hours from St Louis. Perhaps there is someone there who can work with me. 35 years ago, I was told by a brilliant doc that I was intolerant to histamines and was overproducing mast cells. He moved far away just a few short years later and has since passed away. I have struggled ever since to know what to do. I feel so blessed to have found you here, and have hope for a better life now after struggling for so long. Thank you for dedicating yourself to this beautiful labor of love. Please feel free to suggest a practitioner for me to contact. With Sincerest gratitude! Linda H
Max says
Thank you for the kind words, Linda! I hope you're able to find some ideas here to help get you started, and get to easing the long-time burden on your body - but please be very aware that I am NOT a doctor (and I don't play one on TV!). So while I don't have any doctor recommendations, these days there are some great places for you to look for a functional medicine practitioner, like it sounds like your old doc was (check out ifm.org/find-a-practitioner/ to see if there are any functional medicine docs in your area). That would be the best place to start, as decades of untreated MCAS may leave you with more complex issues that you need a team of people to help you tackle, but you will get to the other side healthier than before. Sending big hugs!
-Max