


Don't throw away those seeds after carving up your favorite autumn squash! These crispy roasted squash seeds are a simple and delicious way to reduce food waste while creating a crunchy, savory snack and topping. They're naturally low-histamine and packed with nutrients, making them the perfect healthy topping for soups or salads.
You can add these on top of a savory batch of overnight oats or to any of the low histamine soup recipes on my site.
Jump to:
✔️ Why This Recipe is Great
Nutrient-Dense Crunch: Squash seeds provide healthy fats, fiber, and several essential minerals, making this snack both filling and supportive of steady energy levels.
Very Versatile: These crispy roast butternut squash seeds work as a crunchy snack on their own, but they're also great as a low histamine salad topper, or a savory garnish for soups, making them easy to enjoy any time of day.
Zero Waste Friendly: This is an easy, delicious way to use the seeds from a squash you’re already cooking, turning what’s often discarded into a nourishing, homemade treat.
🧂 Ingredients
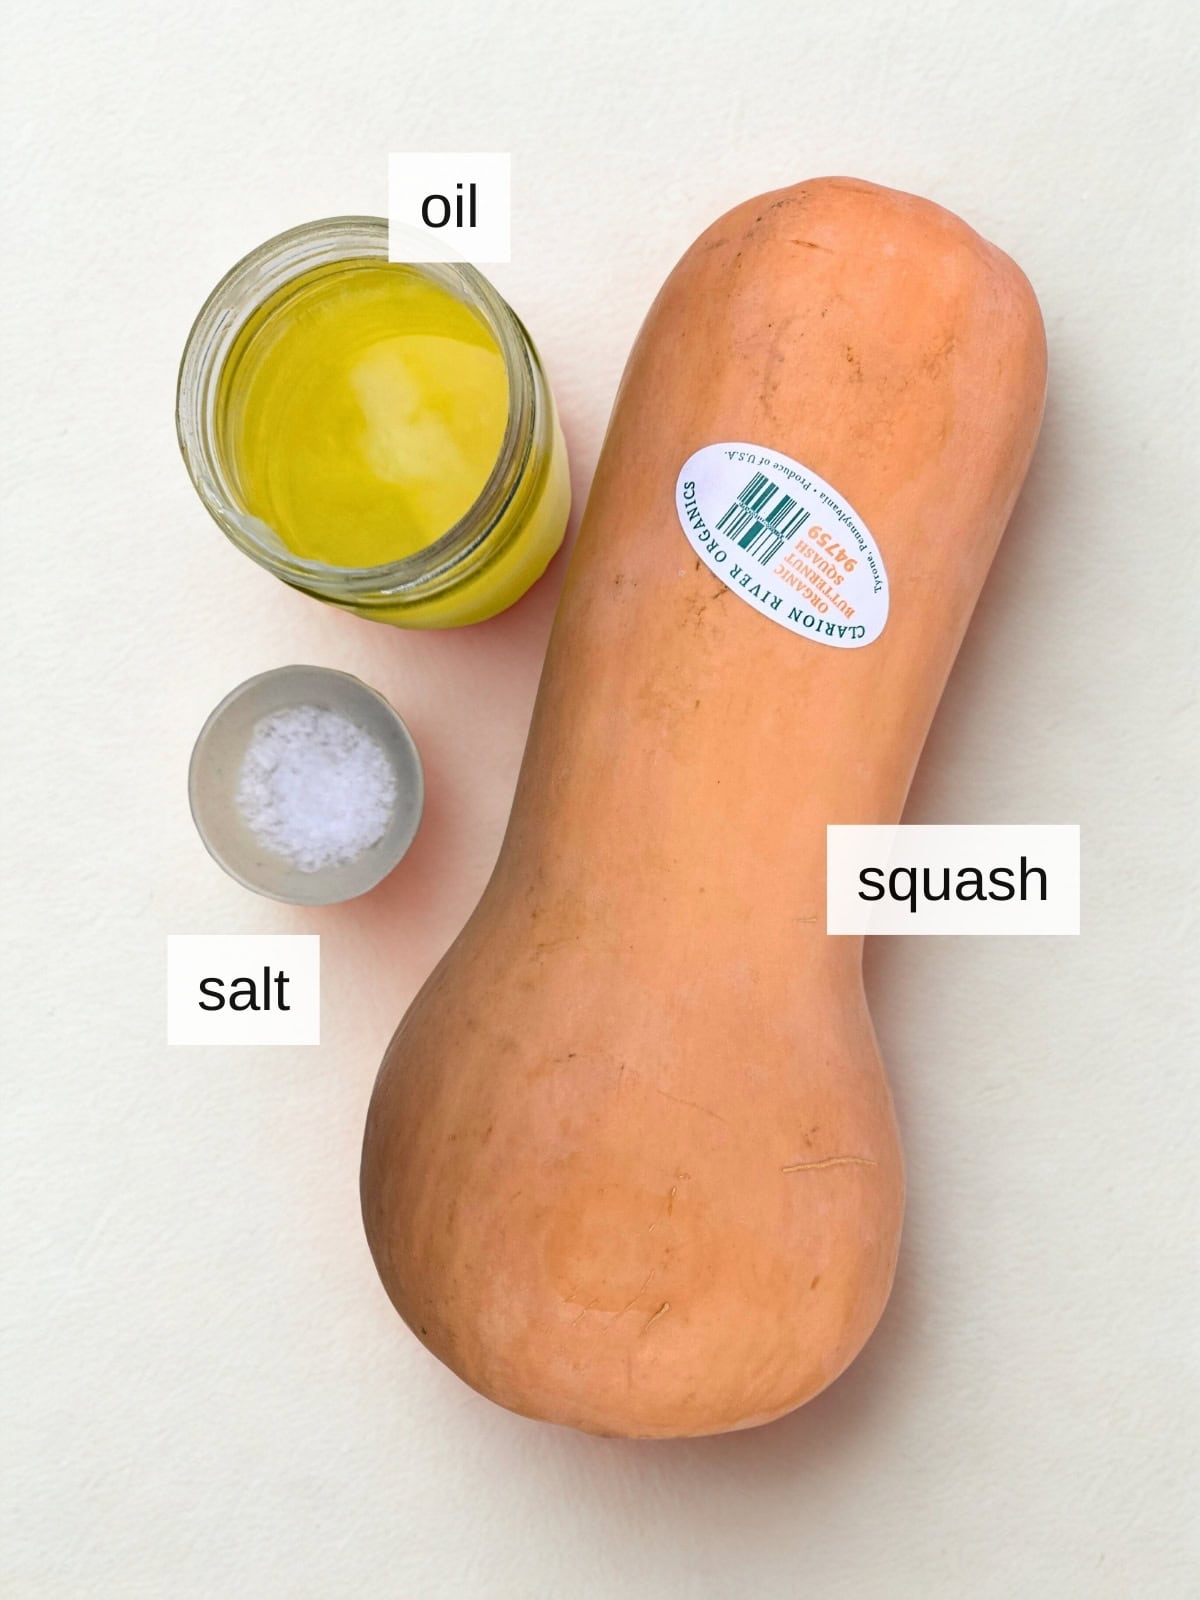
Squash Seeds: Fresh, unroasted seeds scooped straight from a whole squash are naturally low histamine and roast up crisp and nutty, but be sure to clean and dry them well before cooking for the best texture.
Oil or Ghee: A small amount of oil or ghee helps the seeds crisp evenly in the oven while adding richness, so choose a fresh, well-tolerated fat with a neutral flavor.
Salt: Although optional, this is great addition to emphasize the crunch.
See recipe card for exact ingredients and quantities.
🔥 How to Make Roasted Squash Seeds (Step-by-Step)
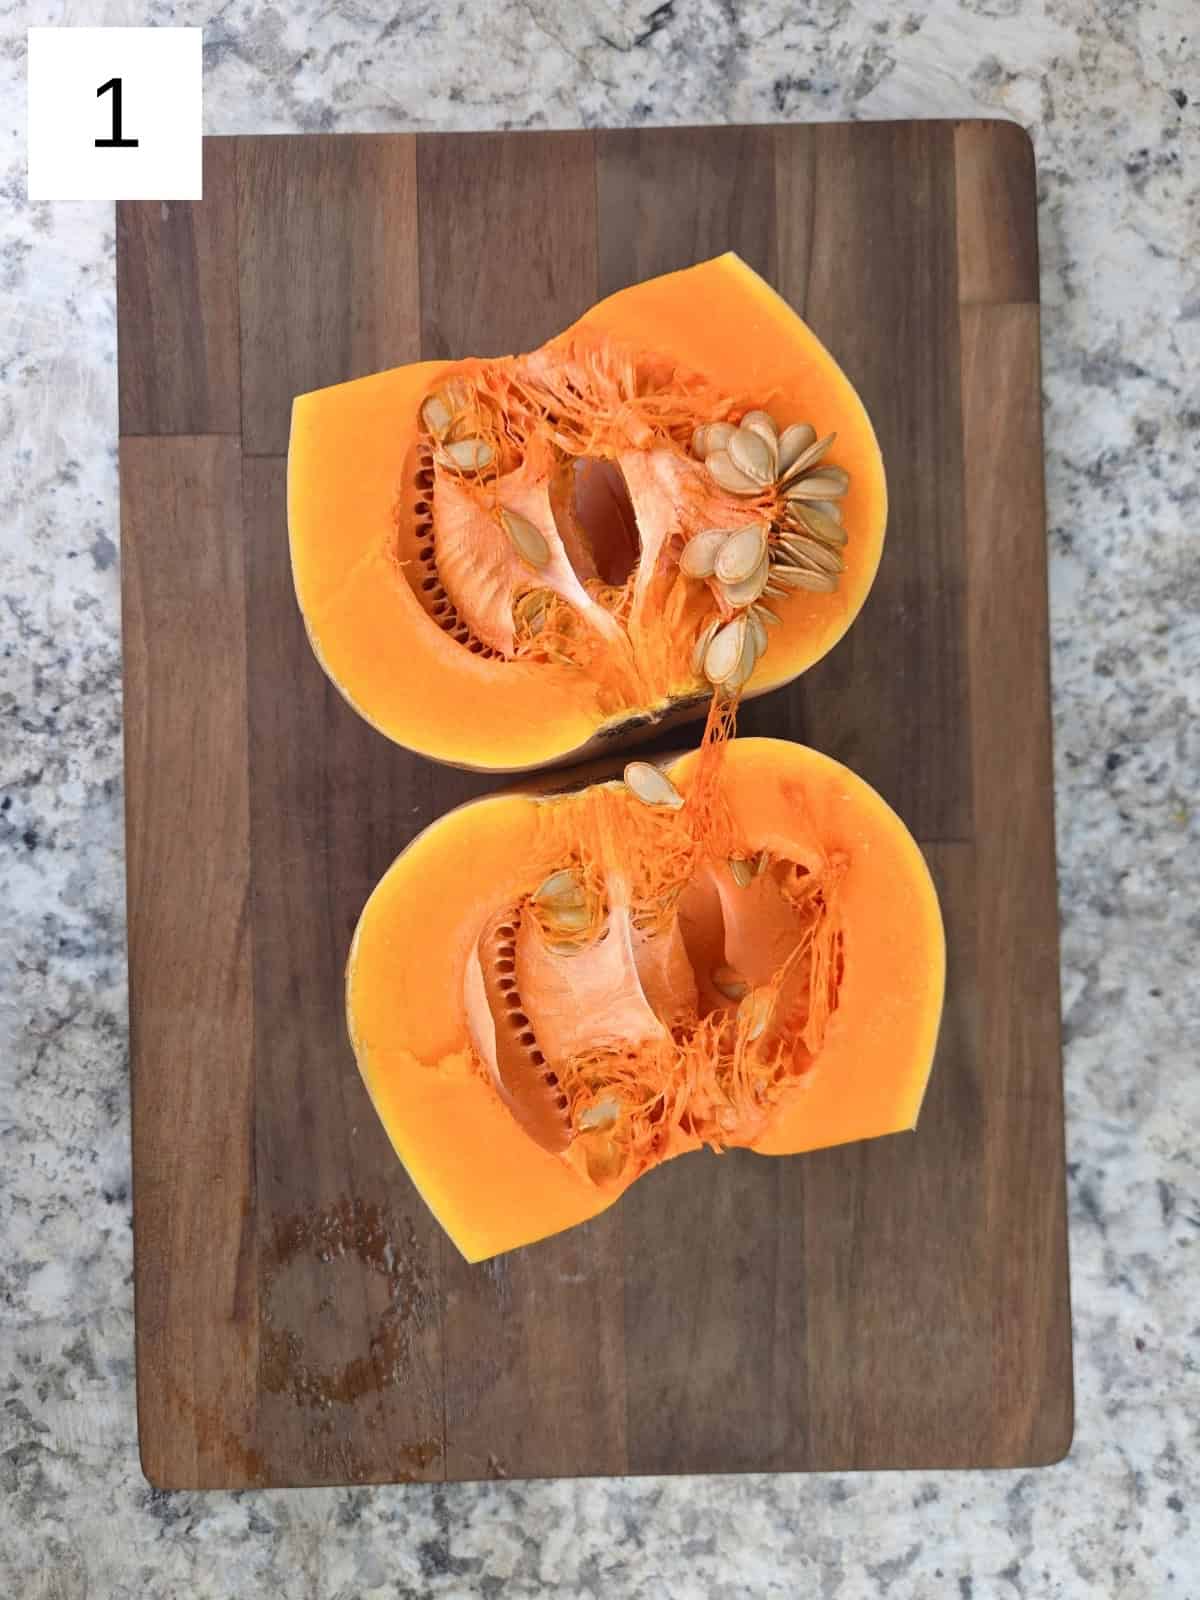
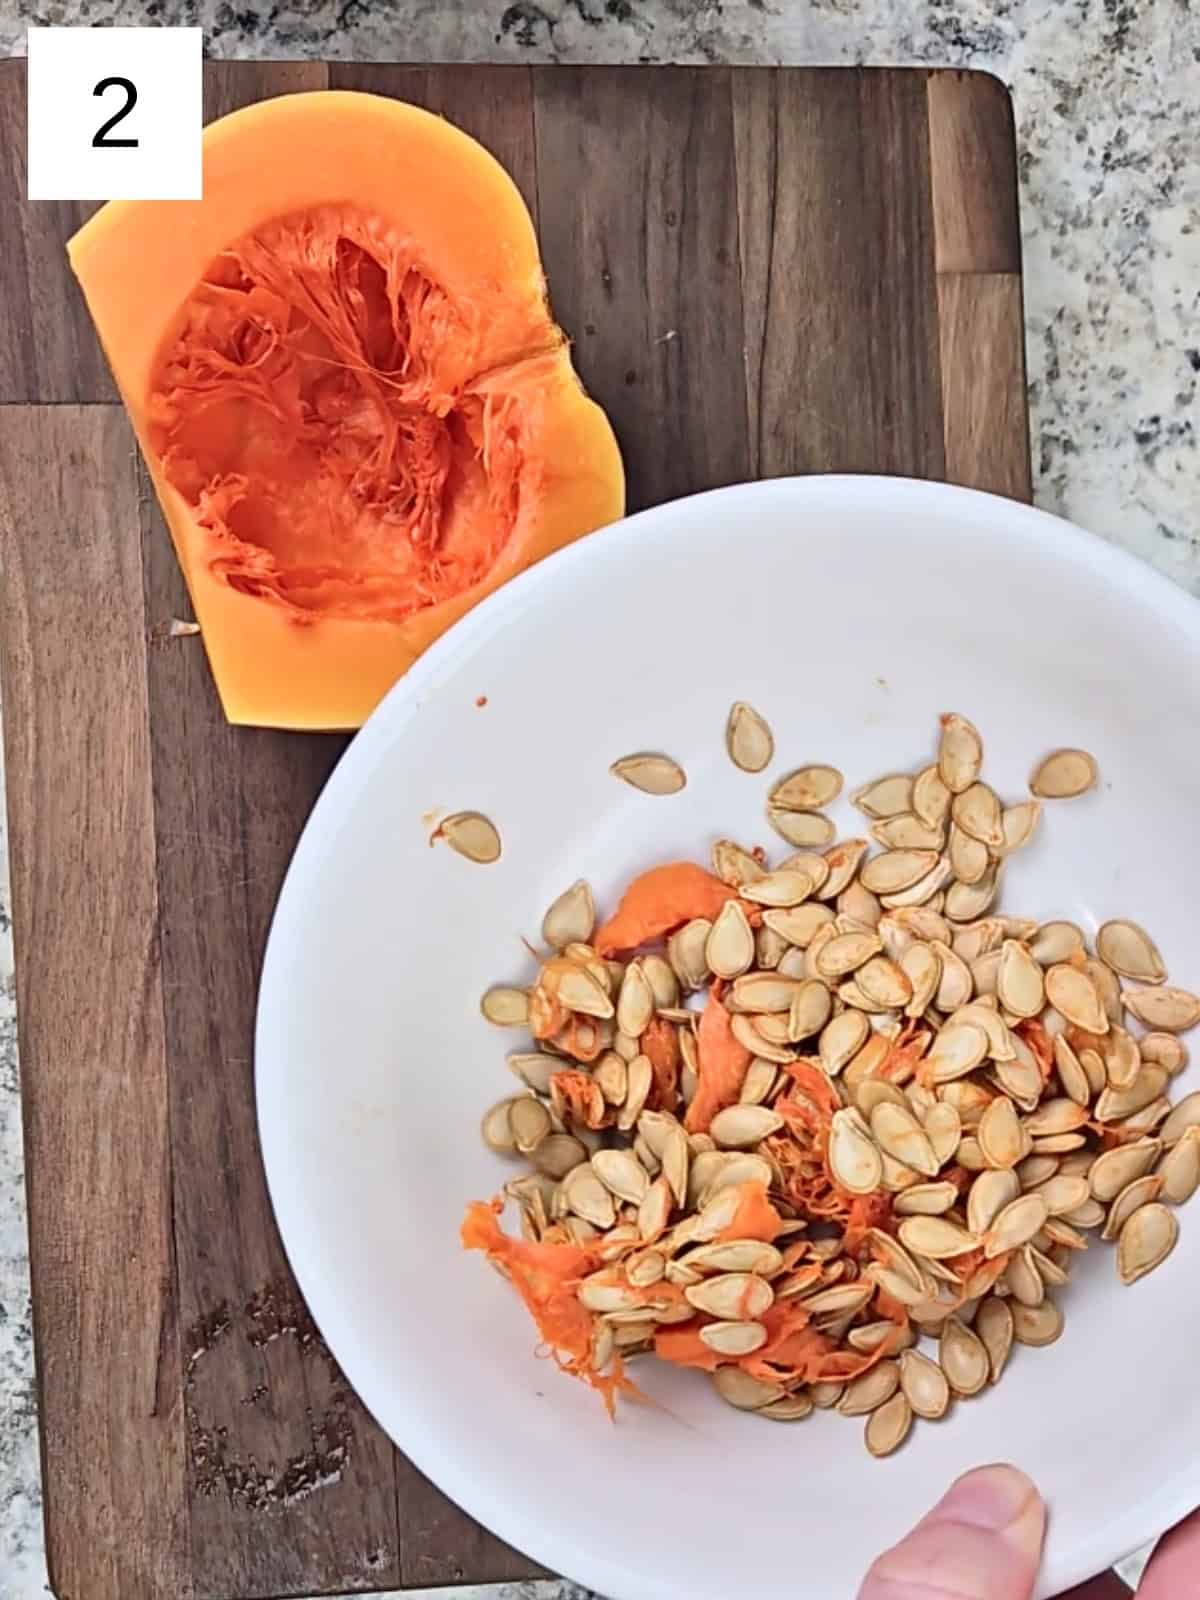
Step 1) Separate the seeds from the squash pulp right after scooping them out of the squash (images 1 & 2). Use your fingers to pull away as much of the fibrous strands as possible.
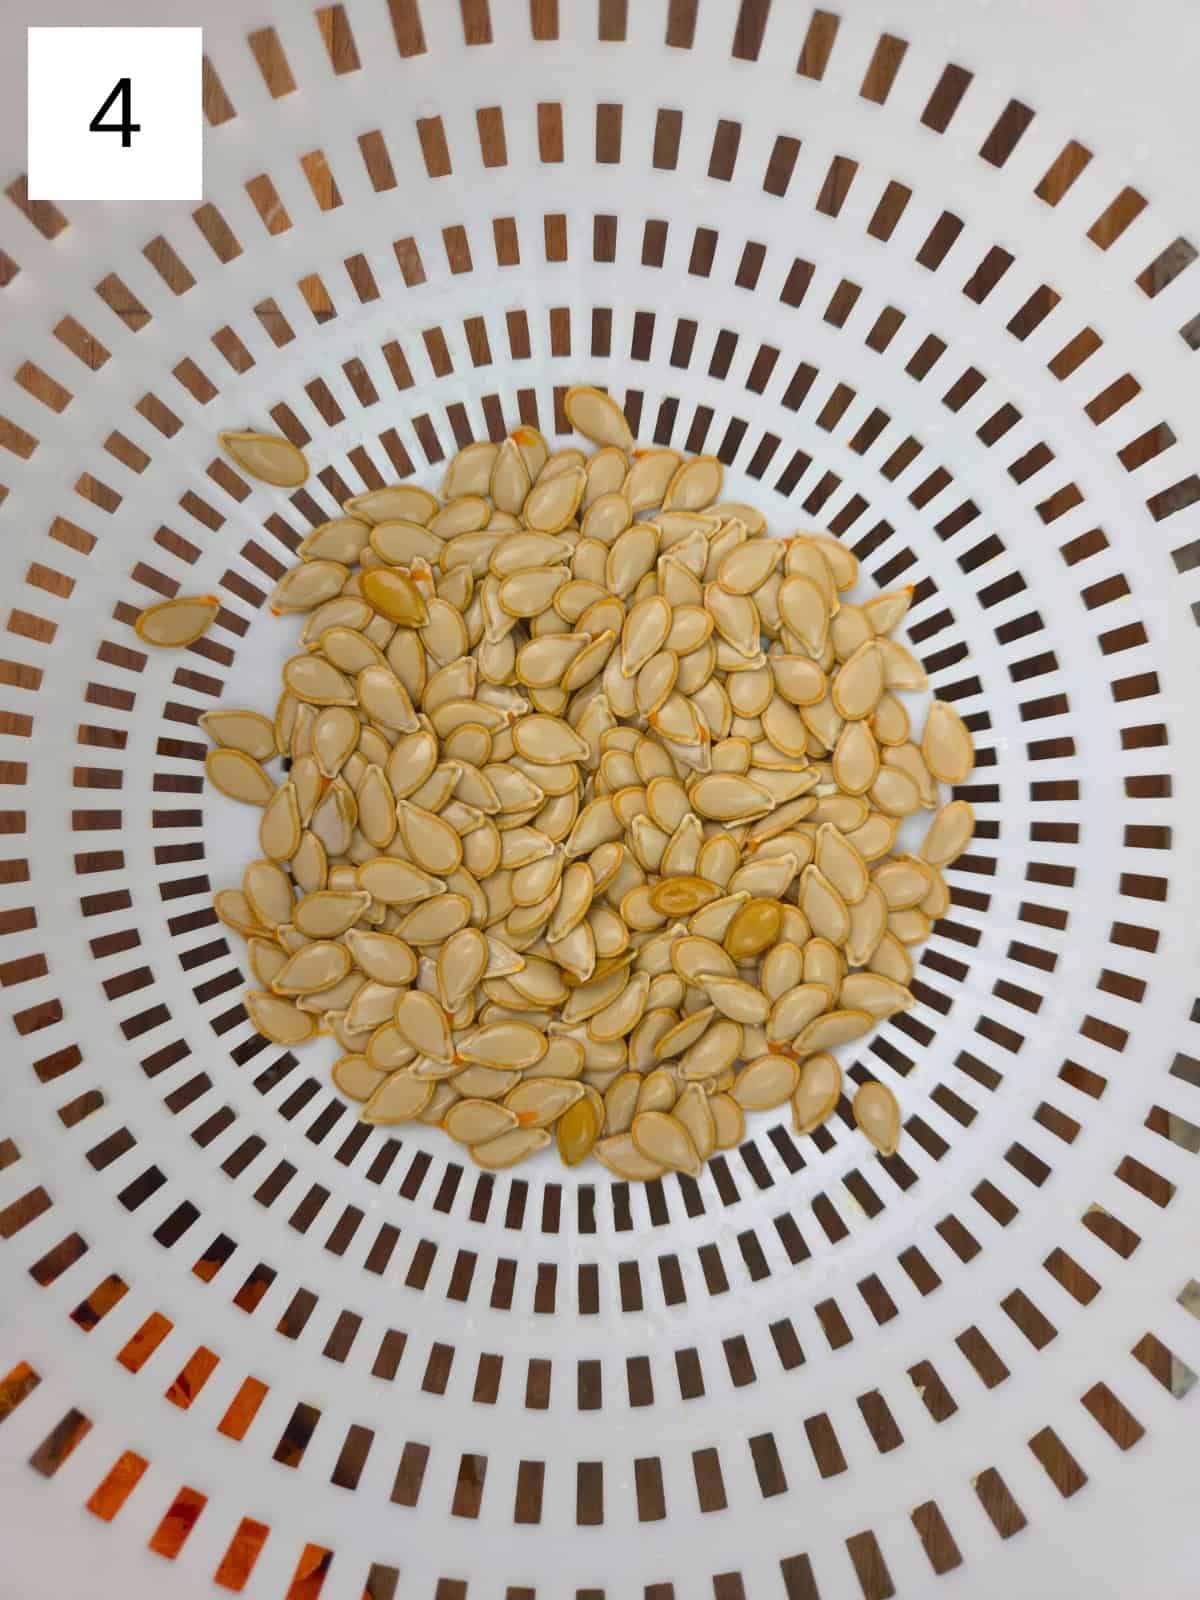
Step 2) Place the seeds in a bowl of water and swish them around so the pulp floats to the top (image 3). Skim off the pulp, then drain the seeds in a colander and pull of any tiny bit of pulp still there, rinsing again if needed until almost completely clean (image 4).

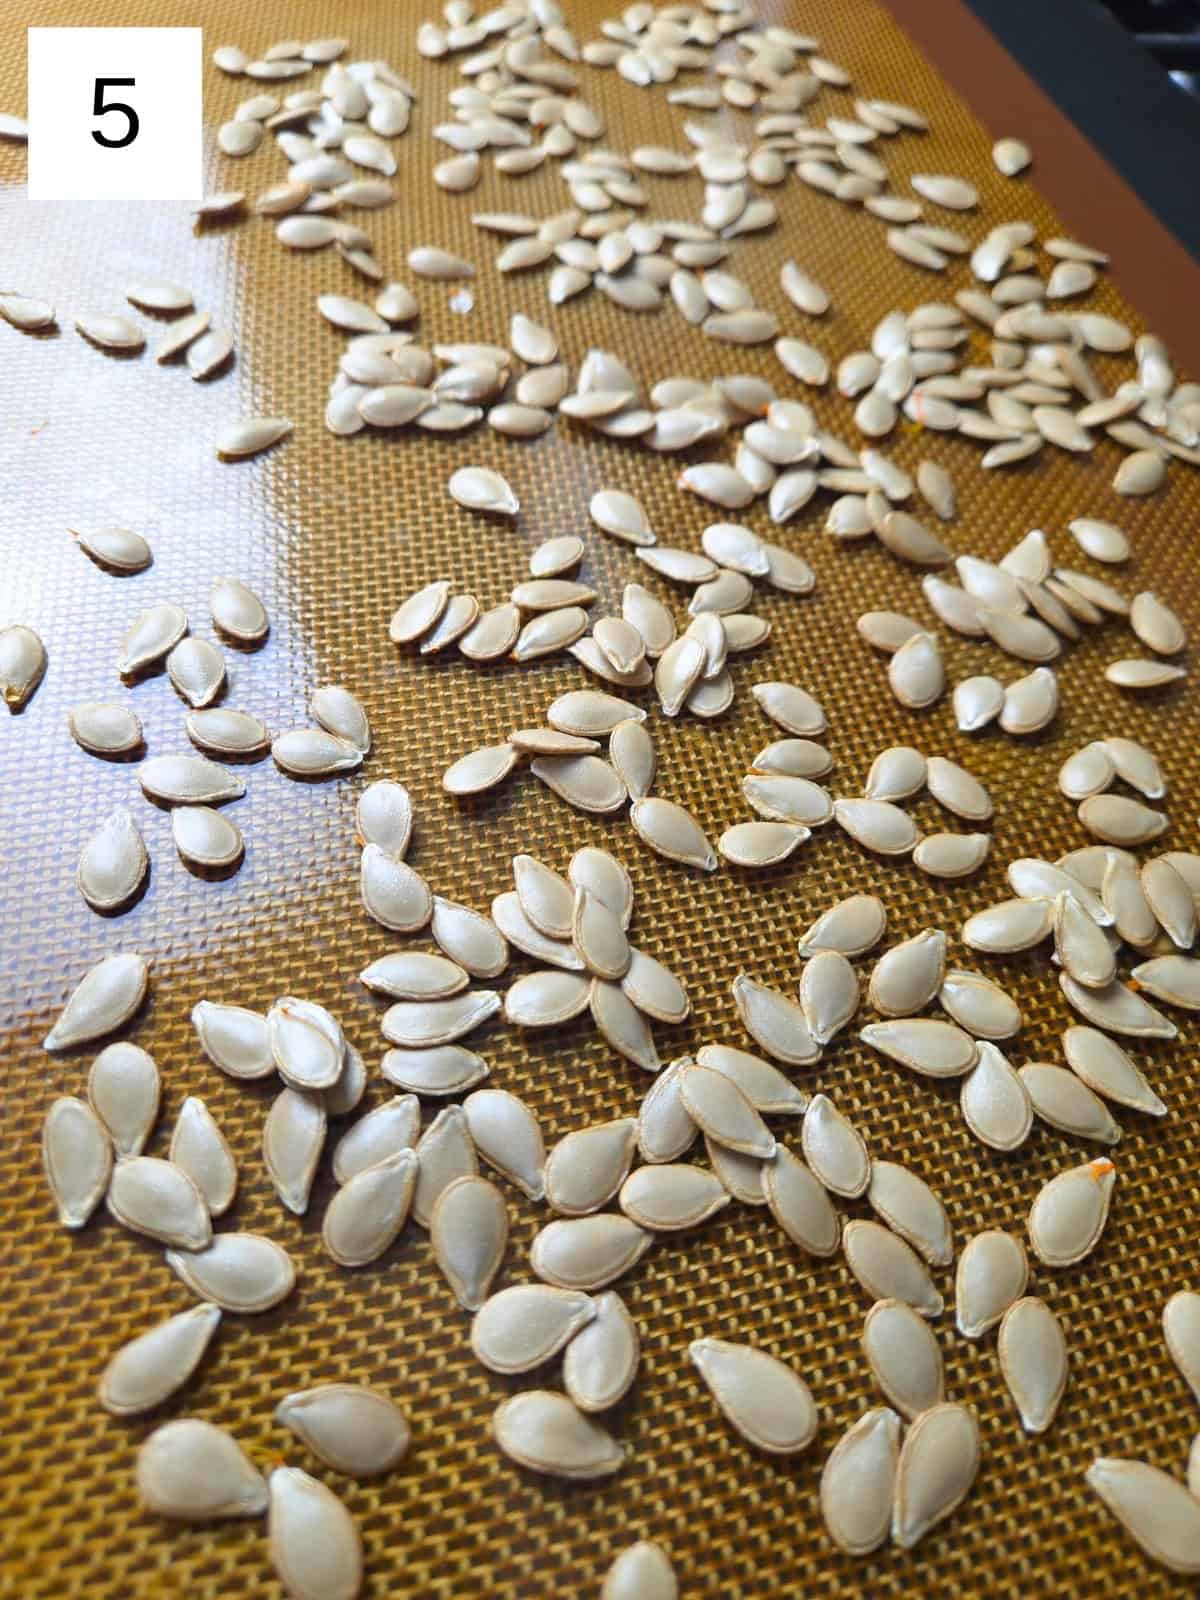
Step 3) Preheat your oven to 225°F (105°C). Spread the seeds out in a single layer on a baking tray lined with a silicone mat or aluminum foil (image 5), keeping overlap to a minimum. Do not use parchment paper - the seeds will stick to it.
Step 4) Place the tray in the oven and dry the seeds for 5–10 minutes, until they no longer look wet. Drying the seeds thoroughly before roasting is the key step; skipping or rushing this stage will result in chewy or unevenly-roasted seeds.
Step 5) Once dry, lightly coat the seeds with the oil or ghee, either directly on the tray or by tossing them briefly in a bowl. Use only a small amount of fat, just enough to lightly coat.
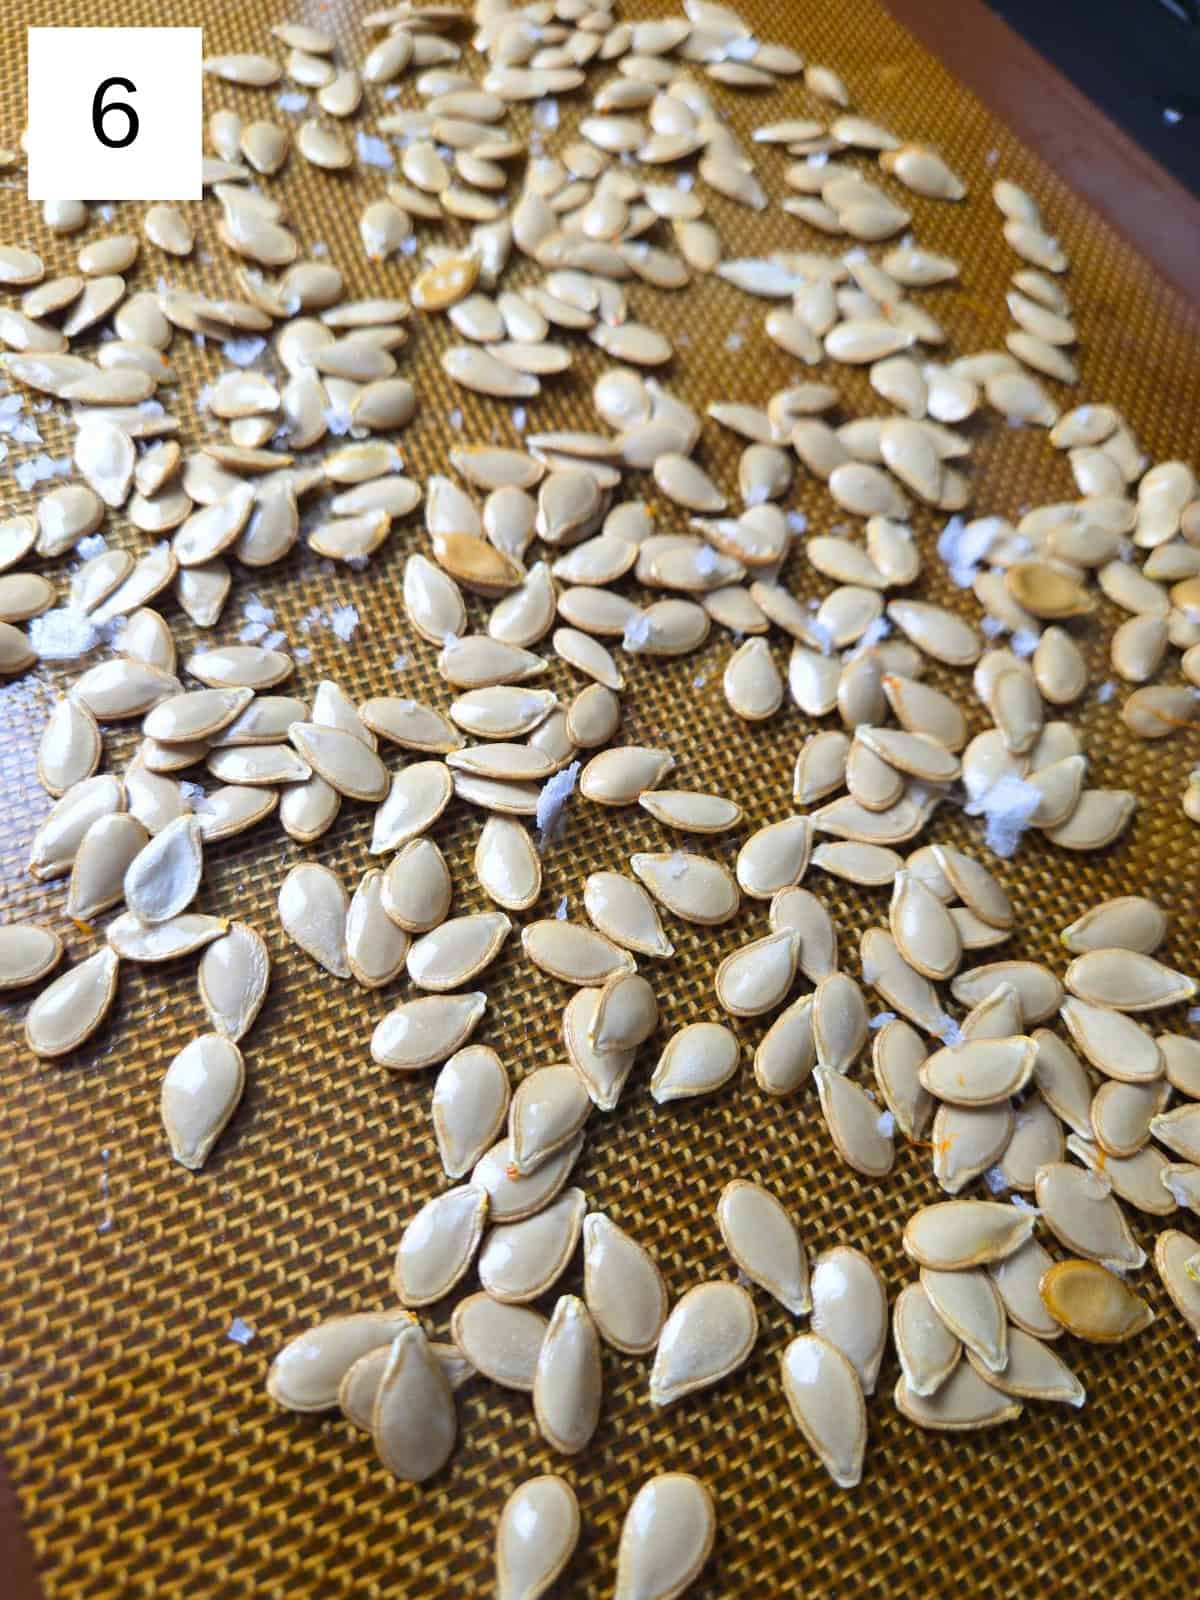
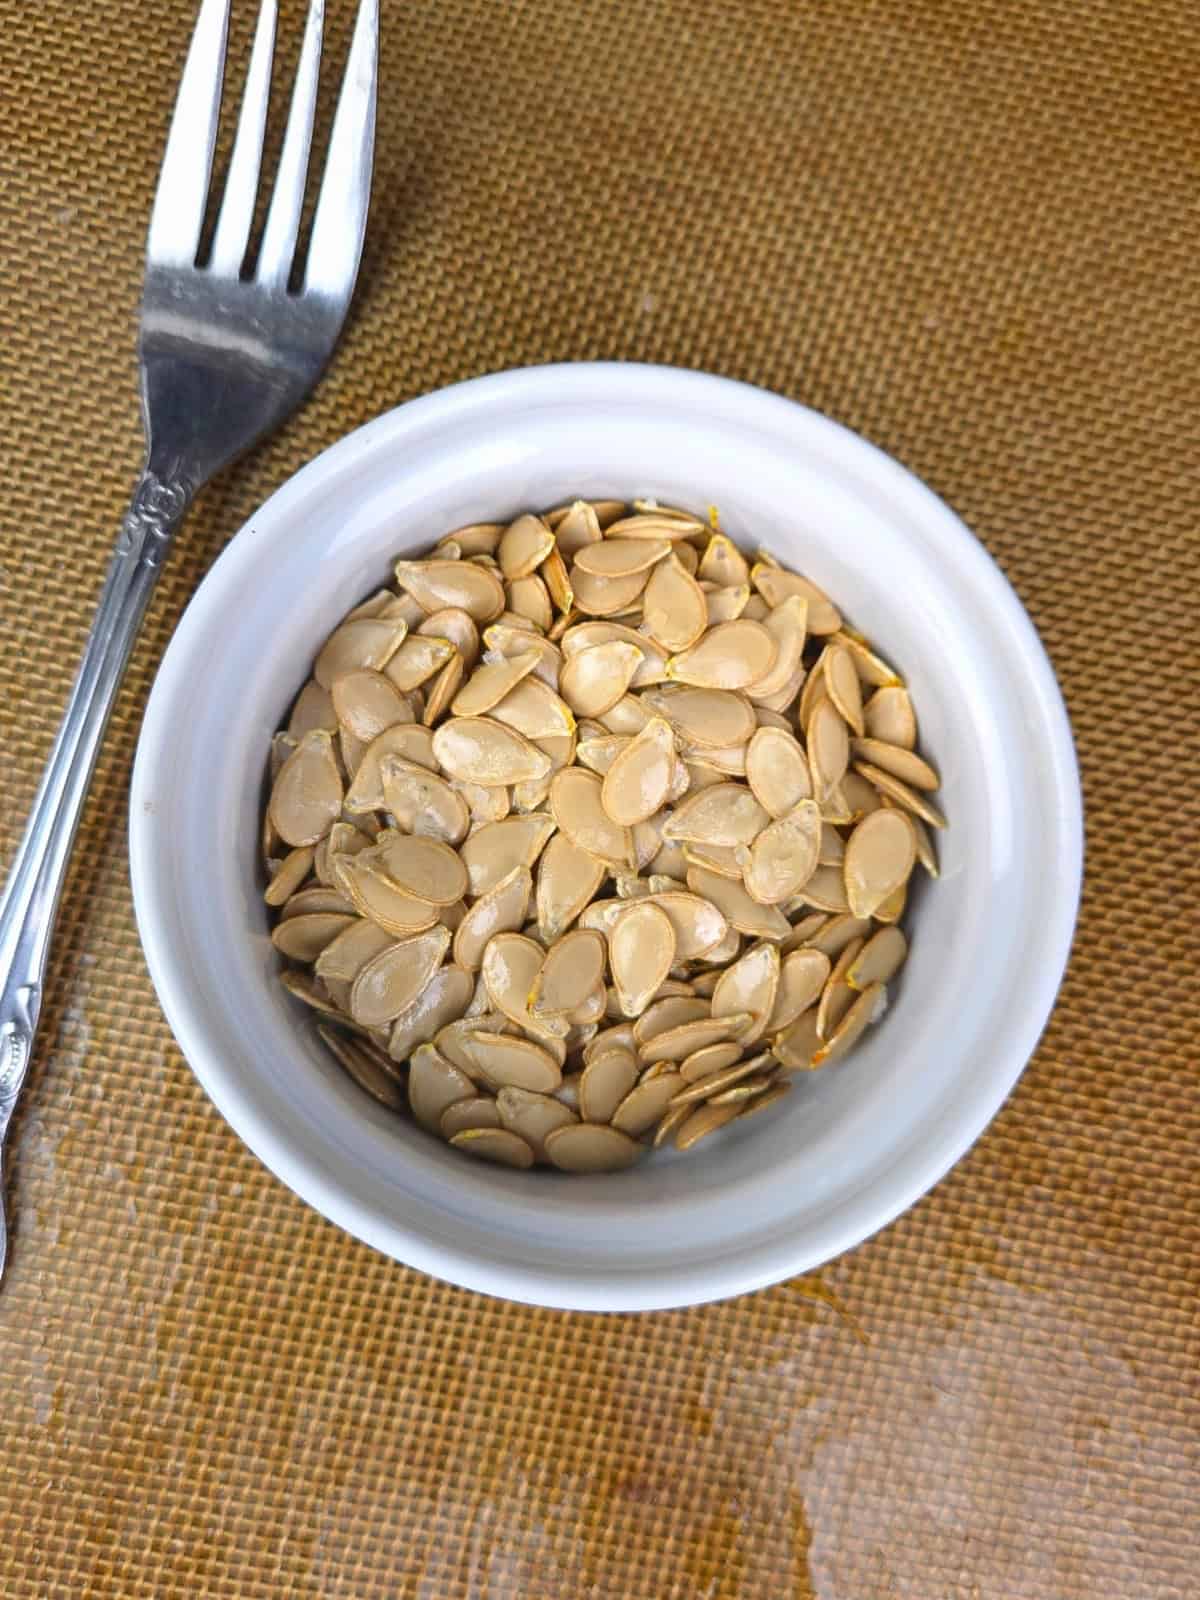
Step 6) Raise the oven temperature to 275°F (135°C), then sprinkle the seeds with a generous pinch of sea salt (image 6) and shake the tray so they’re evenly distributed in a single layer.
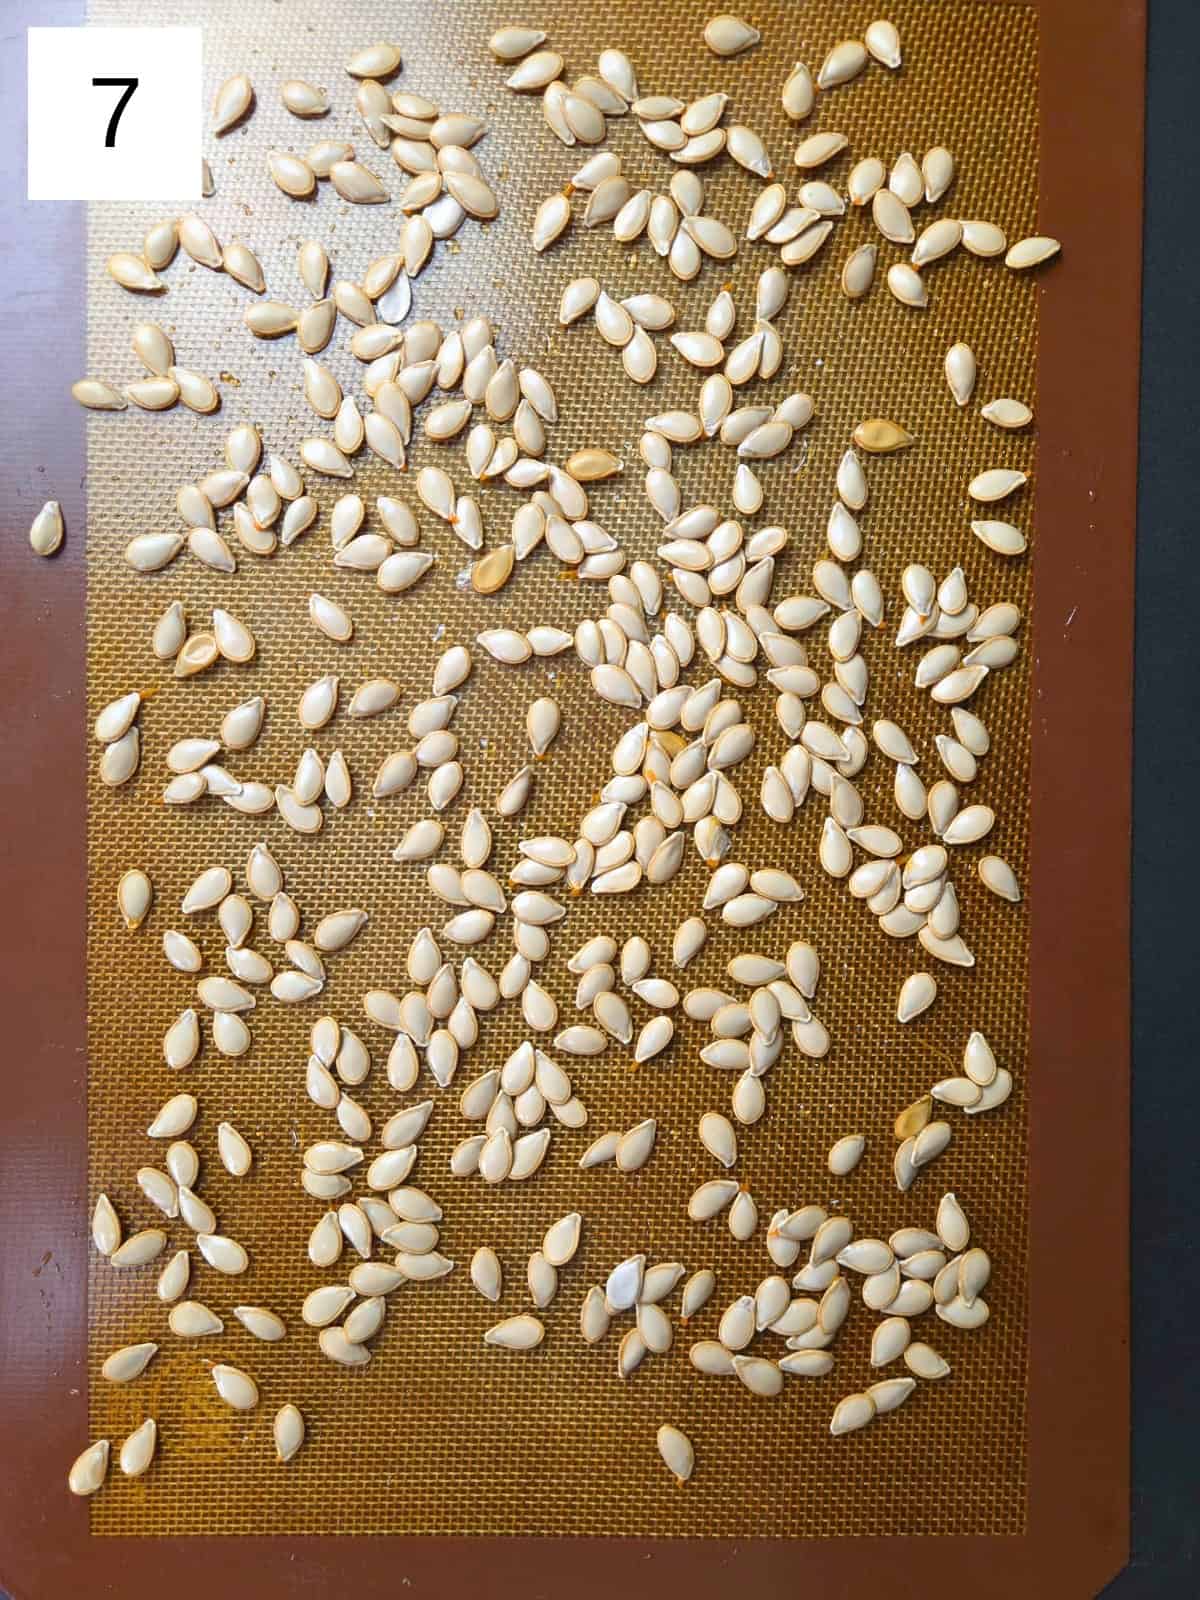
Step 7) Roast for 12–15 minutes, stirring halfway through, until the seeds are lightly golden, dry to the touch (image 7), and begin making a subtle popping sound near the end of roasting. They'll snap in half easily.
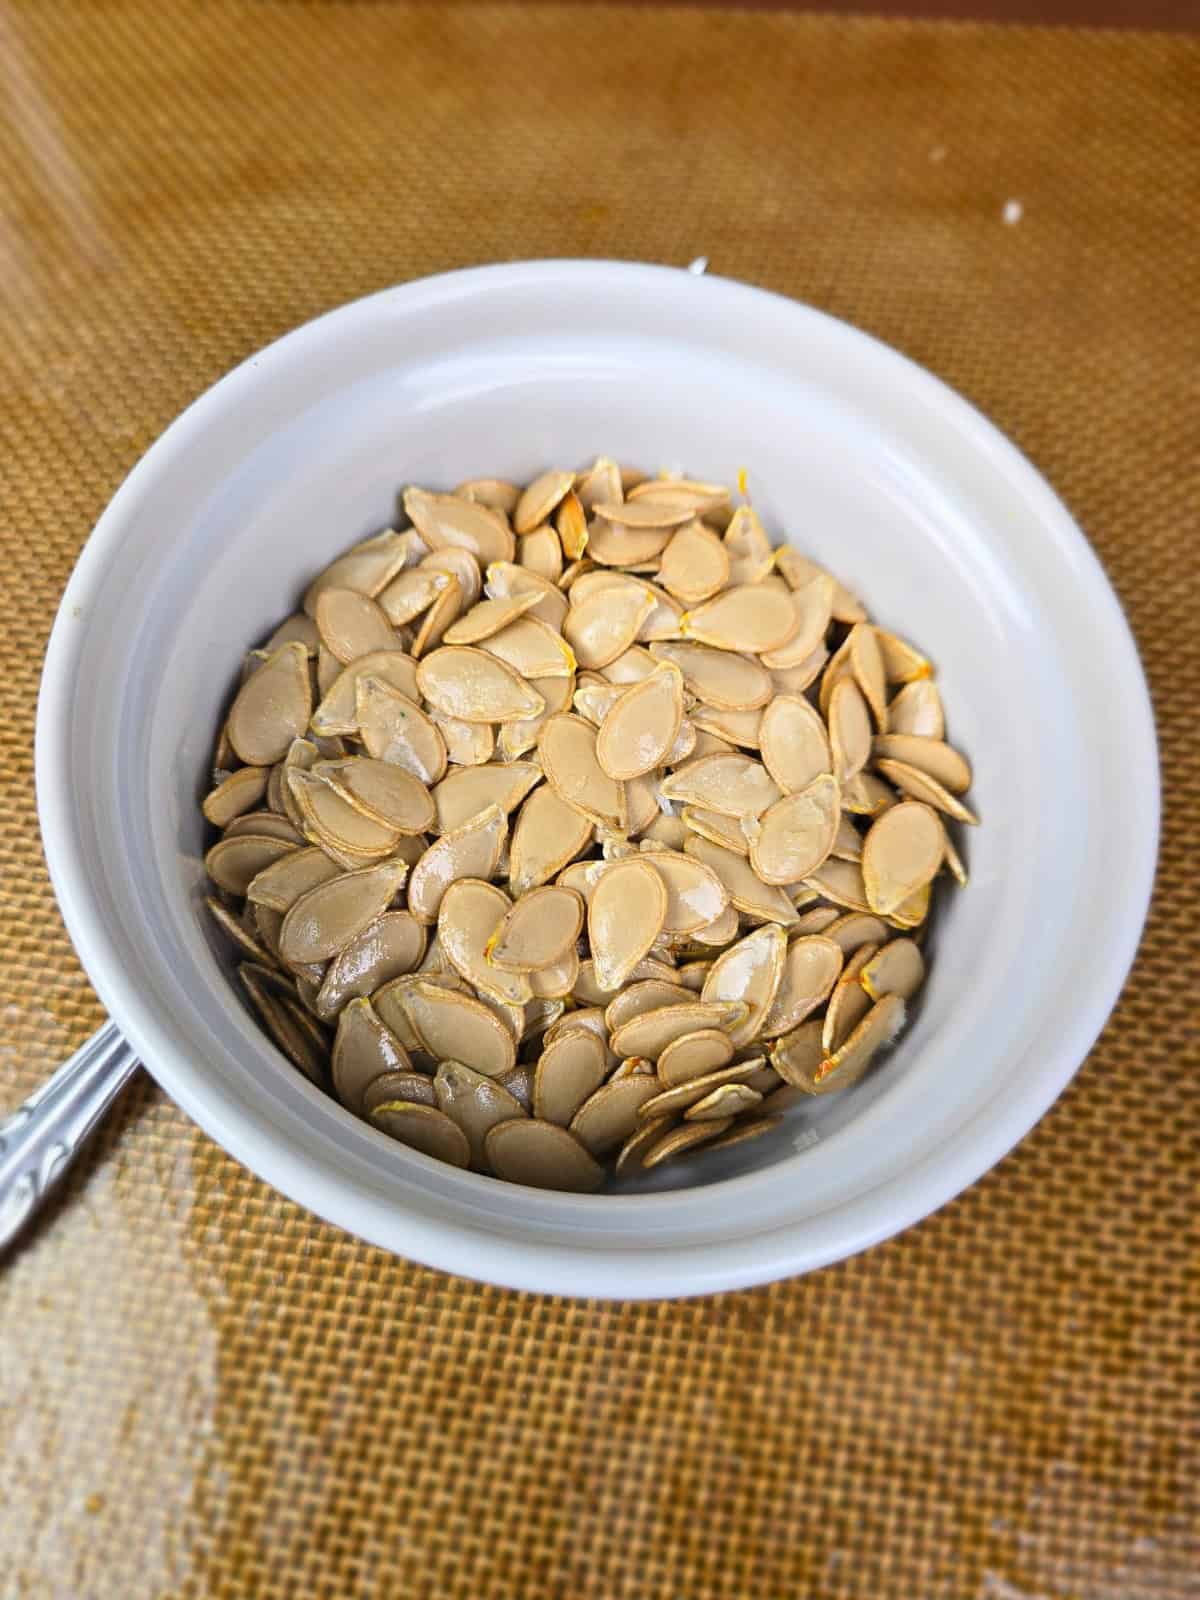
Step 8) Remove the tray from the oven and allow the seeds to cool completely on the pan; they'll continue to crisp as they cool.
🧄 Variations
- Warming Ginger: Add a sprinkle of ground ginger and a tiny pinch of coconut sugar or maple syrup for a subtly sweet and spicy flavor profile.
- Garlic & Herb: Toss the seeds with a pinch of garlic powder and dried rosemary or thyme for a savory, aromatic crunch.
- Sweet & Savory: Similar to my candied pepitas, adding a light sprinkle of coconut sugar or allulose makes the seeds crisp up nice and sweet.
- Anti-Inflammatory Turmeric: Mix in a dash of ground turmeric and a crack of black pepper or a pinch or ginger to add a vibrant golden color and extra health benefits.
🥣 Storage
Store cooled seeds in an airtight container for up to a couple of days at room temperature, or in the refrigerator if your kitchen runs warm. For longer storage, they can be frozen, but I don't really recommend it.
👨🏻🍳 Expert Notes & Tips
Oil Amount: using too much oil can cause the seeds to soften during storage, as excess fat sits on the outside, as well as just go to waste. Less is more here.
Seasoning Variations: once lightly oiled, you can add spices such as paprika, garlic powder, coriander, cinnamon, or cumin before roasting.
Serving Ideas: enjoy as a snack on their own, or sprinkle over soups and salads for extra crunch and flavor.
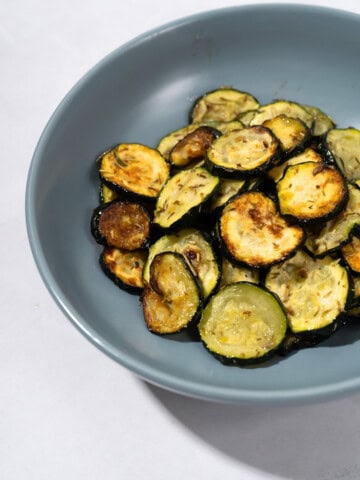
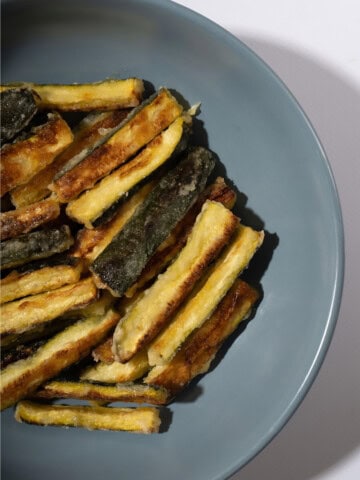
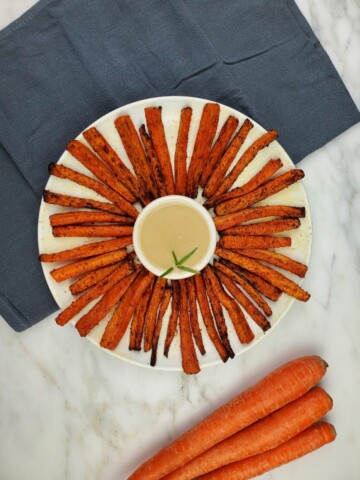
❓ What to Serve With Roasted Squash Seeds


🙋 Frequently Asked Questions
Yes, squash seeds (also known as pepitas) are generally very well-tolerated on a low-histamine diet. They are a great source of minerals like magnesium, iron, and zinc. To keep histamine levels at their lowest, it is best to roast them fresh rather than buy pre-packaged roasted seeds, which may have sat on shelves for long periods.
You can use seeds from almost any winter squash! While pumpkin seeds are the most common, seeds from butternut, acorn, delicata, and kabocha squash are all delicious and edible. Smaller seeds (like those from a honeynut) will roast faster than larger pumpkin seeds.
They may need more drying time before adding the oil to roast, a slightly higher oven temperature, or additional roasting time—stirring once or twice during roasting helps them cook evenly.
You can roast them without oil, but even a very small amount helps the seeds crisp more evenly and enhances flavor.

Have you tried this recipe?
If you like the recipe, please leave a 5-star ⭐️⭐️⭐️⭐️⭐️ rating on the recipe card, or even a comment! I love to hear how your recipes turned out, and your feedback can help other readers! Also join us on Instagram, Facebook & Pinterest.
📖 Recipe
Crispy Roasted Squash Seeds
Equipment
- oven
Ingredients
- Unroasted squash seeds from 1 large squash about ⅓–½ cup
- ½ teaspoon oil or ghee
- Sprinkle of sea salt to taste
Instructions
- Separate the seeds from the squash pulp right after scooping them out the squash. Use your fingers to pull away as much of the fibrous strands as possible.
- Place the seeds in a bowl of water and swish them around so the pulp floats to the top. Skim off the pulp, then drain the seeds in a colander and pull of any tiny bit of pulp still there, rinsing again if needed until almost completely clean.
- Preheat your oven to 225°F (105°C). Spread the seeds out in a single layer on a baking tray lined with a silicone mat or aluminum foil, keeping overlap to a minimum. Do not use parchment paper - the seeds will stick to it.
- Place the tray in the oven and dry the seeds for 5–10 minutes, until they no longer look wet. Drying the seeds thoroughly before roasting is the key step; skipping or rushing this stage will result in chewy or unevenly-roasted seeds.
- Once dry, lightly coat the seeds with the oil or ghee, either directly on the tray or by tossing them briefly in a bowl. Use only a small amount of fat, just enough to lightly coat.
- Raise the oven temperature to 275°F (135°C), then sprinkle the seeds with a generous pinch of sea salt and shake the tray so they’re evenly distributed in a single layer.
- Roast for 12–15 minutes, stirring halfway through, until the seeds are lightly golden, dry to the touch, and begin making a subtle popping sound near the end of roasting. They'll snap in half easily.
- Remove the tray from the oven and allow the seeds to cool completely on the pan; they'll continue to crisp as they cool.

Comments
No Comments