


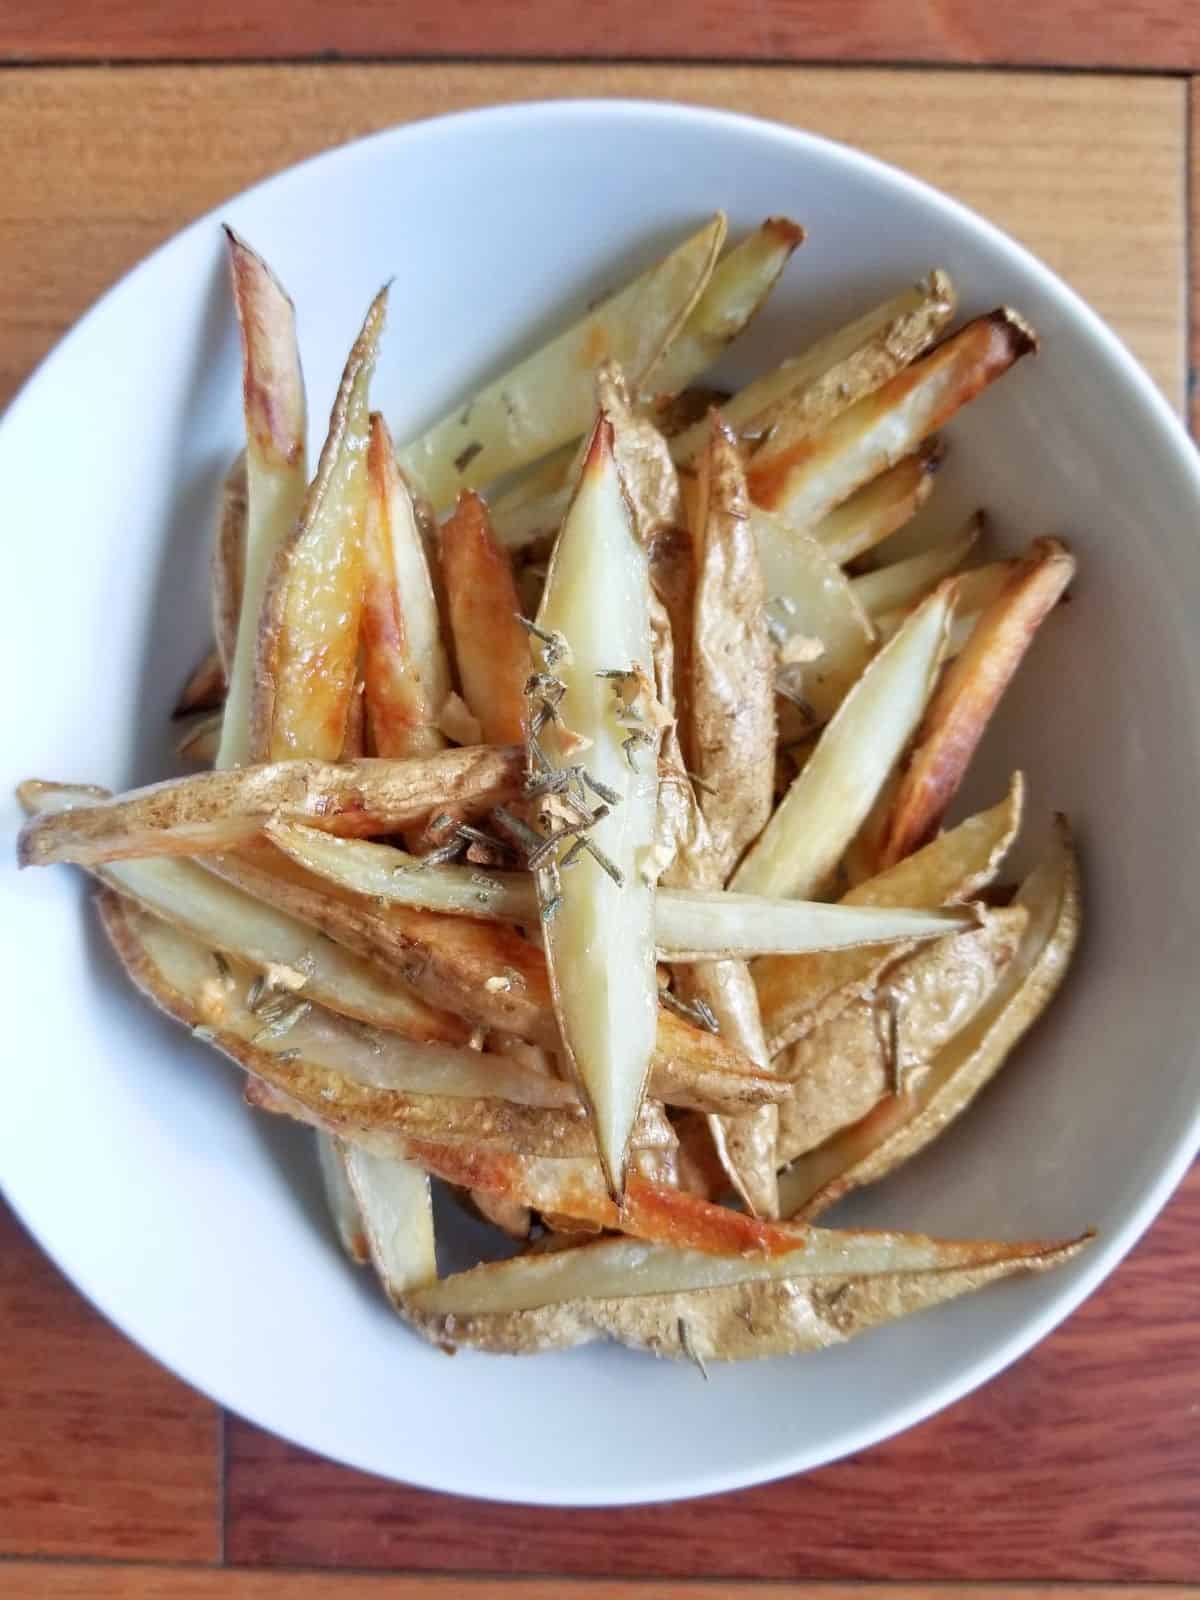
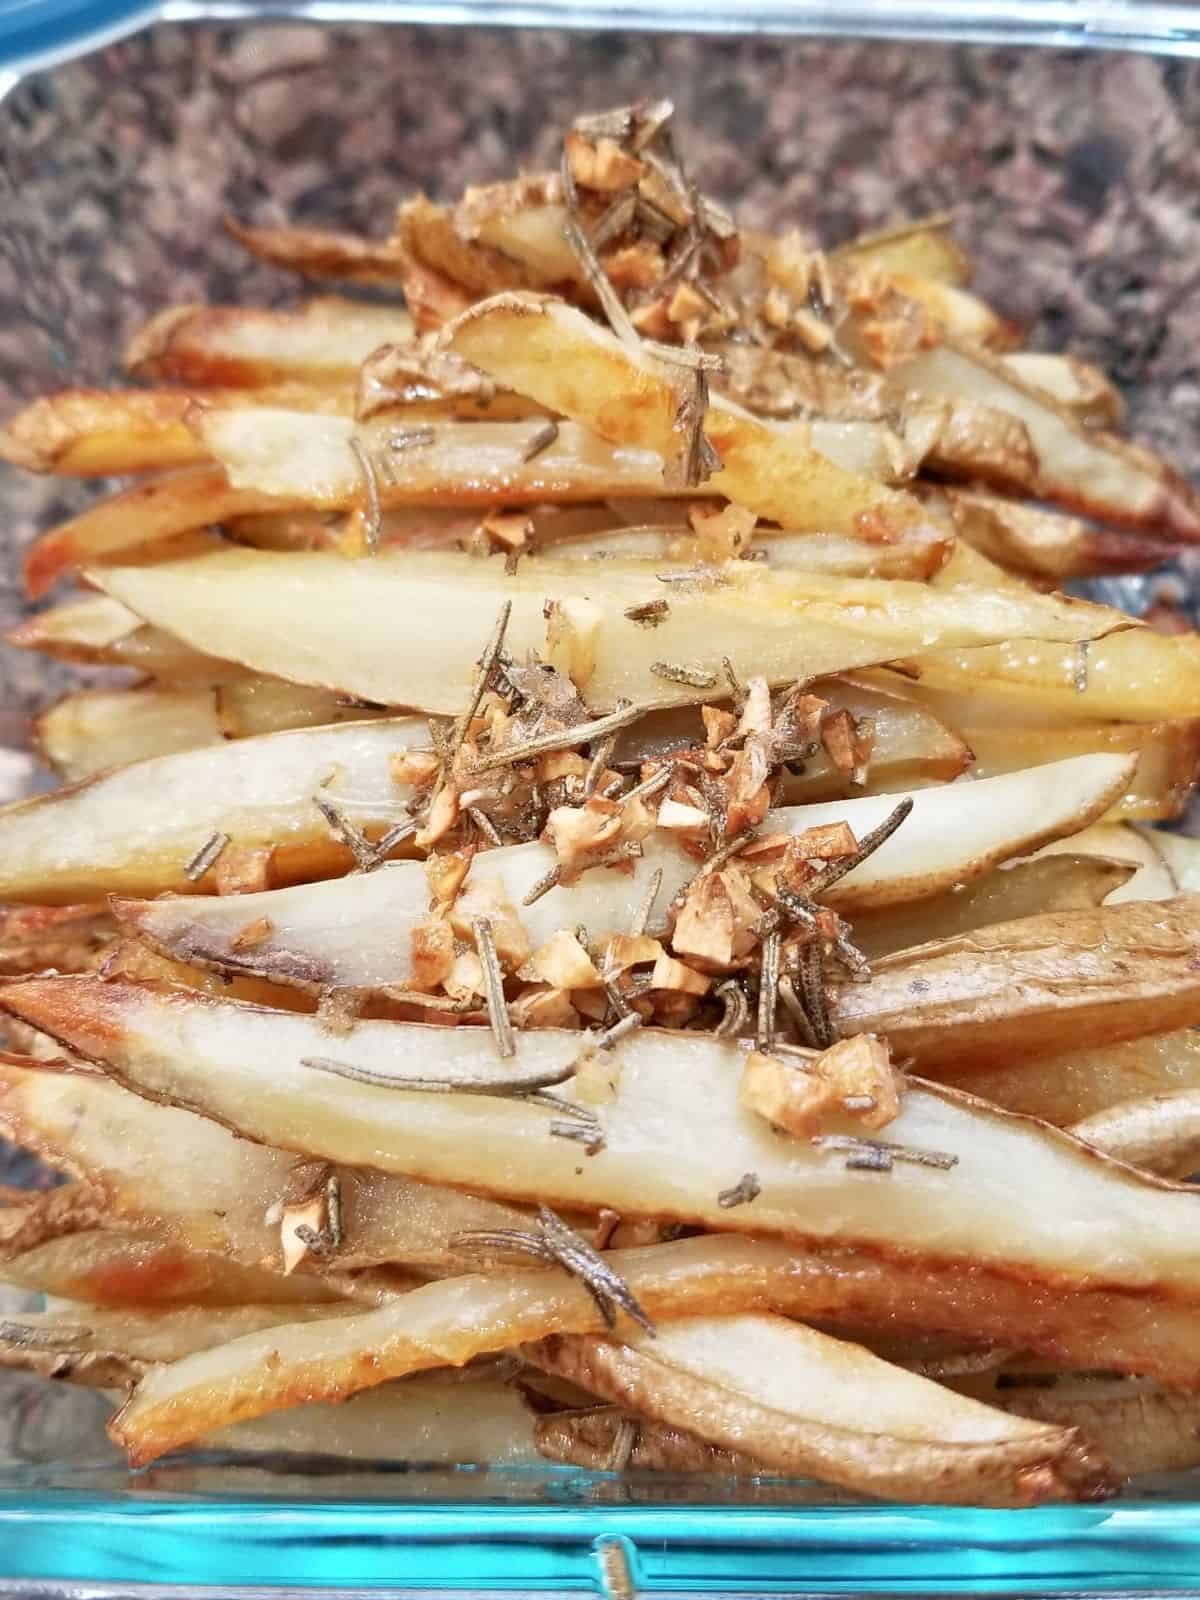
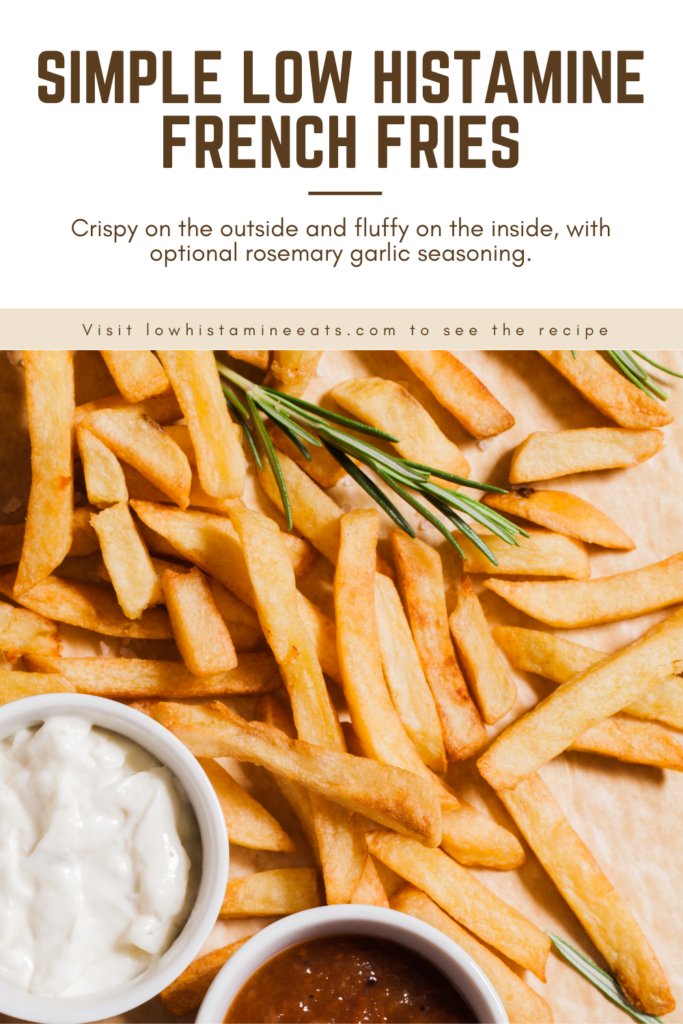
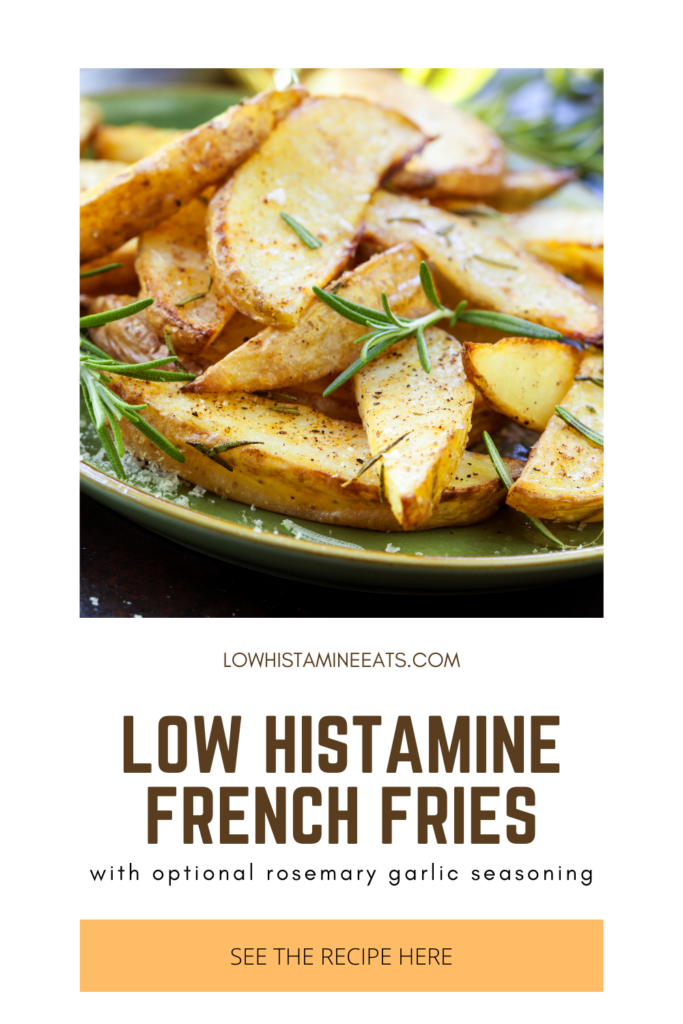
These Homemade Rosemary Garlic French Fries started as a simple snack but quickly became one of my favorite easy sides. Crispy on the outside and fluffy inside, they’re tossed with fragrant rosemary and plenty of garlic for a deeply savory flavor. They pair especially well with a saucy main dish, making them perfect for rounding out simple freezer meals or weeknight dinners.
If you love crispy potato dishes, try my easy parmentier potatoes or air fryer smashed potatoes.
Jump to:
✔️ Why This Recipe is Great
Great use for lard. This recipe will quickly use up any extra bacon fat from the freezer (whether it's yours or not), as you’ll want to make it week after week.
Season as desired. These fries are simply flavored so that they can be paired with any dish, but you can also add a smattering of fresh herbs, minced garlic, or even a touch of flavored salt to totally change the flavor.
Super simple. If you need an easy & quick side dish for dinner, this should stay at the top of your list. You can make it year-round, and it goes from fridge to table with just 15 minutes of work!
🧄 Ingredients
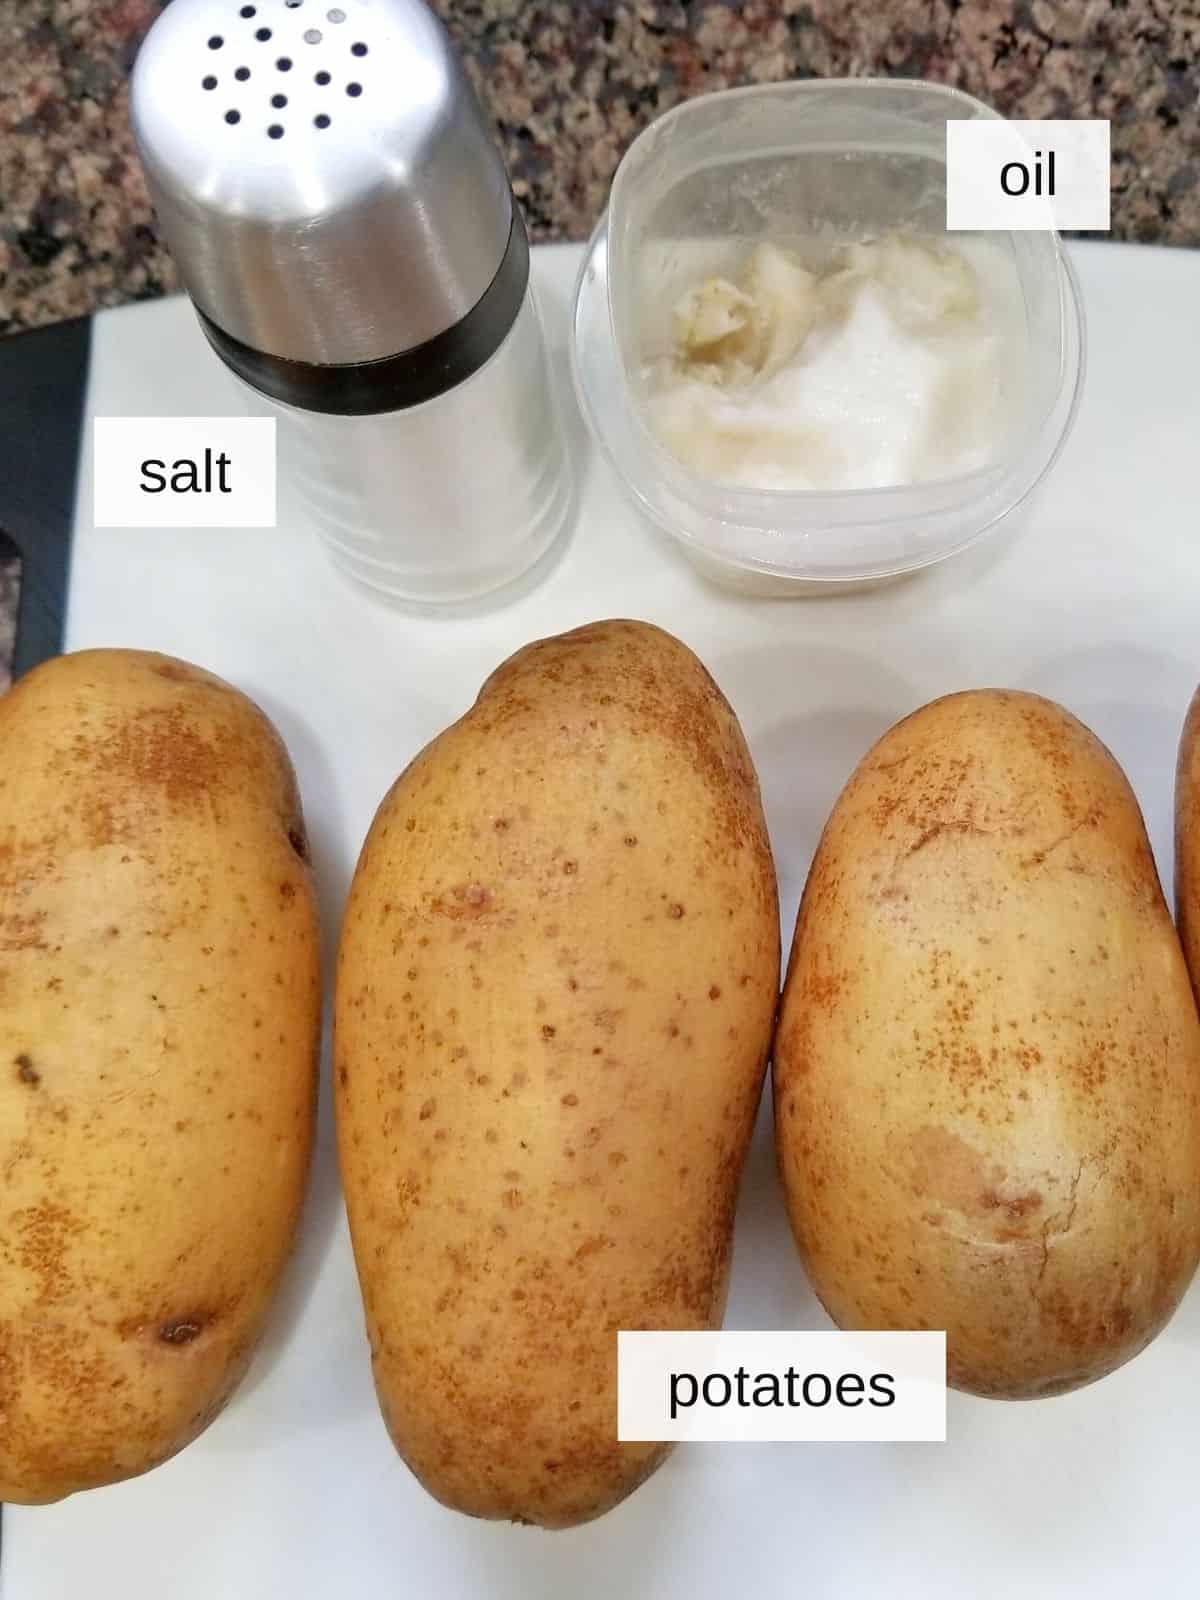
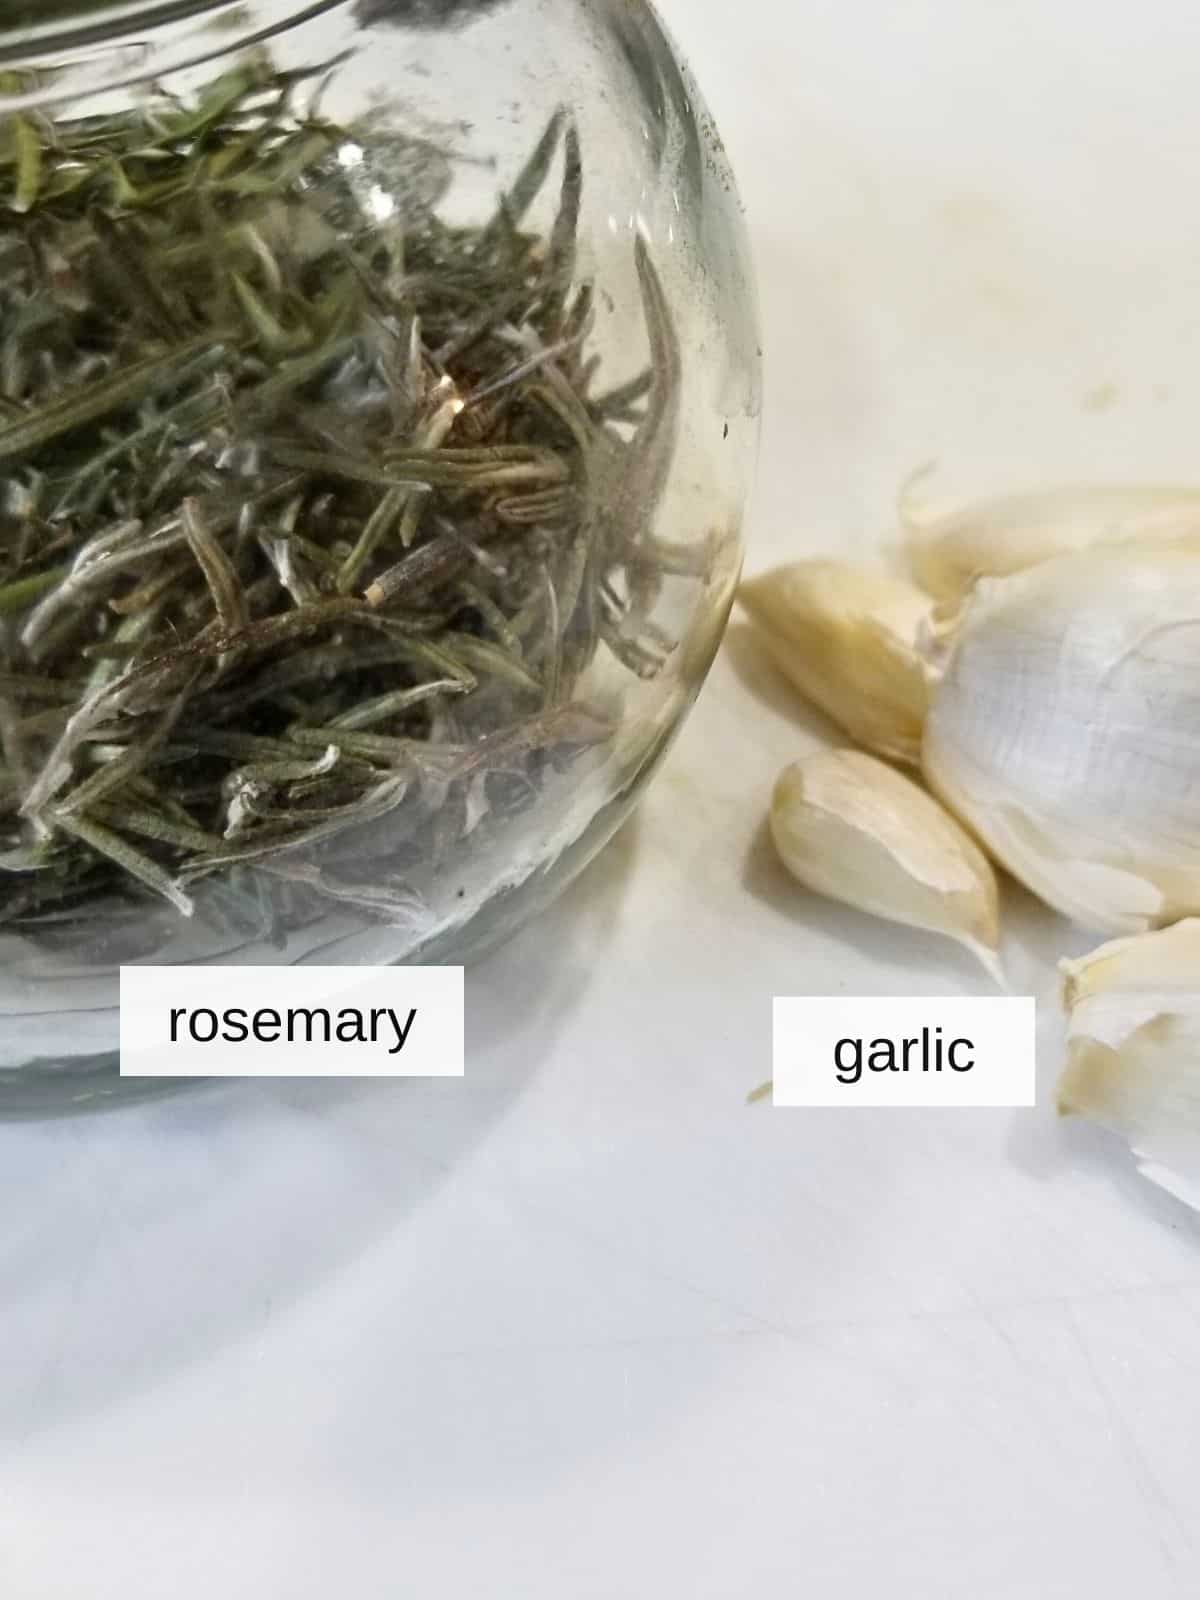
Baking Potatoes: you can really use any kind of potatoes, but baking potatoes are especially sturdy and easier to my typically long fries with. I also like to use larger 'baby potatoes' like with my za'atar potatoes.
Lard: this high heat-safe fat makes the potatoes taste savory without the high-histamine meats, and is usually available quite fresh at the butcher's; it keep great in the freezer. Alternatives at this temperature include refined avocado oil, refined coconut oil, tallow, ghee, or butter.
Dried Rosemary & Garlic: optional seasoning for the fries, if tolerated (see notes for when to add).
See recipe card for exact ingredients and quantities.
🥔 How to Make Low Histamine French Fries (Step-by-Step)
Step 1) Thoroughly wash the outsides of your potatoes, and preheat your oven to 450°F (230°C). If you want to make the rosemary-garlic seasoning ahead of time, skip to the notes section to read how.

Step 2) Fill a large bowl halfway with water and add 1 teaspoon of sea salt and let it dissolve. Place the bowl next to the cutting board where you'll be making your fries. Now cut the potatoes into 1cm-thick slices lengthwise, and then cut those slices into long, thin strips as large or small as you'd like your fries to be (image 1).
As you finish cutting the fries, add them to the bowl of salt water so that they're covered in water (image 2). Once you're done, add any more water needed to fully submerge every fry, then let your potatoes sit in the water for about 10 minutes.
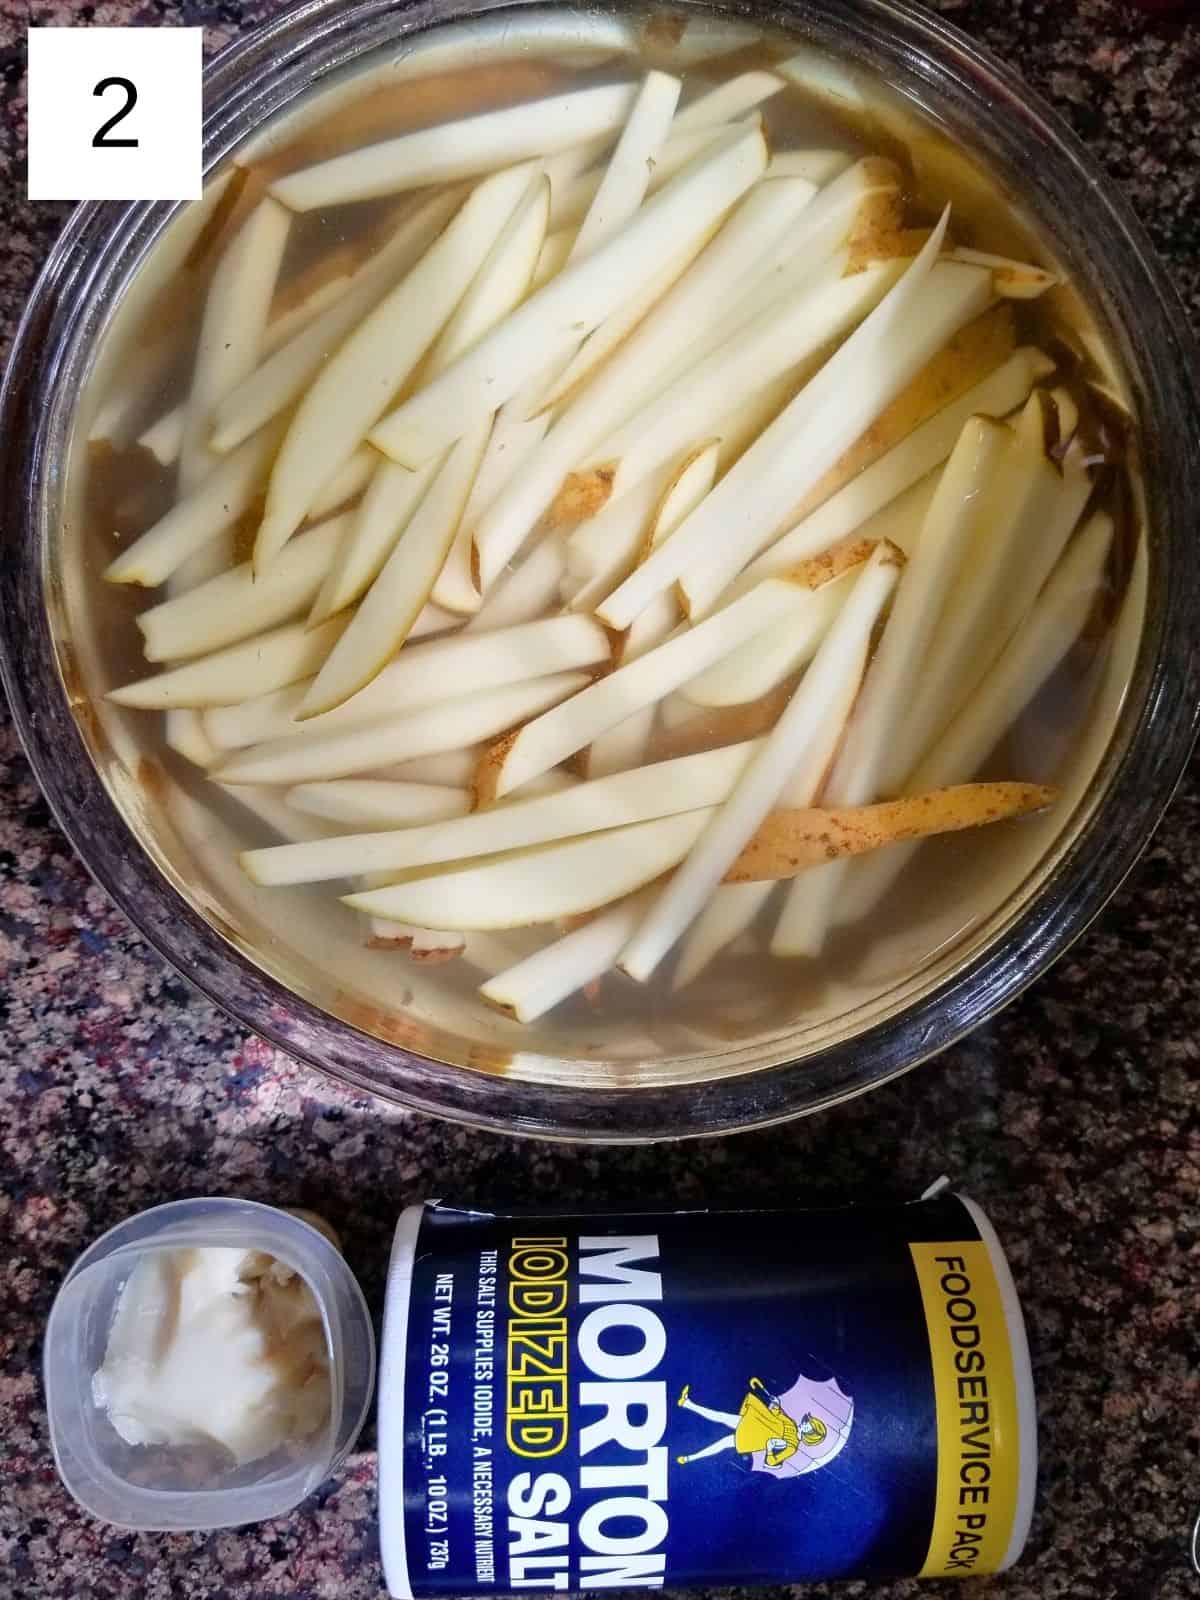

Step 3) Once they've had a good soak, drain them and dry them thoroughly (image 2), as any extra water will hinder the crisping process. This salt water bath is important, as it will draw water out of the potato, resulting in crispier fries for you. Consider using paper towels.
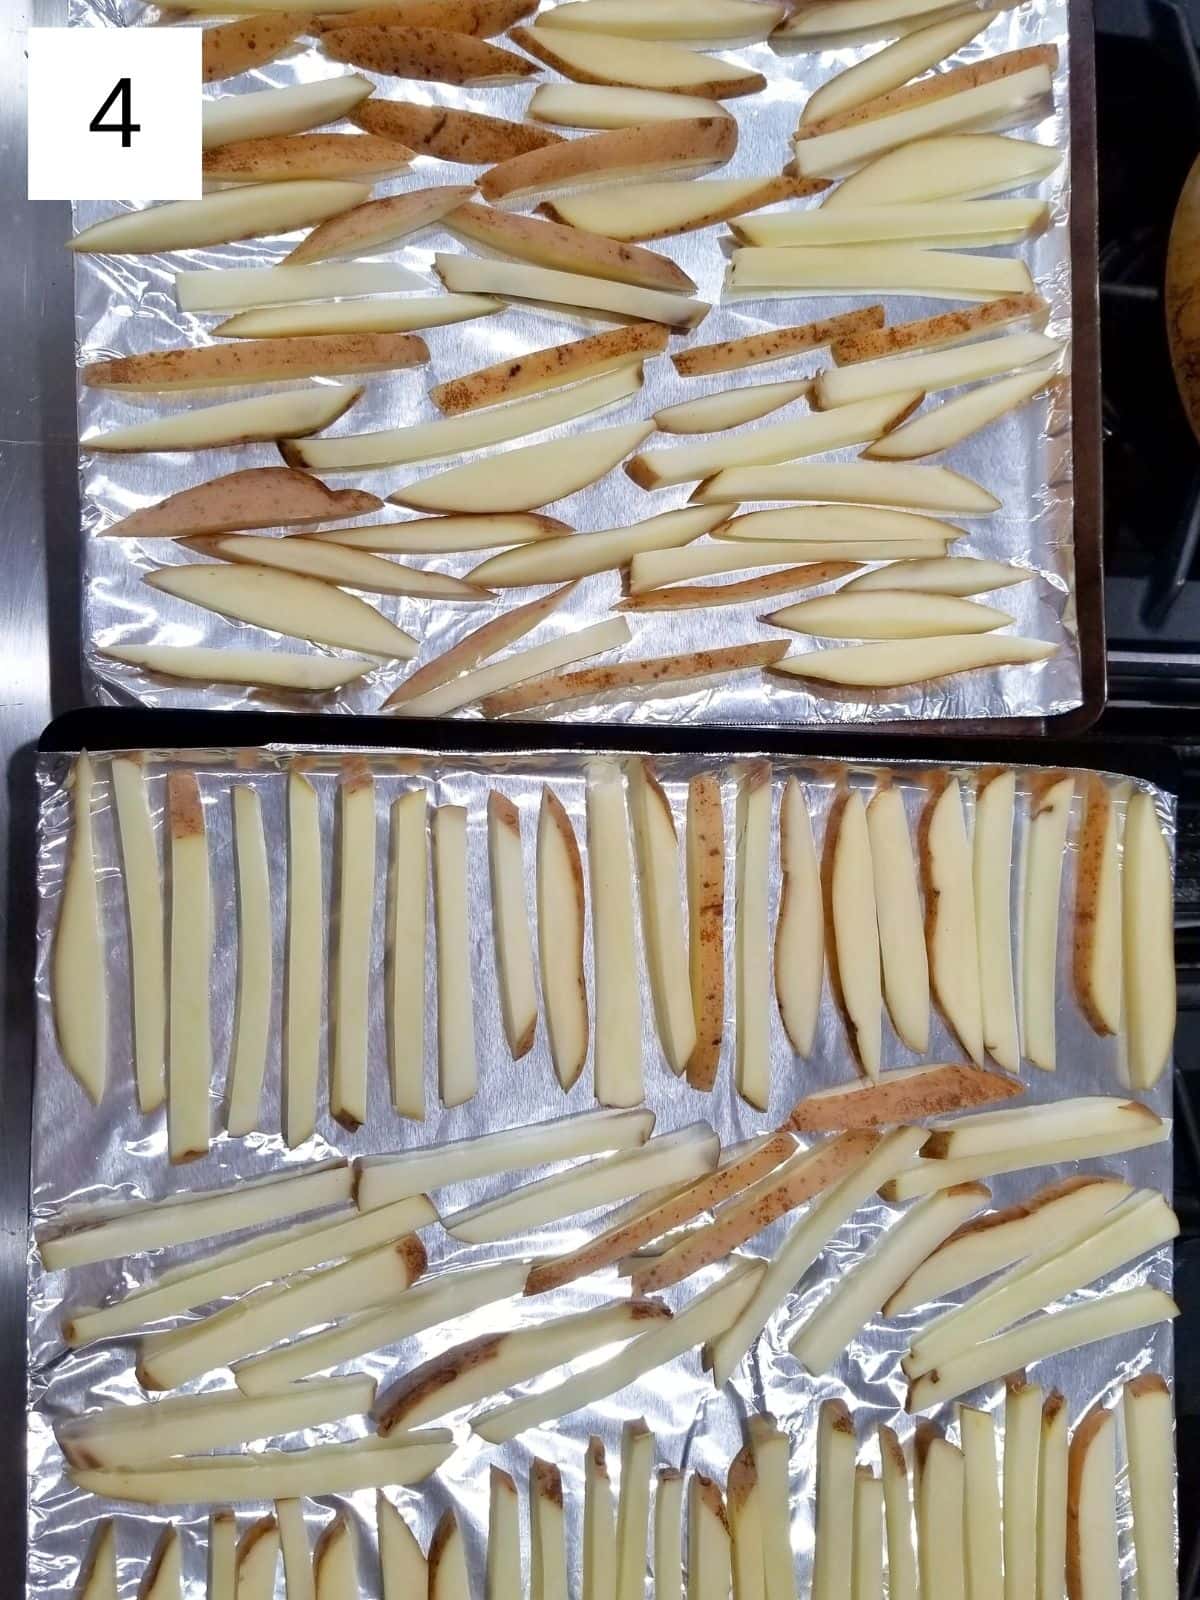
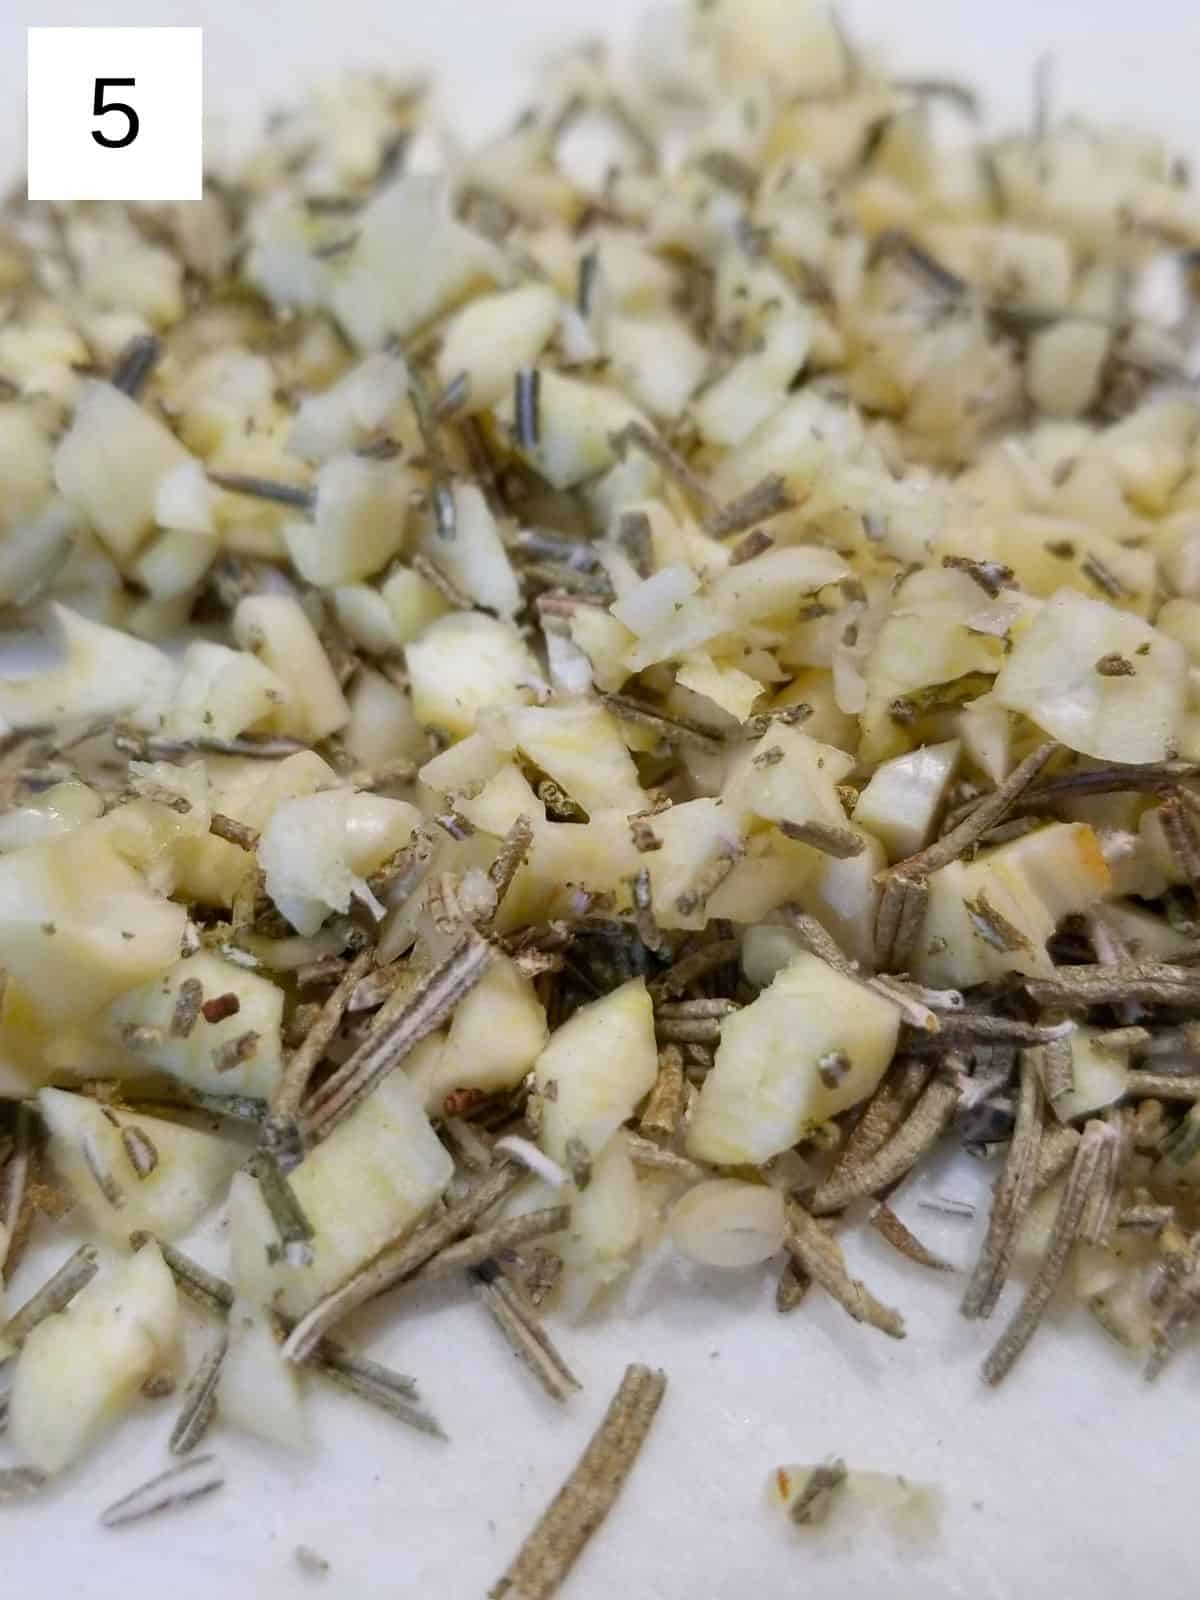
Step 4) Once your potatoes are dry, place them on a clean plate and pour your oil over them, making sure each piece is lightly coated. Arrange your potatoes on a baking sheet (or two) (image 4), and then sprinkle all your sea salt over the top. You can chop up your garlic and herbs now, but don't add them yet (image 5).
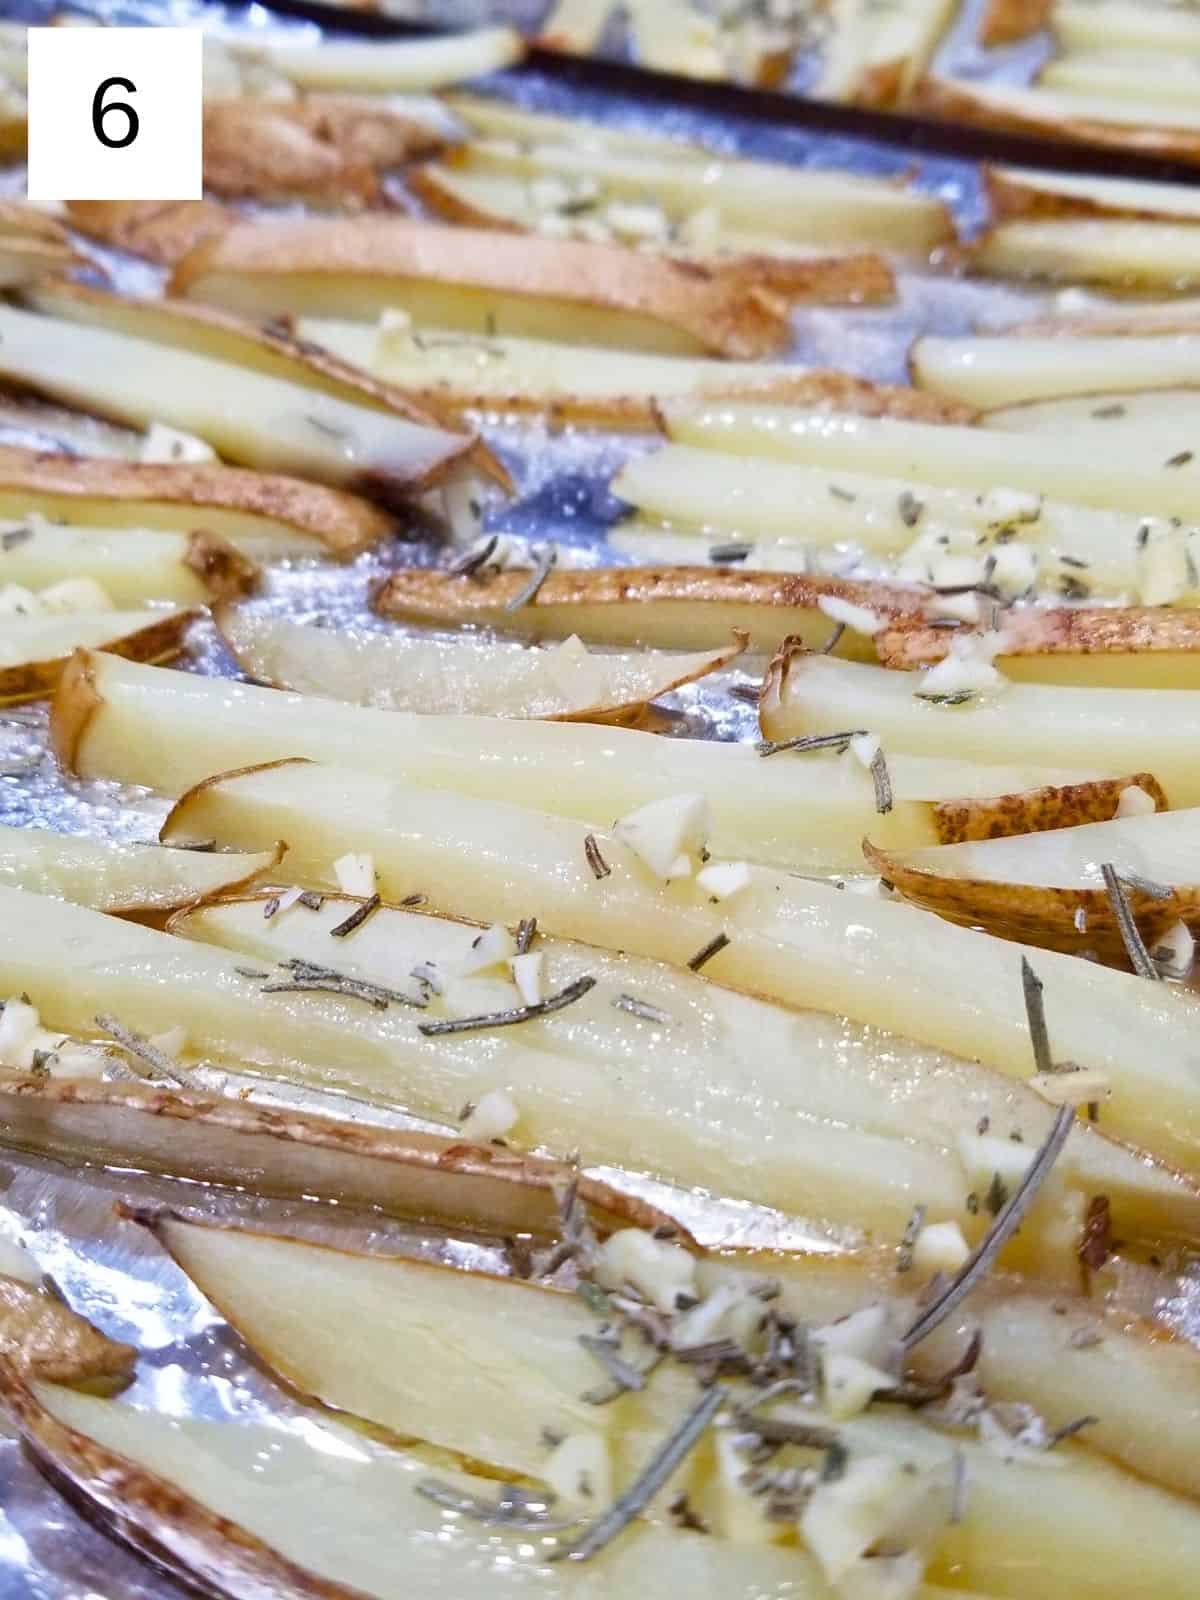
Step 5) Place the tray(s) in your preheated oven and bake for 10 minutes, or 15 minutes for larger fries (image 6). Afterwards, check on your fries and flip them over, making sure that they're evenly-baked. This is the perfect time to add any seasonings you'd like (see notes).
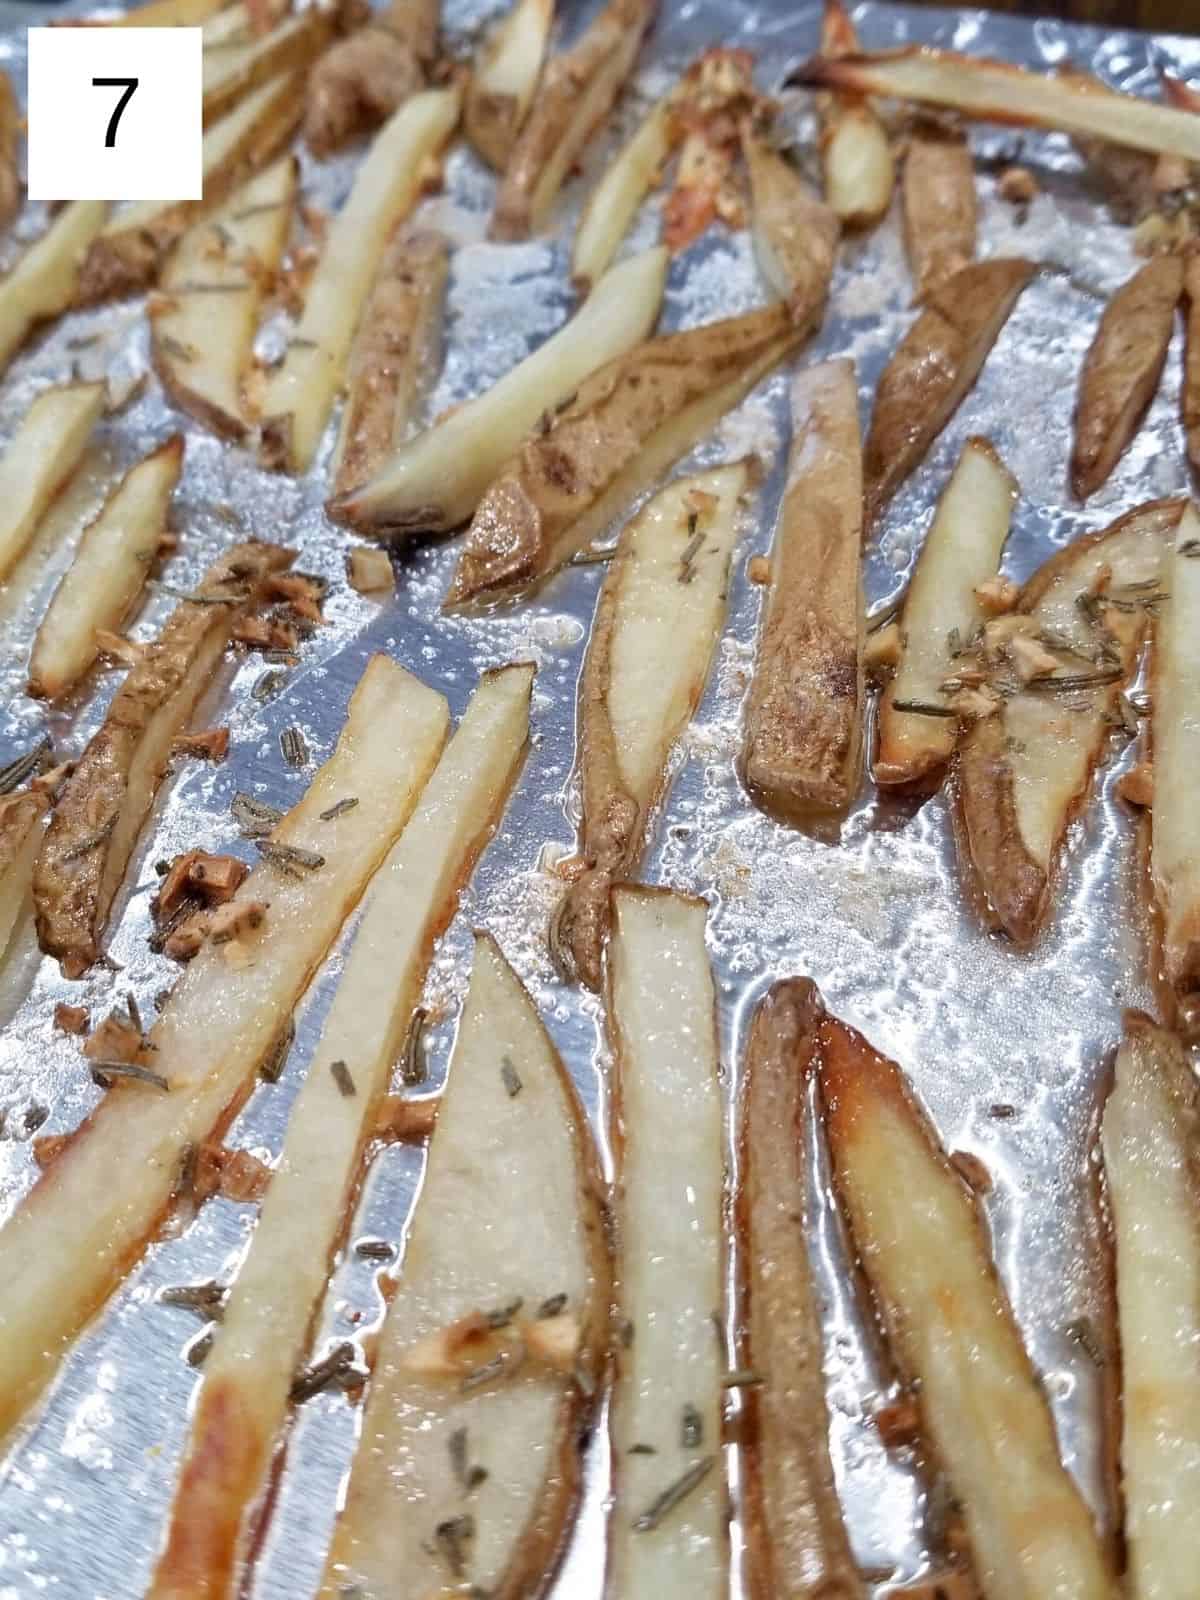
Step 6) Bake for 15-20 more minutes or golden brown (image 7), and then take out and allow to cool for at least 5 minutes. To freeze, place the fries in a reasonably small container and place in the freezer for up to 3 months.
🧂 Variations
- Herbed Fries: Add a pinch of dried thyme or oregano along with the rosemary for a more herb-forward flavor.
- Garlic Powder Version: Replace the fresh garlic with 1 teaspoon garlic powder for a milder, more evenly distributed garlic flavor.
- Extra-Crispy Fries: Soak the cut potatoes in cold water for 20–30 minutes before cooking, then dry thoroughly to help them crisp up more.
- Rosemary-Lemon Zest Fries: Add a small pinch of fresh lemon zest after baking for a bright, fresh finish.
- Simple Salted Fries: Omit the rosemary and garlic for a classic, lightly salted version that pairs well with many low histamine sauces.
- Sumac Fries: Sprinkle a small pinch of sumac over the fries after baking for a subtle tangy, citrus-like flavor.
🍟 Freezing and Reheating
If you're not on a low histamine diet, these crispy french fries can stay good in the fridge for up to 4 days when stored in an air-tight container and cooled to room temperature beforehand.
But if you want to freeze them, I recommend cooking them fully beforehand, and cooling them to room temp before freezing. They’ll stay good in the freezer for up to 2 months, though the texture will get a bit starchier the longer they stay in there.
It's ideal to reheat homemade fries in the air fryer for even heating, pouring in the potatoes and heating to 380°F (195°C ) for 3-4 minutes if refrigerated, or 4-6 minutes if reheating from frozen.
👨🏻🍳 Expert Notes & Tips
Freezing the Fries: these simple french fries freeze very well and are ridiculously versatile. They can also be made with yams or sweet potatoes, but the recipe is meant more for plain potatoes that you plan to eat with a dipping sauce.
Adding Flavor: to mix up the flavors, I like to add chopped garlic and dried rosemary to the potatoes halfway through baking, when I'm flipping the fries. Try ½ teaspoon dried rosemary + 1 clove of garlic per potato, chopped and minced very thoroughly, and added halfway through the baking. Alternative seasonings include za'atar, fajita seasoning, or Italian seasoning.
❓ What to Serve With French Fries

🙋 Frequently Asked Questions
Baking potatoes (such as russet potatoes) work best because their high starch content helps create crispy outsides and fluffy interiors.
No, peeling is optional. Leaving the skin on adds texture and nutrients, but you can peel them if you prefer smoother fries.
Yes, fresh rosemary works well—use about 1 tablespoon finely chopped fresh rosemary in place of the dried rosemary.
Yes, they can be cooked in an air fryer at about 400°F (205°C) for 15–20 minutes, shaking halfway through, until golden and crispy.

Have you tried this recipe?
If you like the recipe, please leave a 5-star ⭐️⭐️⭐️⭐️⭐️ rating on the recipe card, or even a comment! I love to hear how your recipes turned out, and your feedback can help other readers! Also join us on Instagram, Facebook & Pinterest.
📖 Recipe
Homemade Rosemary Garlic French Fries
Equipment
- oven
Ingredients
- 4 baking potatoes
- ¼ cup oil of choice avocado, coconut, ghee, butter, lard, etc.
- 2 teaspoons salt +1 teaspoon
- Optional 2 teaspoons dried rosemary
- Optional 4 cloves of minced garlic
Instructions
- Thoroughly wash the outsides of your potatoes, and preheat your oven to 450°F (230°C). If you want to make the rosemary-garlic seasoning ahead of time, skip to the notes at the bottom to read how.
- Fill a large bowl halfway with water and add 1 teaspoon of sea salt and let it dissolve. Place the bowl next to the cutting board where you'll be making your fries. Now cut the potatoes into 1cm-thick slices lengthwise, and then cut those slices into long, thin strips as large or small as you'd like your fries to be.
- As you finish cutting the fries, add them to the bowl of salt water so that they're covered in water.
- Once you're done, add any more water needed to fully submerge every fry, then let your potatoes sit in the water for about 10 minutes. Once they've had a good soak, drain them and dry them thoroughly, as any extra water will hinder the crisping process. This salt water bath is important, as it will draw water out of the potato, resulting in crispier fries for you. Consider using paper towels.
- Once your potatoes are dry, place them on a clean plate and pour your oil over them, making sure each piece is lightly coated. Arrange your potatoes on a baking sheet (or two), and then sprinkle all your sea salt over the top.
- Place the tray(s) in your preheated oven and bake for 10 minutes, or 15 minutes for larger fries. Afterwards, check on your fries and flip them over, making sure that they're evenly-baked. This is the perfect time to add any seasonings you'd like (see notes).
- Bake for 15-20 more minutes or golden brown, and then take out and allow to cool for at least 5 minutes.
- To freeze, place the fries in a reasonably small container and place in the freezer for up to 3 months.
Notes
Nutrition
Save this post for later!
Comments
No Comments